
This block is the Double T, and was first published in the Kansas City Star on December 16, 1947. This block uses Flying Geese that are two colors.
This block can be done in different colors or all the same. The instructions are for a three color block that will finish at 12″ x 12″ (12 1/2″ x 12 1/2″ unfinished).
Fabric Requirements
Color A (White) 11″ x 11″
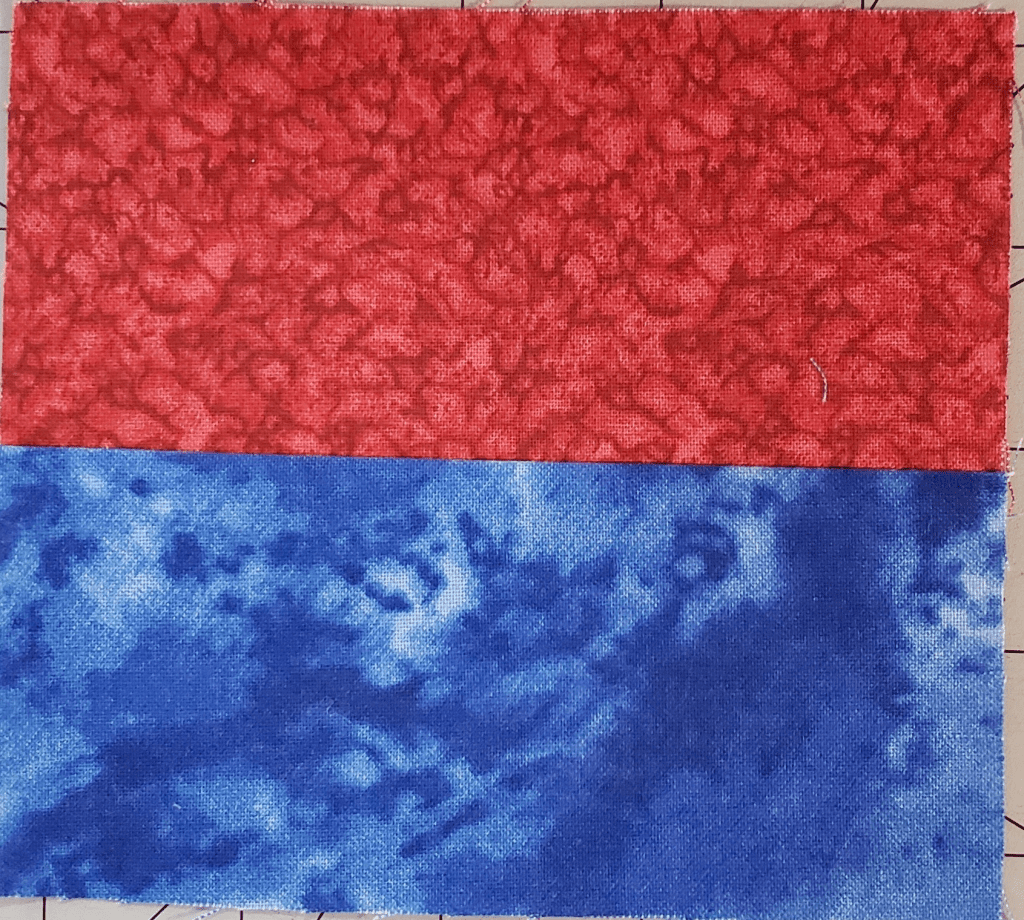
Color B (Blue) 11″ x 8″
Color C (Red) 11″ x 8″
Fabric Cutting

Assembly
Step 1 – Half Square Triangles (HST) – 4 1/2″ x 4 1/2″
Two-a-a-time
You will need one piece A of Color A & Color B. (5″ x 5″ )
Draw a line diagonally down the middle of the lighter color fabric. Stitch 1/4″ on both sides of the line.

Cut down the centerline, creating 2 HST.

Square-up the HST to 4 1/2″ x 4 1/2″.
Repeat this Step using Color A & Color C to create two more HST.
Step 2 – Flying Geese – 2 color – Mirror image
You will be creating two different sets of HST. They will be mirror image of each other. This is to create the different parts of the “T”.
Using one Piece C (White) and 2 of each color of Piece B (2 7/8″ x 2 7/8″)
The process is the same as normal for no waste Flying Geese, it is just different in which way you use piece B squares.

Draw a diagonal line across the back of Piece B. 2 of each color
Place two Color B on opposite corners of Color A, right sides together, with the lines flowing together.

Stitch 1/4″ along both sides of the drawn lines

Cut along the drawn lines

Press Open

Step 3 – Second part of Flying Geese
NOTE: make sure that you use Color C (Second color) for the next part
Using one piece, place one Color C on the corner, with the diagonal lines flowing into the middle of the triangles.

Stitch 1/4″ on each side of the line

Cut along the drawn line

Press both pieces open, as you see you will have mirror images. This is correct.

Repeat Step 3 to create the other two Flying Geese
You should have 4 flying Geese, two different color combinations.
Repeat Step 2 and 3 to create another 4 Flying Geese, for a total of 8.

Square-up the Flying Geese to be 4 1/2″ x 2 1/2″, if you trim make sure that you trim from all sides, and make sure that there is 1/4″ seam allowance above the point.
Step 4 – Flying Geese block
Using two matching Flying Geese, sew them together in the following layout.

Press upwards, away from the point.
Square-up each set of flying geese to 4 1/2″ x 4 1/2″.
Repeat for a total of 4 sets of Flying Geese.
Step 5 – Four-patch Center
Using Pieces D, sew together long sides.

Press to the Dark side.
Cut into strips 2 1/2″ wide strips.
Using the two pieces, lay one and flip the second, so the colors do not match..

Sew together.

Press seam open, square-up to 4 1/2″ x 4 1/2″
Step 4 – Final Assembly
Layout the pieces in the following layout.
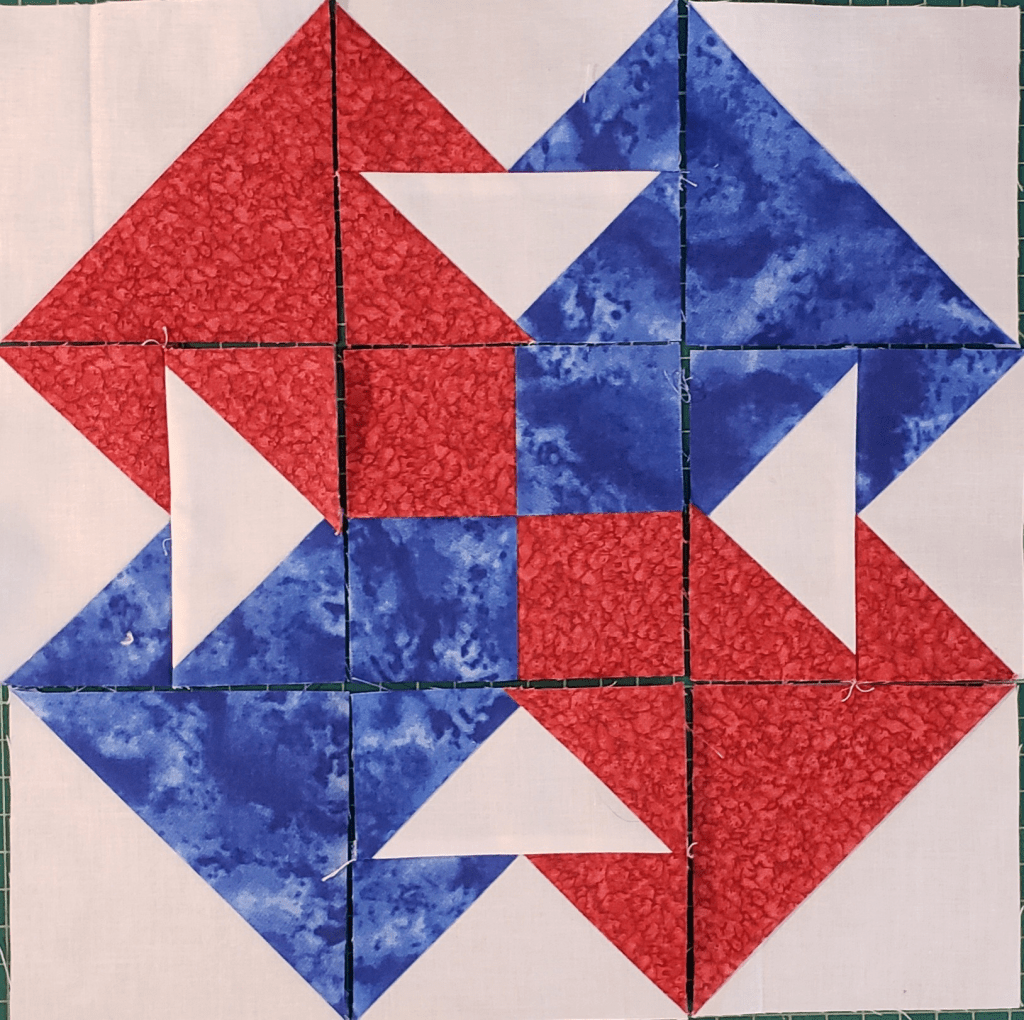
Place the
- HST on the four corners,
- 4-Patch in the middle
- Flying Geese on the four sides
Sew together, press seams.
You have now completed the Double T Block.

I look forward to seeing all your wonderful blocks! Make sure to post on the Facebook group! Remember to add the hashtag #DoubleT.
Click Here for a PDF of the instructions.
NOTE: if you want to do just two colors, you can cut Piece D at 4 ½” x 4 ½”, and then you do not have to do the 4-patch.
If you want to do the 4 colors, you will need to change the way you do the Flying Geese, to use all four colors when making them, and cut piece D for each at 2 ½” x 2 ½”

