The Row-by-Row quilt will be divided into 6 different sets of instructions, this is the fourth week, the Flying Geese rows.

To make my Row-by-Row quilt, I used the Island Batik Wonderous collection by Jerry Khiev, there are 20 different prints, and each was 1/2 yard. You could finish the quilt top with 20 different fat quarters or a variety of fabrics. I will be referencing the Item number of the Wonderous set.
The products featured in this post were given to me by Island Batik, Schmetz, Hobbs, & Aurifil,
You can also use fabric in your stash to create the blocks. If you are using fat quarters, your cutting lengths may be different, so you will need to cut more strips of fabric.
Fabric requirements for this row
Row 2 –
- Color Z – 15″ x 30″ (Peach)
- Color R – 10″ x 18″ (Orange/Peach)
Row 6 –
- Color H – 15″ x 30″ (Pink)
- Color N – 10″ x 18″ (light Green)
Row 9 –
- Color L – 15″ x 30″ (Blue)
- Color Z – 10″ x 18″ (Peach)
Fabric Cutting
| Color | R – Orange/Peach | Z – Peach | L – Blue | H – Pink | N – Lt Green |
| Item # | 6080 | Background | 4644 | 5602 | 3365 |
| Row 2 – Flying Geese | 28 – 2 3/8″ x 2 3/8″ | Seven – 4 1/4″ x 4 1/4″ | |||
| Row 6 – Flying Geese | Seven – 4 1/4″ x 4 1/4″ | 28 – 2 3/8″ x 2 3/8″ | |||
| Row 9 – Flying Geese | 28 – 2 3/8″ x 2 3/8″ | Seven – 4 1/4″ x 4 1/4″ |
Assembly
We are going to create three different rows of Flying geese. We will be making three different sets of 28 flying geese. You can make them all the same, or even mix-match different colors for each row. Would be fun scrappy, or even a transition from light to dark.
Several of the rows in this Row-by-Row quilt have flying geese in the blocks, so by the time you finish these 84 geese you will be an expert.
As a reminder for how to make flying geese (From last week)
Flying Geese
Using 1 of the 4 1/4″ x 4 1/4″ and 4 of the 2 3/8″ x 2 3/8″ squares.
- Draw a diagonal line across the back of the smaller squares (2 3/8″ x 2 3/8″)
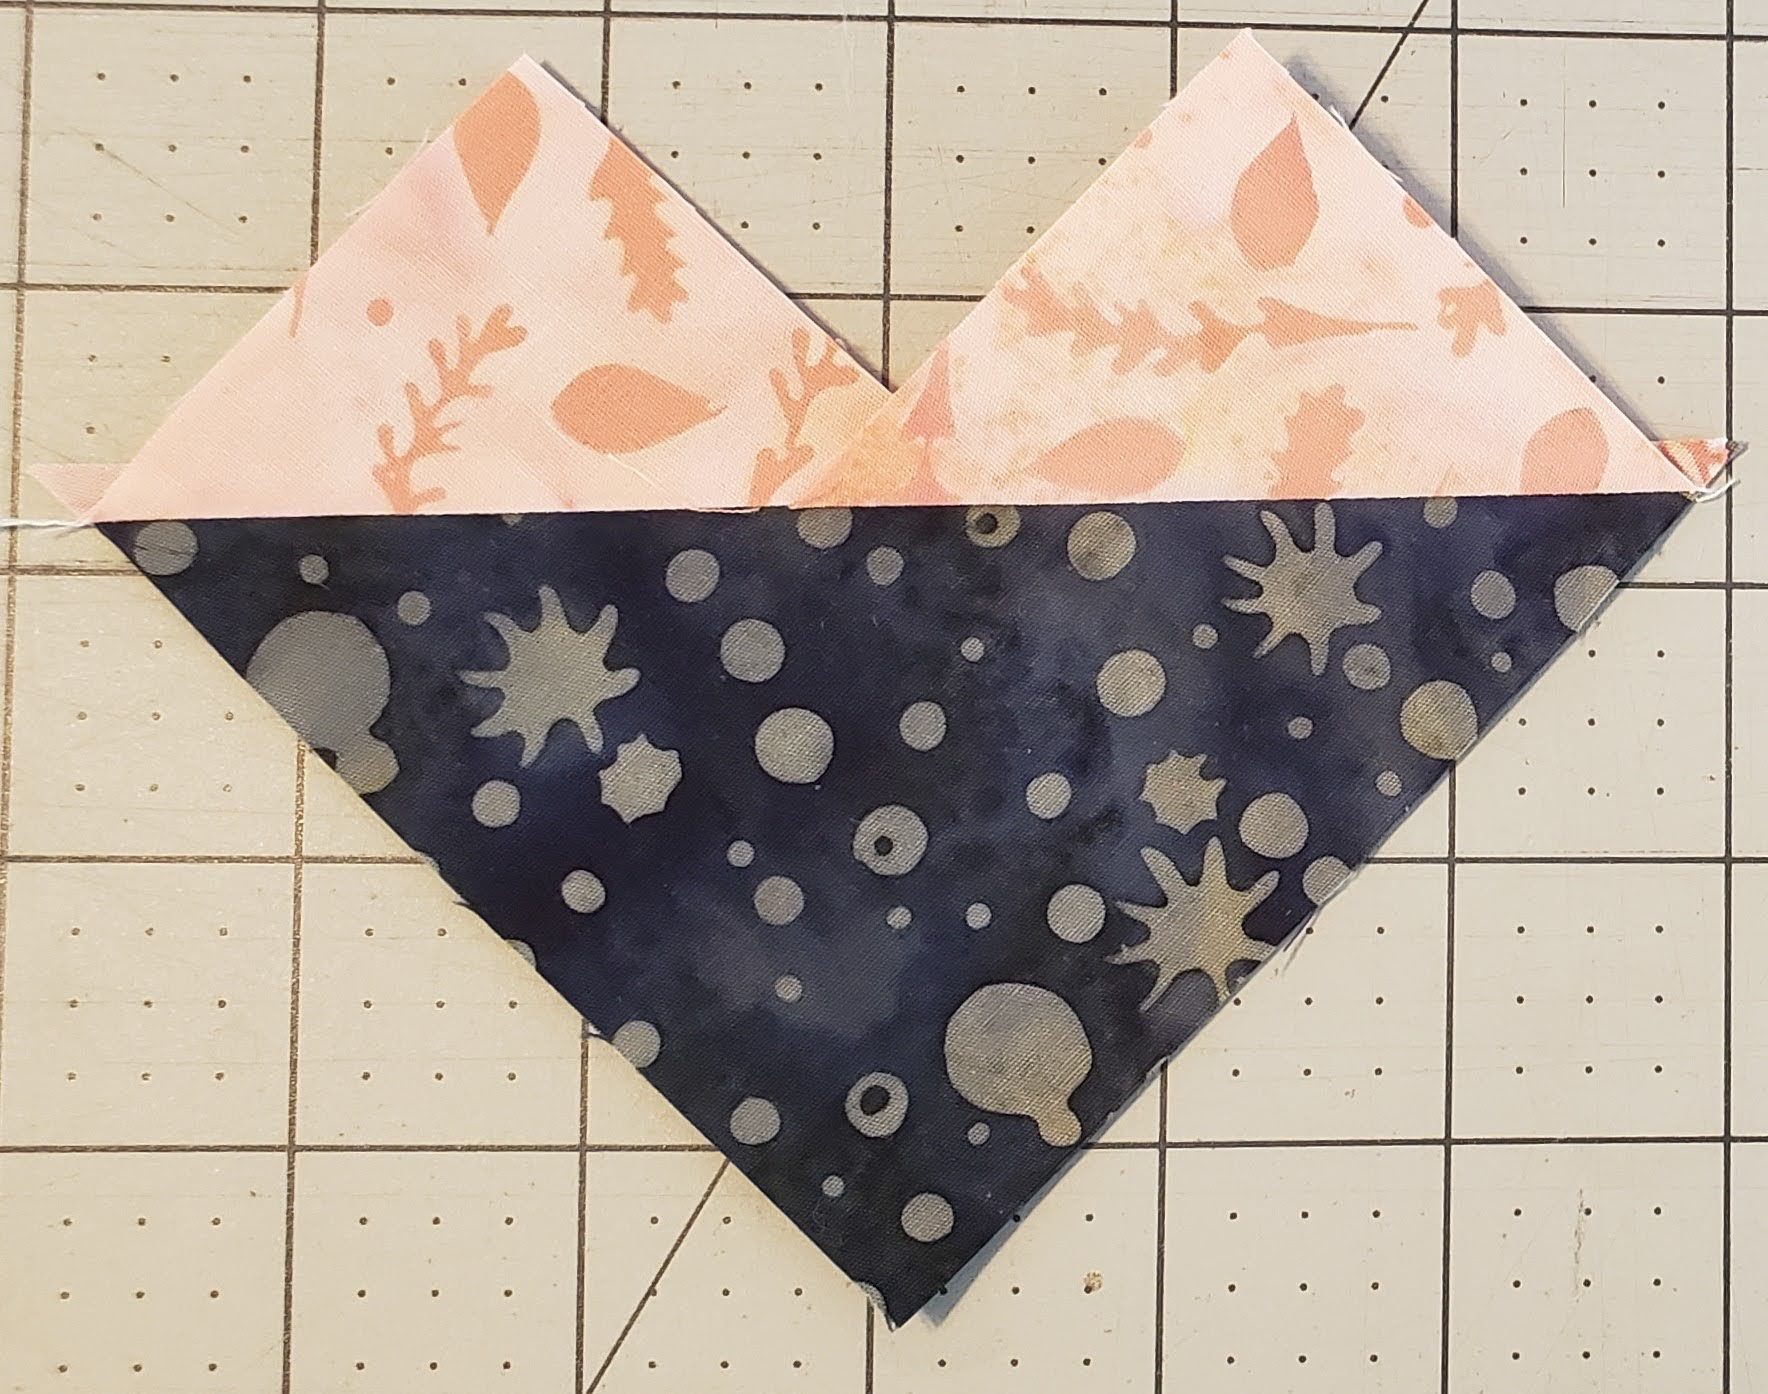
- Place two Color A on opposite corners of Background, right sides together, with the lines flowing together.
- Stitch 1/4″ along both sides of the drawn lines
- Cut along the drawn lines

Press Open
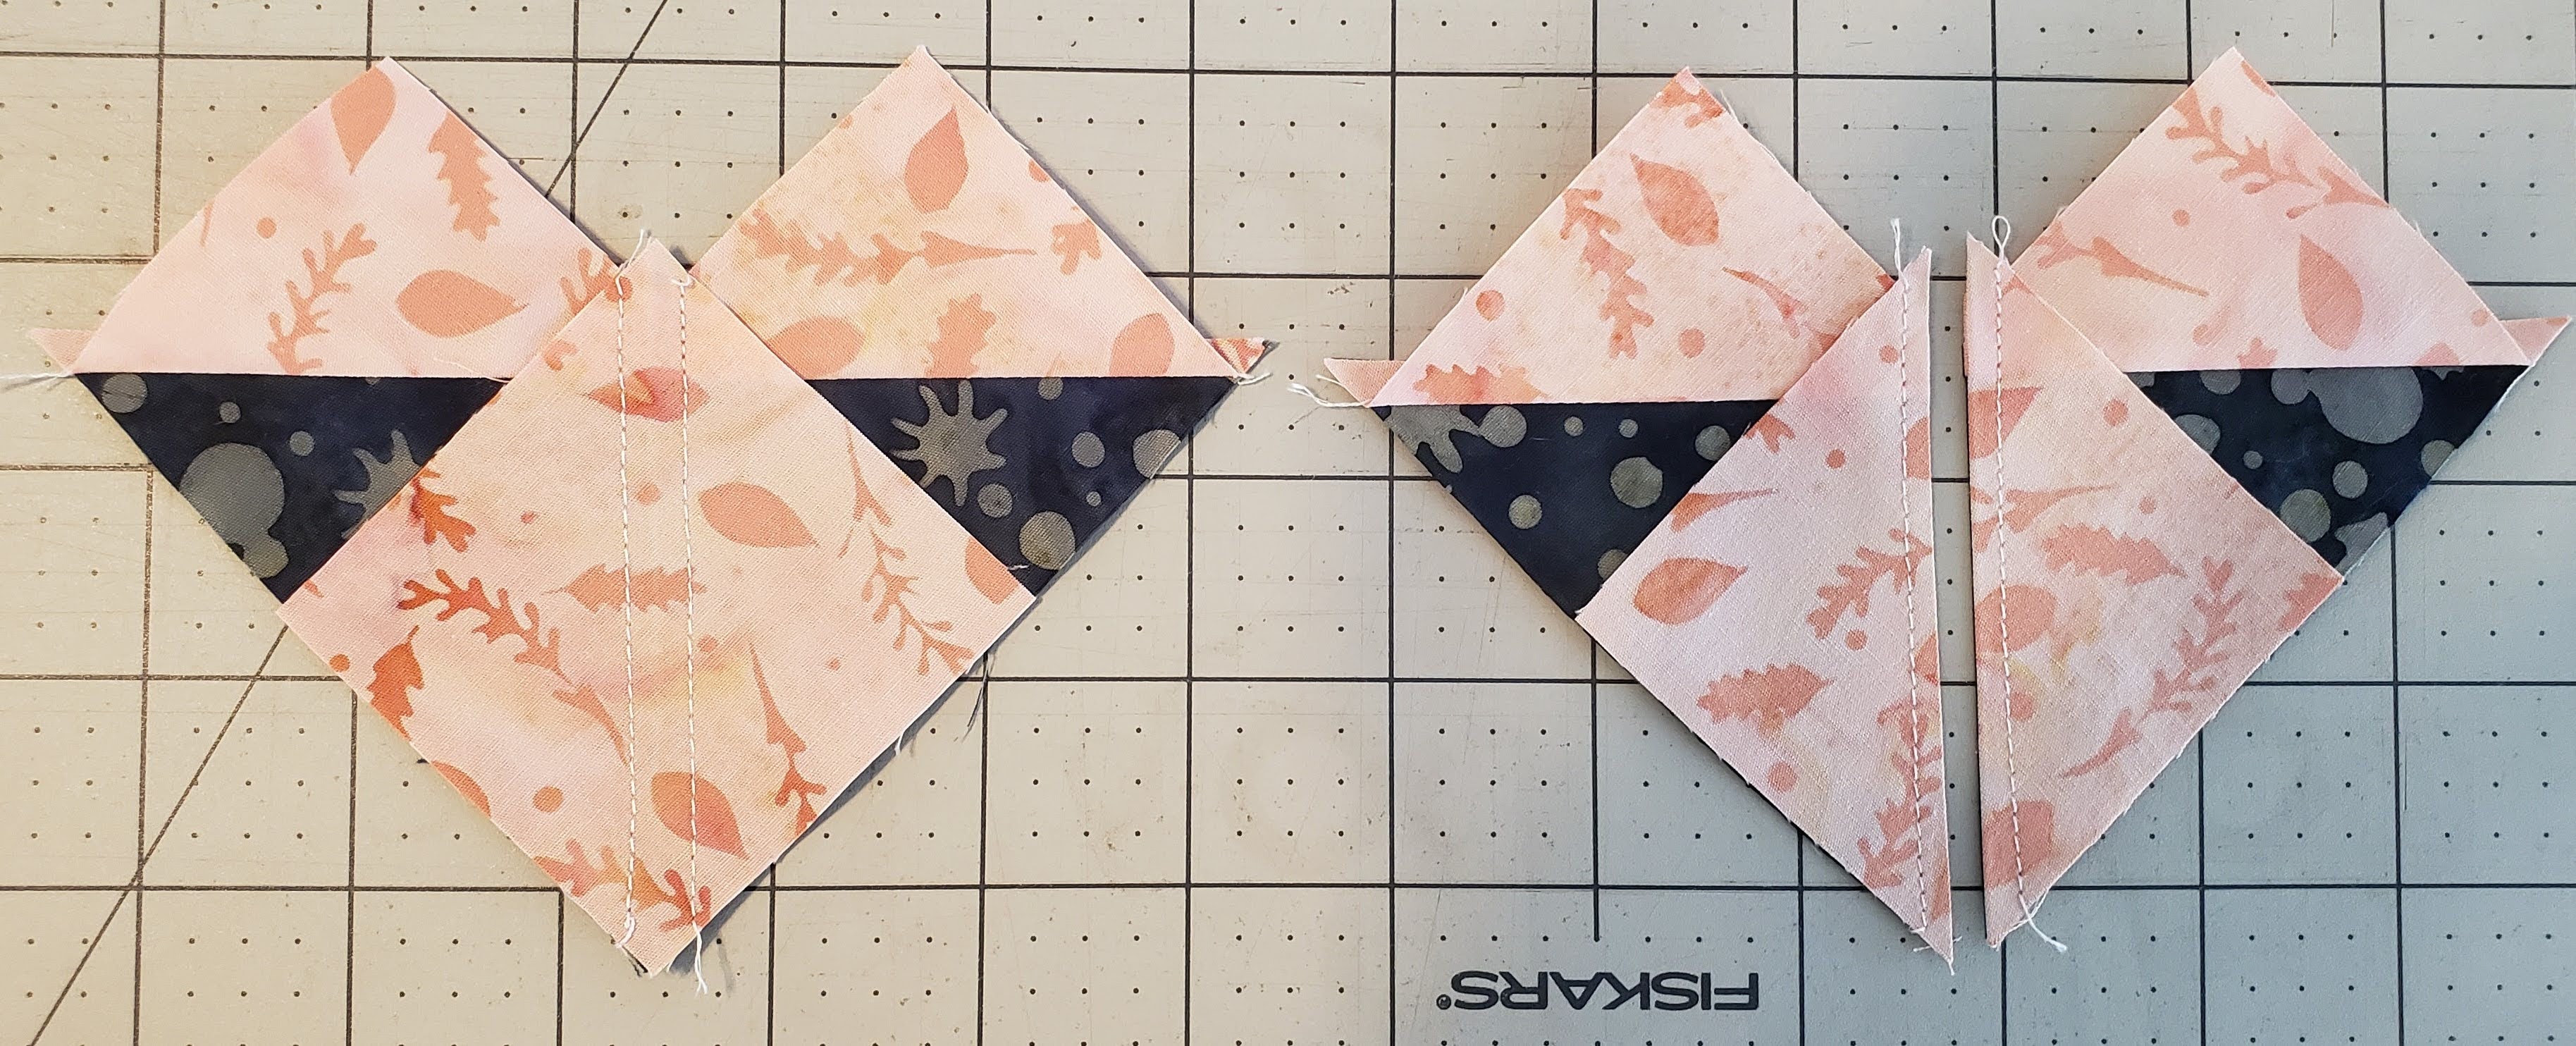
Using one piece, place one Color B on the corner, with the diagonal lines flowing into the middle of the triangles.
NOTE: You will repeat these steps again for the second half.
Stitch 1/4″ on each side of the line, then cut along the drawn line
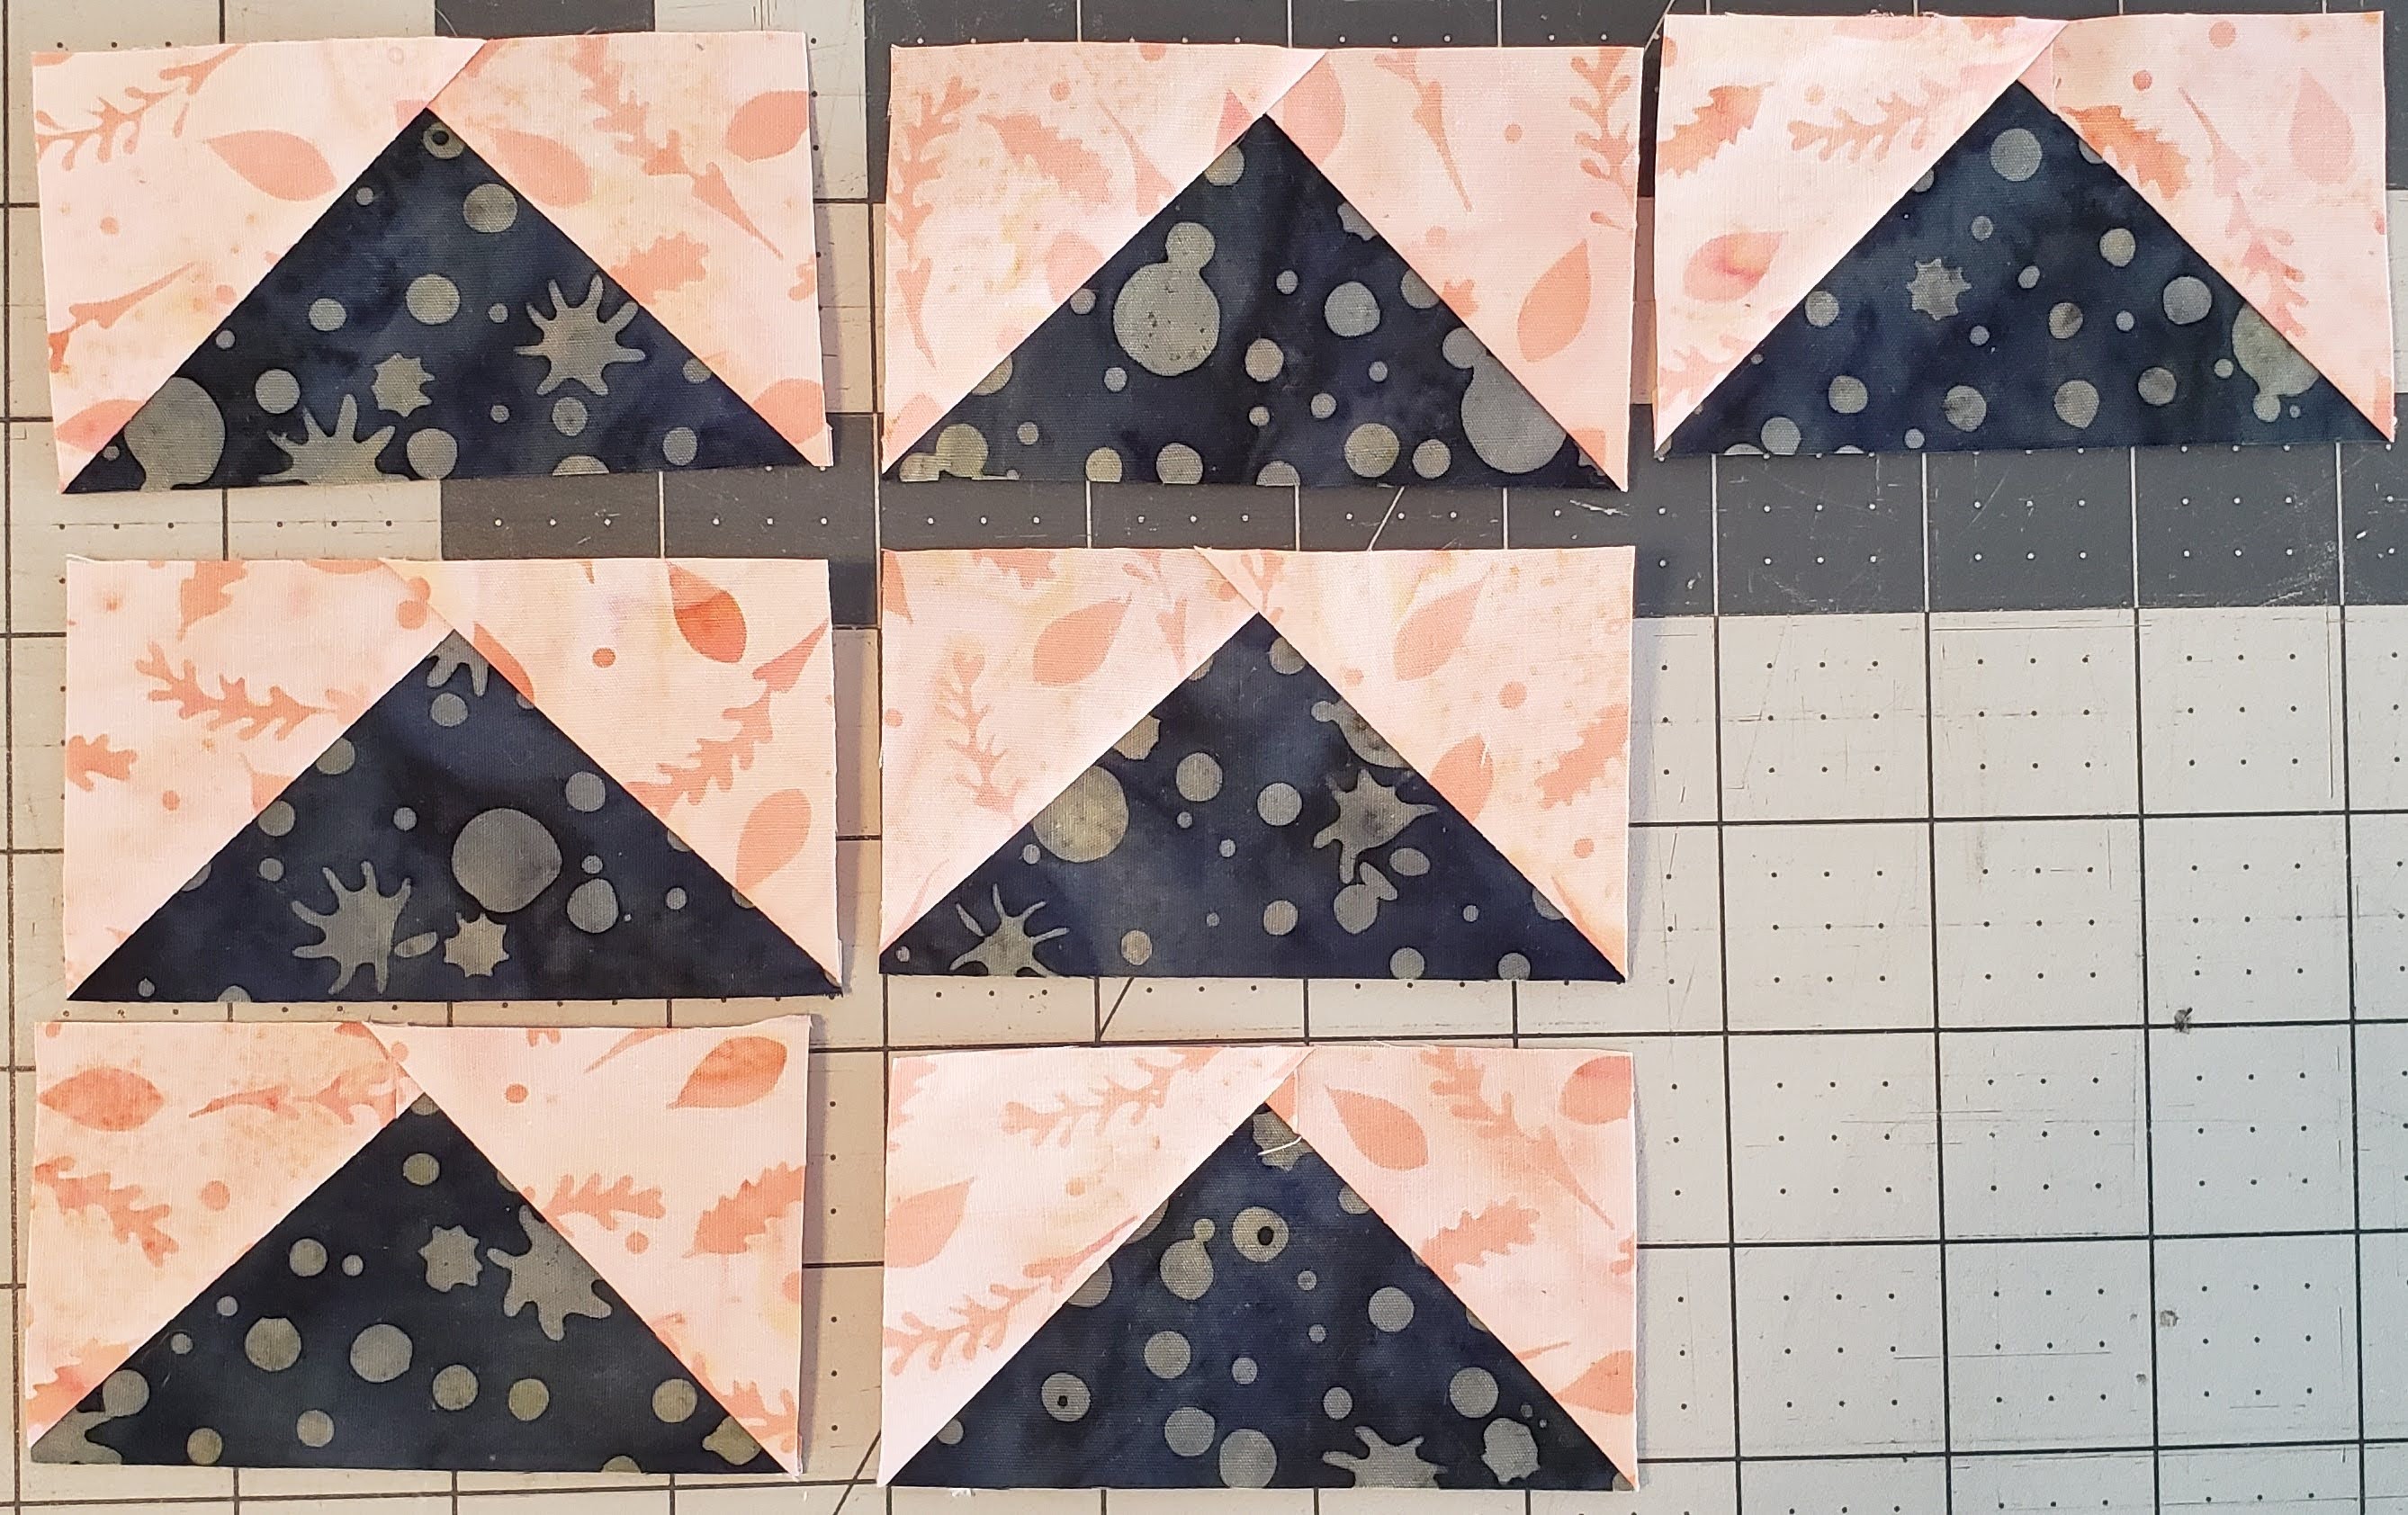
You will have 4 flying geese, you will need to repeat this six more times for a total of 28 flying geese for Row 2.
Row 6 – repeat the same steps, with the second set of pieces, making a total of 28 flying geese (7 sets of 4)
Row 9 – Repeat the same steps, with the third set of pieces, making a total of 28 flying geese (7 sets of 4).
Final assembly
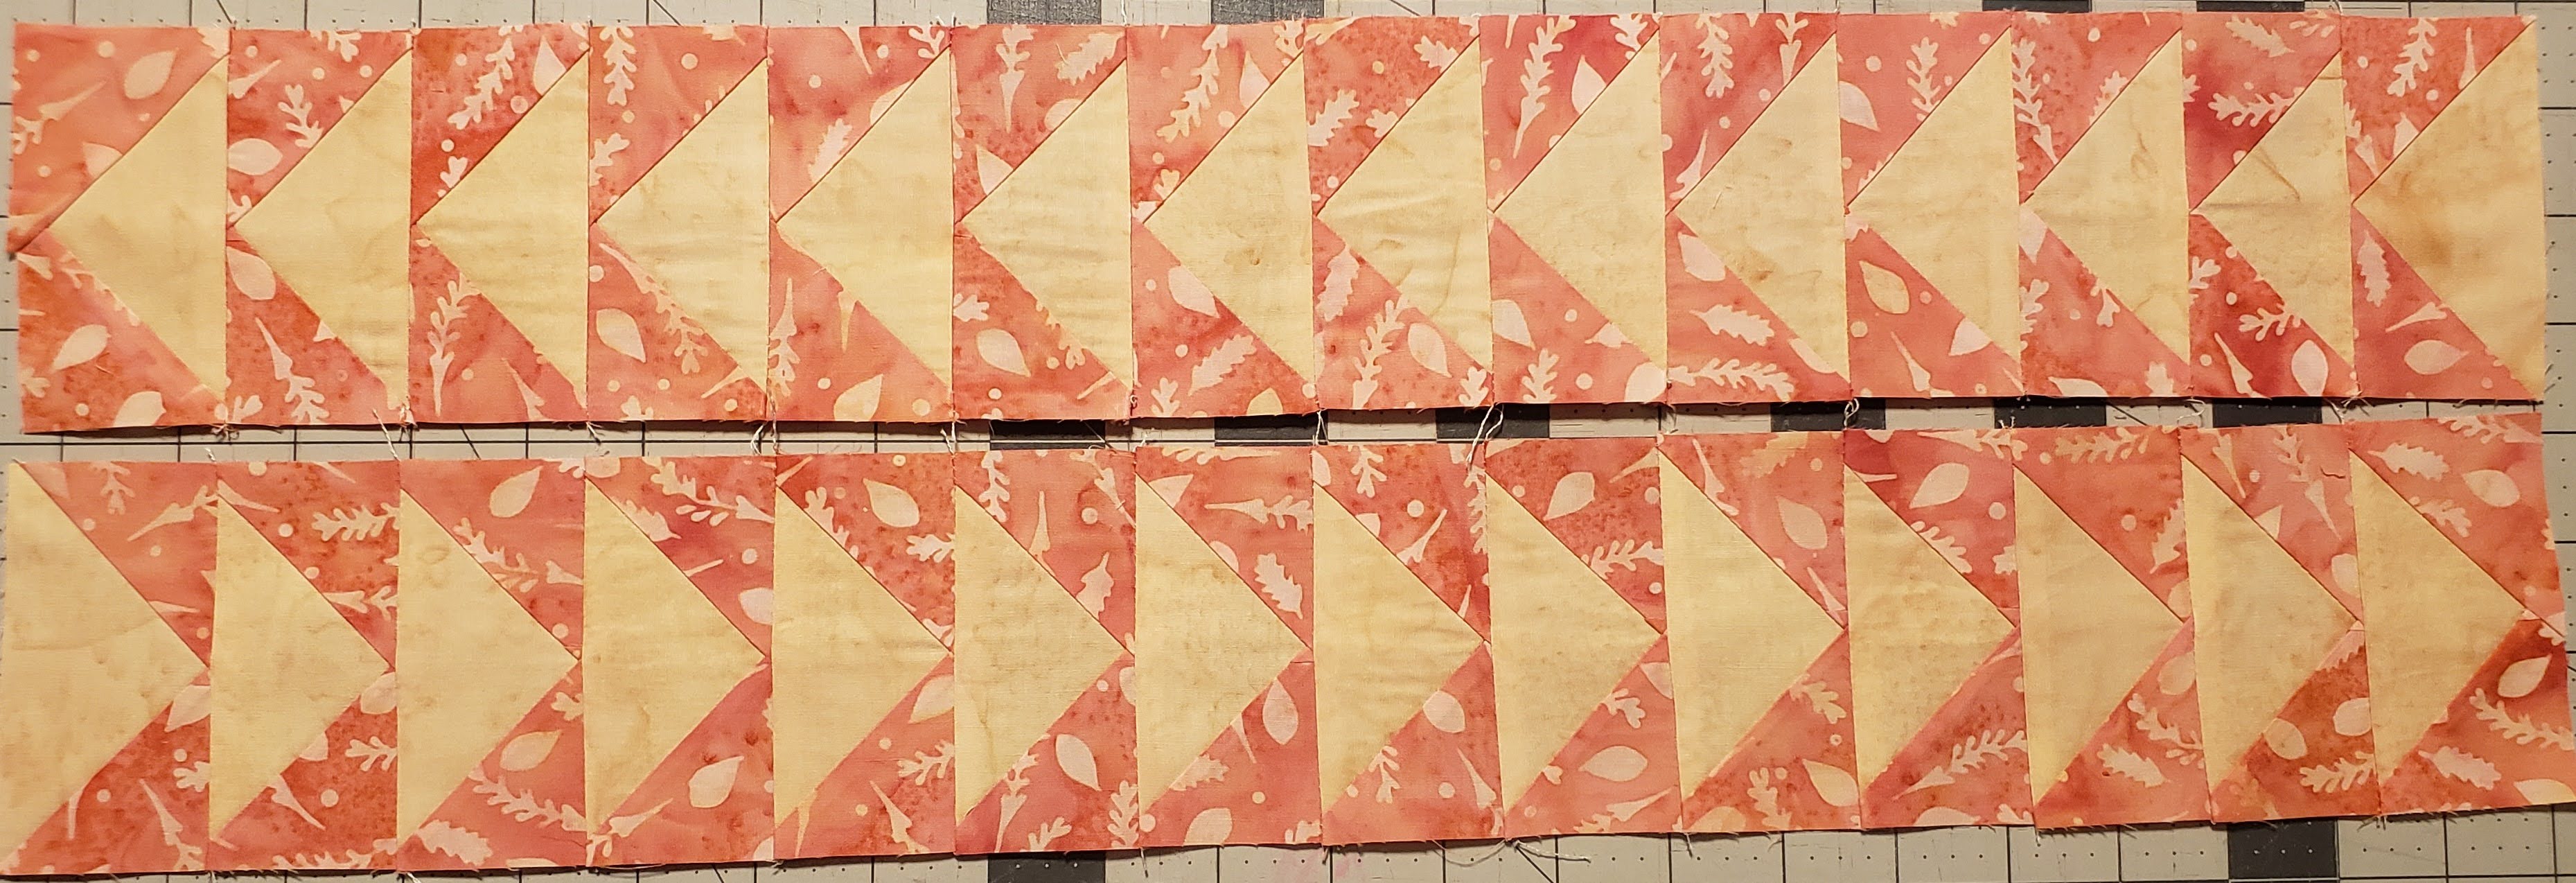
You can decide if you want to have the geese all going the same direction, or some to the left and some to the right. I decided to lay them all going the same direction.
Sew the Flying geese together, making sure to watch the points, so you do not lose the point, but still have a 1/4″ seam.
Press the seams, towards the center color (middle triangle) to reduce bulk.
I connected the flying geese into two separate sets, and then together in a long row.
Row 2 – (almost together)
Row 6 – (almost together)

Row 9 – (almost together)

Final –
You now have completed Rows 2, 6 and 9!
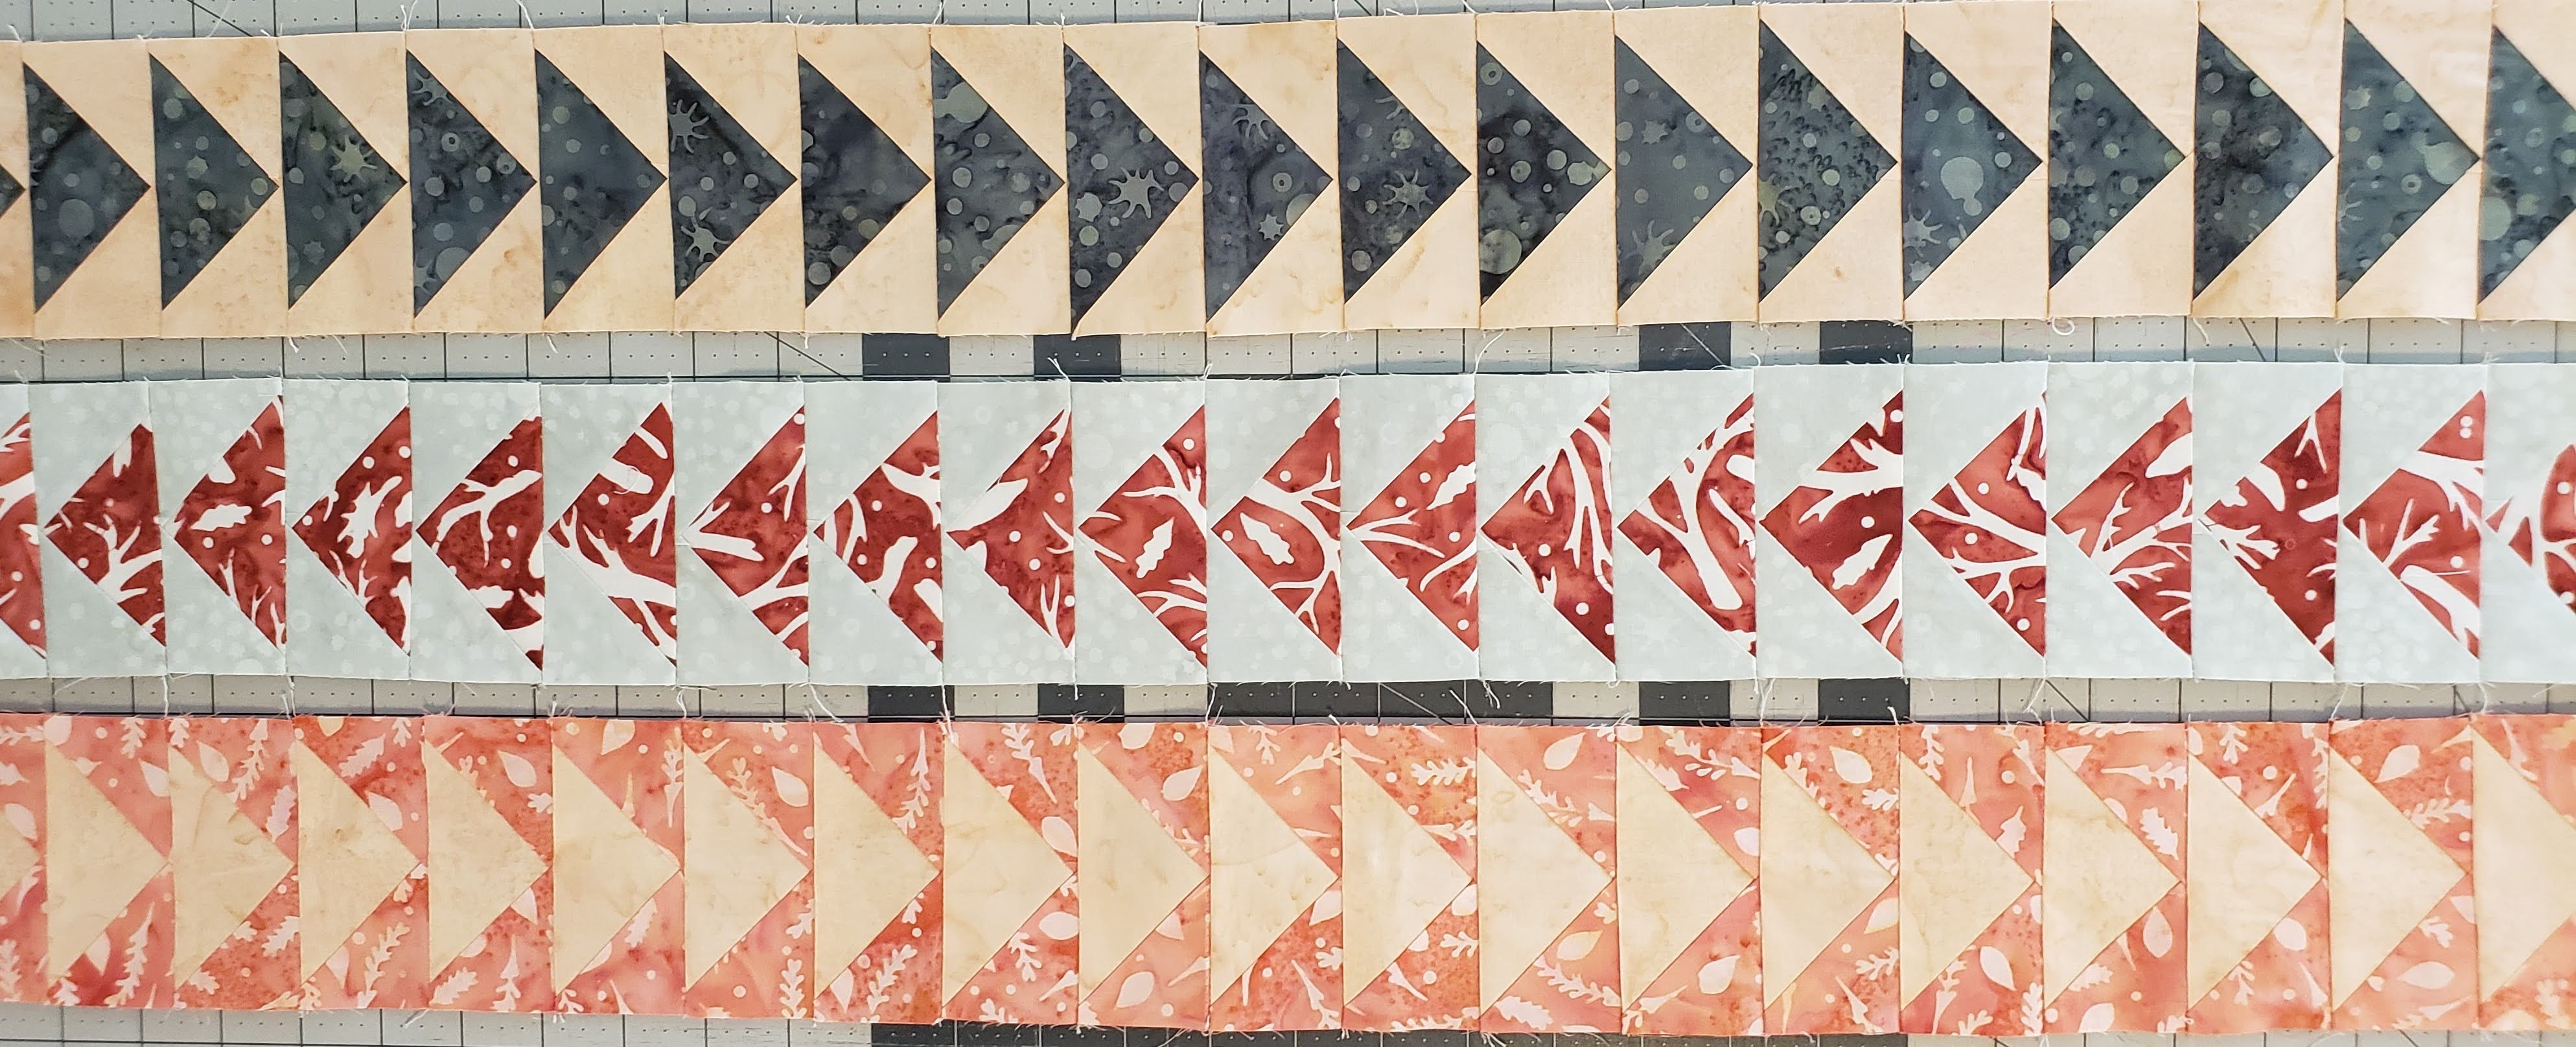
Here are my 3 Flying Geese rows, all ready to add to the quilt top.
Come back next week for the another row of blocks.
I look forward to seeing all your wonderful Teams of Flying Geese rows! Make sure to post on the Facebook group!
Thank you to Island Batik, Hobbs Batting Aurifil Thread and Schmetz for providing me with the materials to make this quilt.


#islandbatikambassador #islandbatik #iloveislandbatik #hobbsbatting #aurifil #aurifilthread #juki #Schmetz
