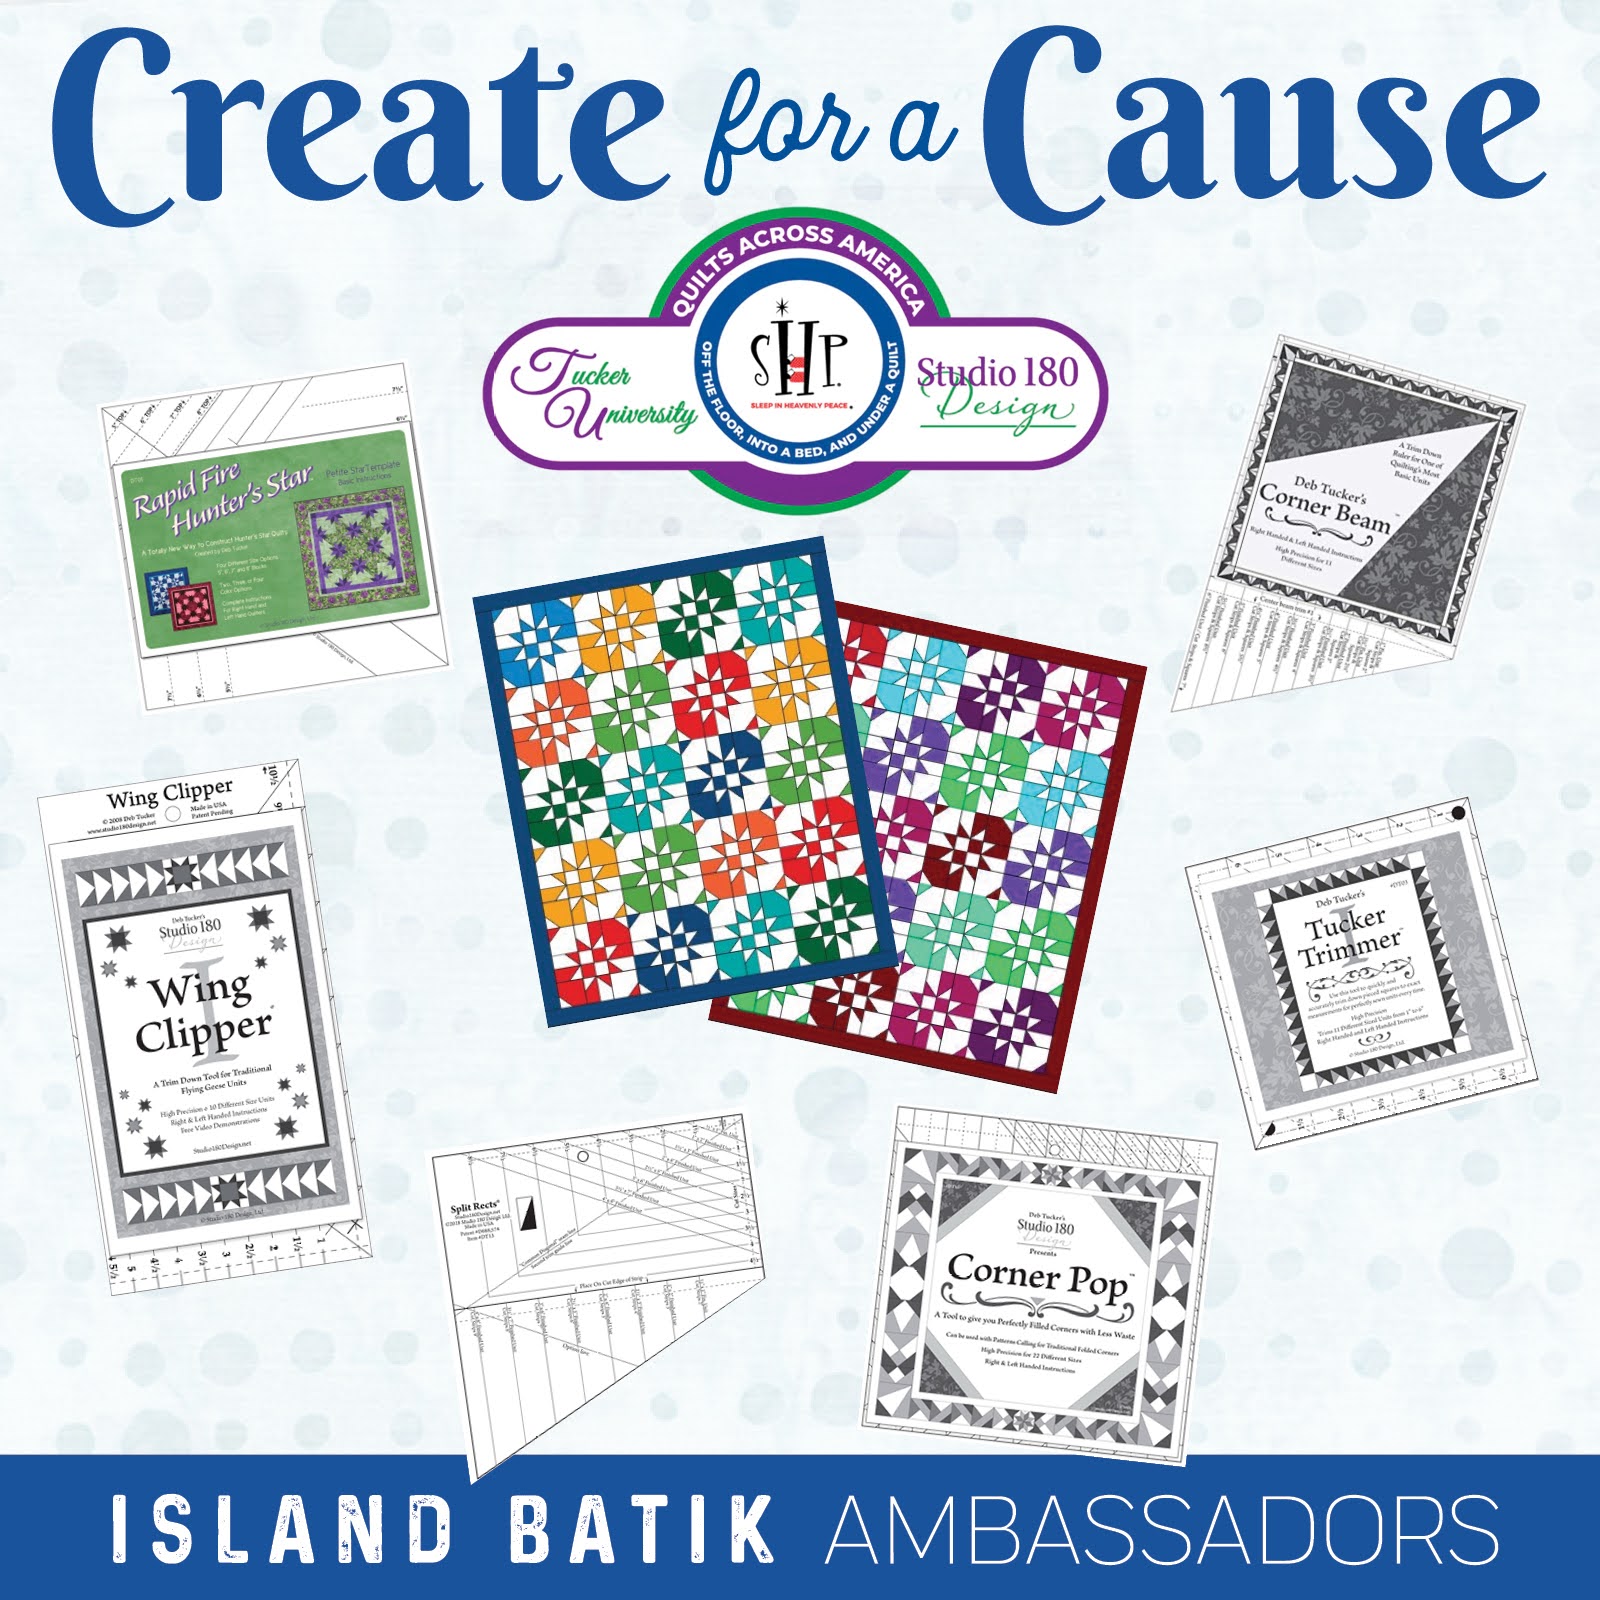
Our Island Batik Ambassador challenge this month is jointed with one of our sponsors, Studio 180 Designs and their partnership with Tucker University “Quilts Across America“. They believe that every child should be “Off the Floor, into a Bed and under a Quilt“. Quilters are know for their generosity when it comes to calls of need, or in tragedy, so we are happy to help get more children in need off couches, blankets and get them into a bed.
The fabric, and batting were given to me free from Island Batik and its partners, Hobbs Batting, Aurifil Thread, Oliso iron, Studio 180 Designs, and Schmetz Needles, as my role as a 2024 Island Batik Ambassador.
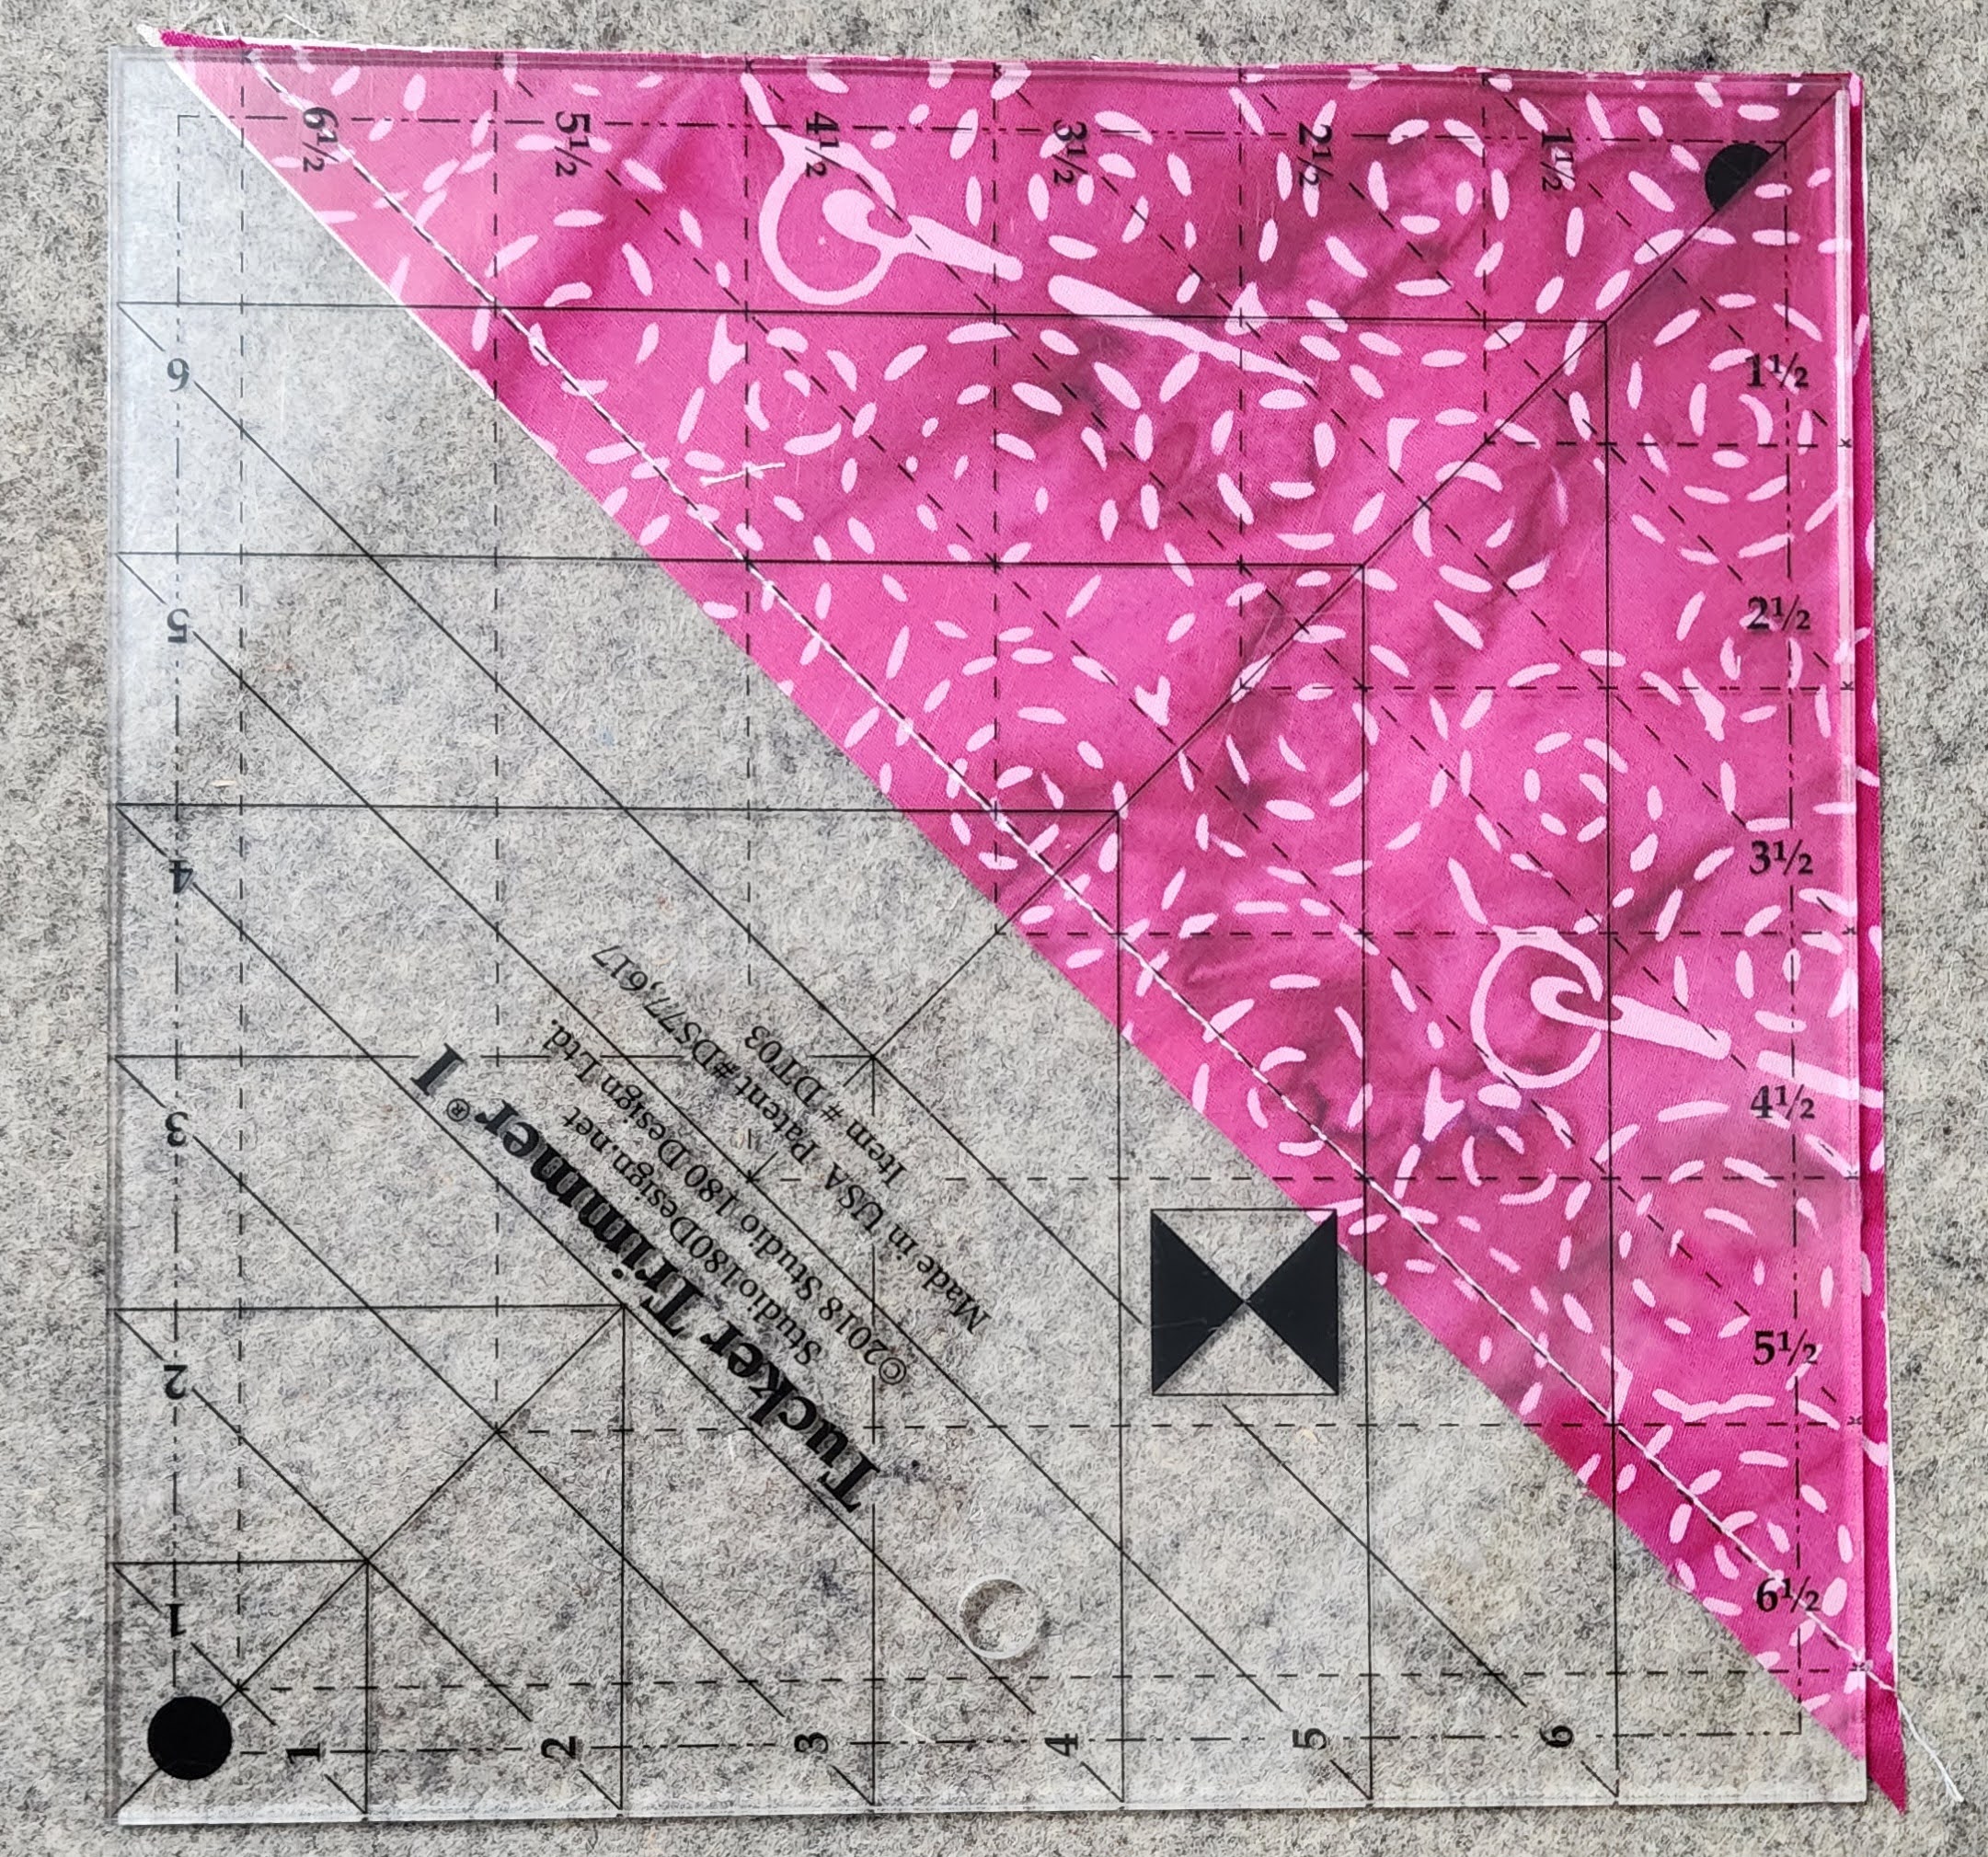
In my box of goodies in January, I received the “Tucker Trimmer I” as my tool to use on this project. This tool is designed to help trim down triangles and squares, quarter-square triangles, and Half Square Triangles. This tool is so easy to use, and comes with instructions to creating these different blocks, as well as you can find lots of videos by Deb Tucker in methods to use this tool.
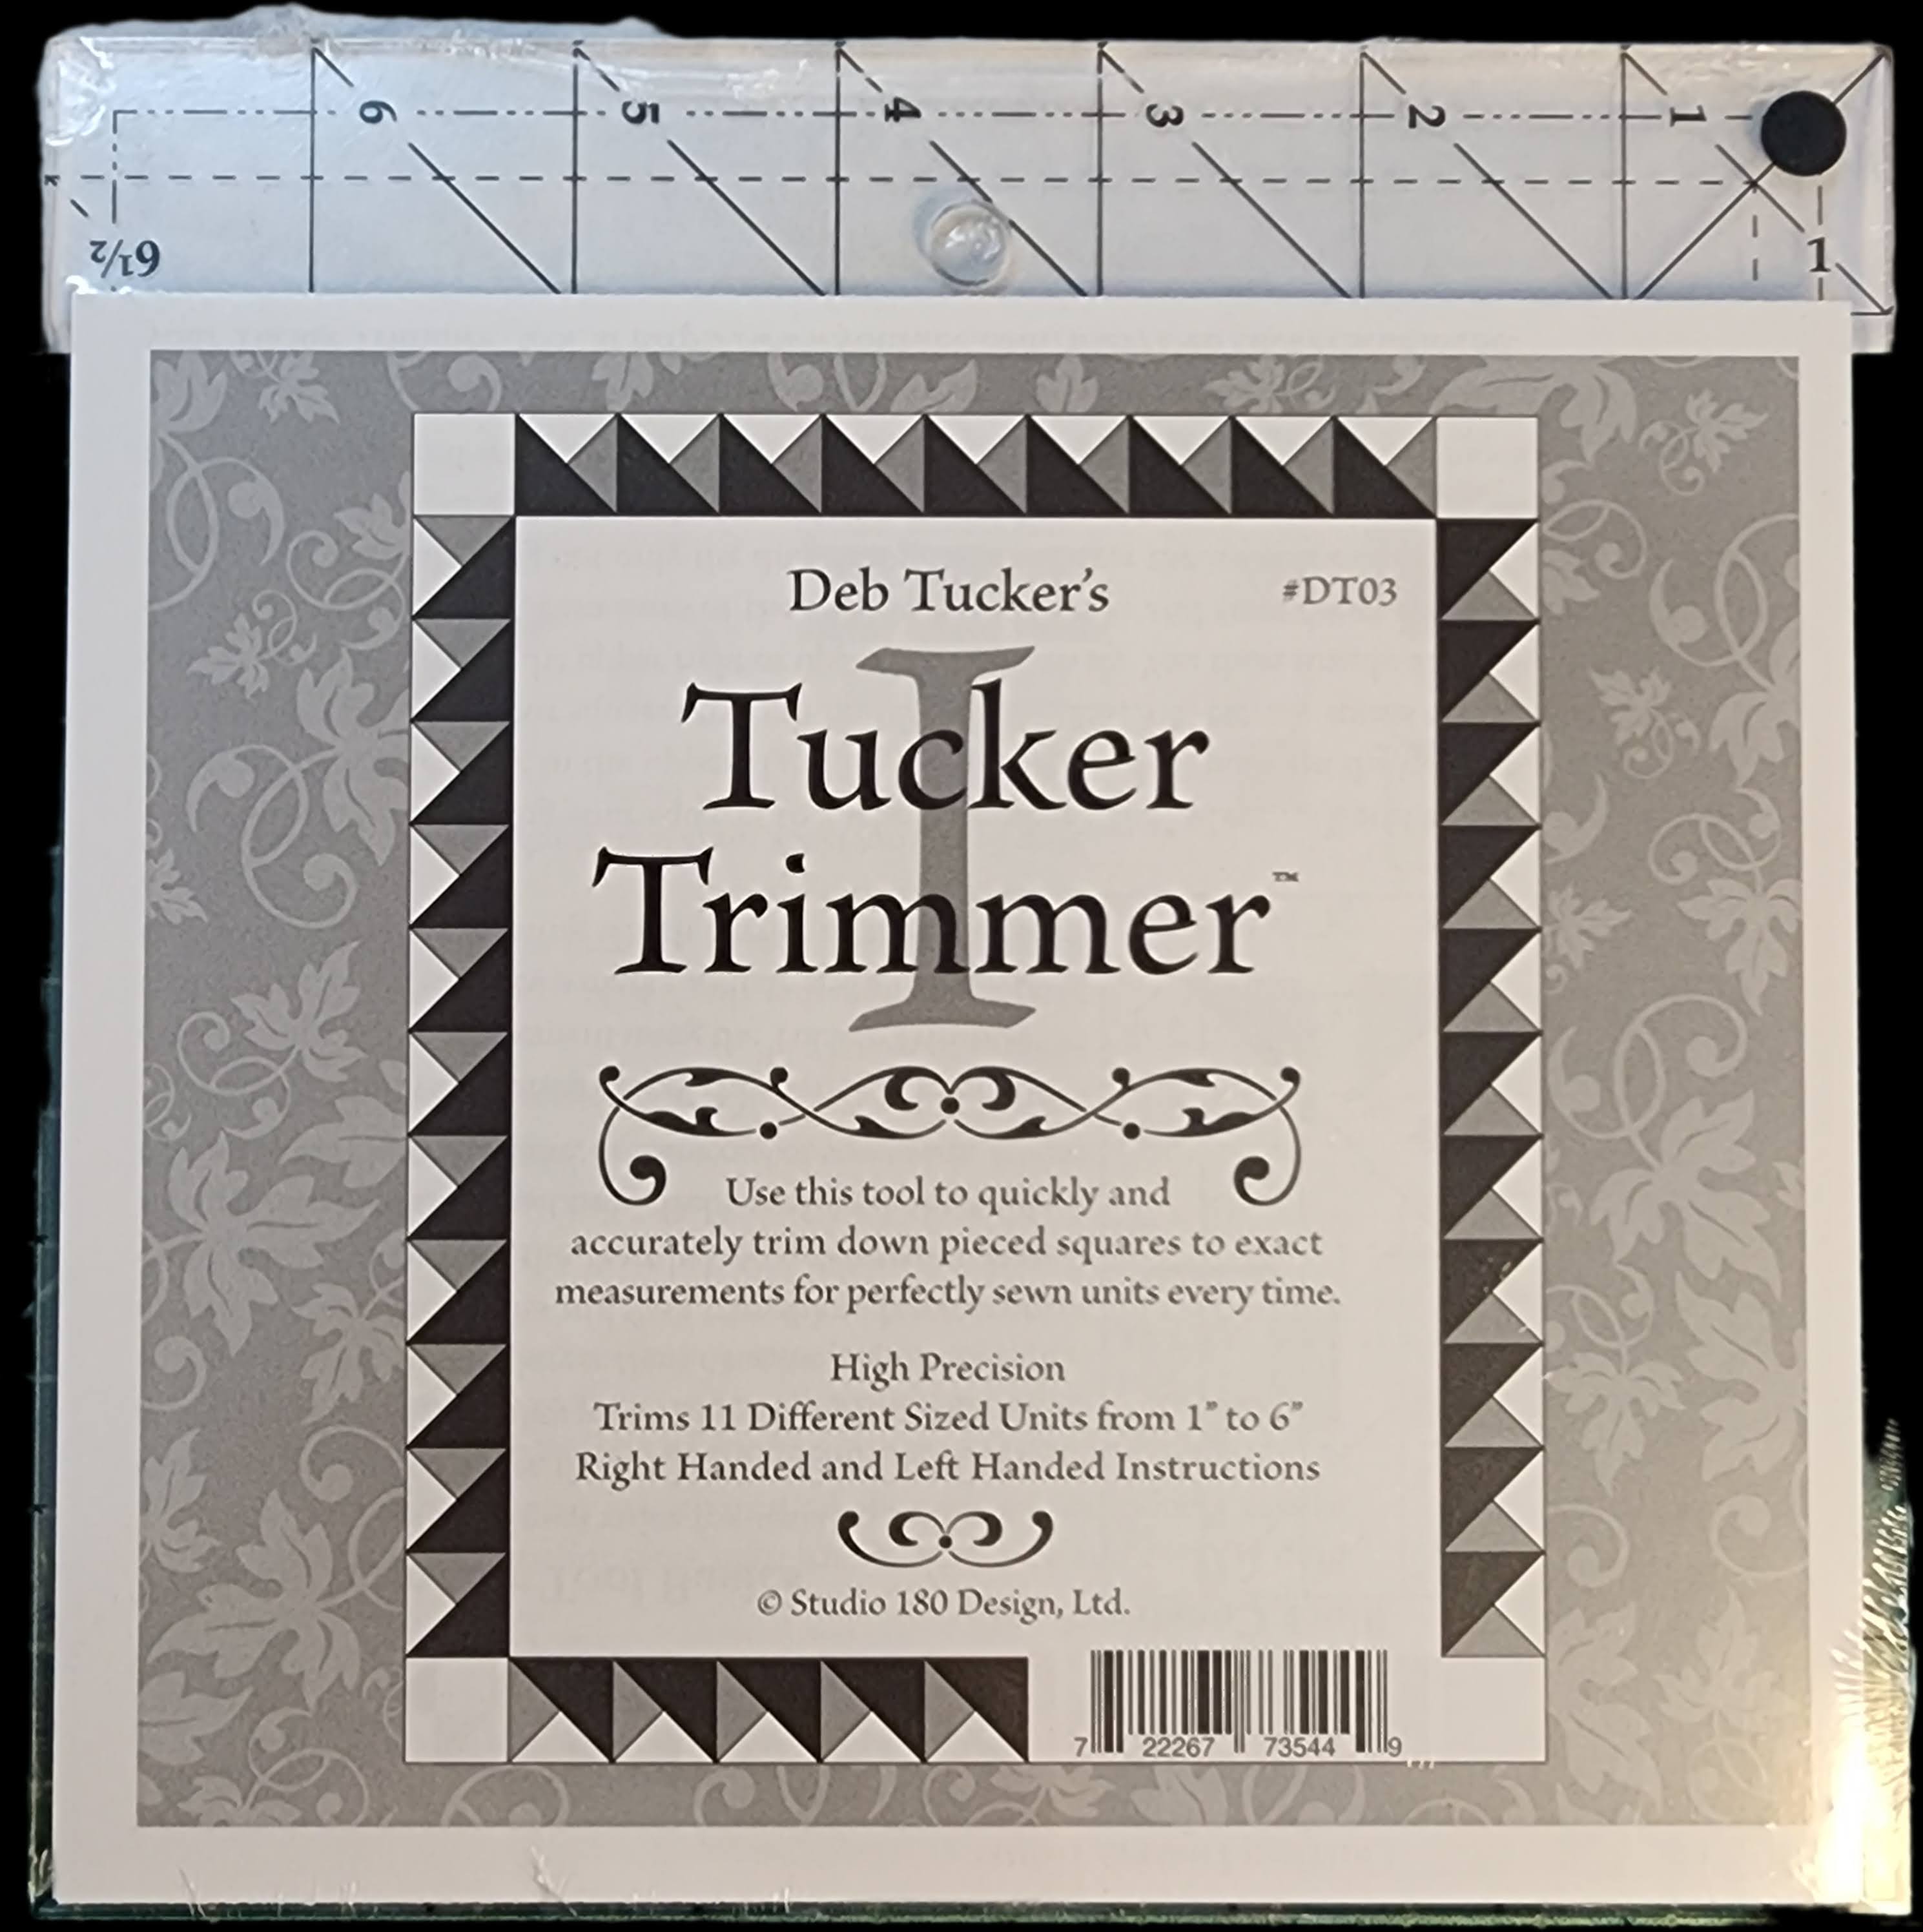
Half Square triangles are some of the easiest units to make, but if they are not squared up correctly, they will not fit together correctly.
As part of the Quilt project, here are the guidelines for the quilts for Quilts Across America”.
Size between 50” to 60” wide and 75” to 90” long.uilting is recommended.
Simple quilt designs.
Colors that appeal to kids and young adults from 2 to 17 years of age.
No religious or holiday themed fabrics.
Quilted, not tied.
Machine bound is preferred.
No buttons or glued on embellishments.
Simple allover q
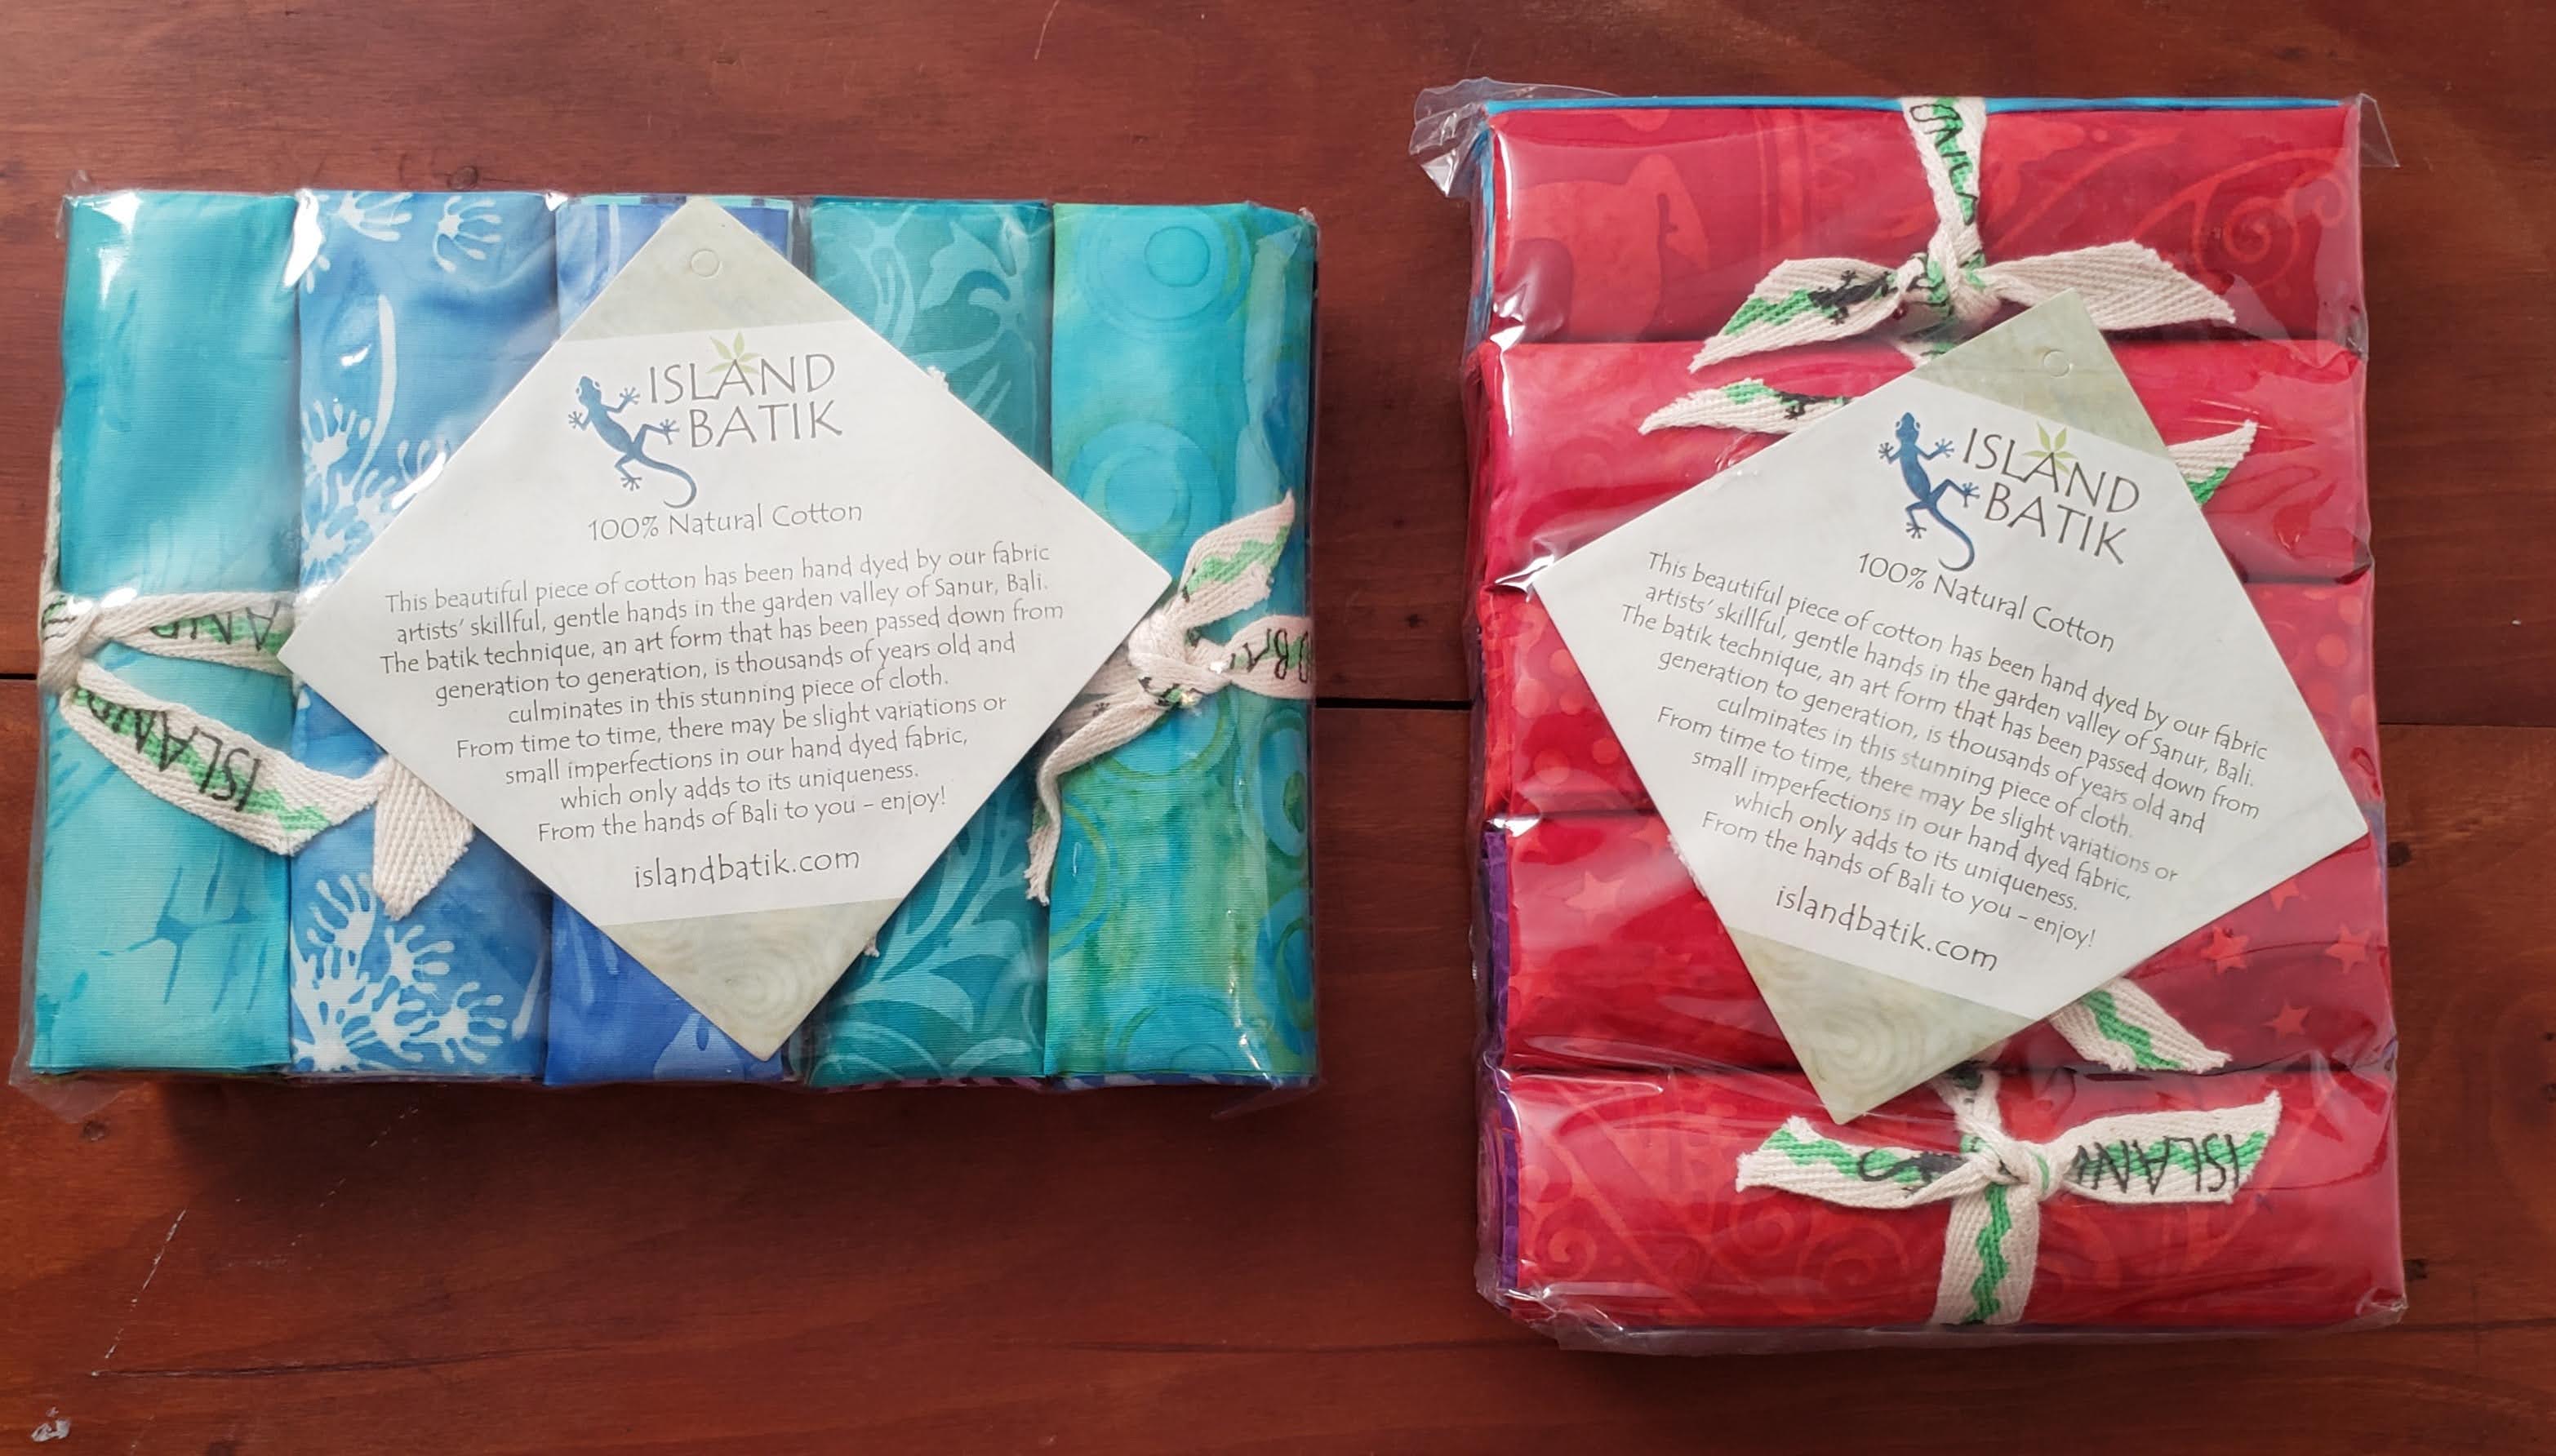
So with these requirements in mind, I started to figure out a pattern that I wanted to make. I decided that I wanted to use the “Stash Builder” sets by Island Batik for the fabric, so I could have a variety of fabrics. I received these Stash Builder sets in each of the boxes from Island Batik over the past three years, so I had lots to choose from.

Stash Builder sets are 5″ strips of fabric in a group of 4 strips, in a package of 5 rolls. Each package is different, and have different fabrics. Sometimes you may find a couple that are the same, but for the most part, they are all different. I love to use these in my quilts, when I need a little different fabric, or making smaller quilts.
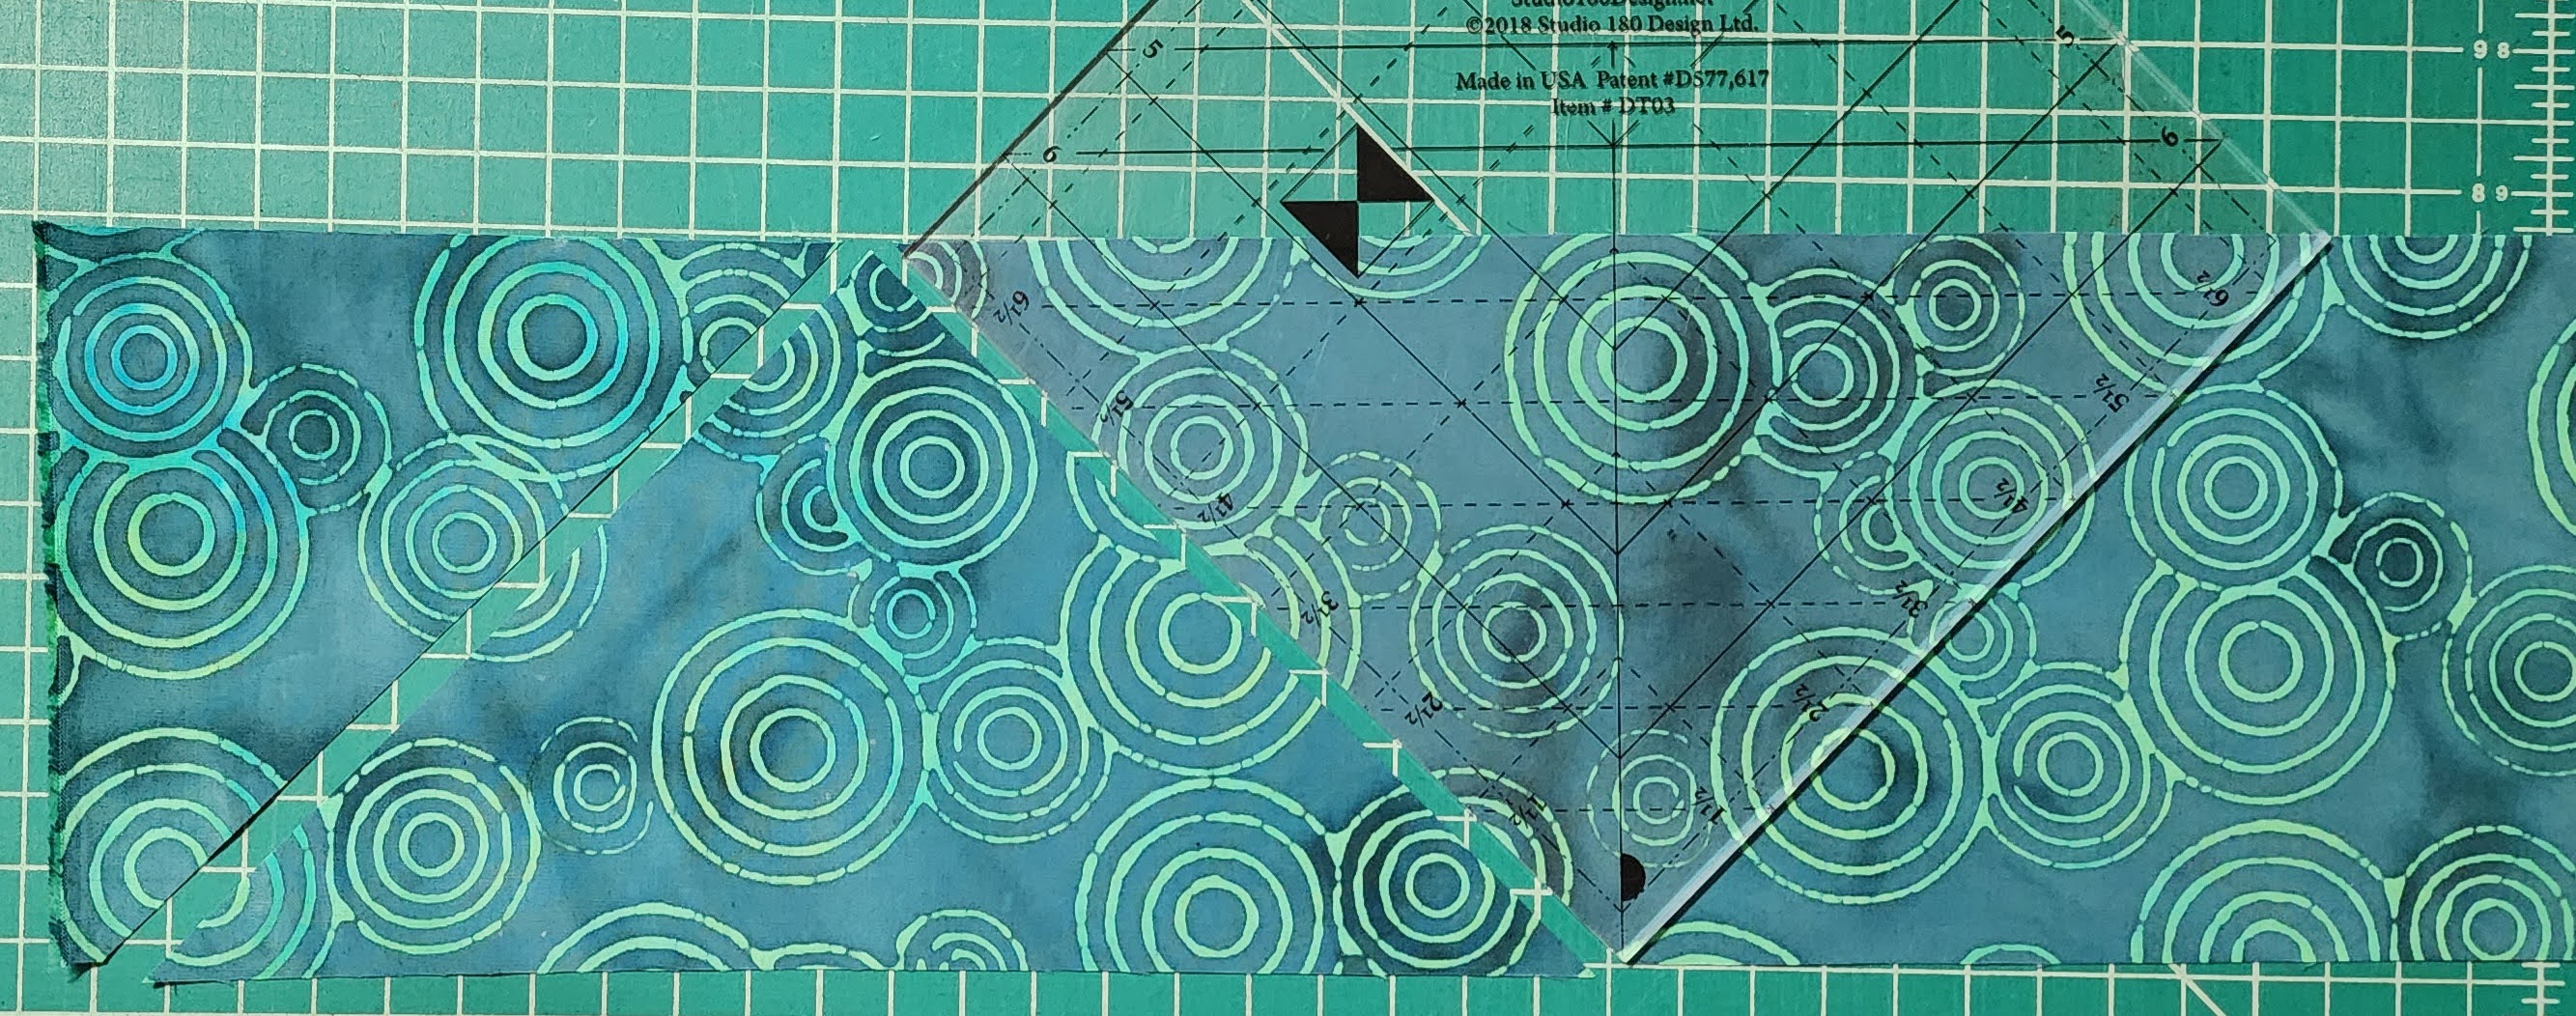
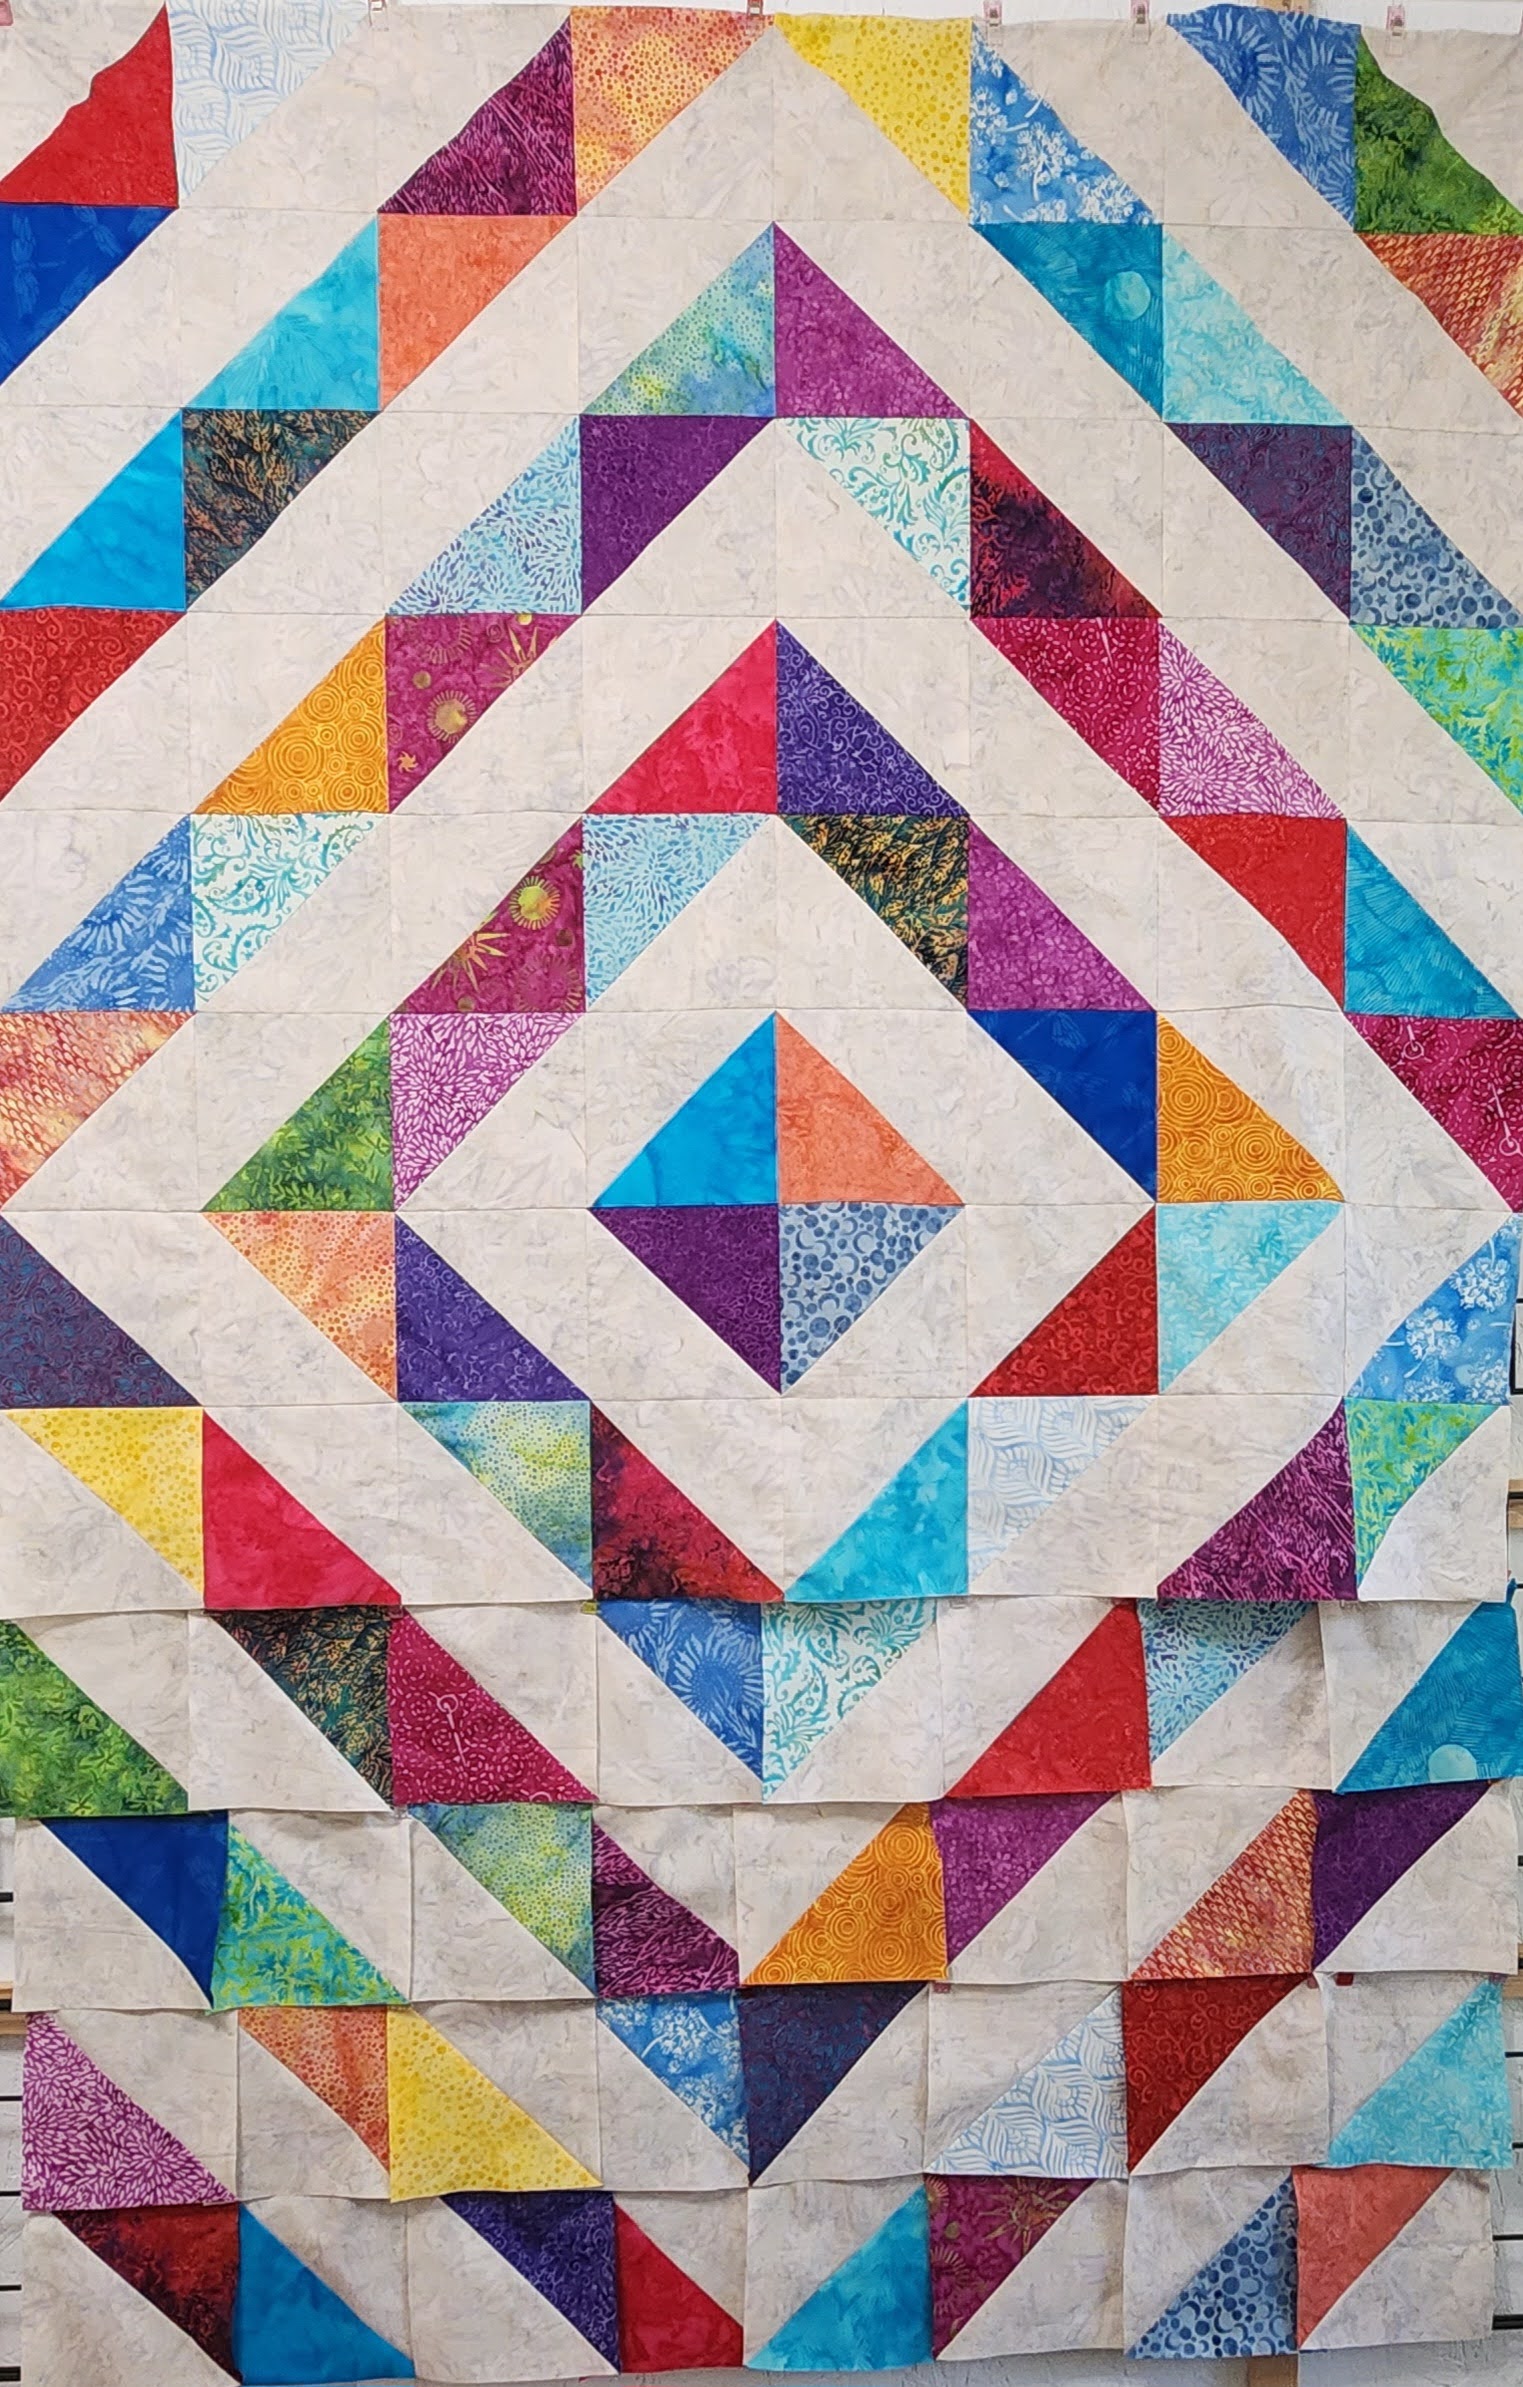
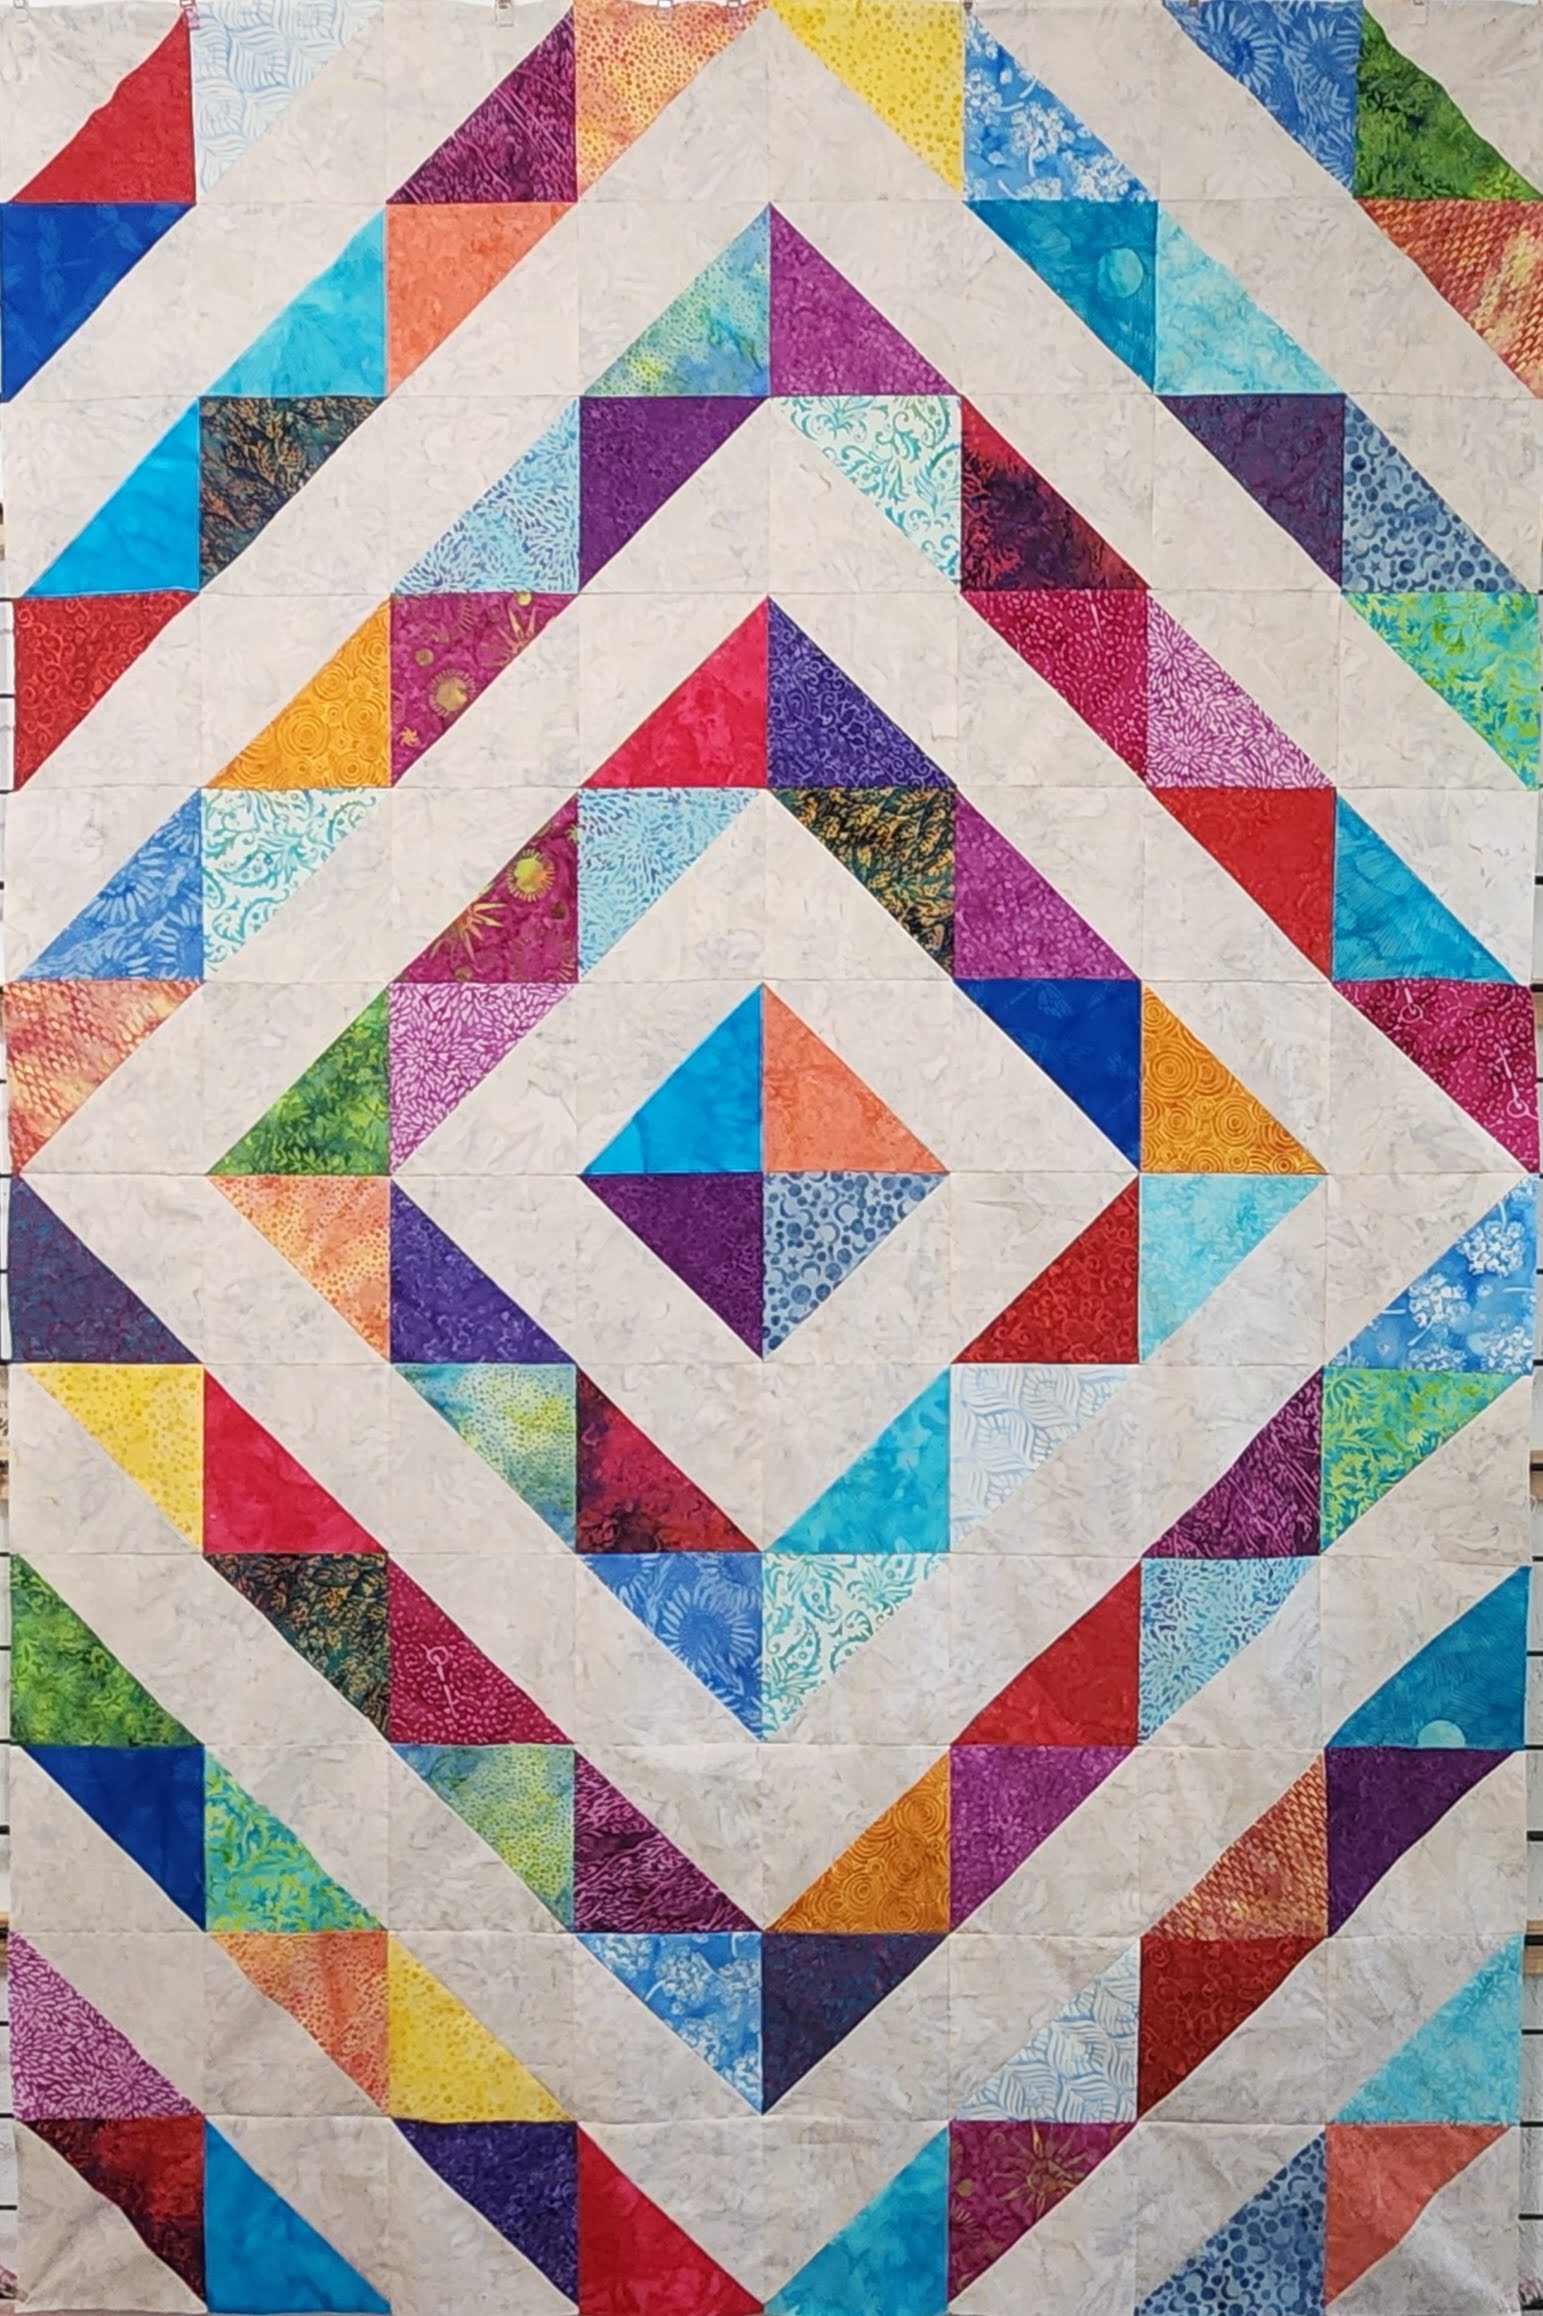
The quilt I wanted to make is the “Around the World” quilt. I am calling this one “Around America” quilt, this is a perfect quilt for the Tucker Trimmer. I wanted to make some Half Square Triangle (HST) that finished at 6″ x 6″, and since the strips were 5″ I couldn’t cut a square, and then create two at a time. I used the Tucker Trimmer to cut three triangles out of the strip. Here is a layout of how I will be placing the pieces.

I laid the strip out, using the Tucker Trimmer, I put the corner at the top of the fabric strip, and used the 6 1/2″ line to set the triangle straight. Then cut the triangle.

I placed the end piece (a triangle) to the side, to be used in a second quilt project.
Then turned the ruler around, and cut the next triangle.
Then turned back for the third triangle.
I cut three pieces of 32 different fabrics, this way they only would repeat 3 times throughout the quilt. You can use less or more different fabrics, but I needed 96 HST to finish the quilt.
Here is a set of the 32 different fabrics from the Stash builder sets. Each set is the same.

Then used some yardage that I had received, called Oyster, a Naturally Neutral fabric from Island Batik. I wanted the lighter neutral fabric to be the same. You could use different light fabrics as well. I cut nine 7 1/4″ strips of the fabric, and then cut into 7 1/4″ squares. Then cut these diagonally in half to create 96 triangles.
Then using one set of 32 color triangles, I sewed them to the Neutral fabric (right Sides together) with 1/4″ seam down the long side. This is great for chain Piecing the triangles. I did work with each set of 32 separately.

After sewing all 96 HST, it was time to trim them all to the same size. I did intentionally cut the triangles a little larger, so I could trim as needed. This is where the Tucker Trimmer is awesome!
Before you press open your triangles, you line up the stitching along the line for the size of HST that you want. I was creating 6 1/2″ x 6 1/2″ squares, so I lined up the 6 1/2″ dotted line along the stitching. Note: One side is 1/2″ square sizes, and the other is 1″ square sizes.
Next, I trimmed the two sides, removing the excess fabric.

Note: If you press open your HST before you trim, do not worry, it is simple to use this ruler to help. Instead of only trimming two sides, you will have to rotate to trim the other two. Line up the seam to the 6 1/2″ line, and trim the two sides, then rotate the fabric around 180 degrees, and again, line up the 6 1/2″ line, and trim the other two sides. There is a little more work, but still very easy to complete.
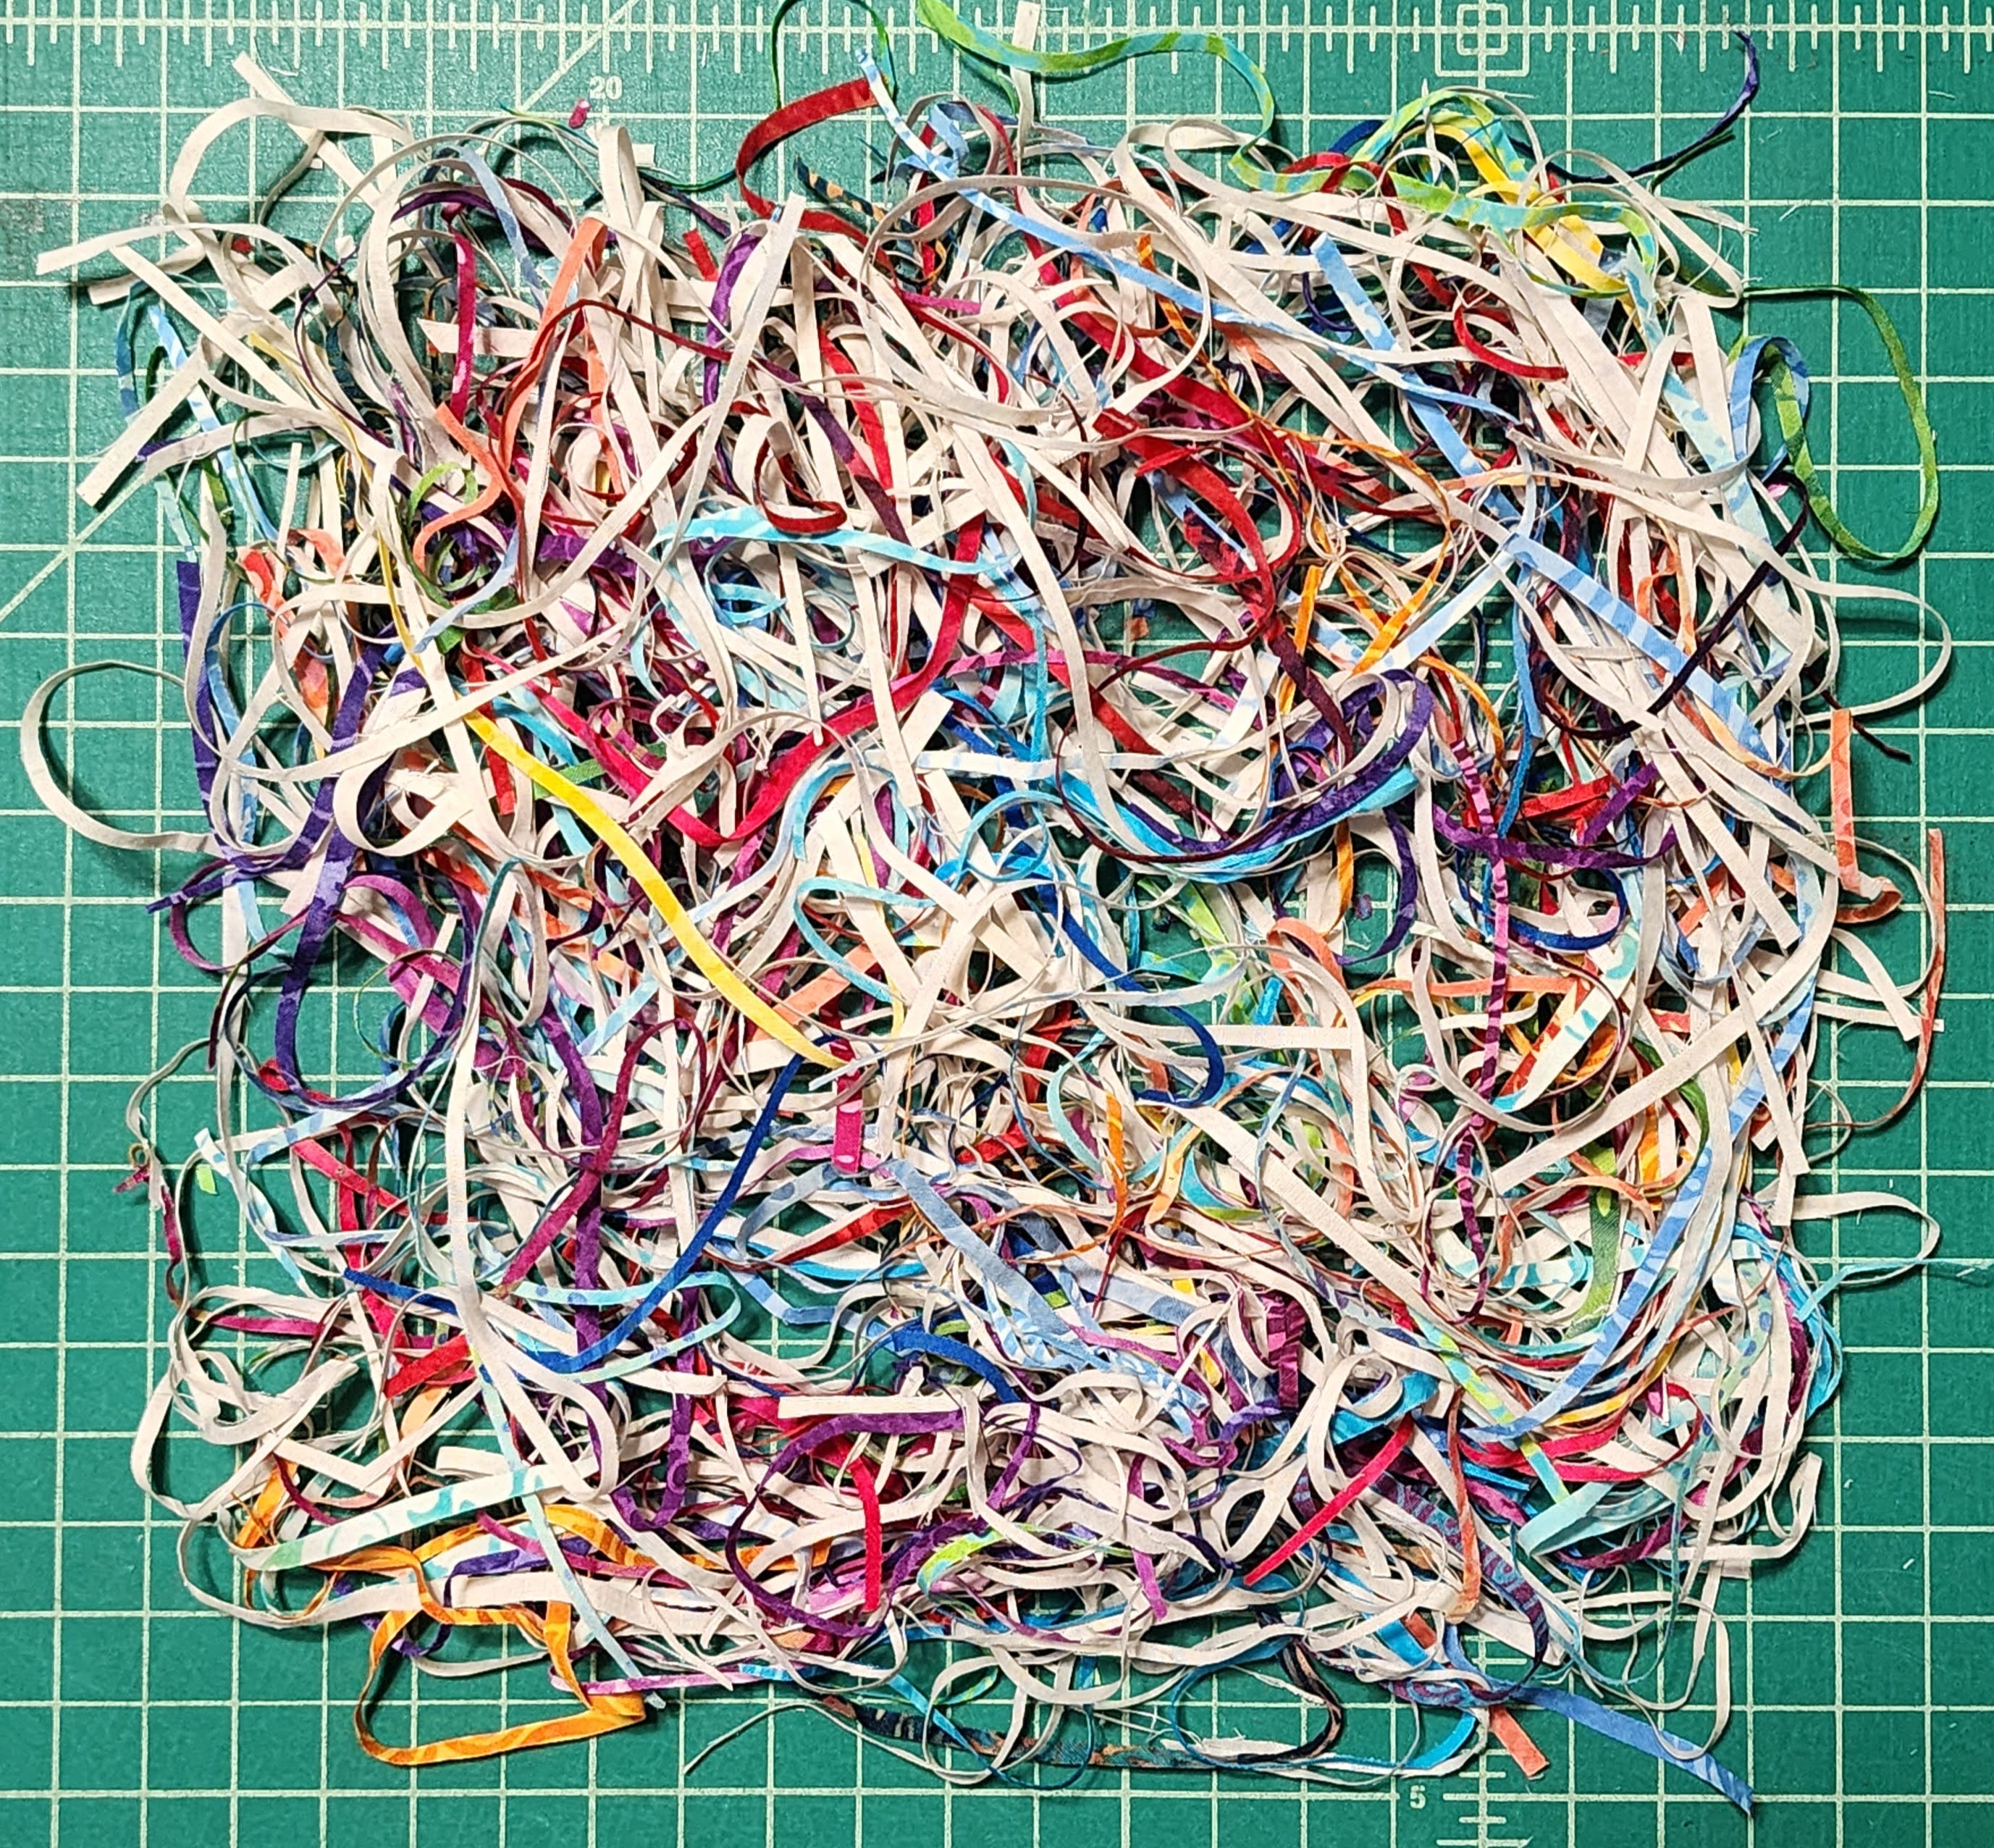
After trimming all 96 HST, here is my “scraps”.
Next, I pressed to the HST to the darker fabric then trim the dog tails, for the two corners. This helps when sewing the squares together.

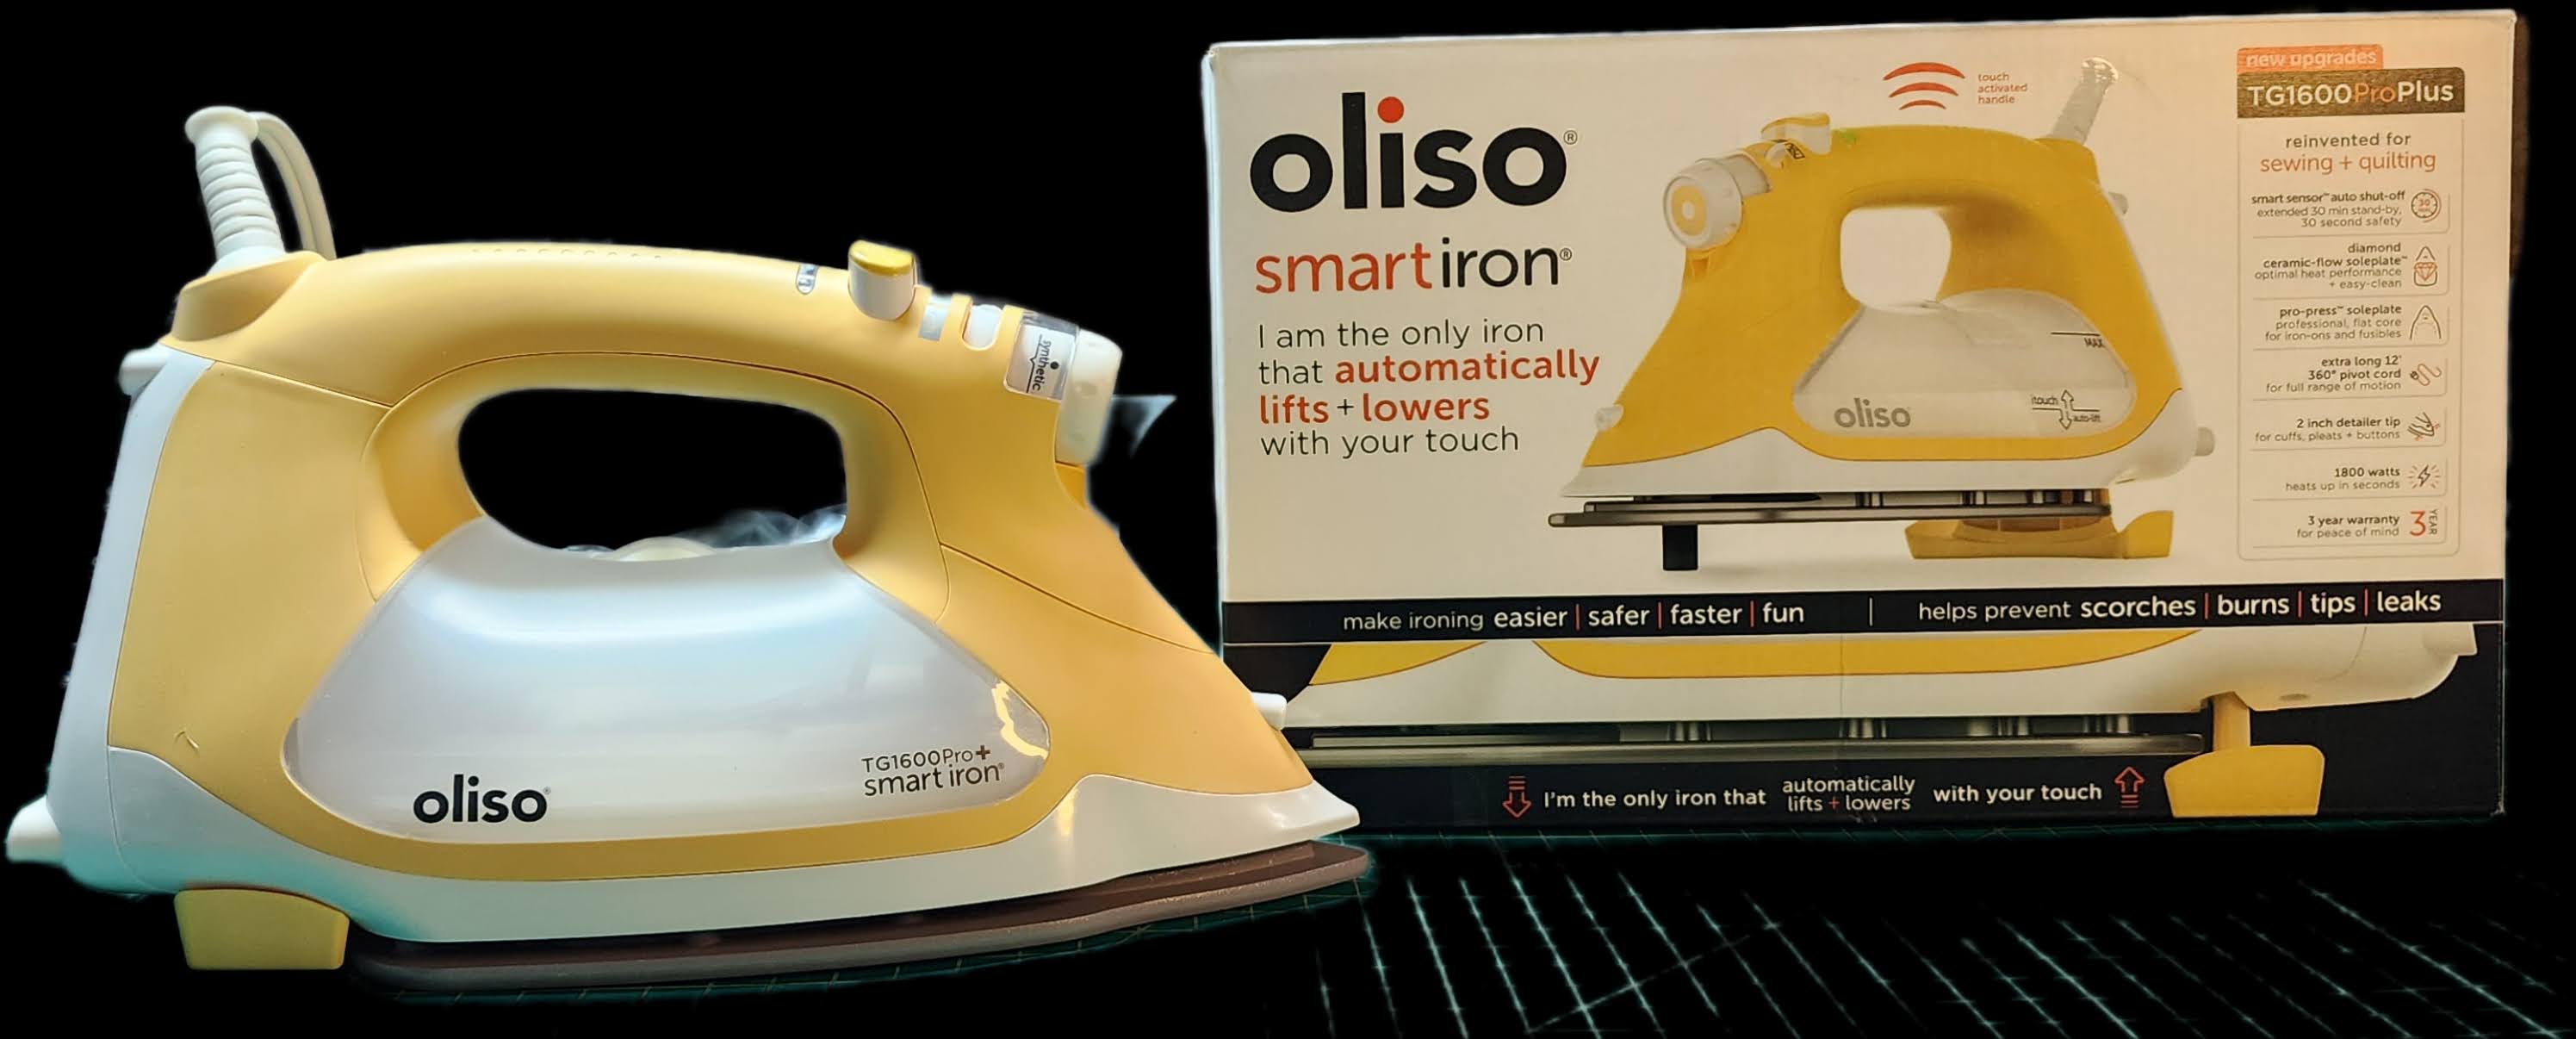
I used my Oliso iron, to press. This iron had always been on my list to get, and was glad they are a sponsor this year, and I get to share how awesome these irons are. The temperature was right to press the seams flat, without burning my fingers as I moved the pieces. If you want a great iron to use, this is defiantly a must have. I have loved using it, and not having to pick it up when done with some pressing has really helped. It warms up quickly, so no waiting to get pressing.
Since I am making a “Around the World” quilt, I decided to start with the center of the quilt, and work my way around it. This way I don’t have to layout all 96 squares, I can work with one set of 32. I laid out the pieces into 4 rows of 8. I moved the fabric around until I liked the way it looked.

I sewed these pieces together and pressed alternating rows opposite directions so the columns would match up.
Here is my first section of the quilt.

Next, using another group of 32 triangles, I laid out the pieces to continue the top section. I placed the pieces in the layout, and then looked at the colors to see if I liked how they looked. I wanted a scrappy look, so moved the pieces around until I liked how they looked.

Next, I sewed the section together, pressing the seams in opposite directions. Make sure to check the top row of the center, to make sure you are pressing opposite directions, to next the squares.
I attached this section to the top of the first section, and pressed the seams.

Repeating the same process, I laid out the pieces for the bottom section.
After Sewing together, I attached to the bottom of the sections. Pressing the seams.
The main part of the quilt top was done. I added a 1 1/2″ strip of dark black fabric. I wanted to use something that wasn’t just black, but had a pattern in it. The fabric is called Marble Charcoal, a Blender fabric from Island Batik.
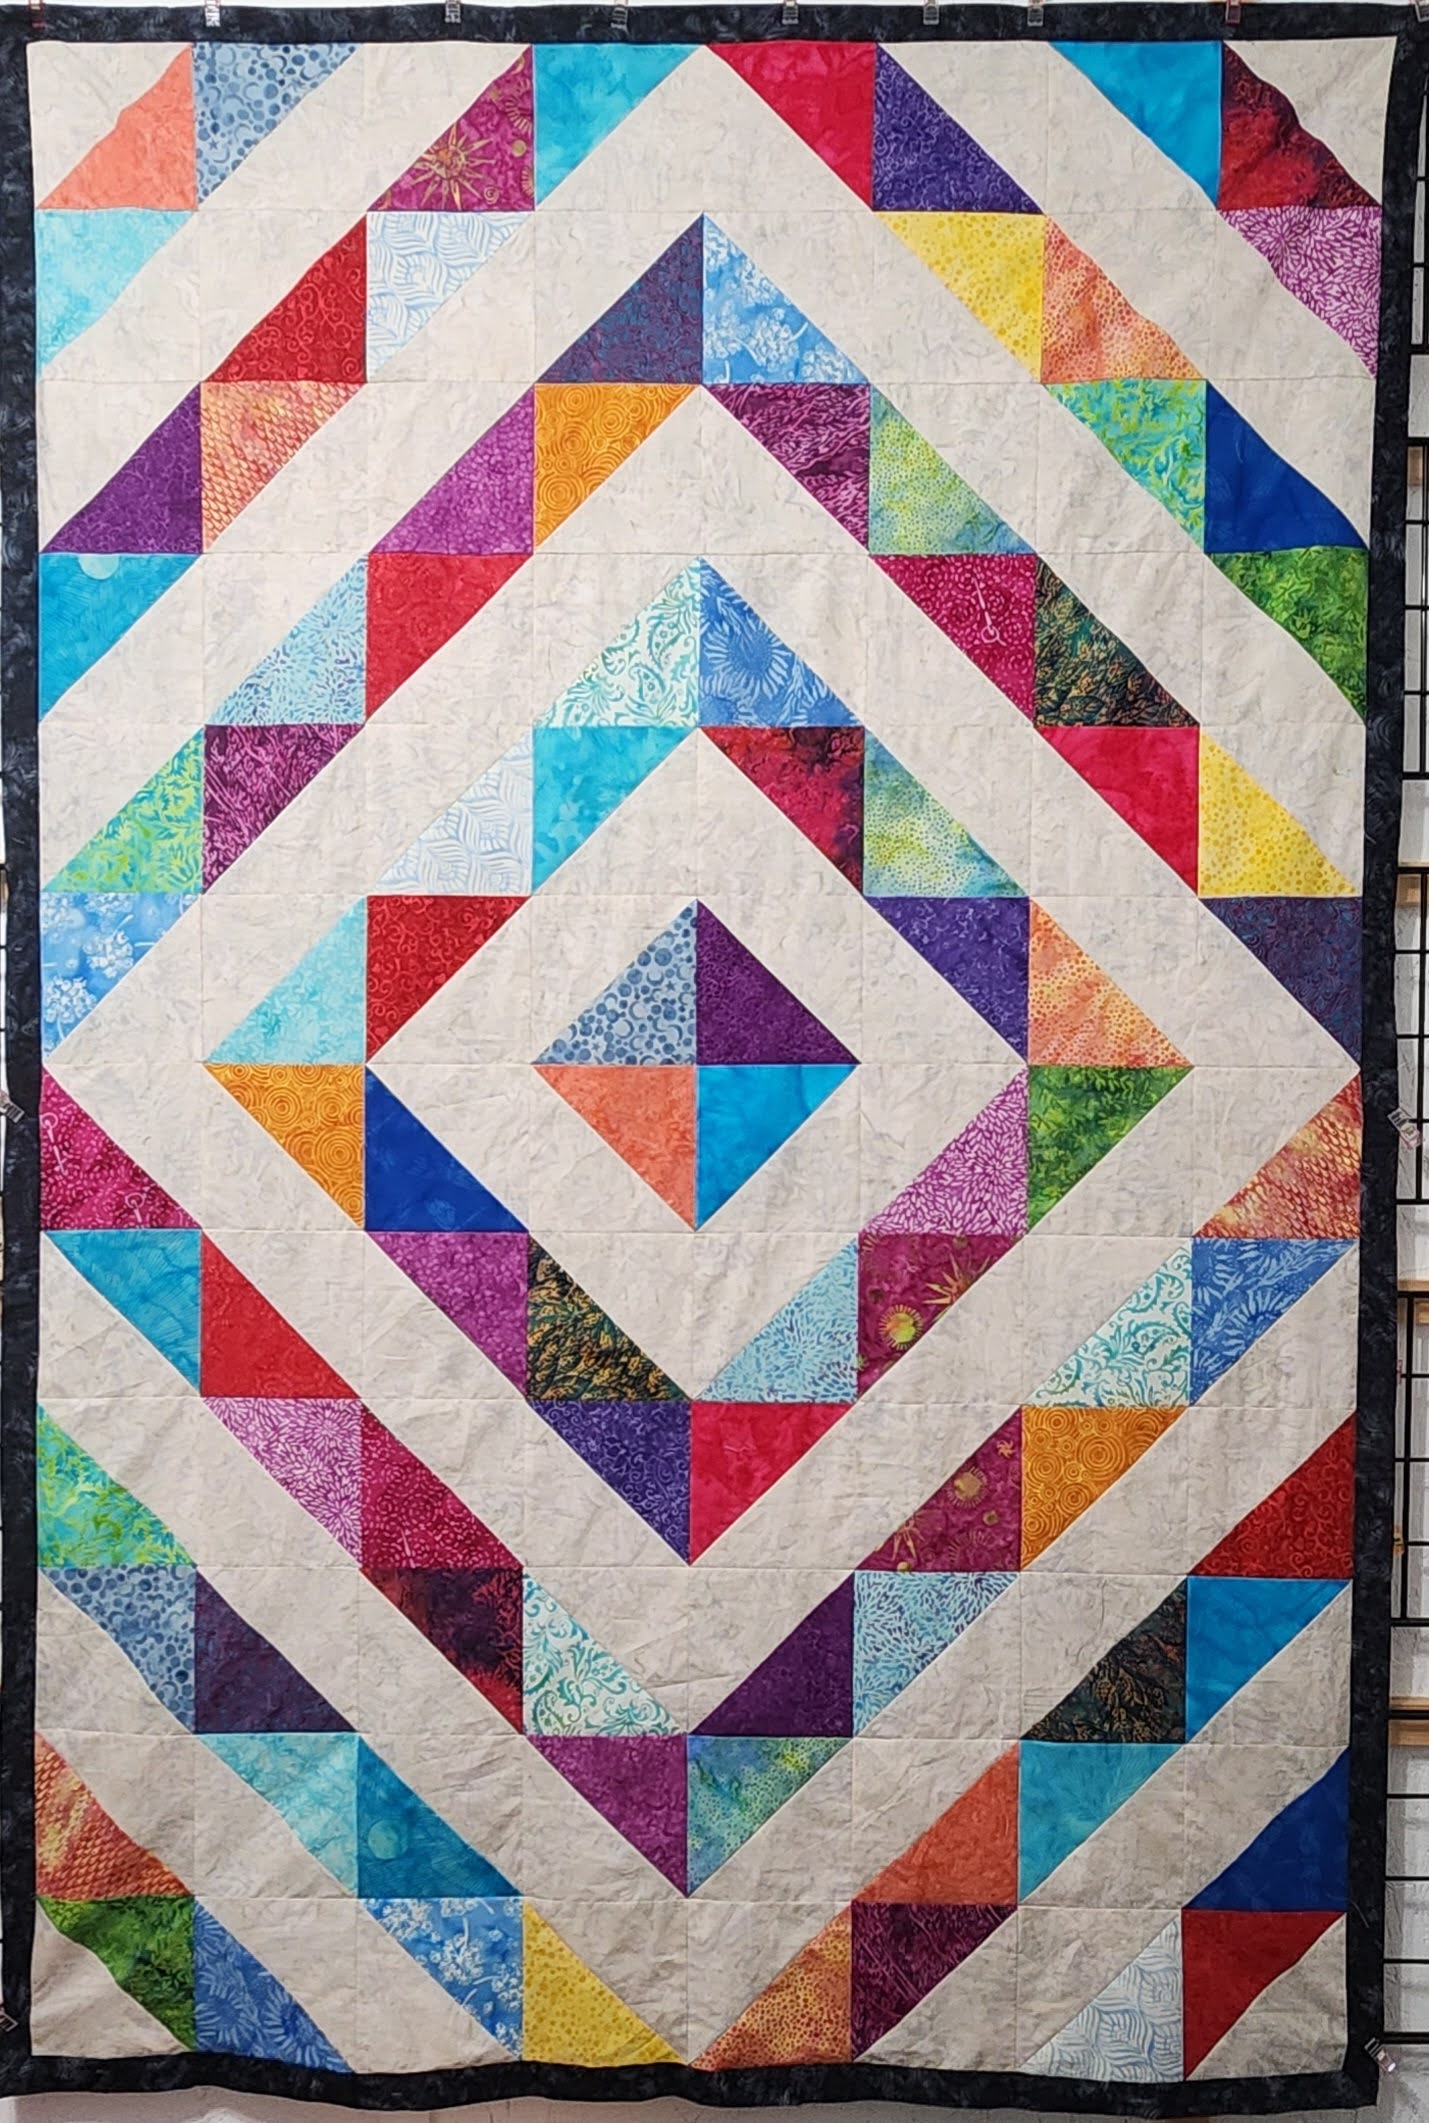
Then I added an outside border, a 5 1/2″ strip of the neutral fabric (Oyster).

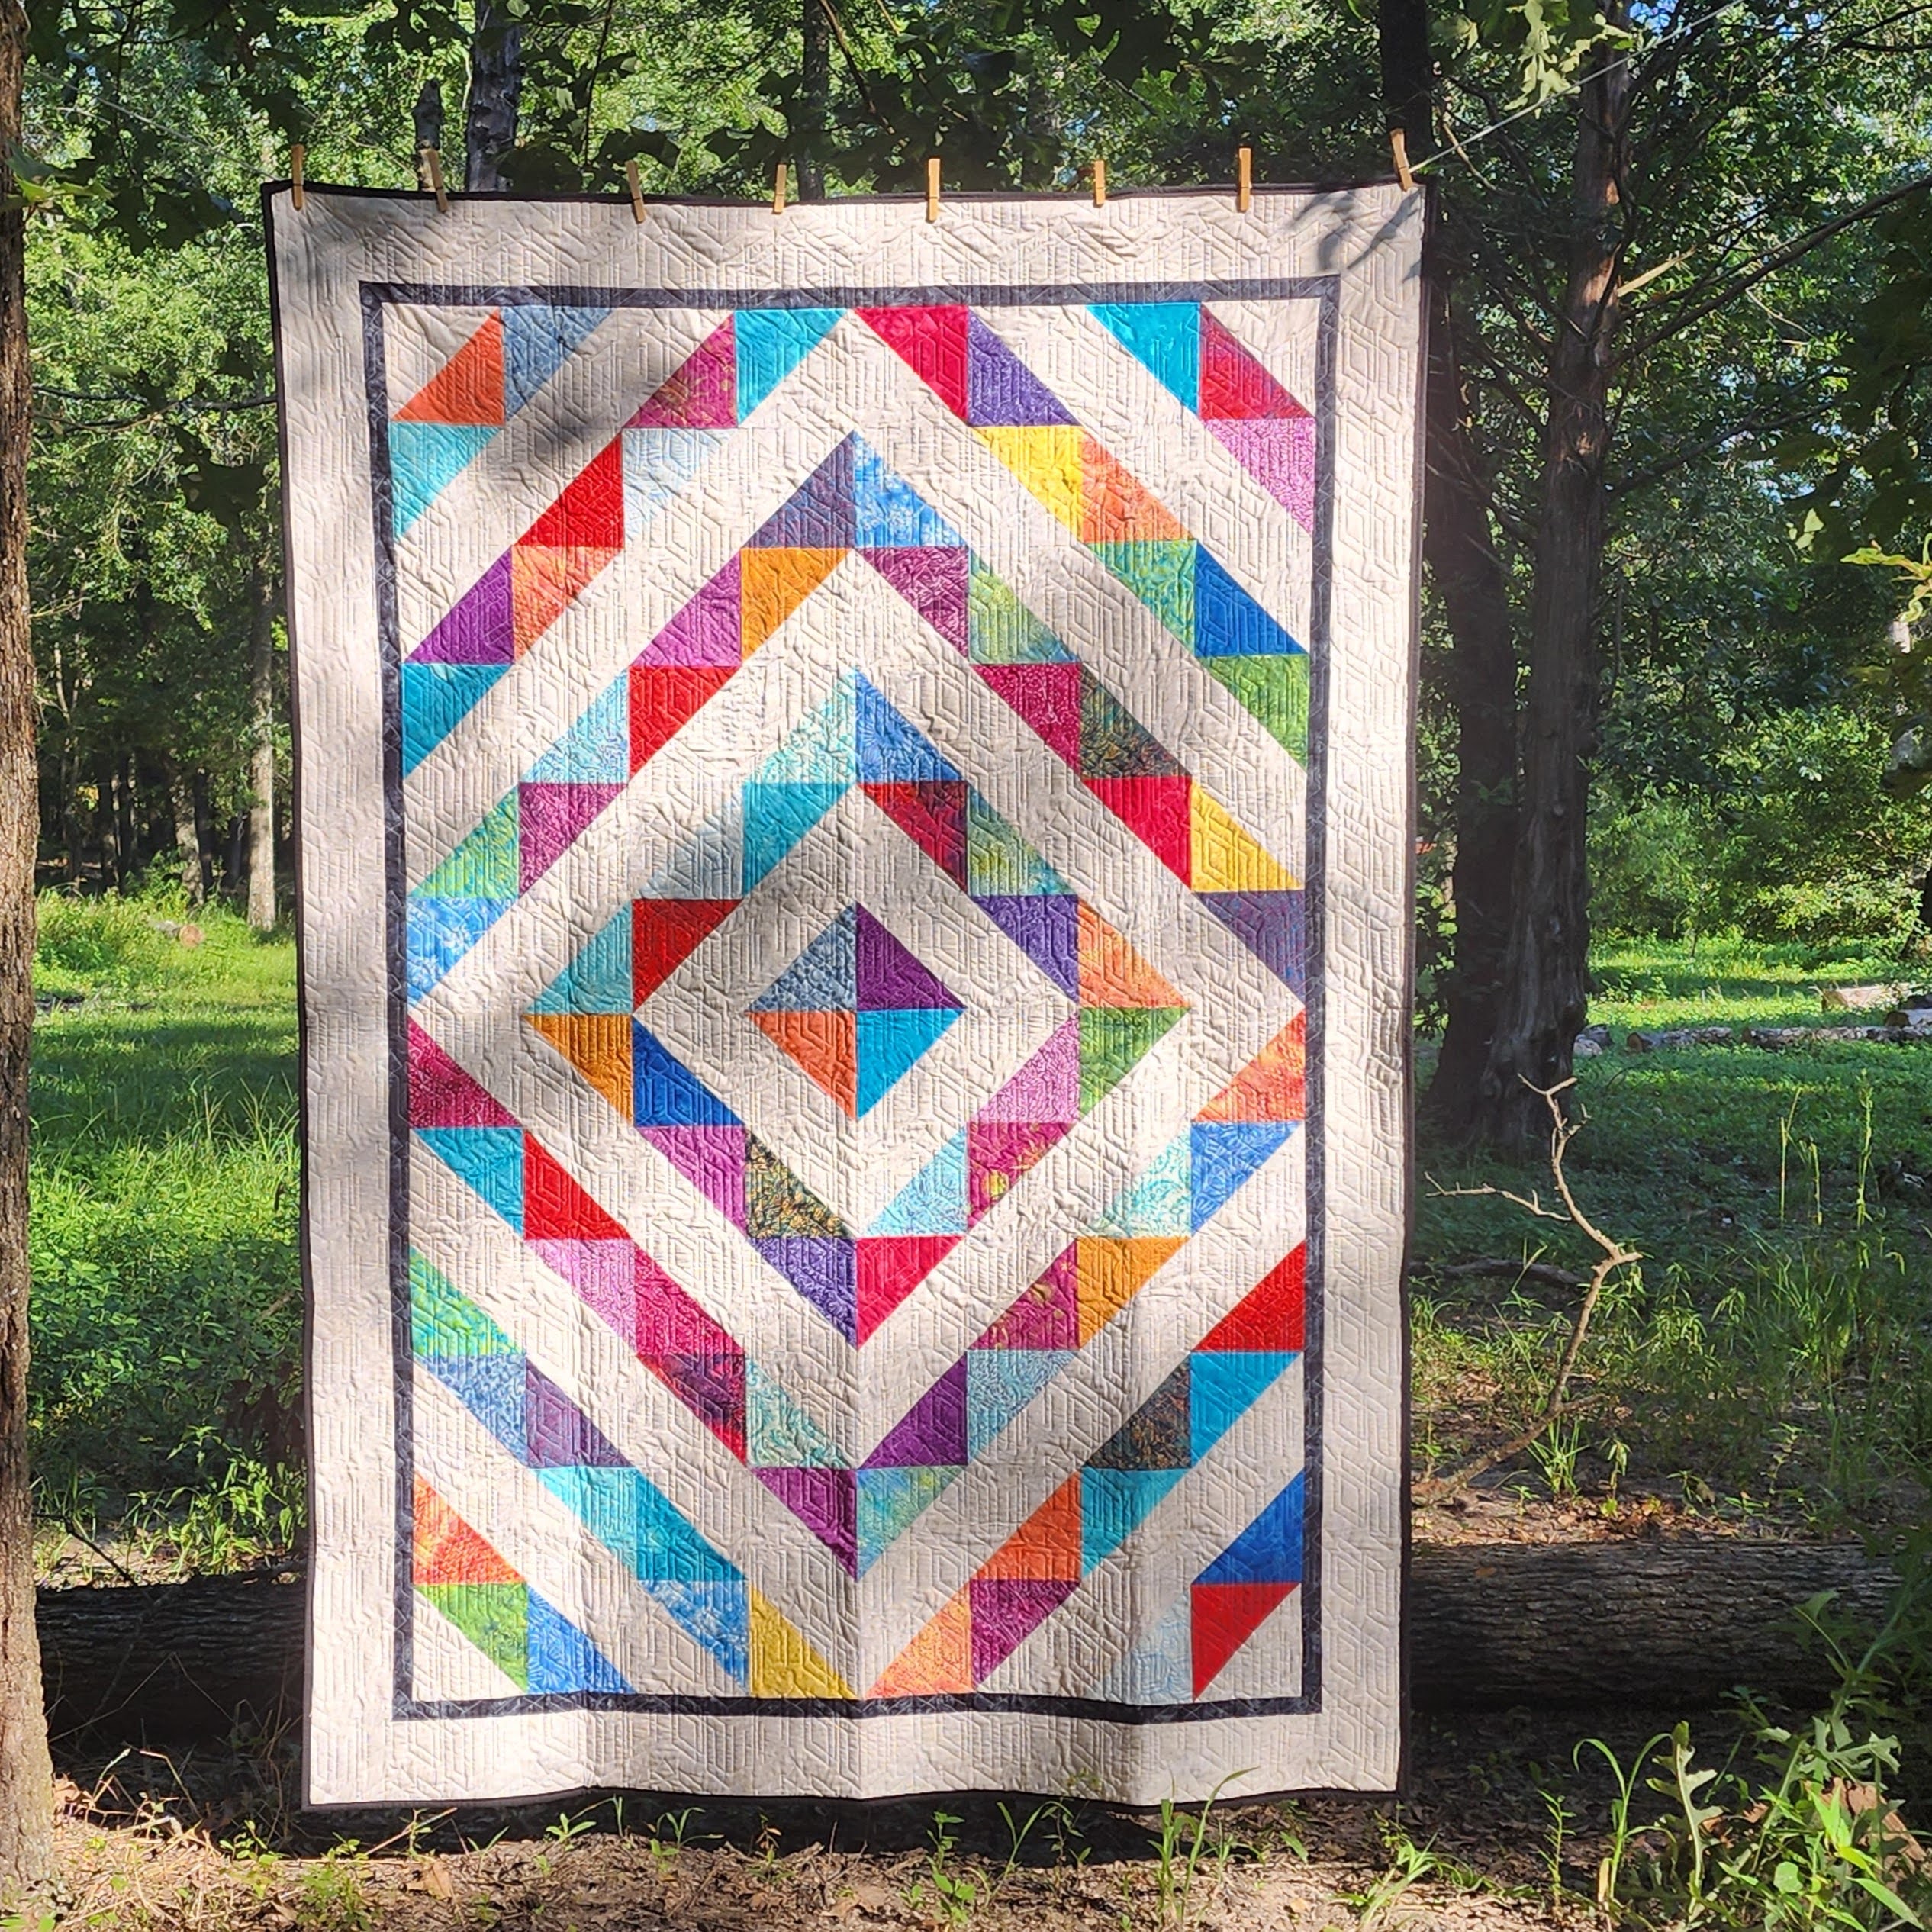
Here is my completed top. It finished at 60″ x 84″. Which is within the size requirements for the quilts. I think it will work well on the bunkbeds.
Final Assembly
While sewing the quilt together, I used Aurifil Thread, a lighter gray that blended well with the neutral fabric as well as the colors. I love working with Aurifil Thread, their thread is so easy to use, and I don’t have issues with the thread breaking as I am sewing. The only time I had to rethread my machine, was when I had to wind another bobbin. You do have to clean your machine of link, but I love the cotton thread.
I used Schmetz Needles while making the quilt top. The needs are strong, and last a long time. They are my preferred piecing needles. When they are on sale, I buy lots. They have a chart that is color coded for you to match your needle with the type of fabric you need. No guessing what size needle is in your machine.
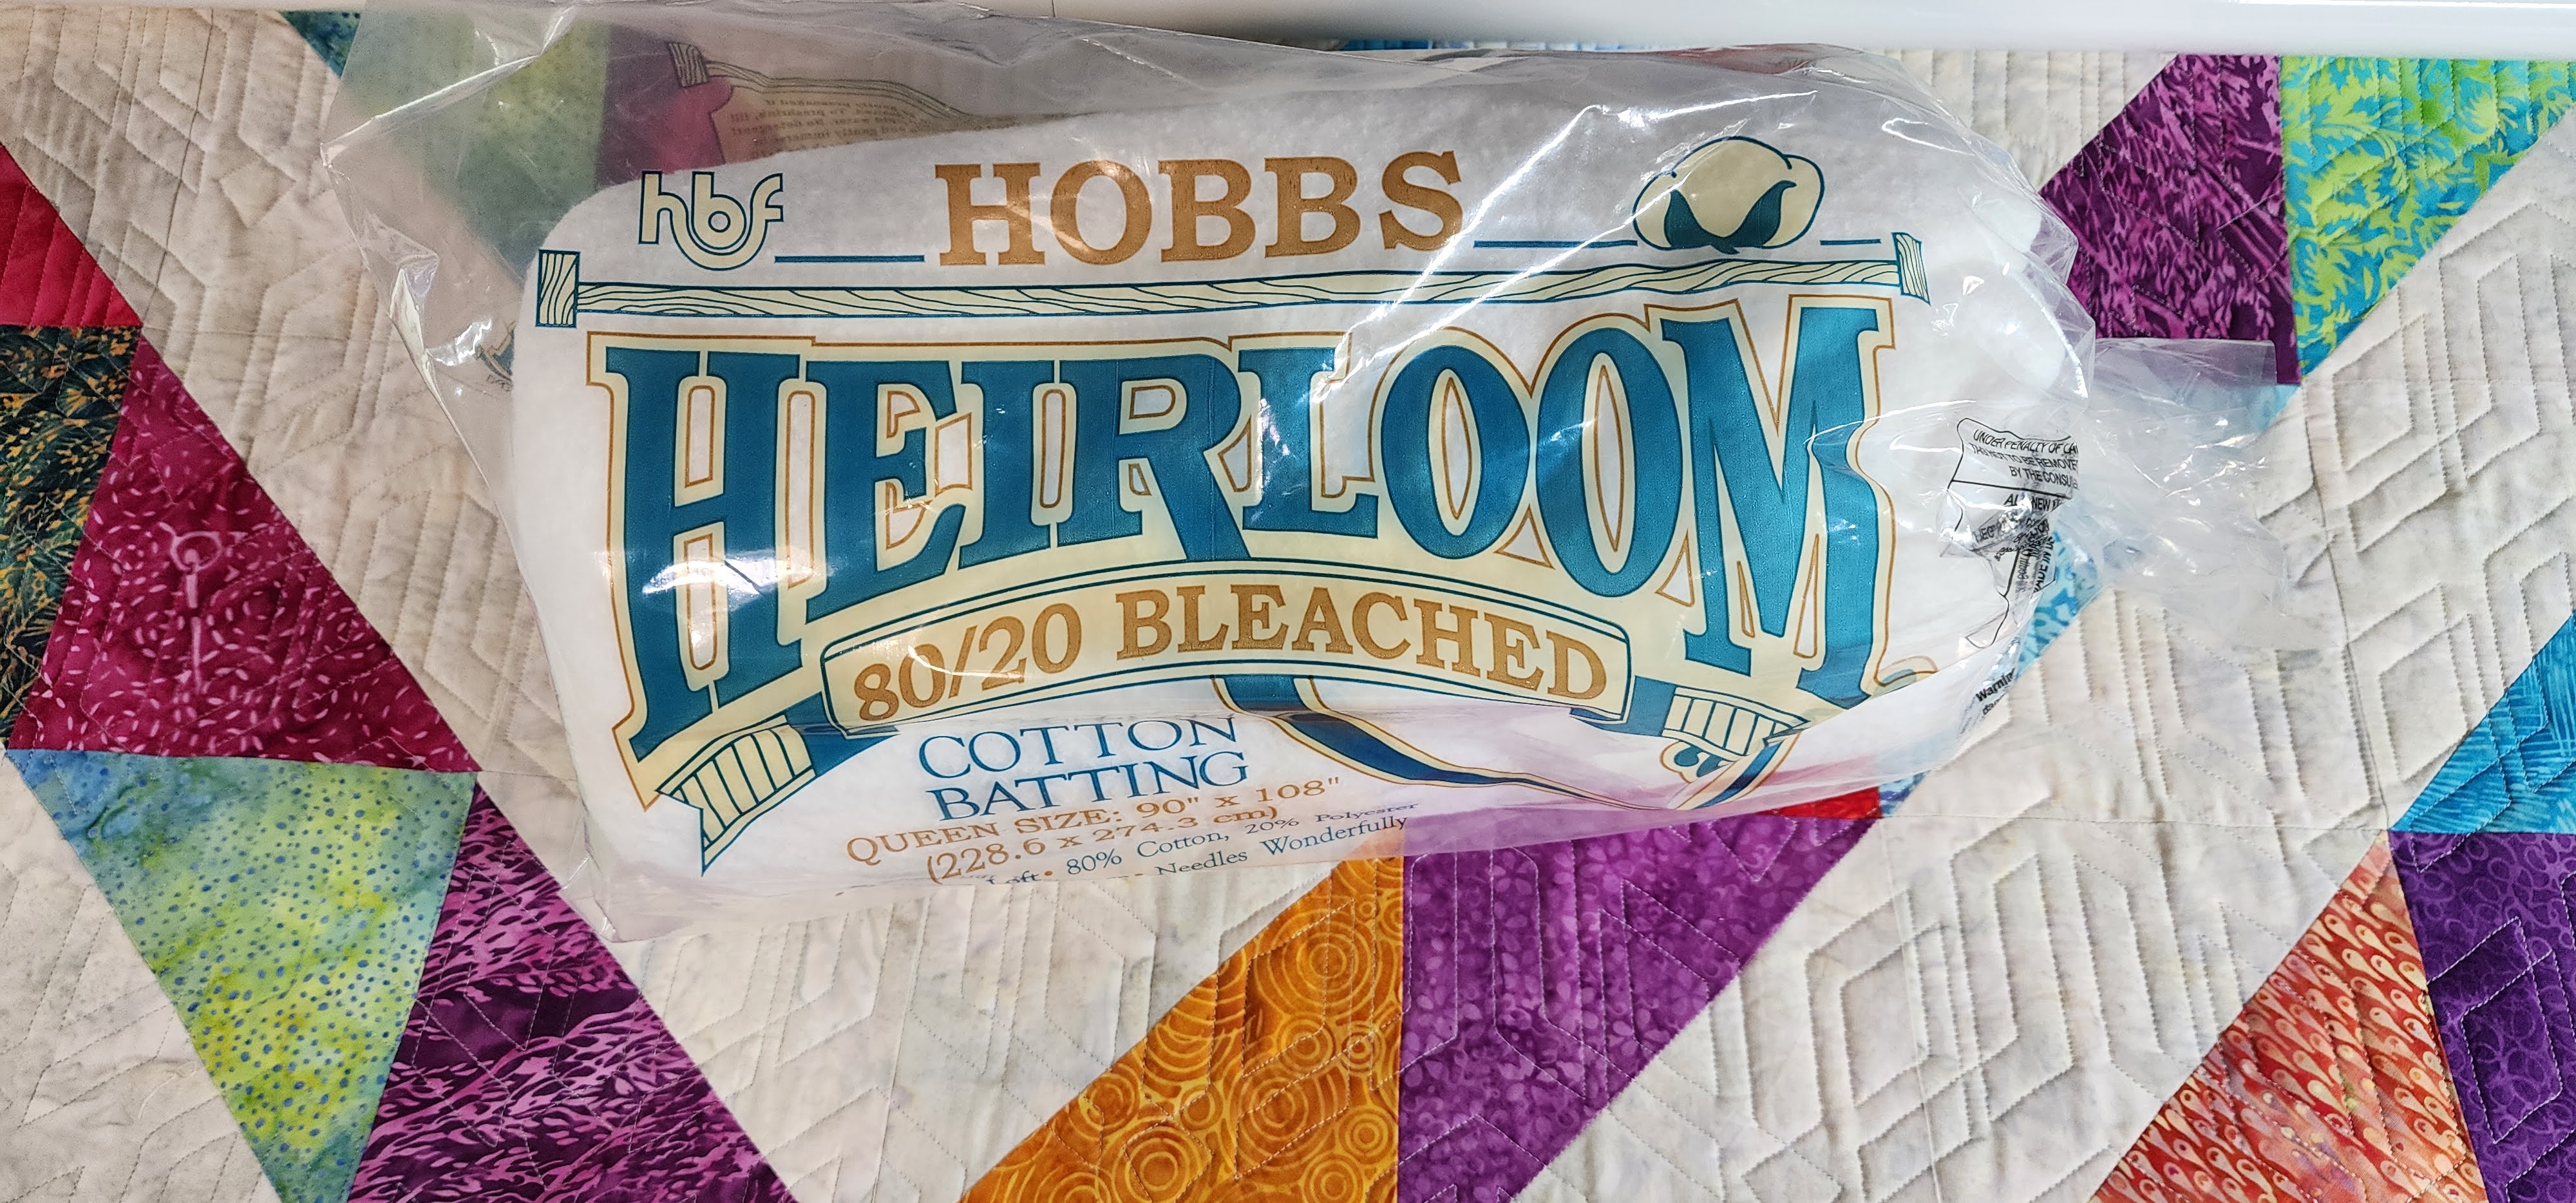
I used Hobbs Batting for this quilt. I picked out a 80/20 Cotton Batting, Queen Size. I love the way the Hobbs Batting makes the quilts warm while not too heavy to carry. For children, they love to carry their quilts with them, to lay on the floor or on the couch while watching TV. I wanted the children to have a warm quilt for their new beds.
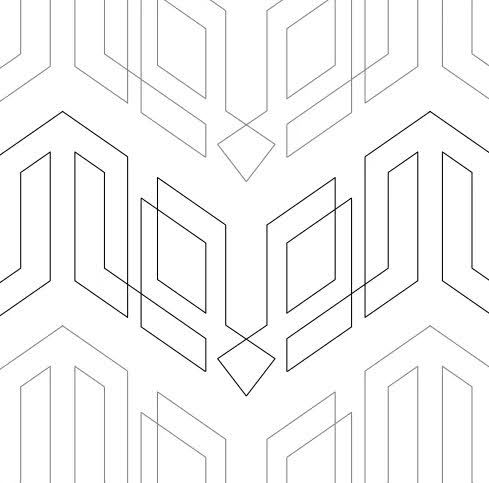
It is recommended to use overall quilting for the quilt. And I wanted a design that would not only cover all over, but that would work for children of all ages, and for both Girls and Boys. I love the designs by Quilting Pantographs. I picked the design Square Halls. Quilting Pantographs has a great rewards program, and I was able to get this design free with my points.
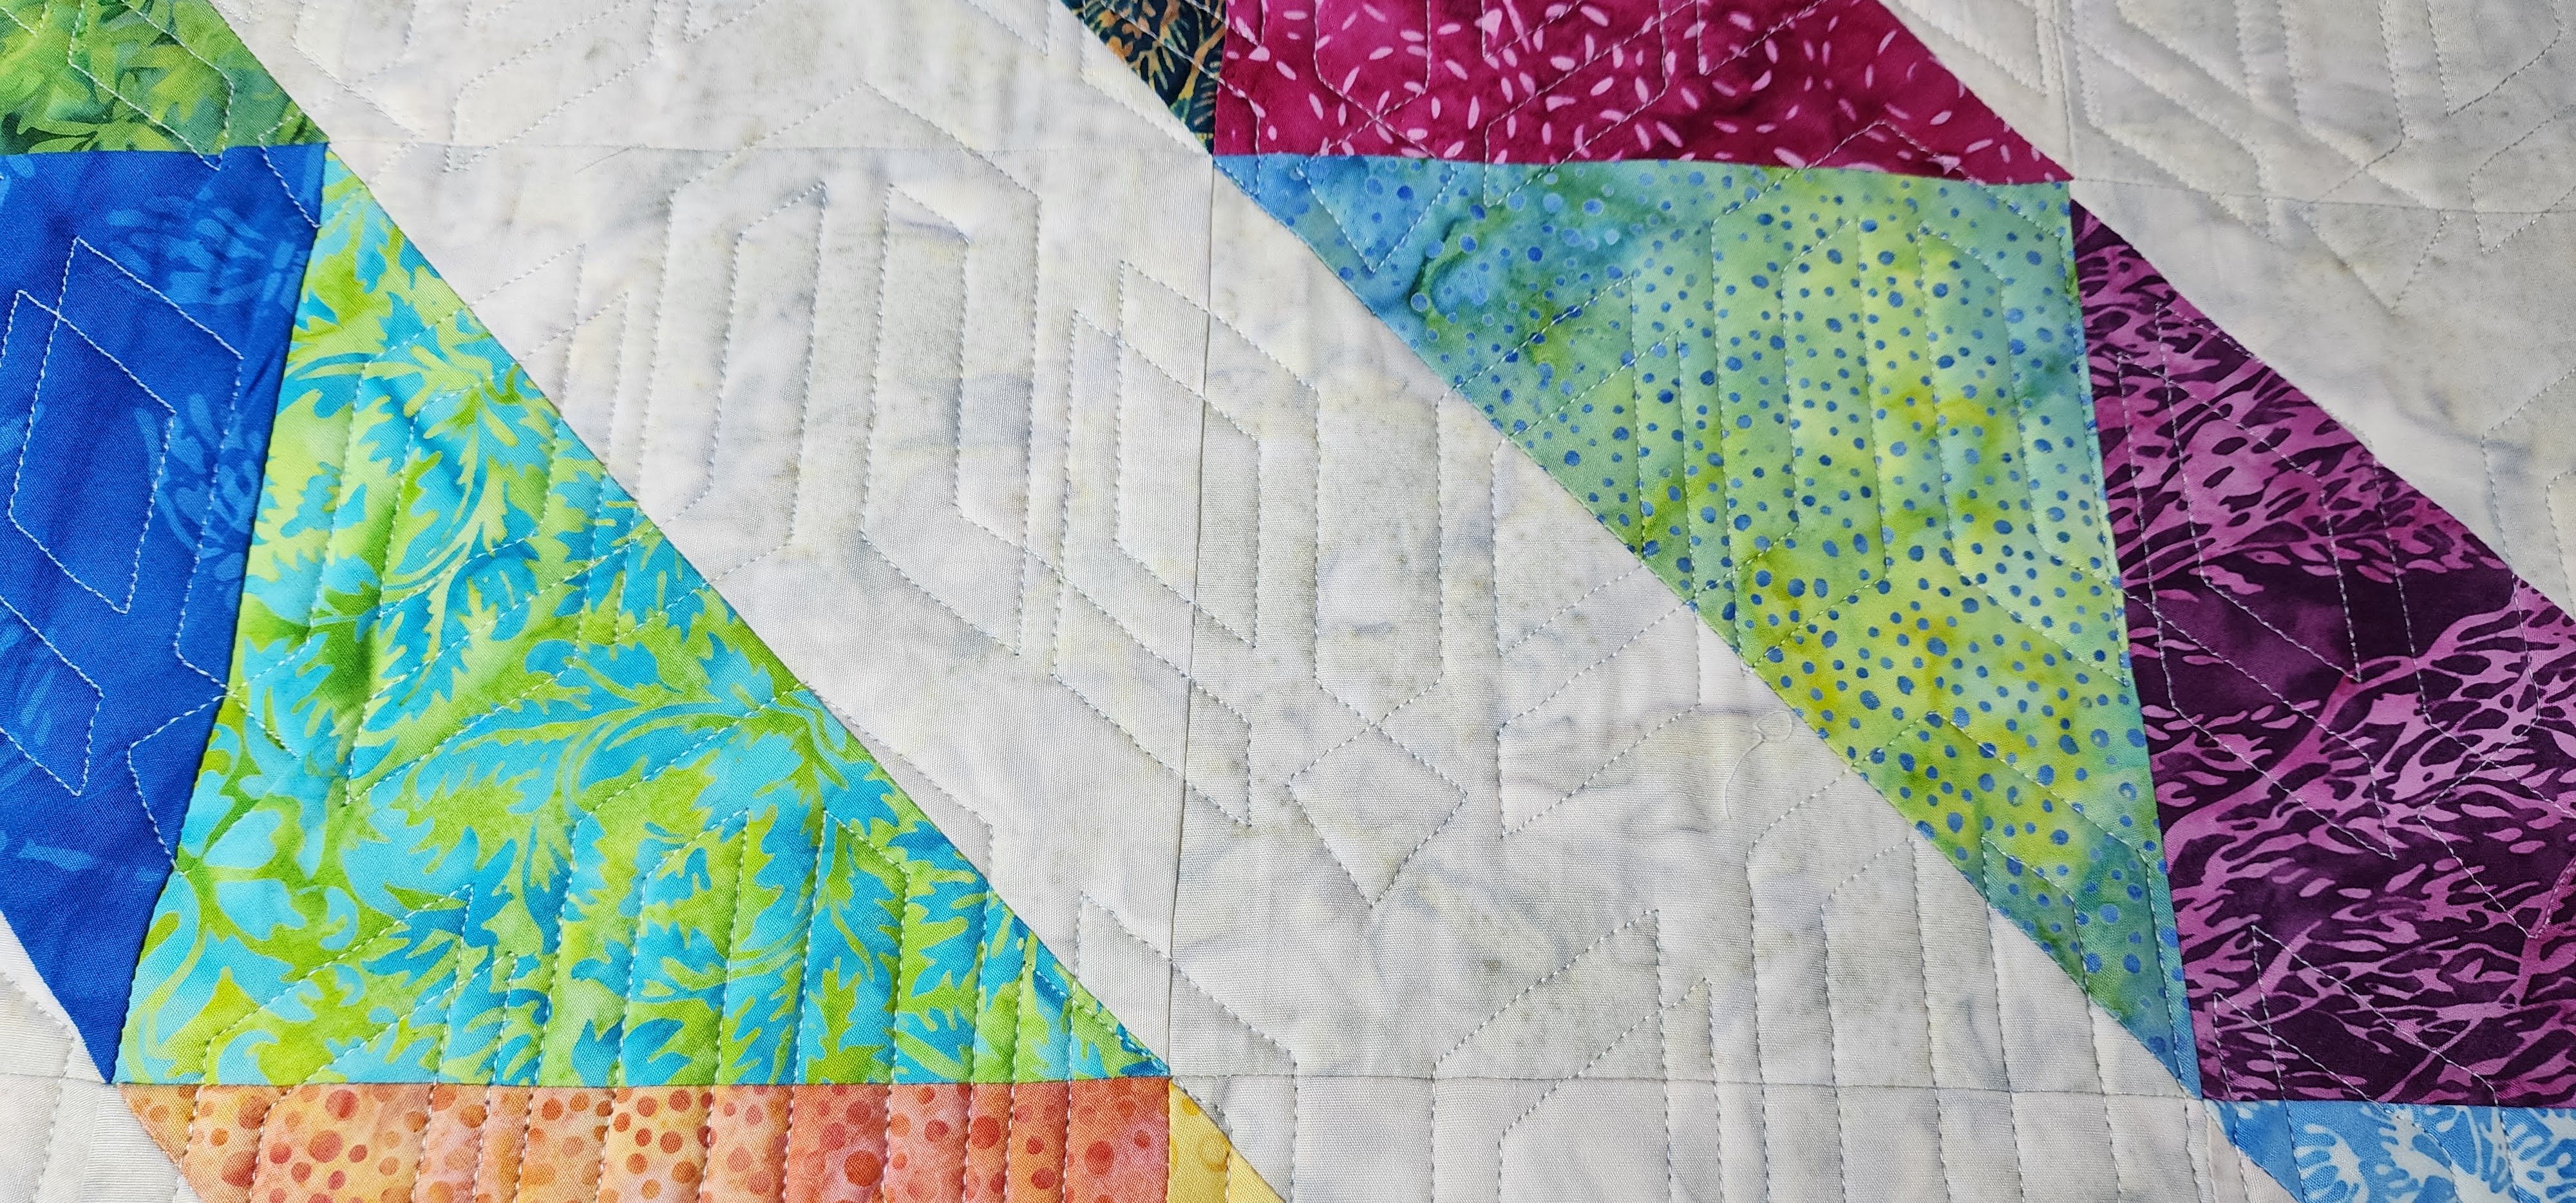
I quilted the quilt on my Juki Longarm. Then machine stitched on the Binding.
Here is my completed Quilt!
The items used in creating this quilt were provided to me by Island Batik and it’s partner’s in my role as a 2024 Island Batik Ambassador.
If you like my quilt, make sure to check out the other Ambassador’s Quilts across America projects.
Brenda Alburl ~ Songbird Designs
Renee Atkinson ~ Pink Tulip Quilting
Megan Best ~ BestQuilter
Pamela Boatright ~ PamelaQuilts
Susan Deshensky ~ Lady Blue Quilts Studio
Brittany Fisher ~ Bobbin with Brittany
Preeti Harris ~ Sew Preeti Quilts
Mania Hatziioannidi ~ Mania for quilts
Jane Hauprich ~ Stitch by Stitch Custom Quilting
Kim Jamieson-Hirst ~ Chatterbox Quilts
Victoria Johnson ~ Forever Quilting for You
Connie Kauffman ~ Kauffman Designs
Connie Kresin Campbell ~ Freemotion by the River
Emily Leachman ~ The Darling Dogwood
Denise Looney ~ A Quiltery
Leah Malasky ~ Quilted Delights
Maryellen McAuliffe ~ Mary Mack Made Mine
Lisa Pickering ~ Lisa’s Quilting Passion
Sarah Pitcher ~ Pitcher’s Boutique
Lana Russel ~ Lana Quilts
Julia Schweri ~ Inflorescence Designs
Gail Sheppard ~ Quilting Gail
Carol Stanek ~ Stitch with Color
Sandra Starley ~ Textile Time Travels
Jennifer Thomas ~ Curlicue Creations
Suzy Webster ~ Websterquilt
#islandbatikambassador, #islandbatik, #iloveislandbatik, #studio180design, #quiltsacrossamerica, #TuckerTrimmer, #juki, #aurifil, #hobbsinside, #olisoiron

I love all those perfectly precise triangles! What a happy quilt!
LikeLike