Last month our project with Island Batik was to create a quilt using a Ruler we received from Studio 180 Designs. I had received the Tucker Trimmer I, to make different size Half-square triangles.

I had some extra triangles from the front of the row of fabric that I decided to create another quilt using the Half-square triangles (HST), just a smaller size. Instead of 6 1/2″ x 6 1/2″ they would be 4 1/2″ x 4 1/2″

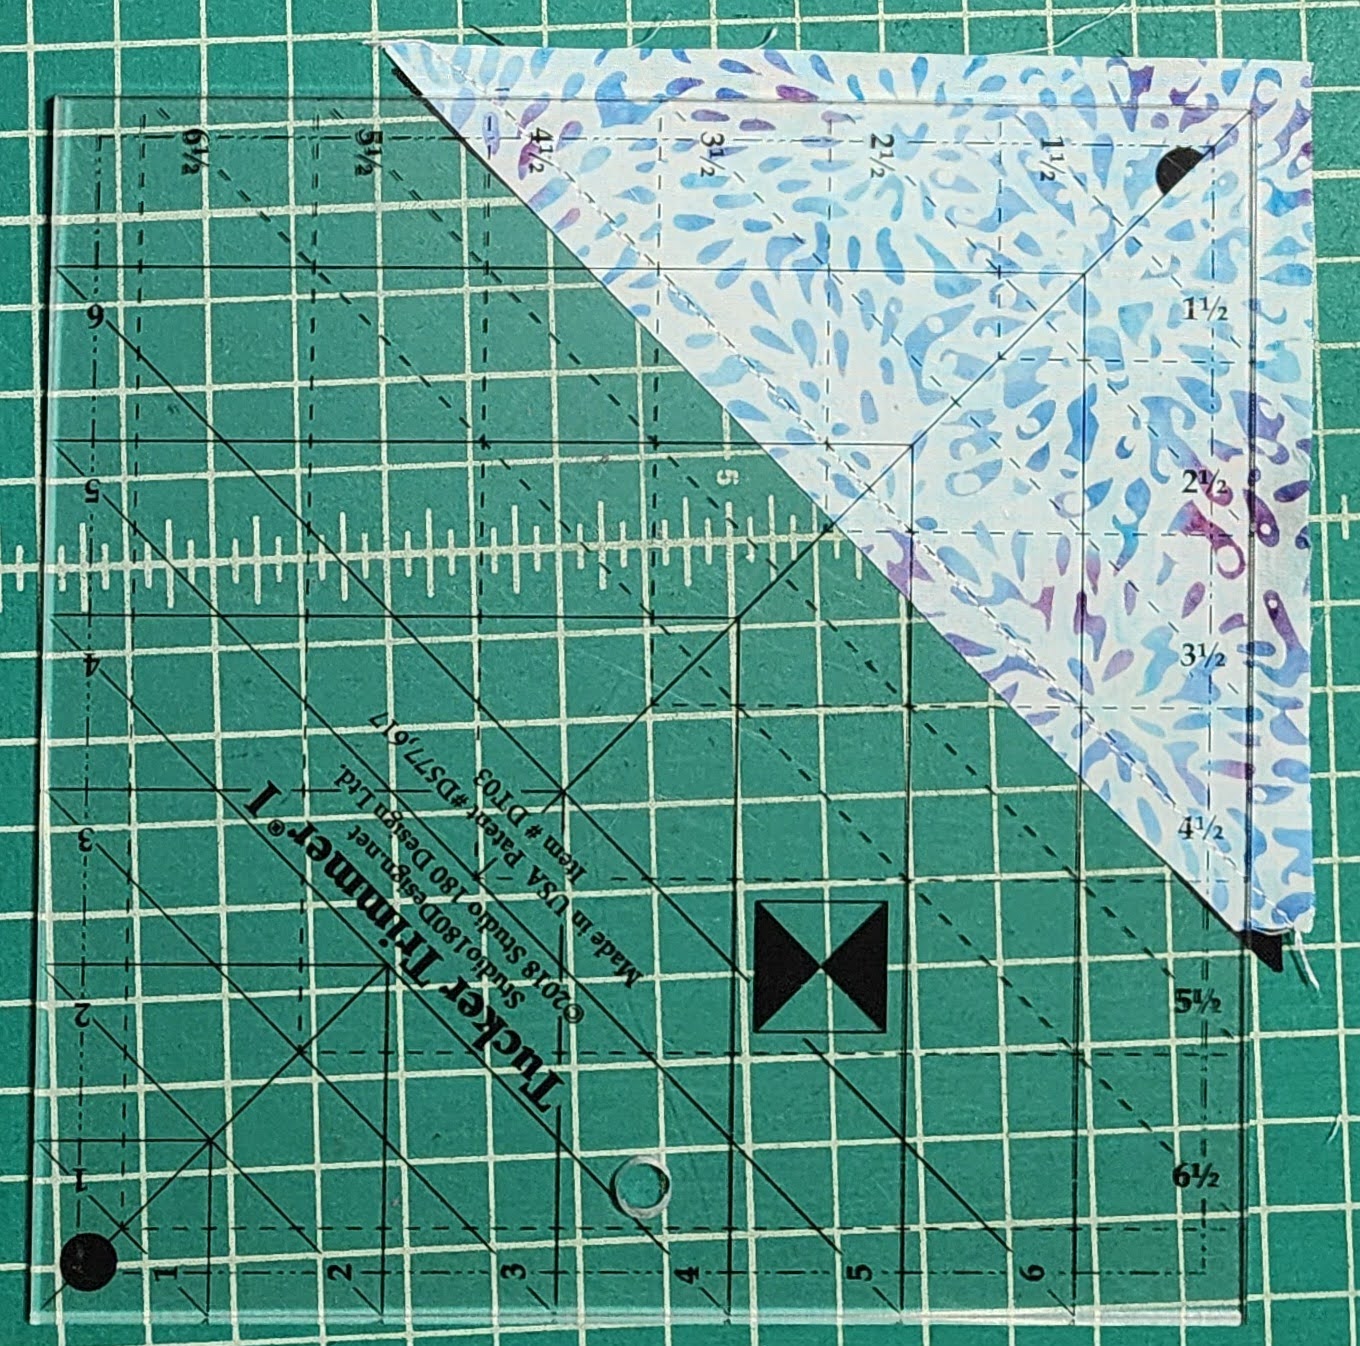
I trimmed these triangles to a smaller size than I had on the June Quilt. I then cut a total of 3 triangles from thirty-two different fabrics, each one was around 4 3/4″ triangles. I used the Tucker Trimmer the same way I did with the June quilt, but with the edge of the fabric near between the 4 3/4″ and 5″ lines. This gave me room to trim to the correct size HST.
I decided to use black as the accent color of fabric, to give a darker look, that would highlight the colors in the fabrics. So I cut 96 Black triangles the same size.
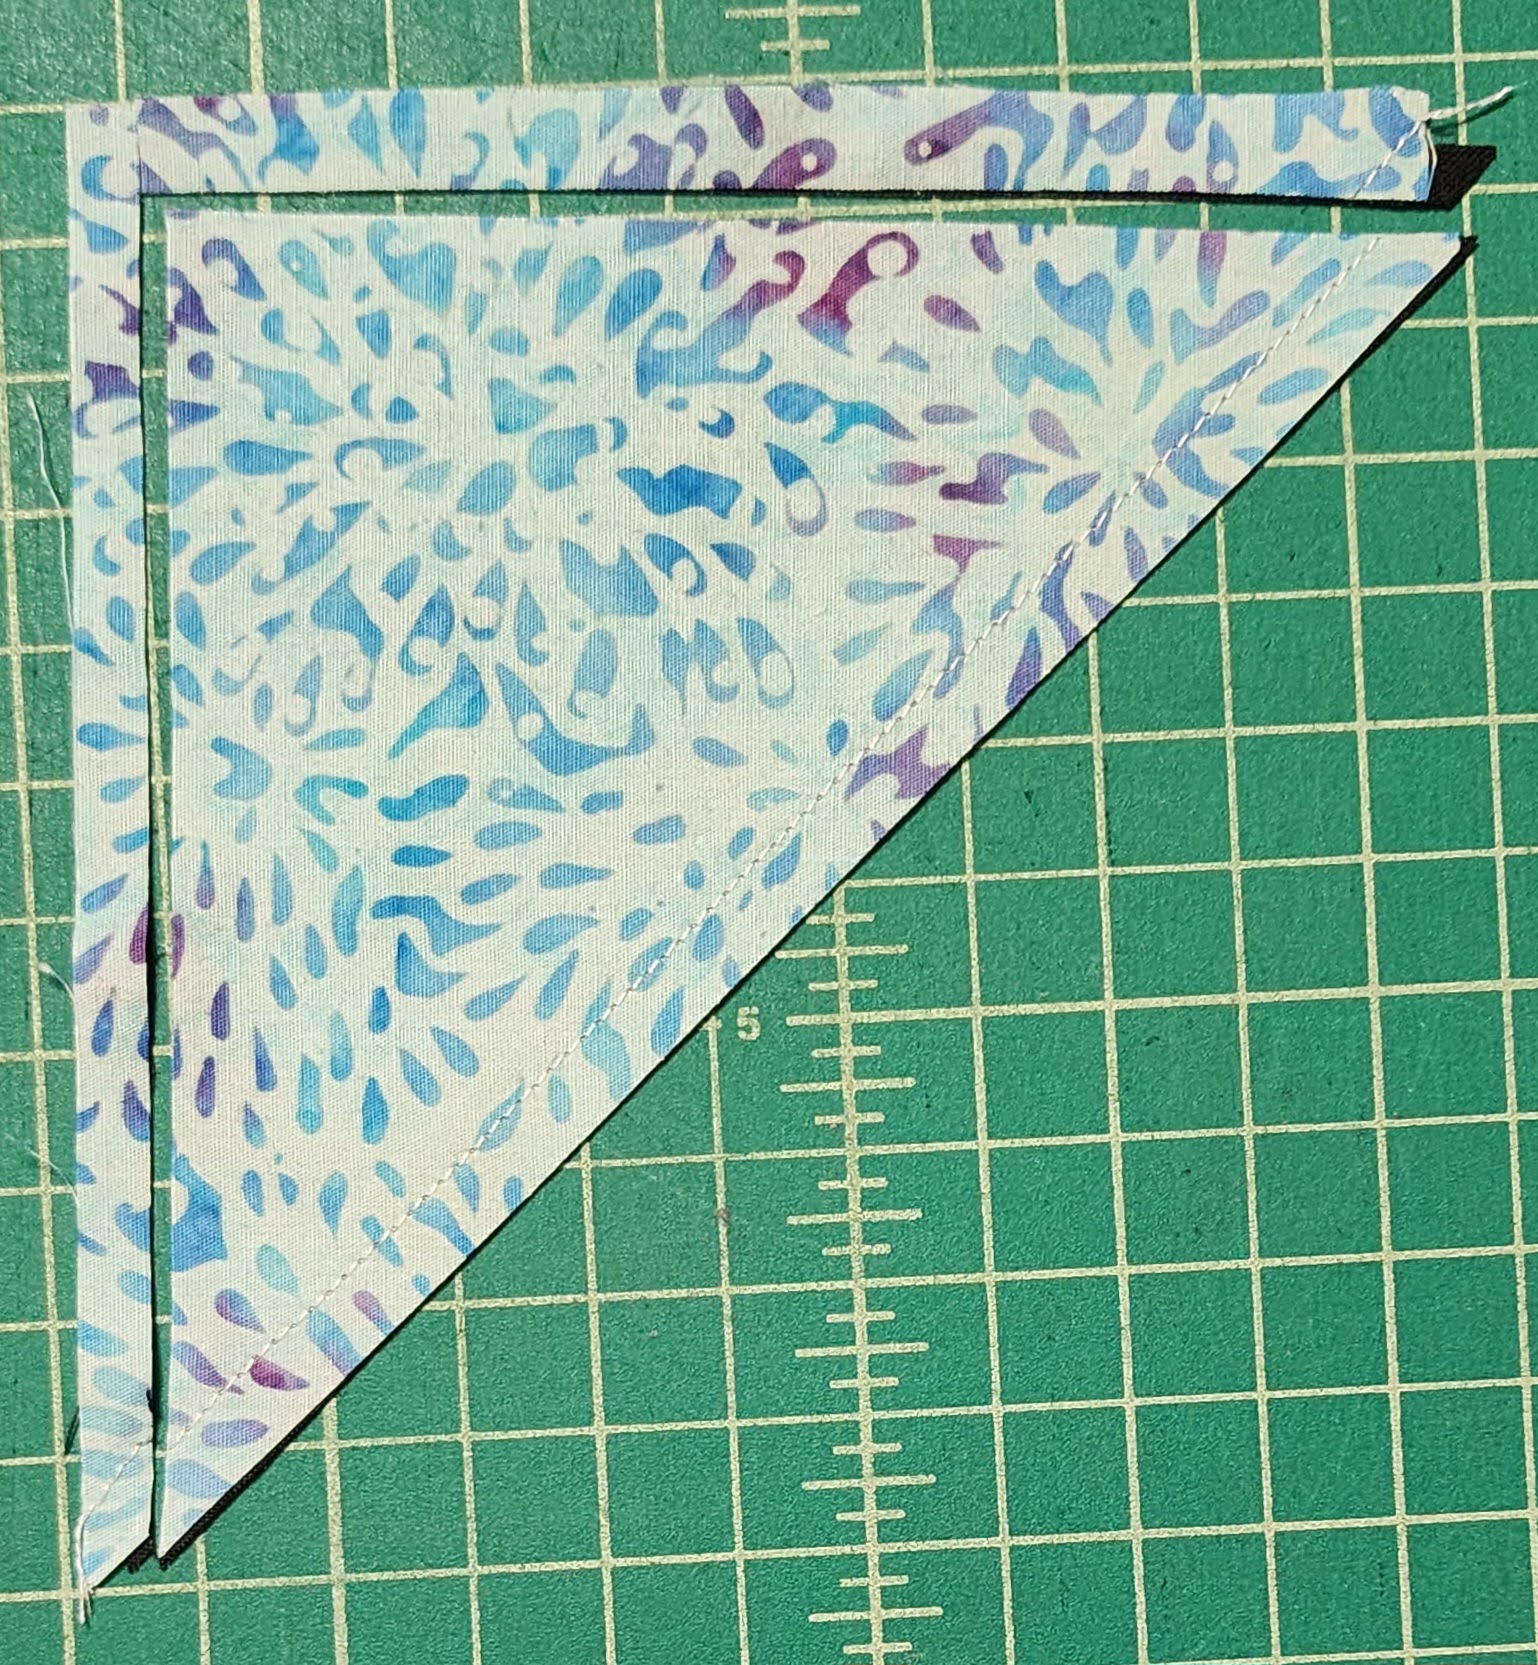
After sewing the Triangles together, before pressing the seams, I used the Tucker Trimmer I to square-up the triangles, to make each triangle 4 1/2″.
Then trimmed the two sides, before pressing the seams towards the black fabric.
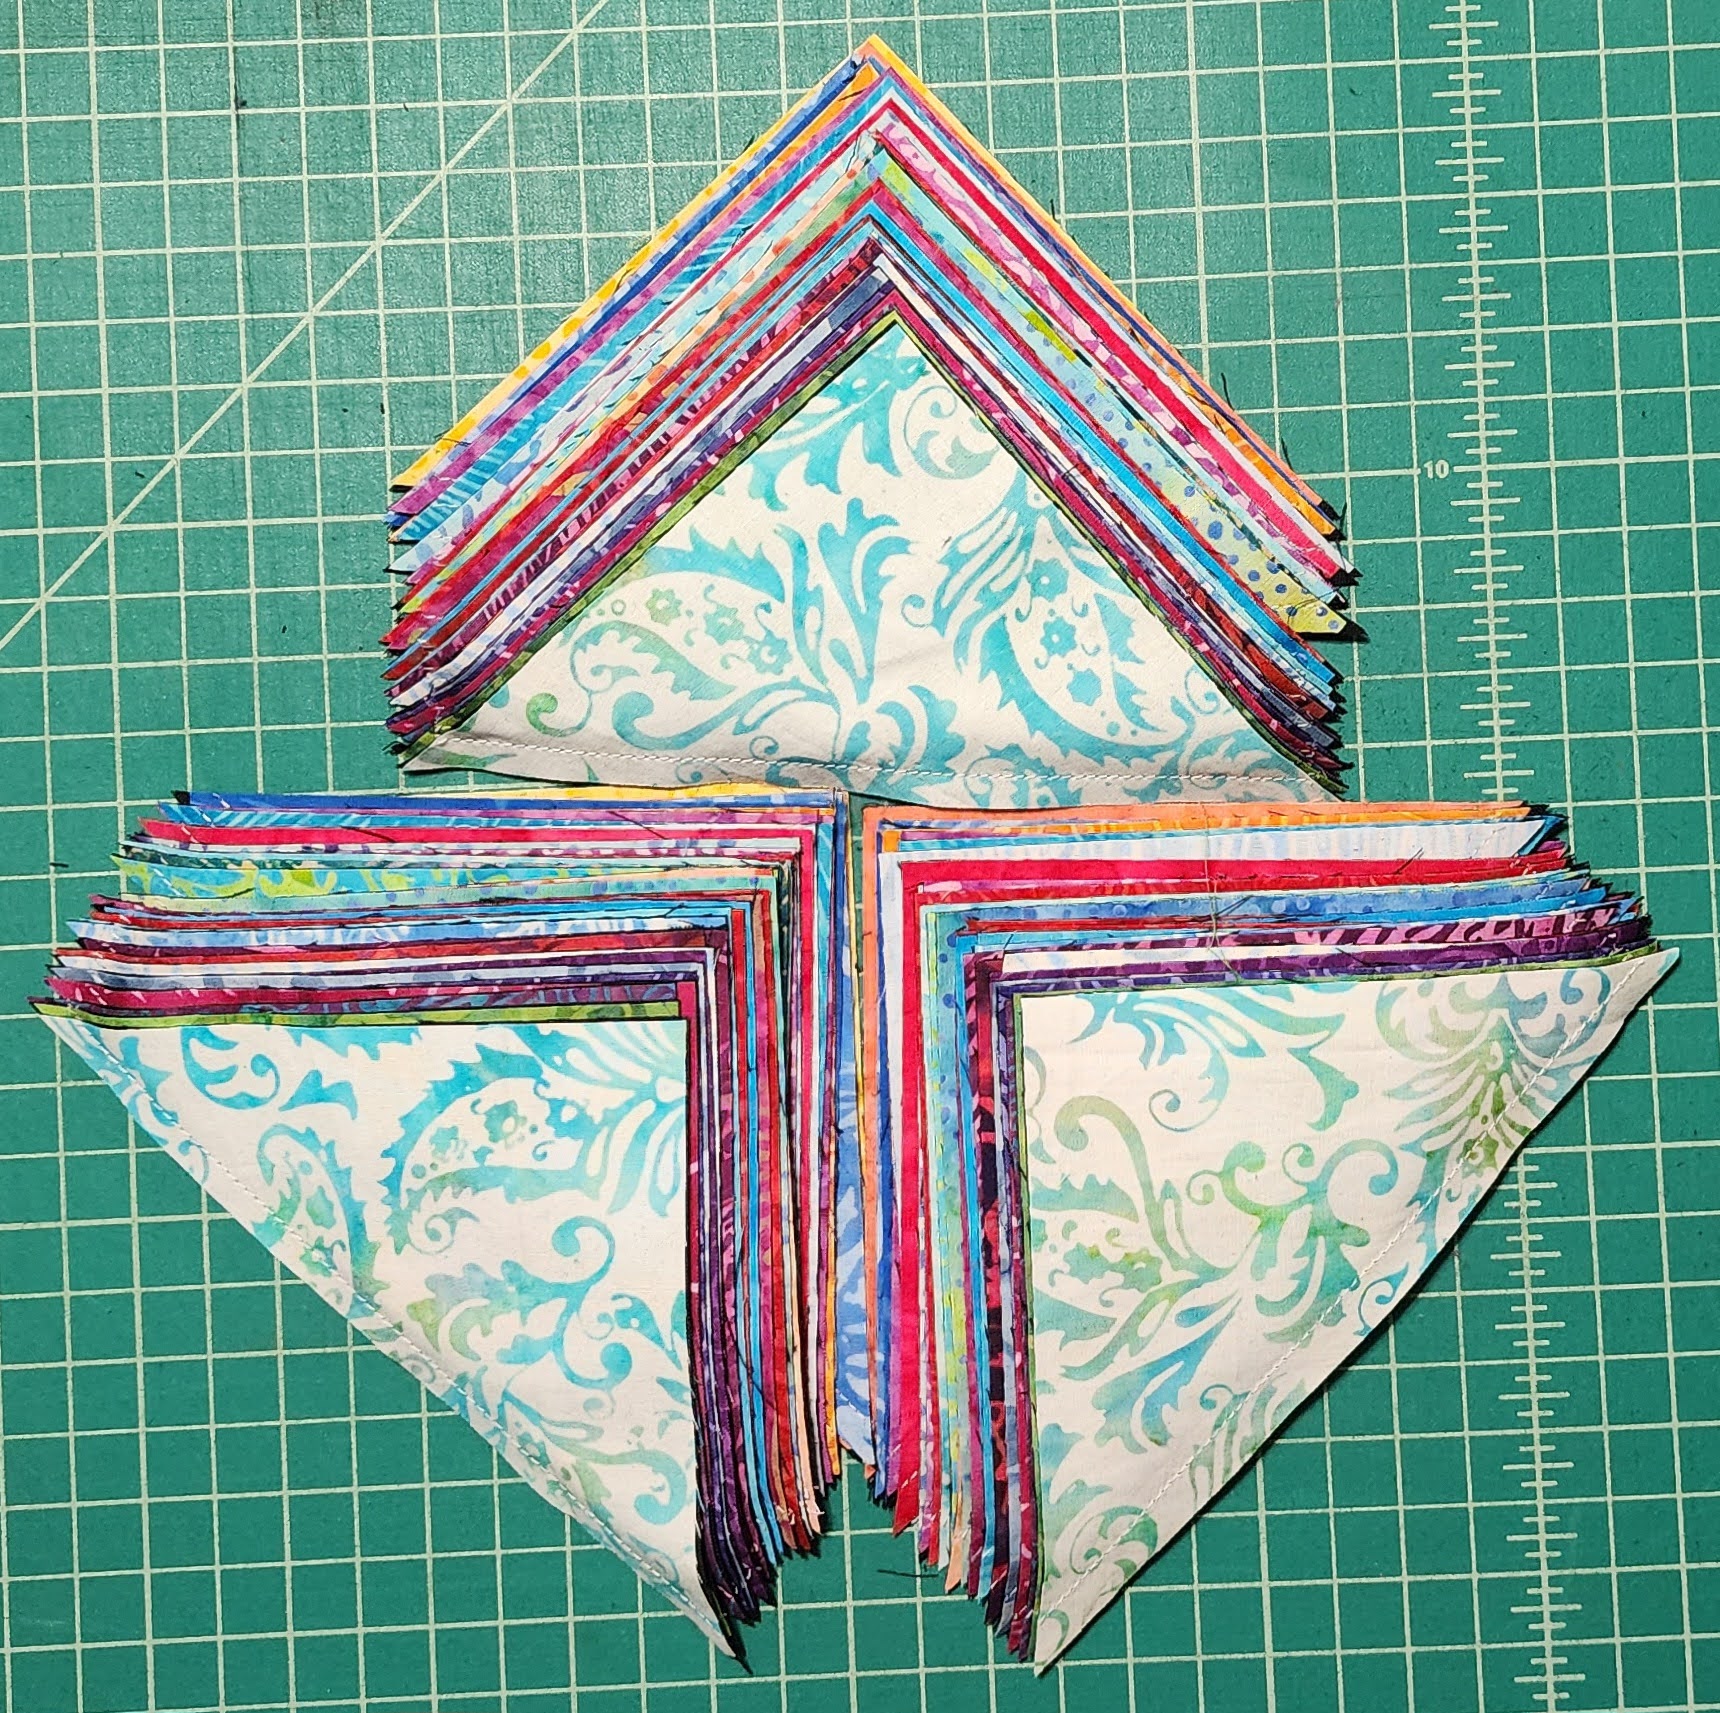
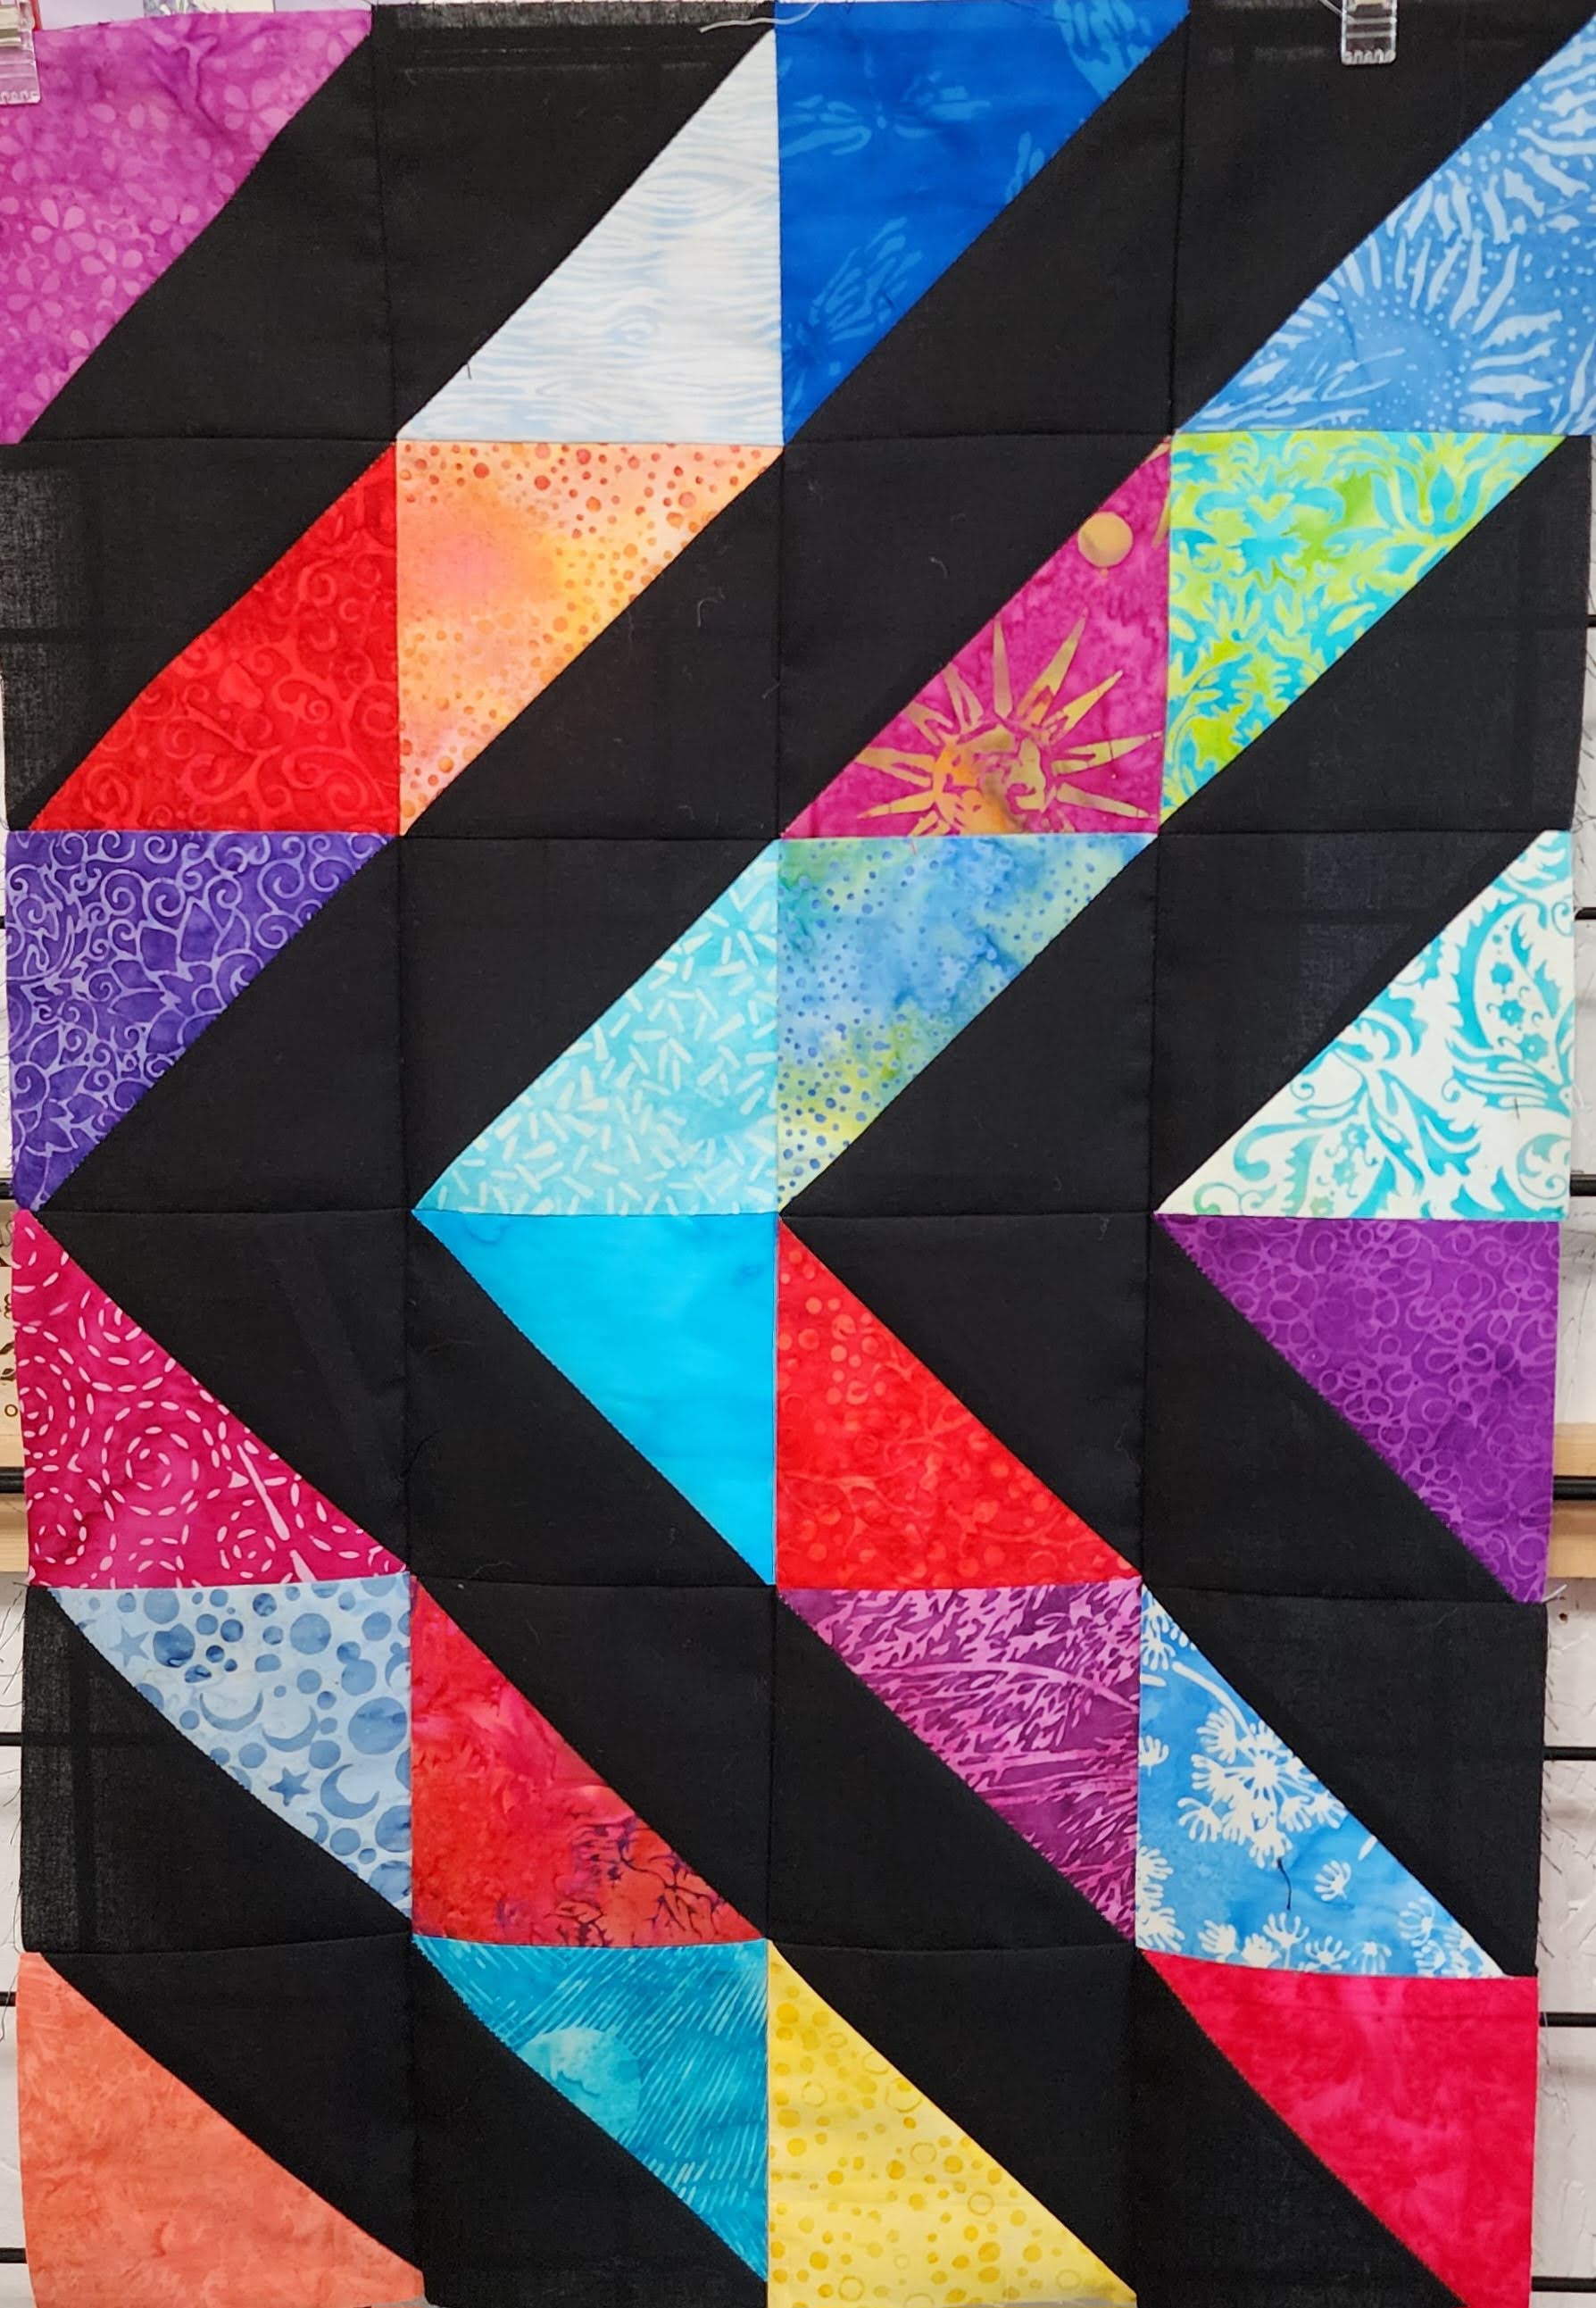
Here are the Half-square triangles squared-up but before pressing open.
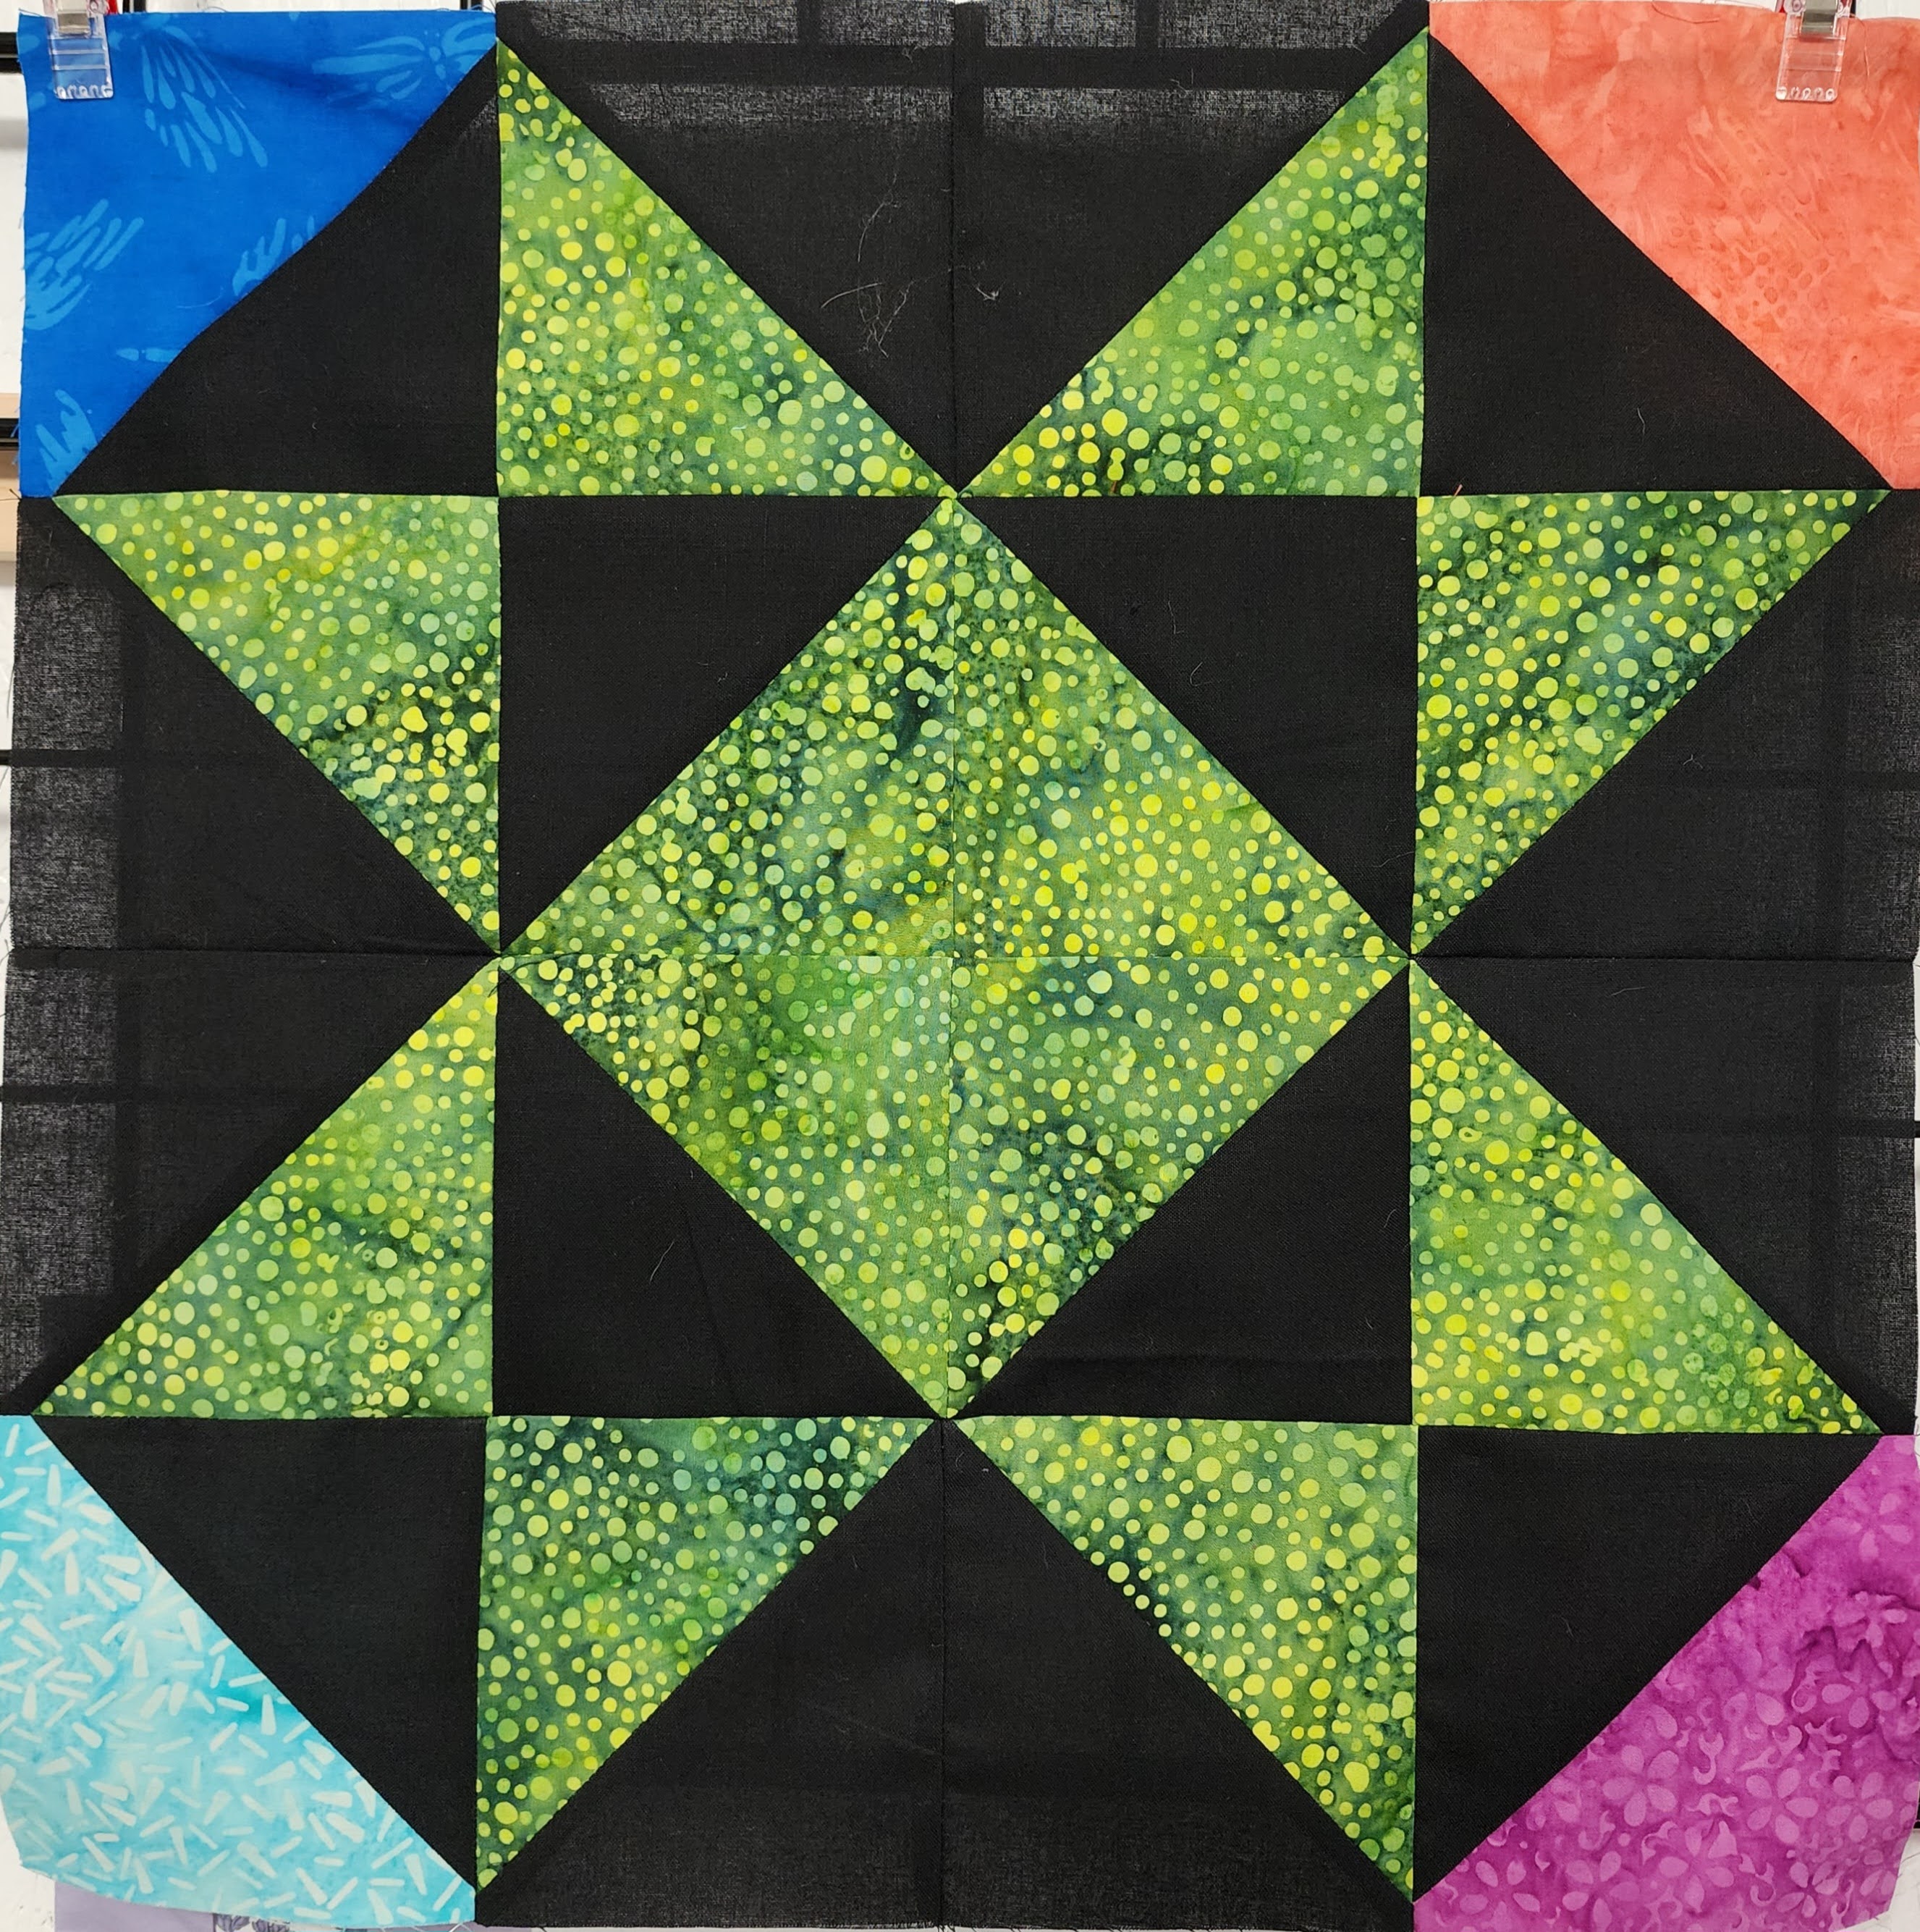
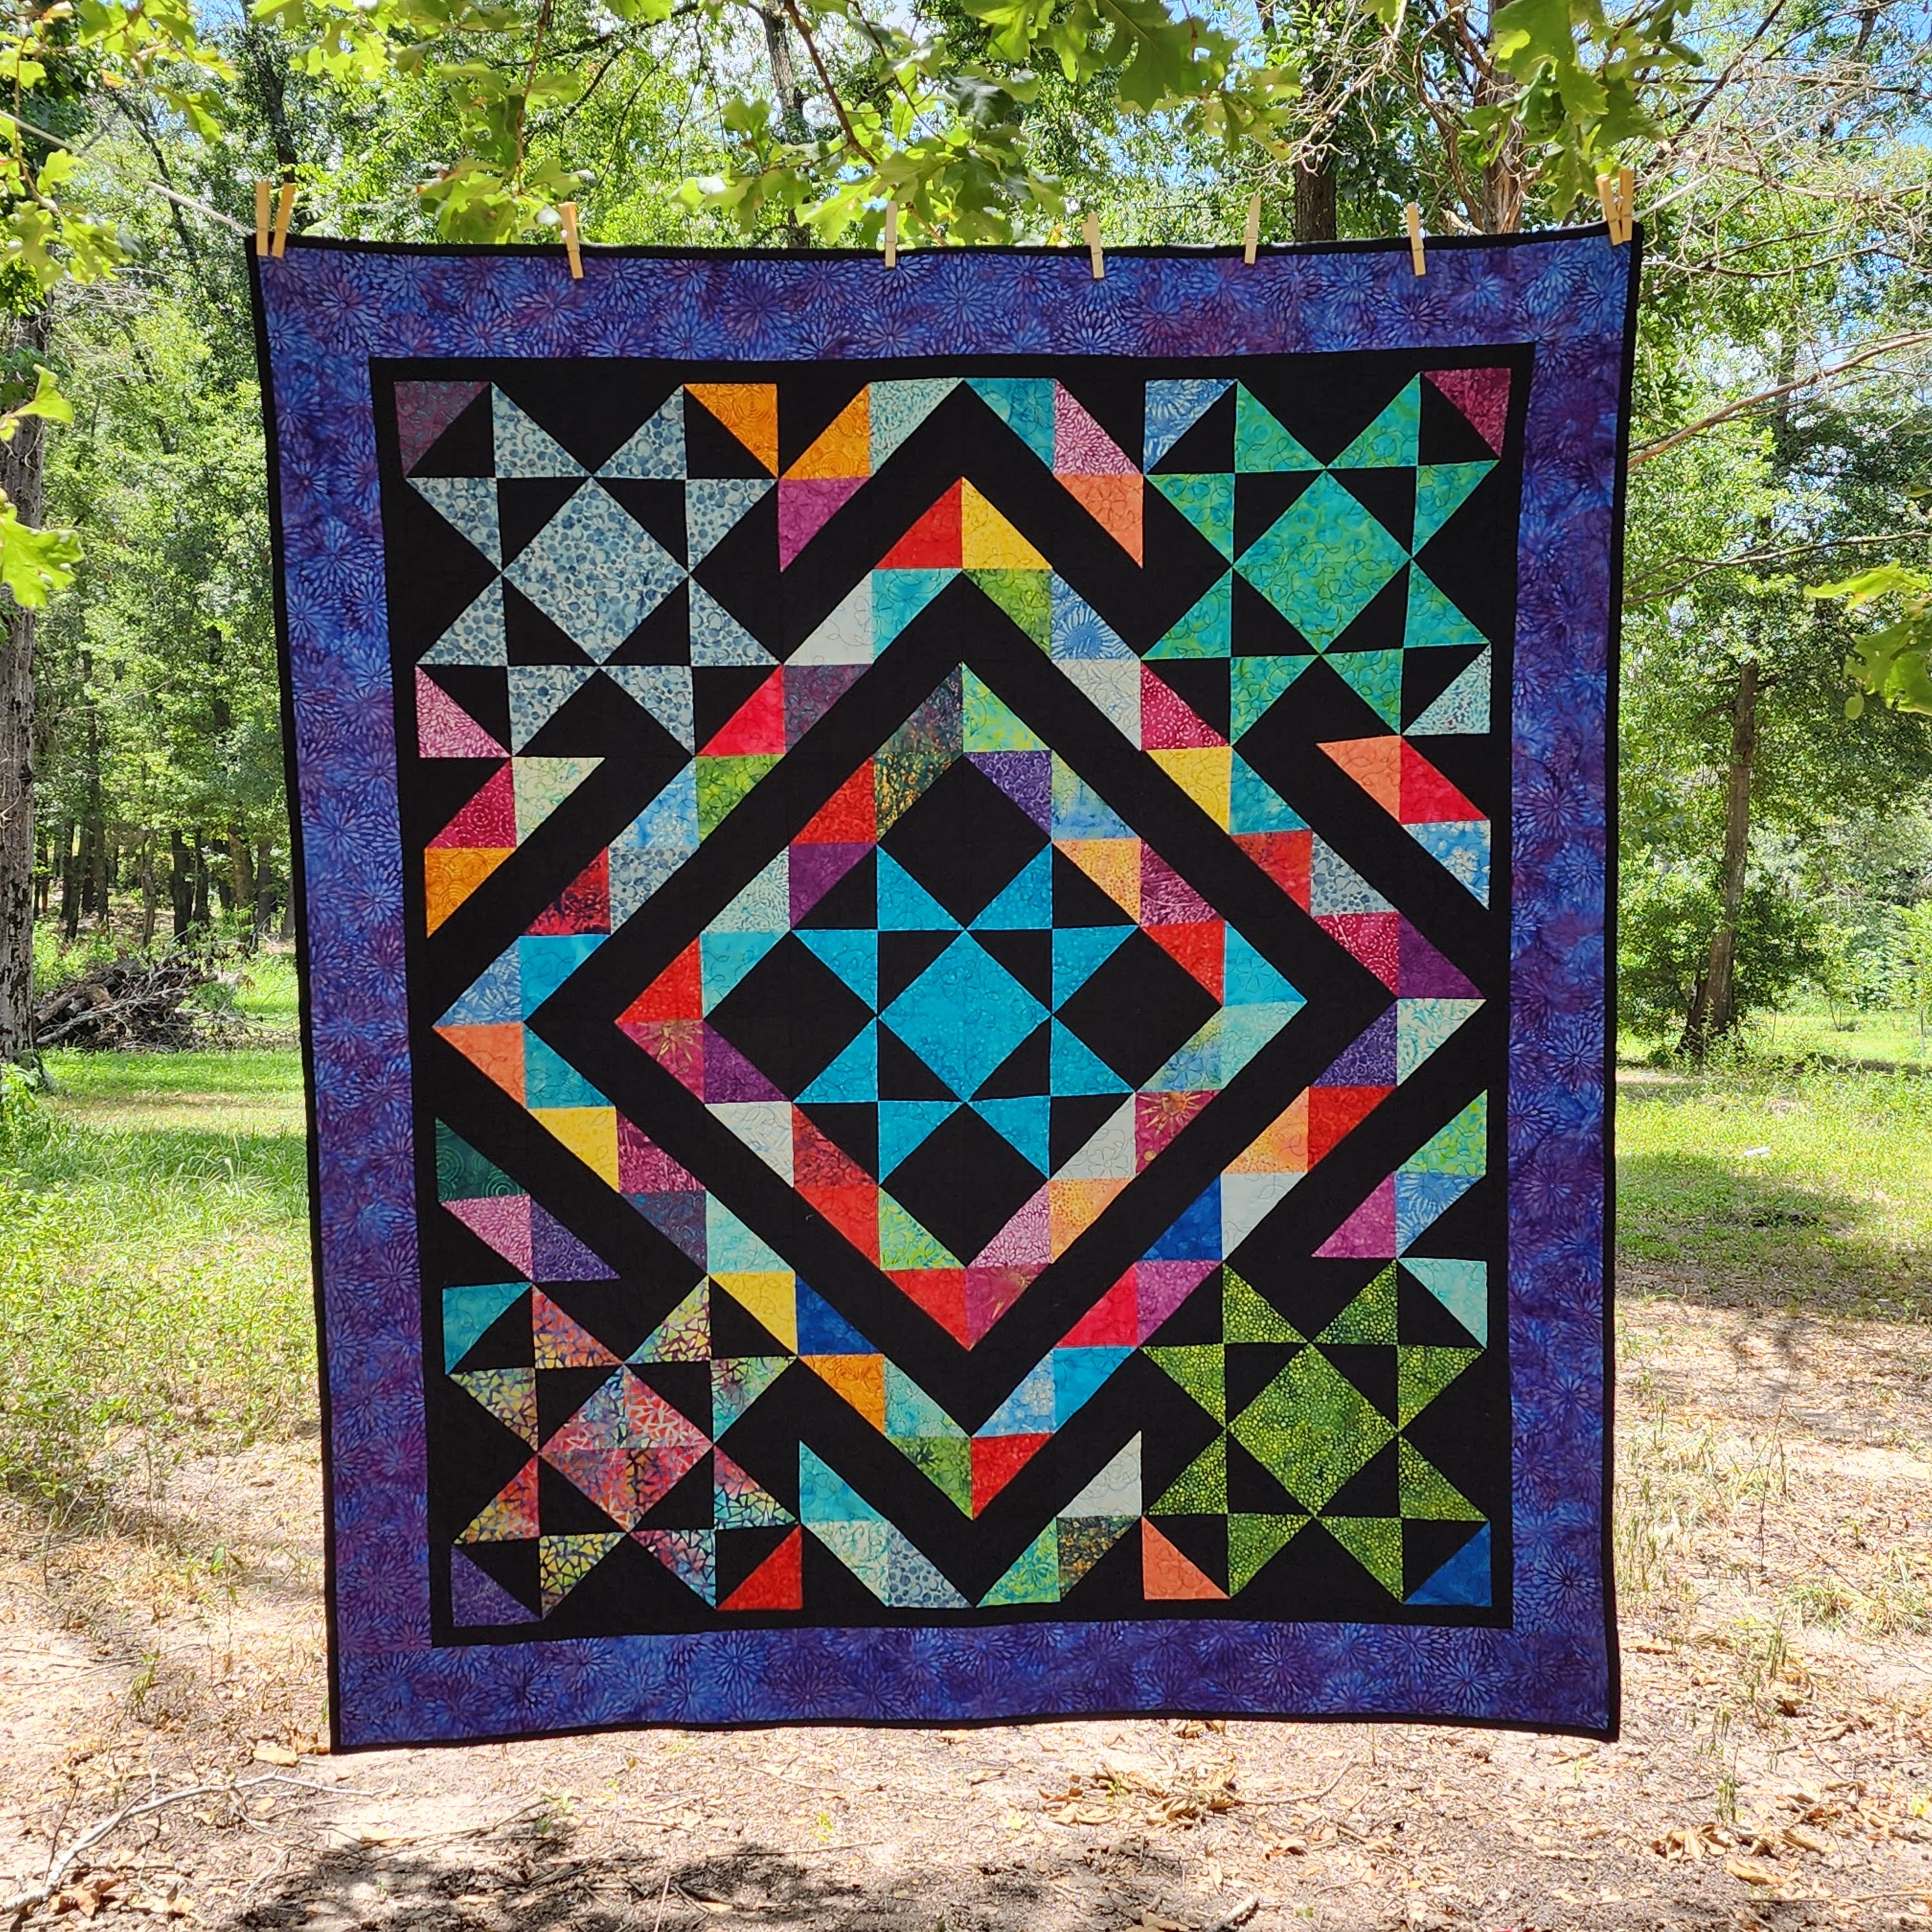
I decided to create Stars in the corners, and the middle, so I needed to have 12 identical Half-square triangles (HST).
I picked five different colors for these Stars.
I laid out the HST into the following layout, and sewed together. I used some random HST triangles I the corners.
I created all 5 Stars first.
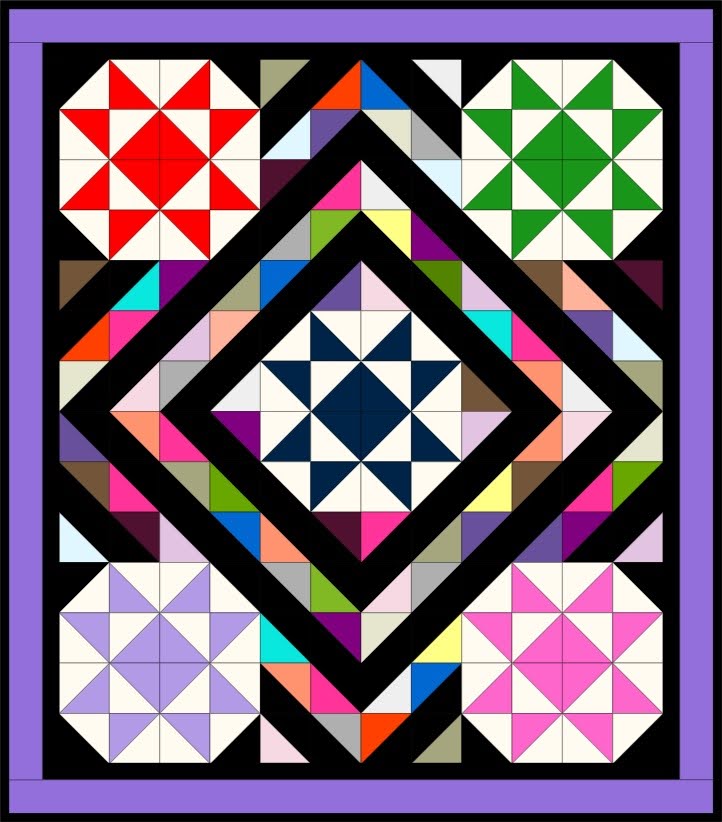
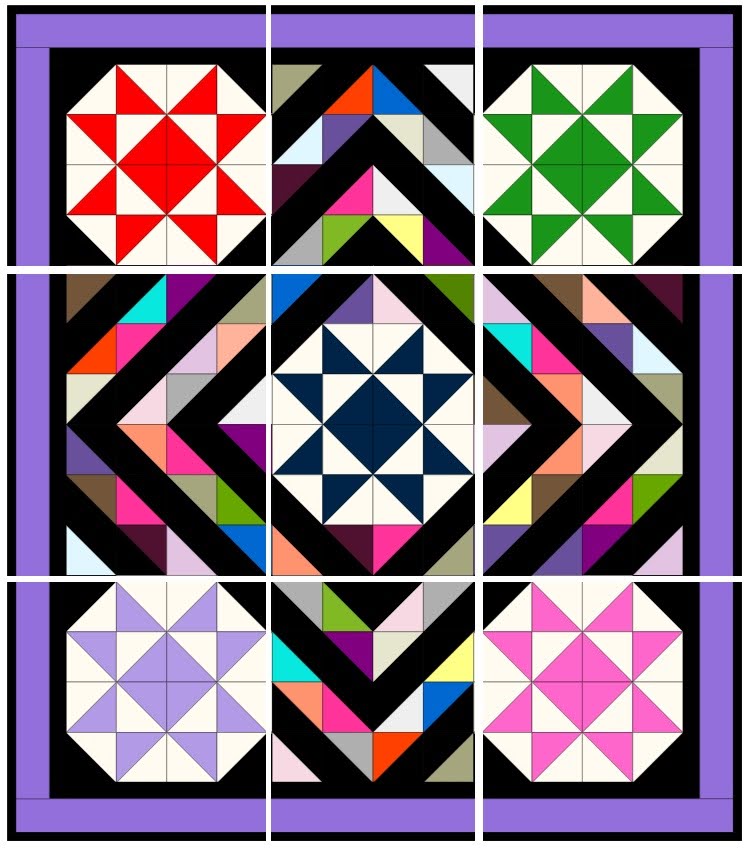
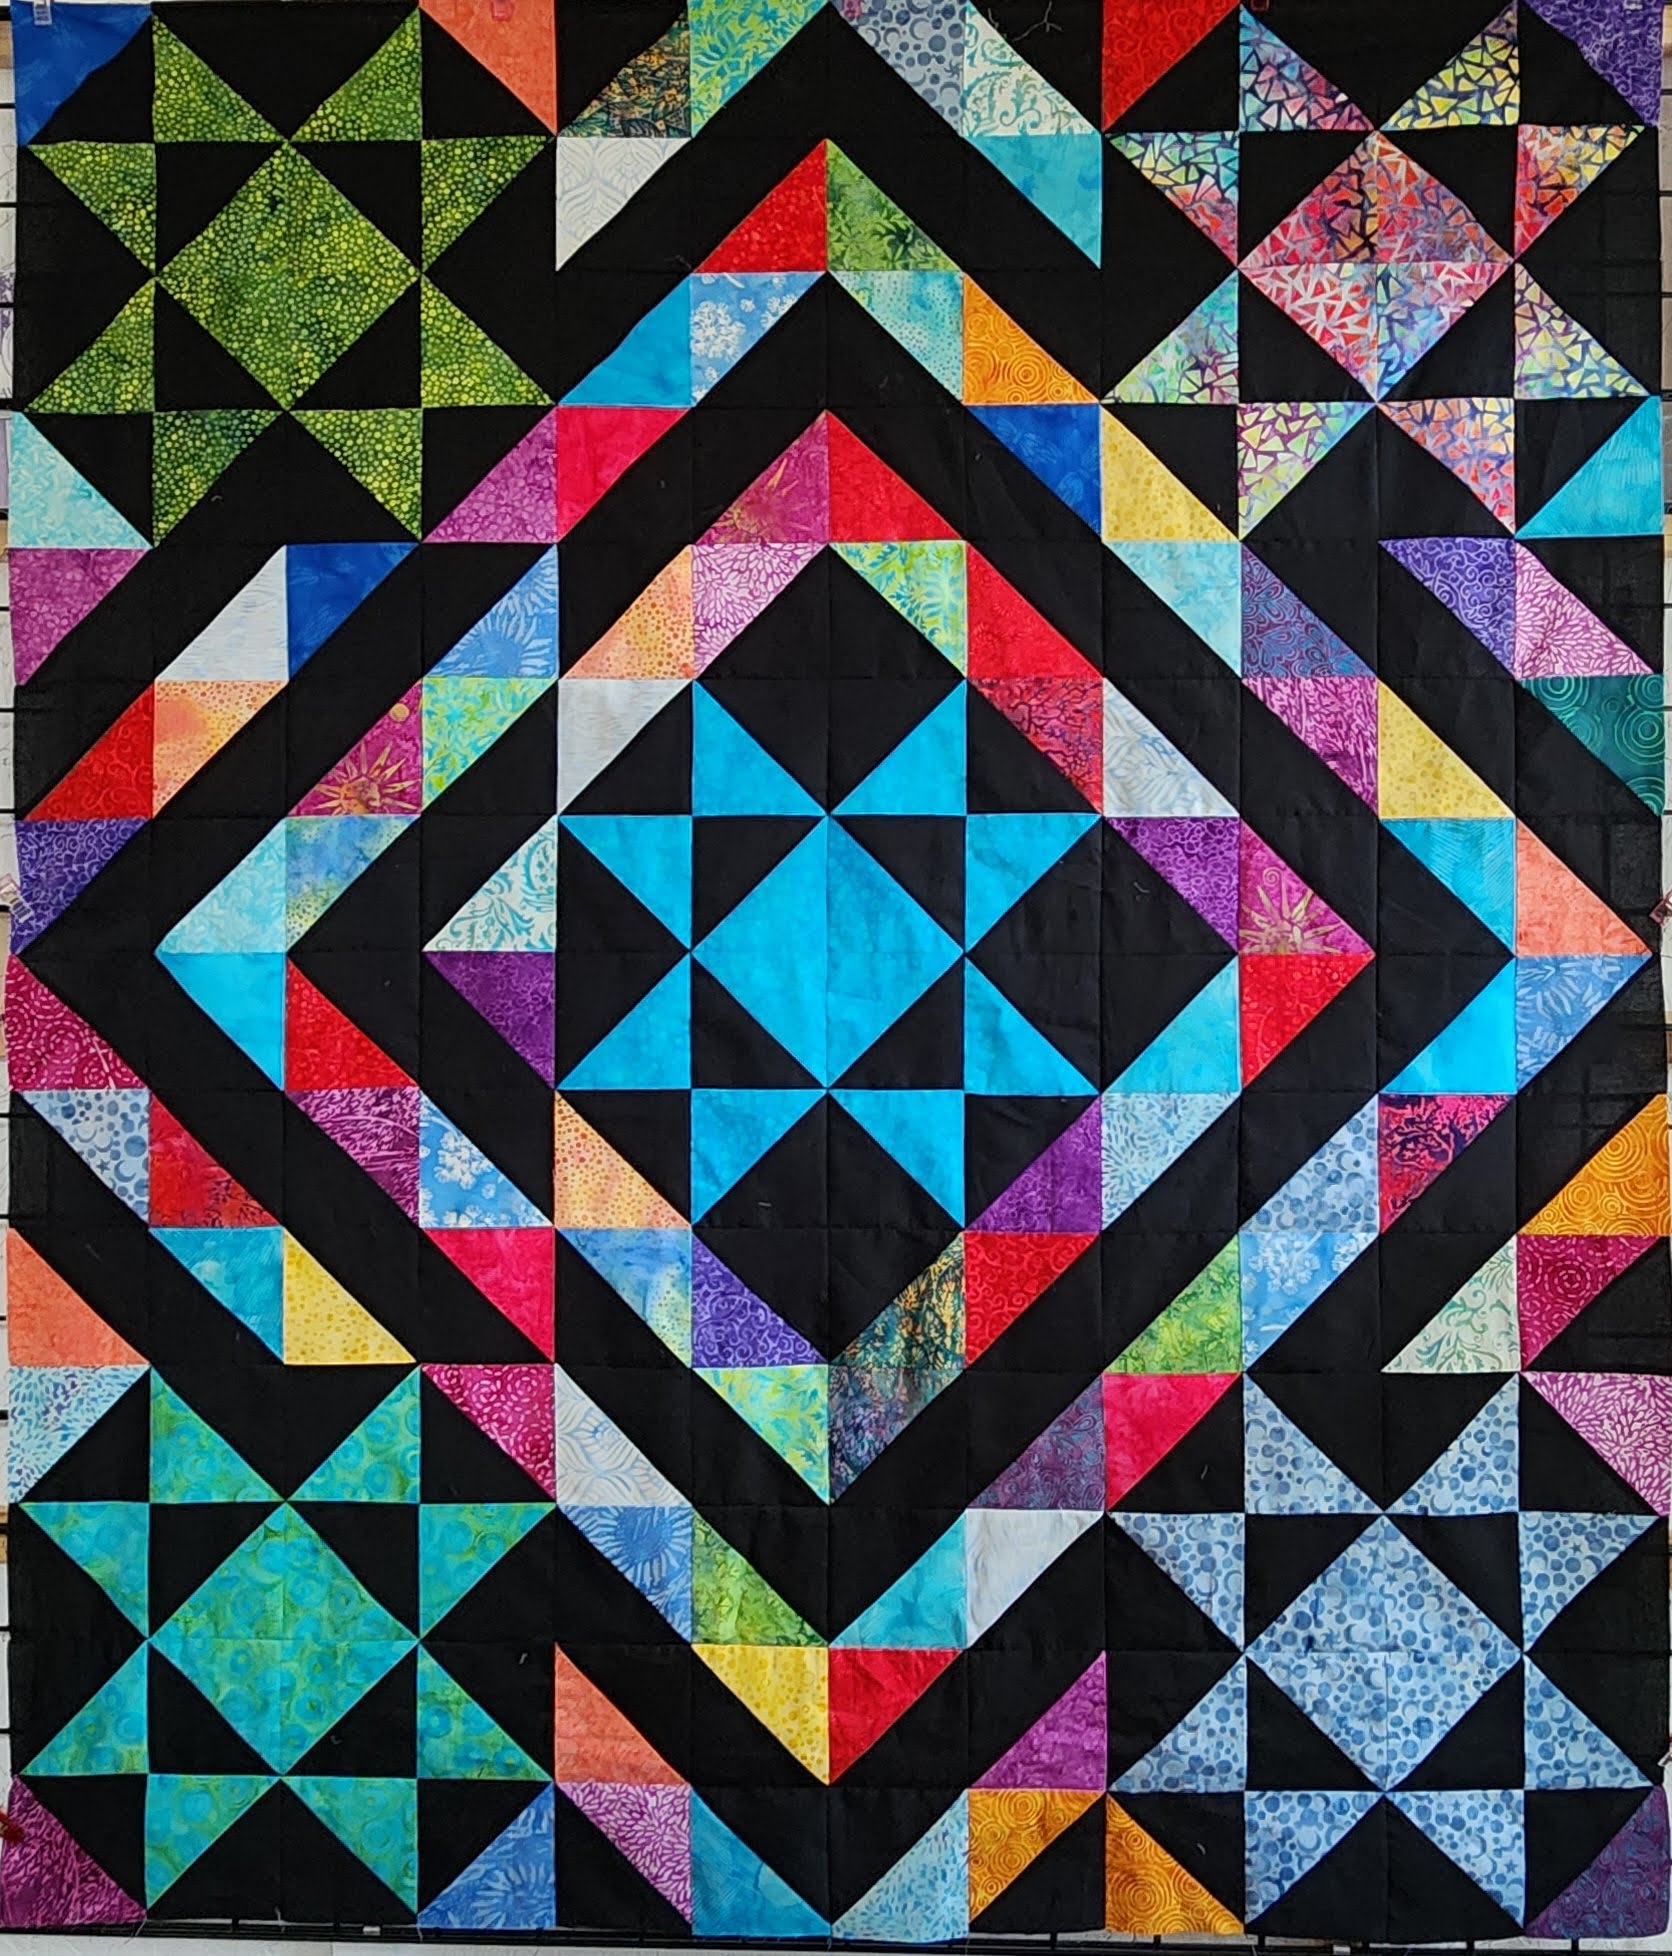
Then I played around with the HST and decided I like this layout.
I divided the quilt top into sections to sew together.
While sewing the sections together, I messed up one of the sides, and after sewing the top together, I realized that I had something wrong.
Sewed the left side together like this:
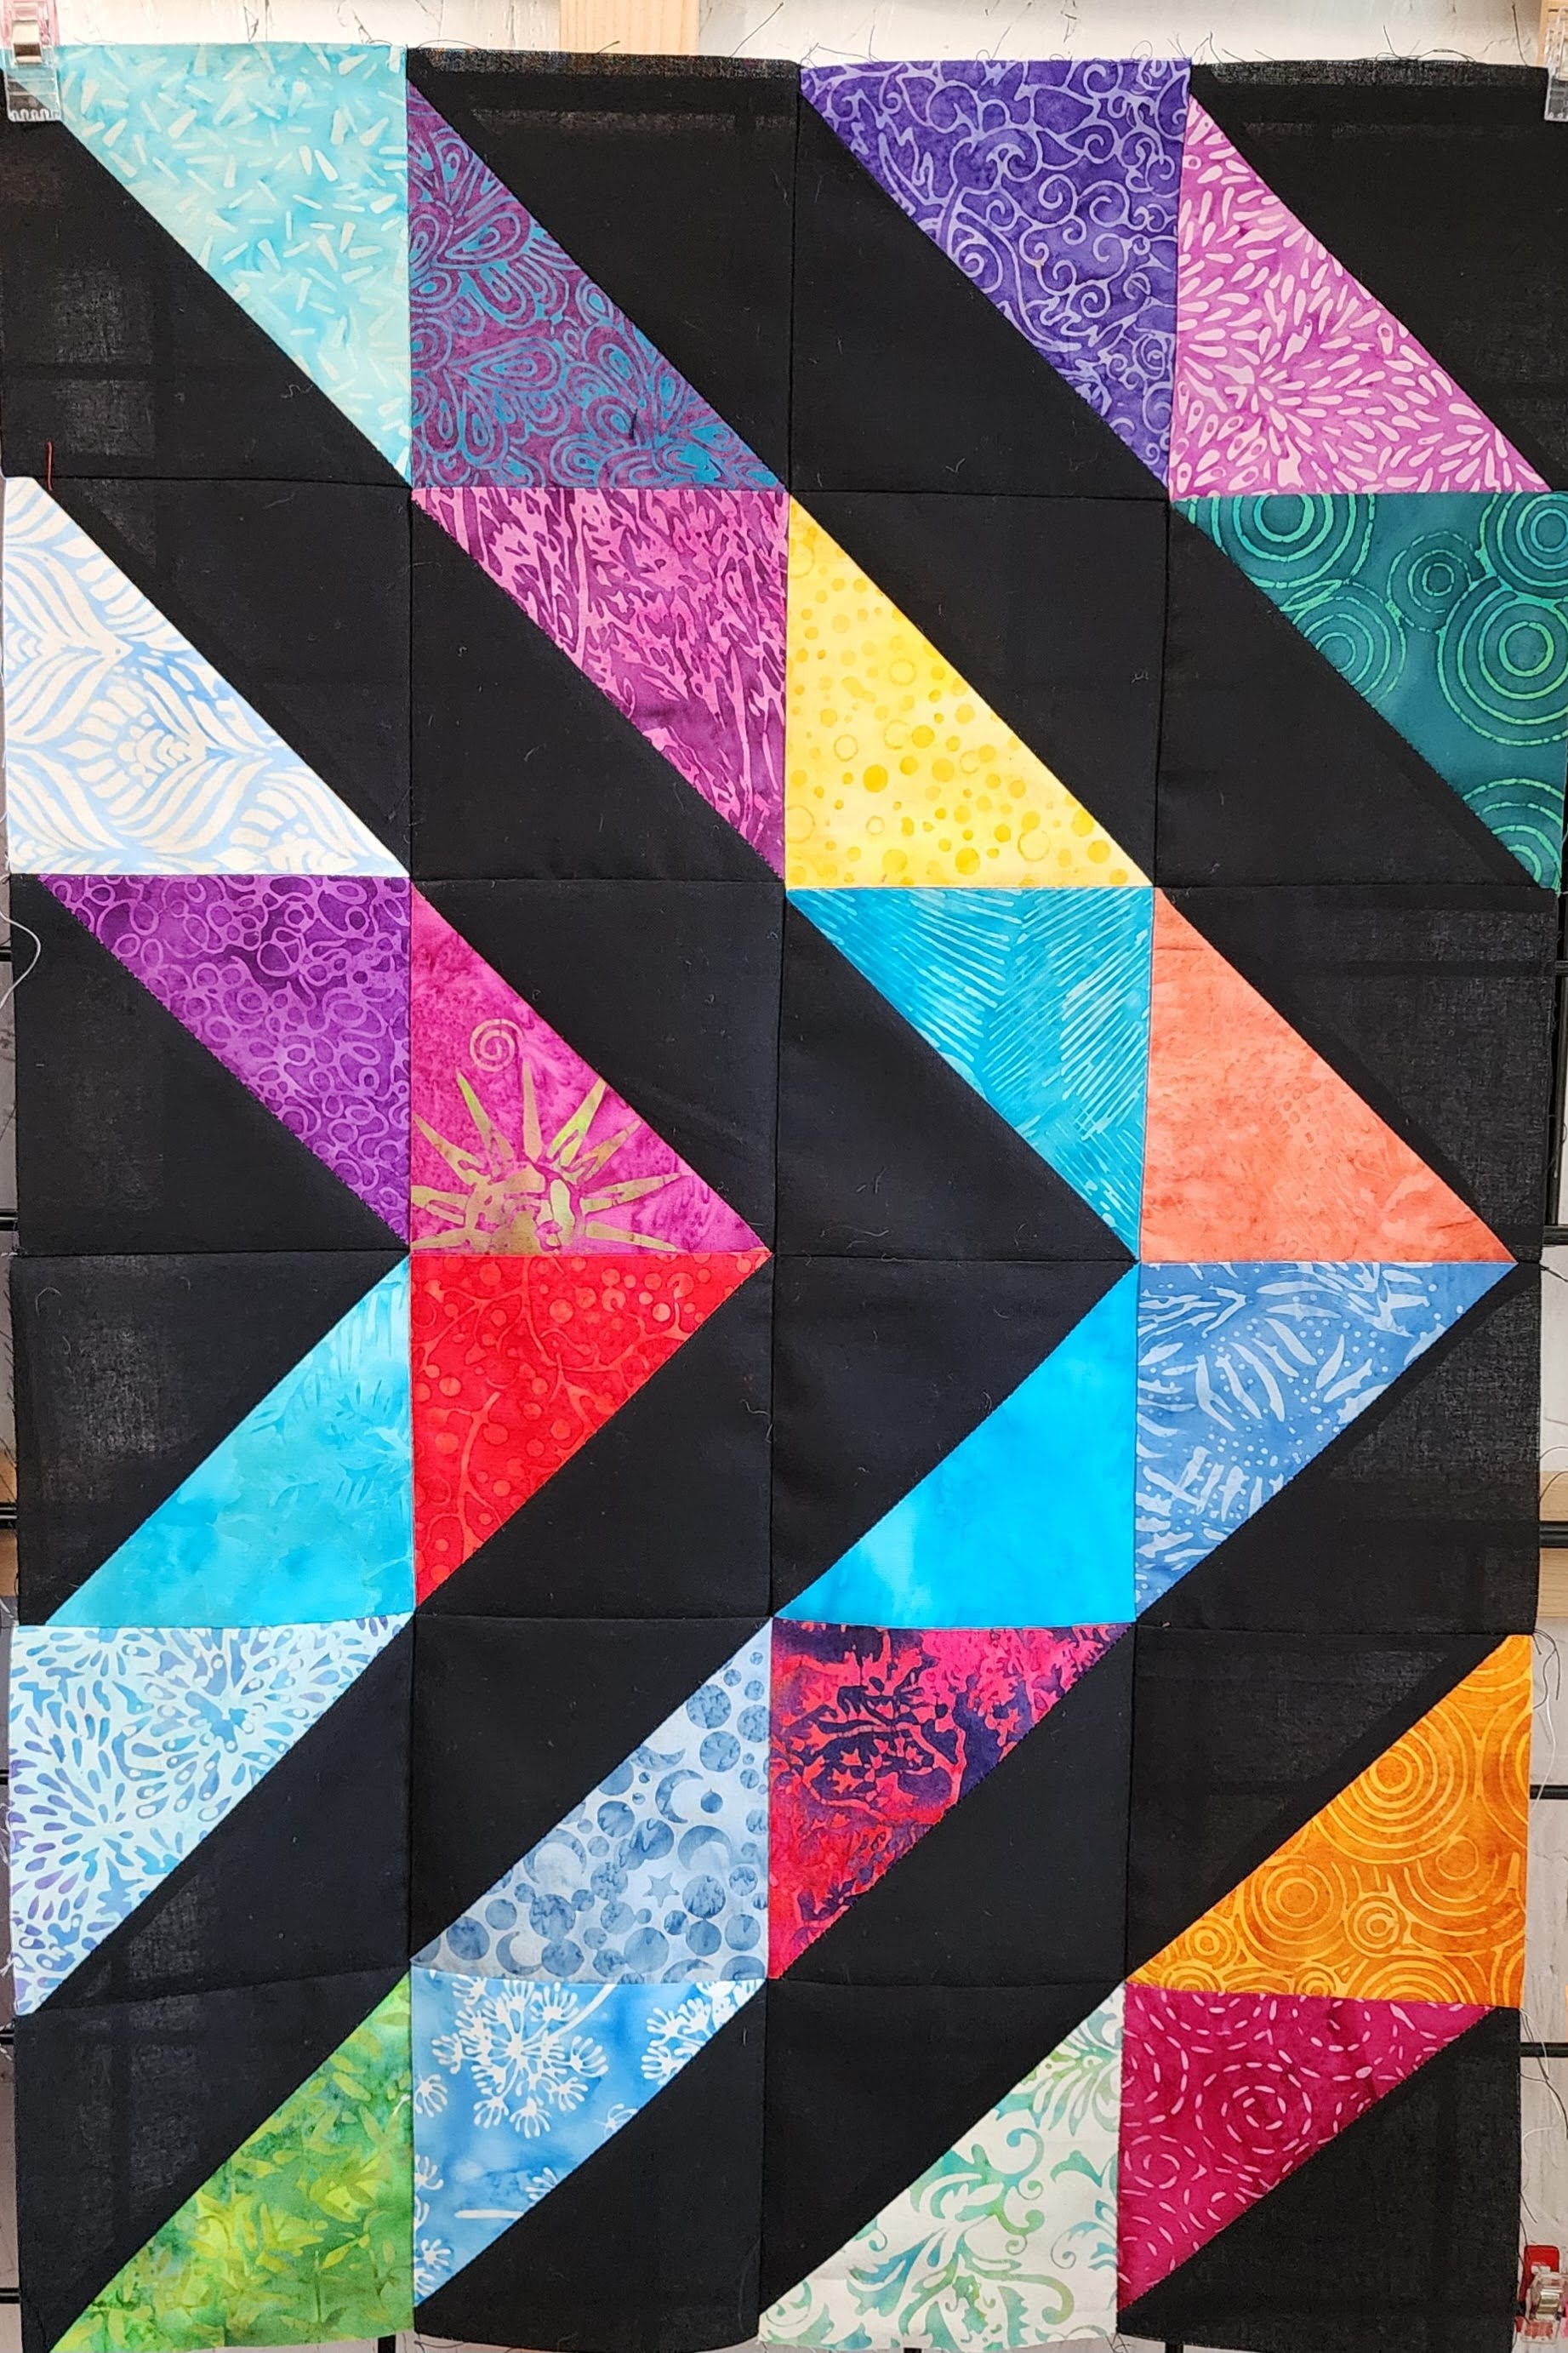
Should have been in this layout.
They looked correct, but when I got the top together, I realized something was wrong. Do you see it? I had placed one row of the HST on the wrong side of the section.
At least it was not quilted, so I was able to remove stitches to correct the layout. Well……
I sewed the section in backwards, and yes, I had everything sewn back together, so out came the seam ripper again. This time, I was able to remove the stitches faster.
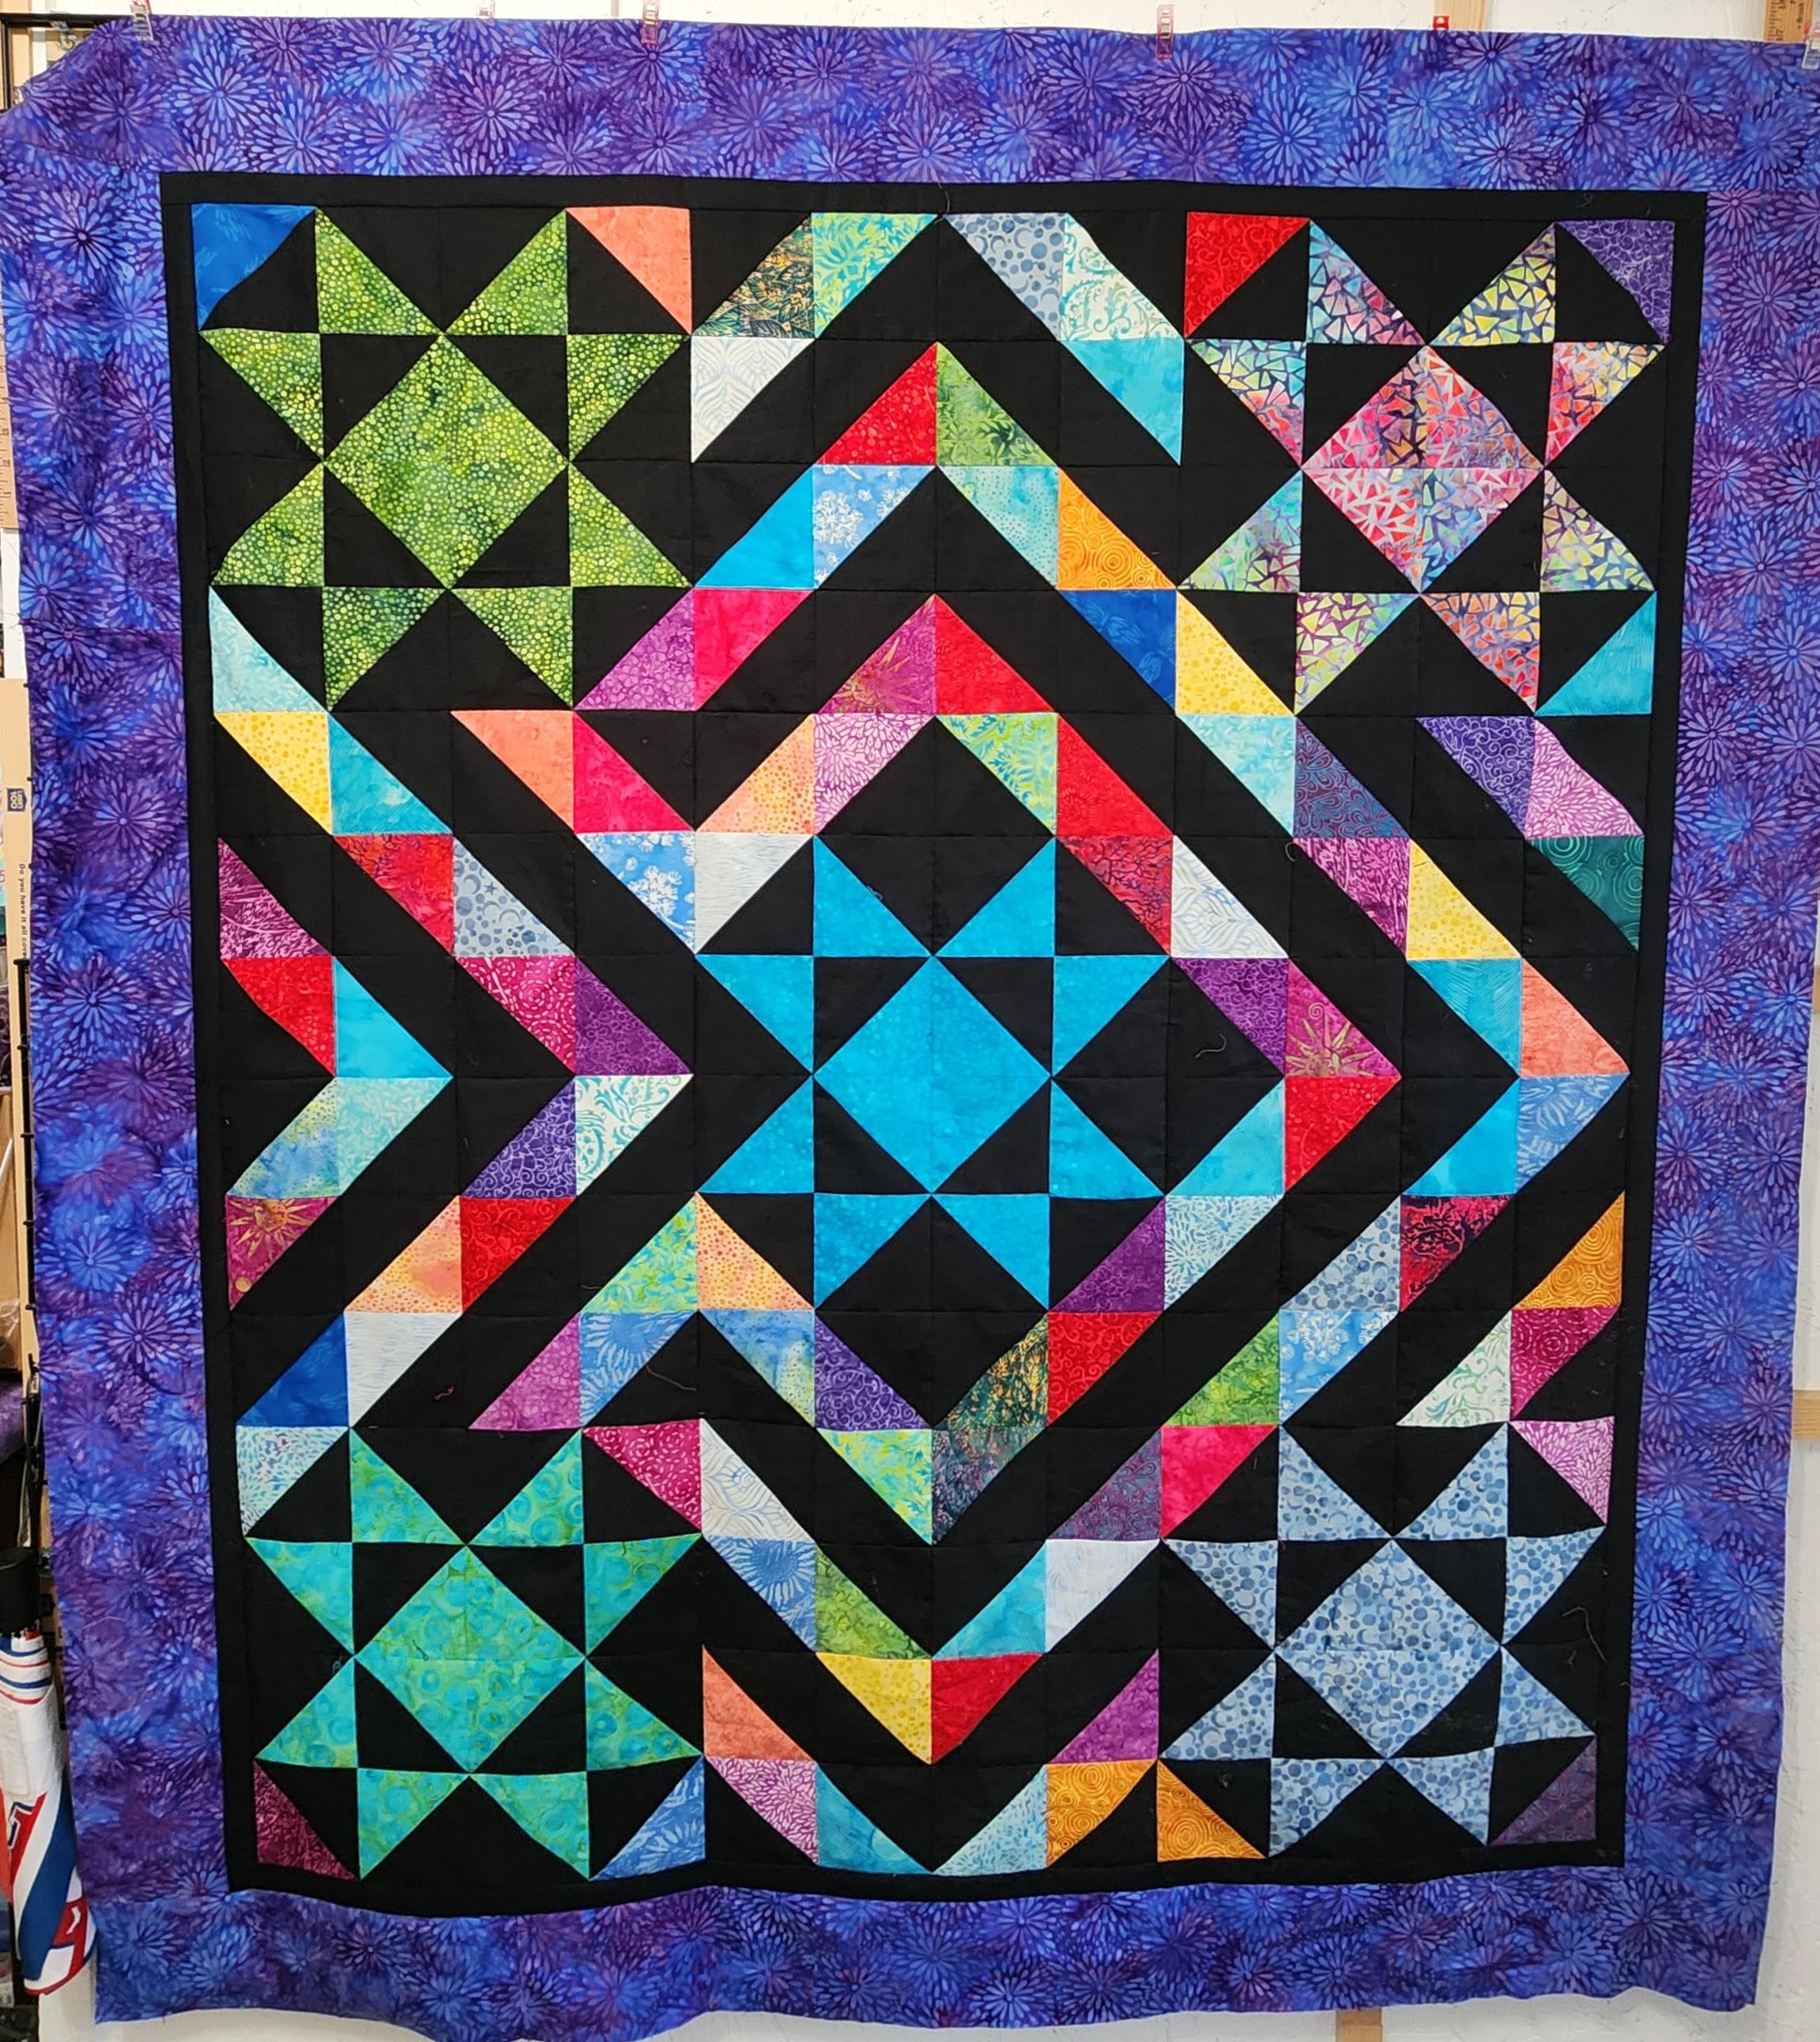
Finally, I got it put together correctly. (Yes, I checked every step of the way this time.)
I had added a 2 1/2″ black border, and then a 5″ strip for the 2nd border. I used some of the Stash Builder fabrics for the border. I was able to find enough to go around the top.
I used Black fabric for the back of the quilt, but decided that since I have several pieces of the Hobbs Premium Black Cotton Batting, that I could piece together the pieces, to use on this quilt. Instead of sewing the pieces together, I used a basting spray to connect the top to the batting, and the batting to the fabric back. This was a little different quilting it on my Juki Longarm, but I worked out, and you don’t see or feel any seams in the quilt.
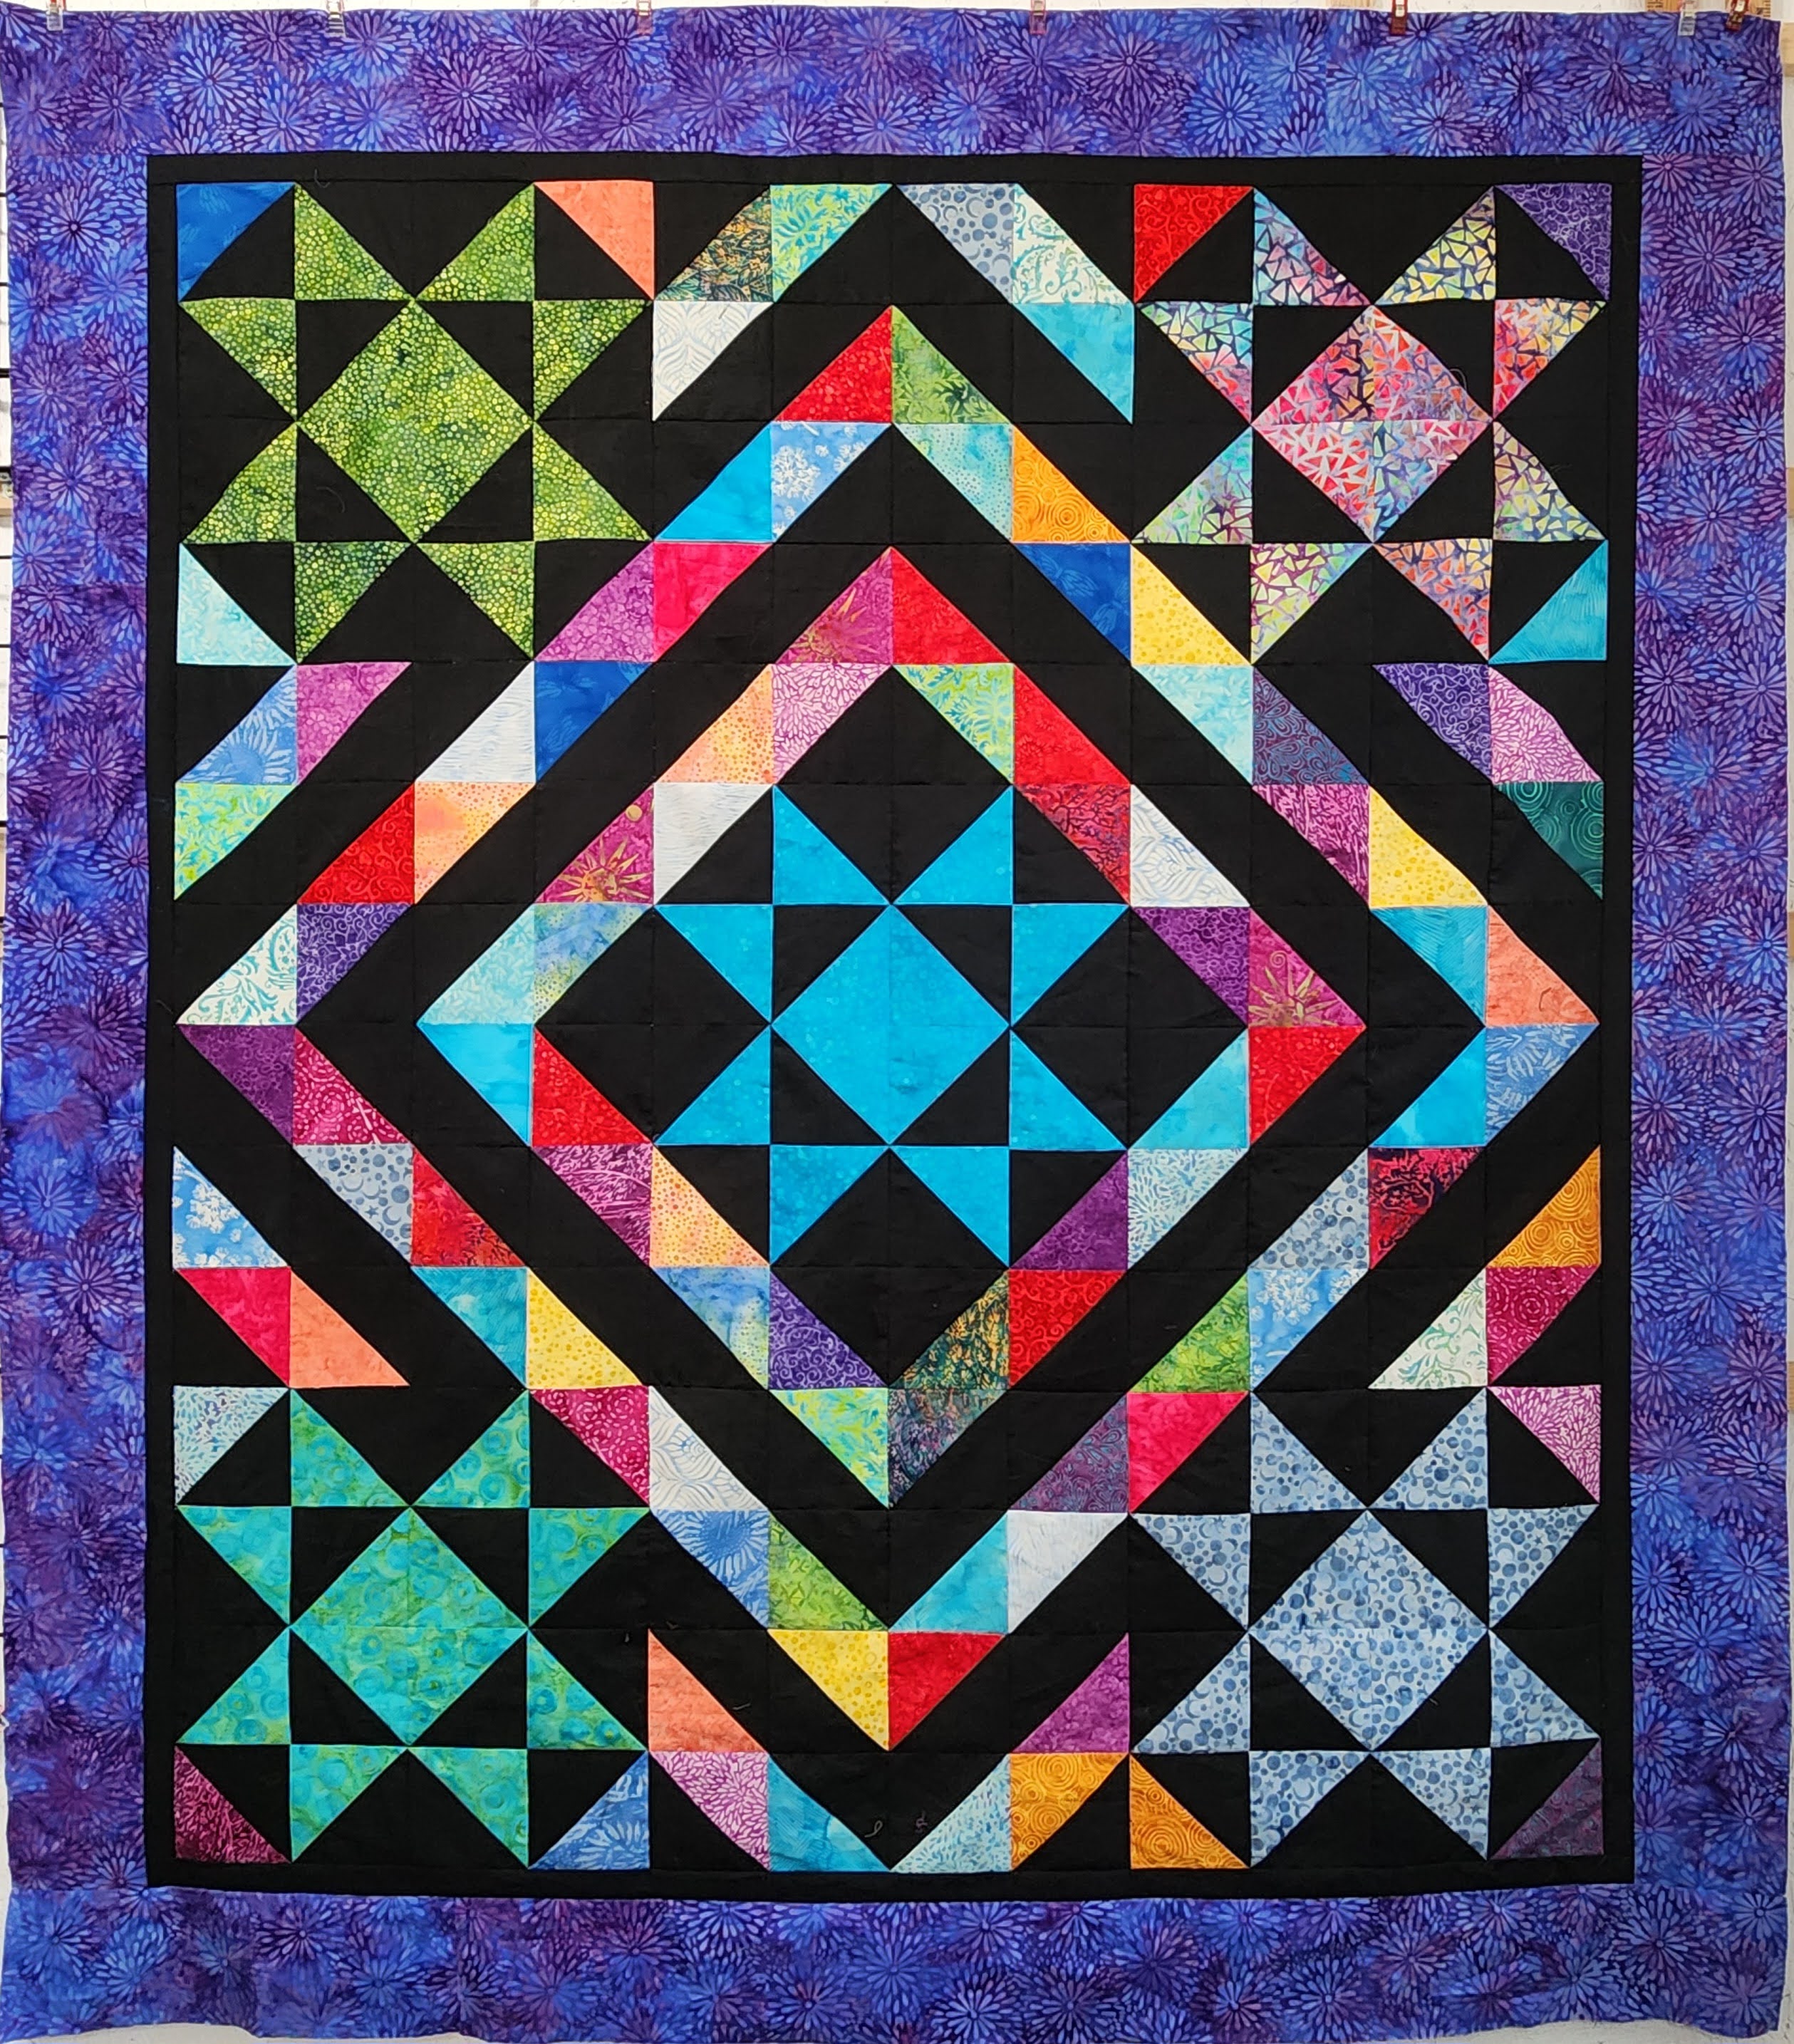
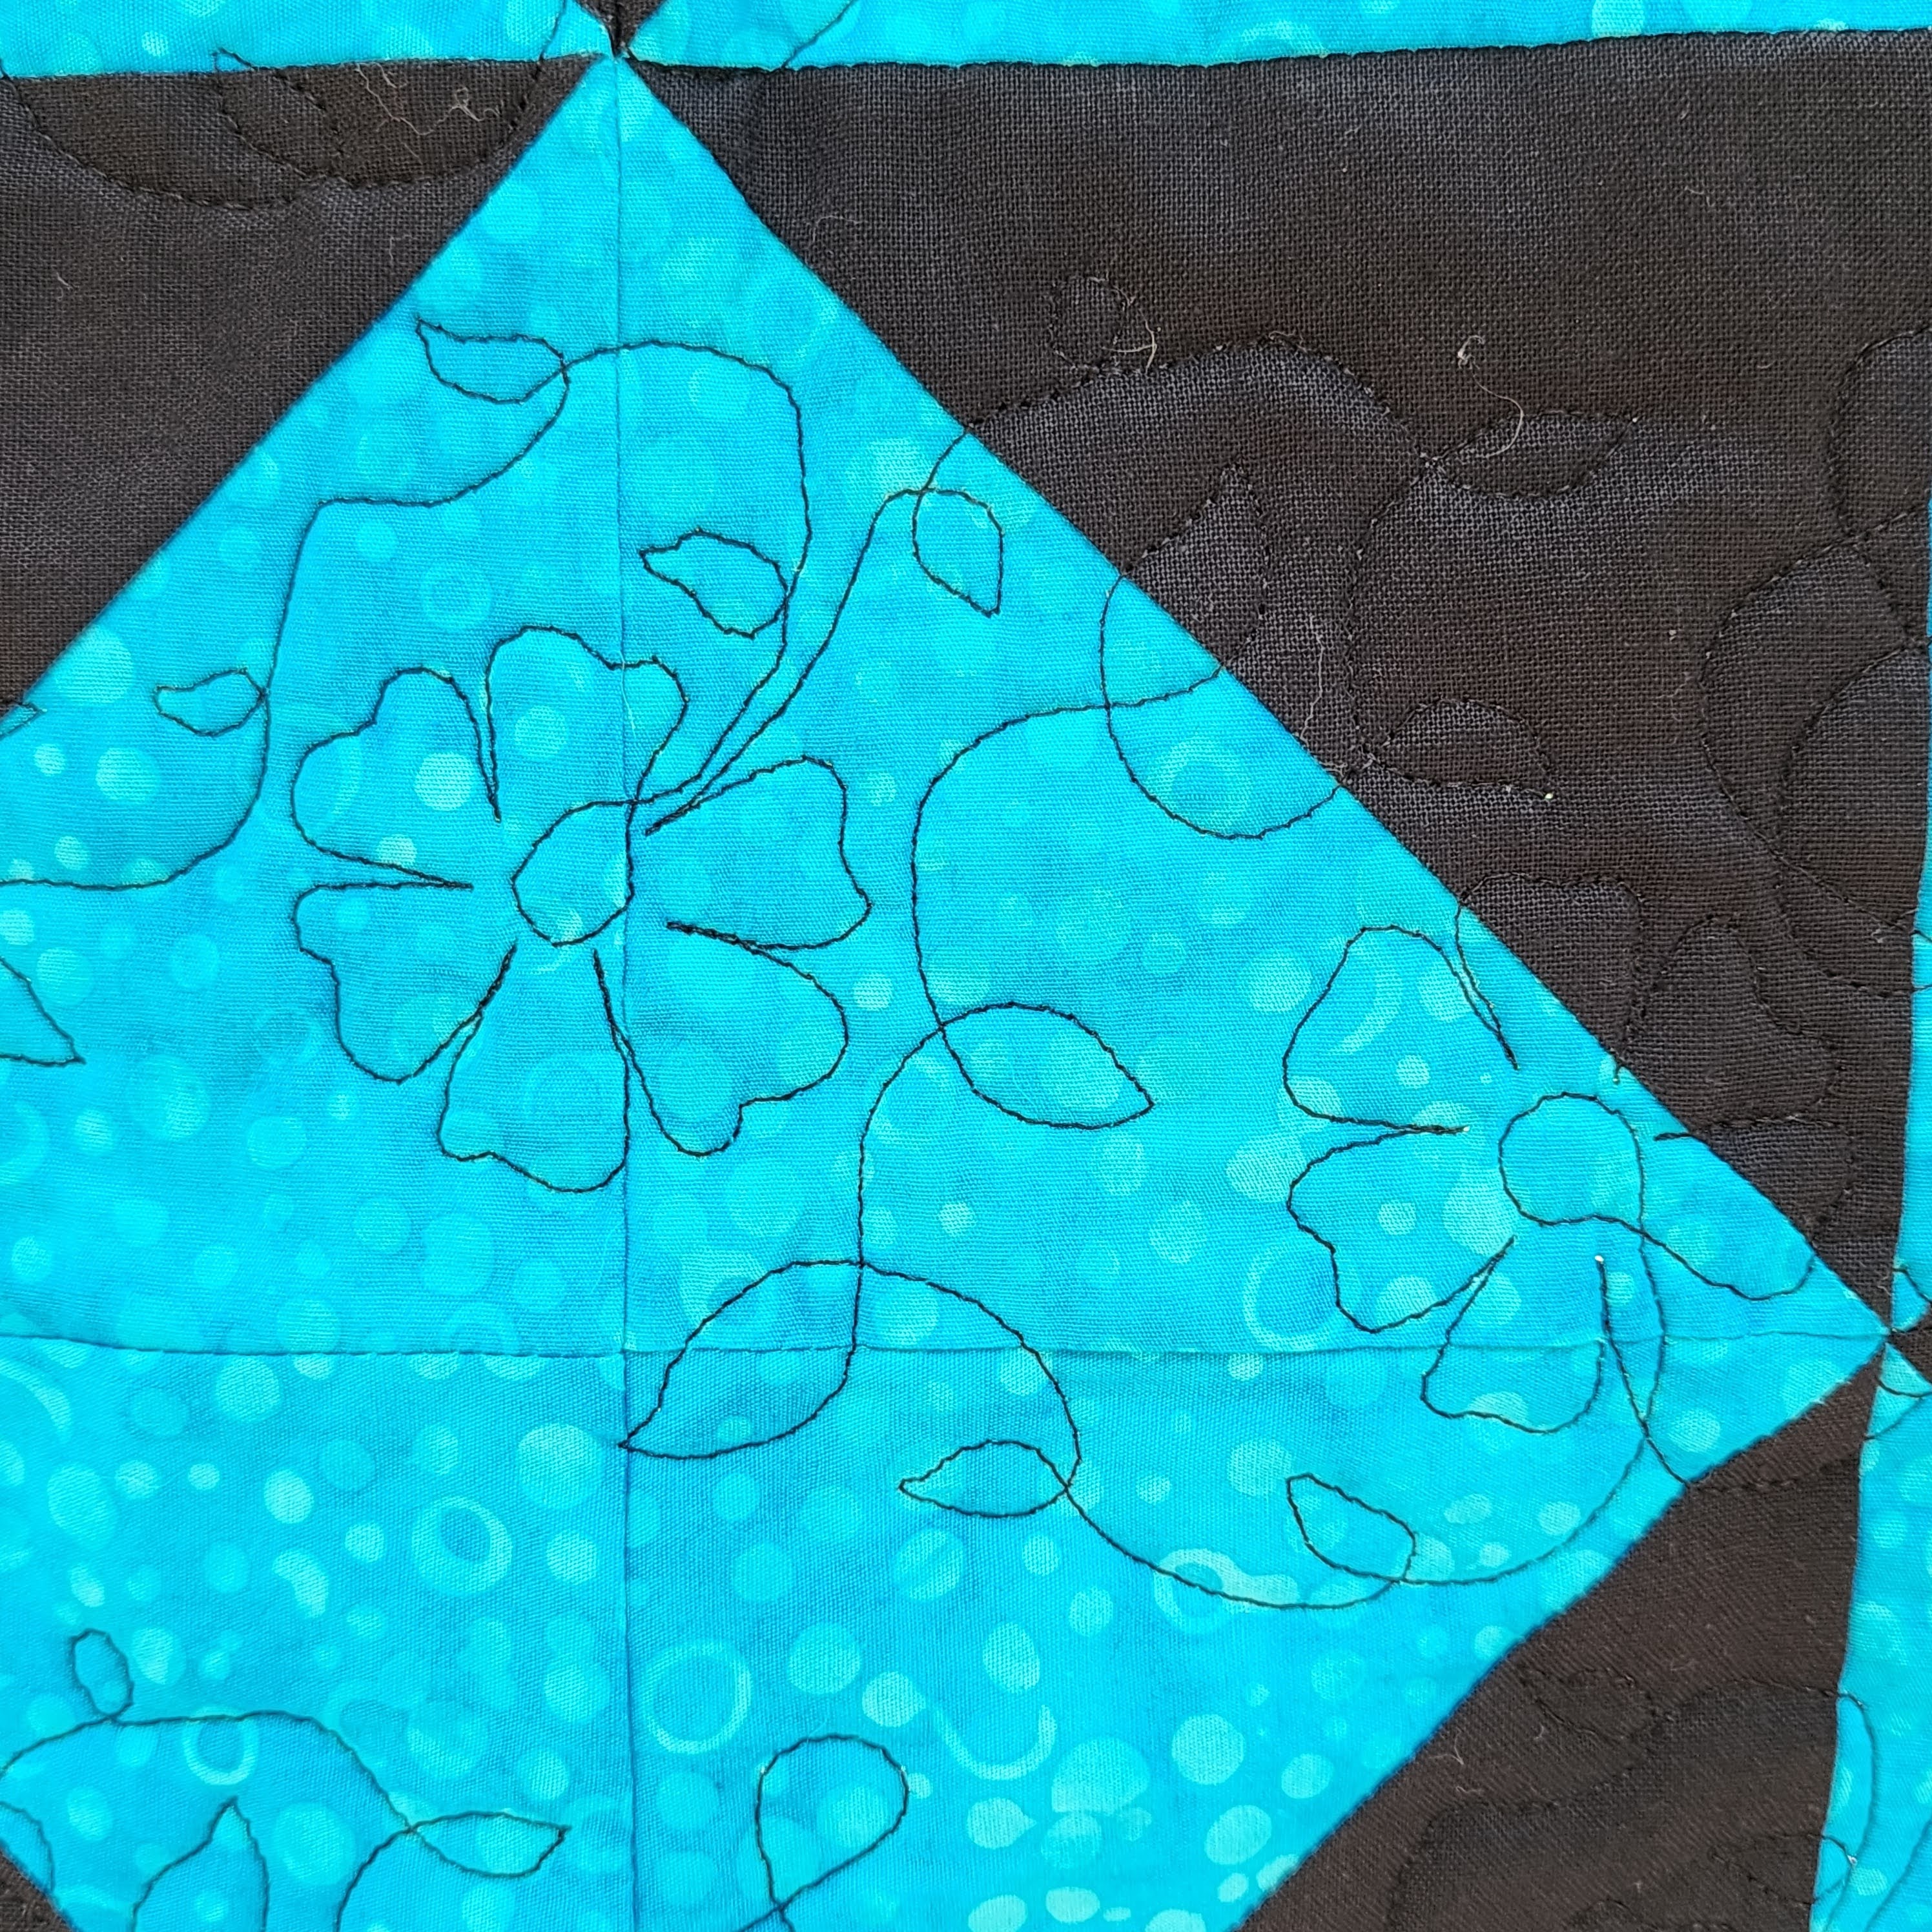
I quilted the top with Aurifil Black Thread with a design that I received free as part of Quilting Pantographs rewards program, called “Spinning Hearts“.
My Quilt finished at 62″ x 70″.
I hope you enjoyed my extra quilt for July 2024.
Shortly, I will be releasing my blog and video my July Island Batik Ambassador goodies for the second half of the year.
Follow me on Instagram @LisasQuiltingPassion , or on my blog at www.lisasquiltingpassion.blog (new link in 2024), or join my Facebook group.
#islandbatikambassador, #islandbatik, #iloveislandbatik, #studio180design, #TuckerTrimmer, #juki, #aurifil, #hobbsinside,

Love your “extra” quilt! Very nice!
LikeLike