
Thank you for joining us for the 2021 Quilting Block of the month blocks. We have been doing old blocks, with a new more modern twist to the blocks. They were all published in the Kansas City Star from the 1930s to 1950s. Some are very common that you see a lot, and some are less known blocks, but were really fun to make.
We have done some with the Half Square Triangles (HST), some with Flying Geese, some with split Half Square triangles, and even did one with paper piecing. Some blocks were simple and easy and others a little more complex. I hope that everyone enjoyed the selection of blocks.
While this year’s blocks are done, we will have more blocks in 2022!
I look forward to seeing everyone’s blocks completed into quilt tops. There are lots of different ways to assemble your block, I will show you some options, and the way that I completed my quilt top. (with assembly instructions next week).
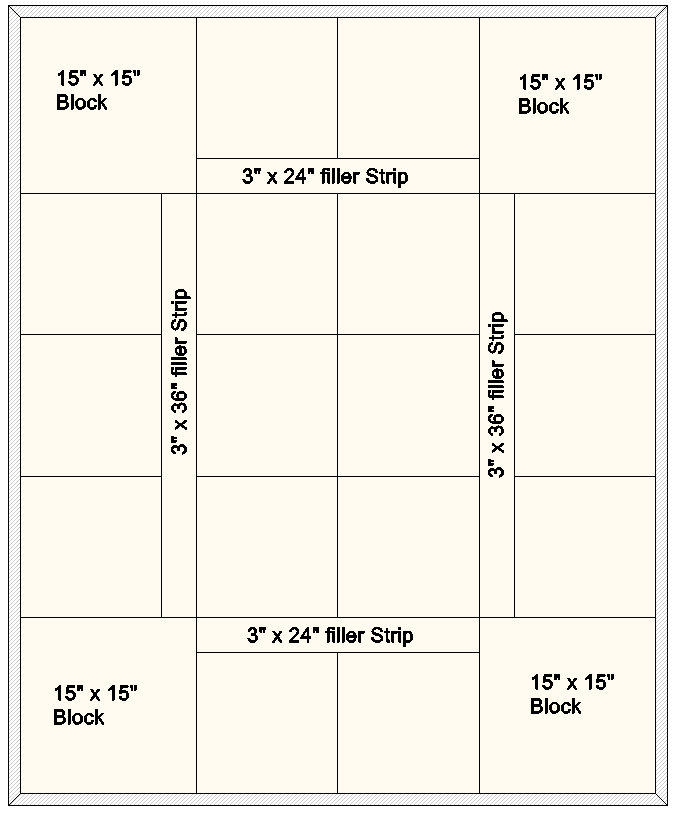
For 2021, there were four 15″ x 15″ finished blocks and sixteen 12″ x 12″ finished blocks.
(15 ½” x 15 ½” & 12 ½” x 12 ½” unfinished)
Layout 1 – has some 3″ strips that you can fill with blocks or leave with a filler block.
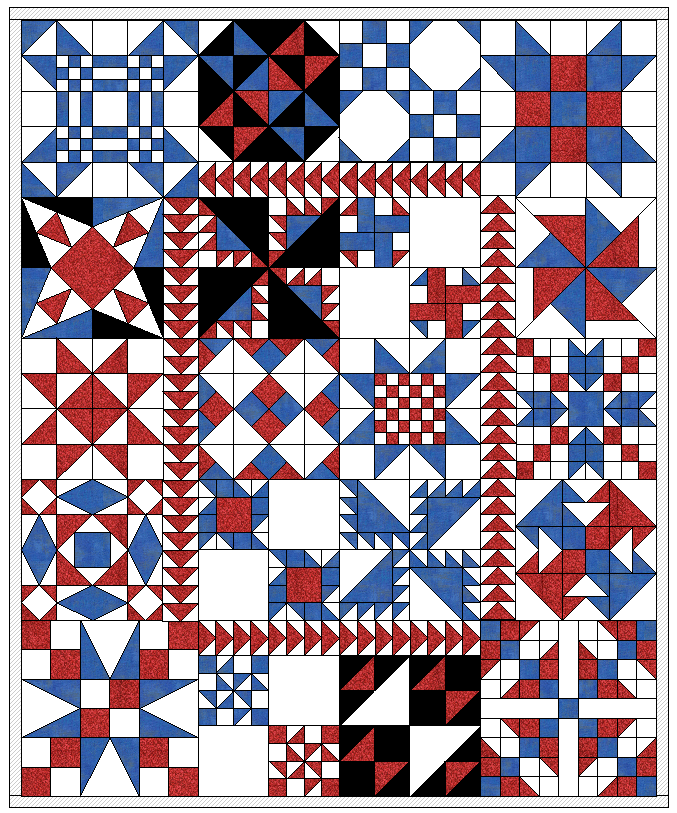
Layout 2 – moving around some of the blocks and you will have some 6″ x 6″ finished blocks to fill in.

There are so many different layouts that you could use.
In these examples, you can use strips for the filler strips or you can use small blocks.
3″ strips – filler block options (3″ x 3″ finished)
- Flying Geese (2 per block)
- Pinwheel
6″ strips – filler block options (6″ x 6″ finished)
- Flying Geese (2 or 4 per block)
- Pinwheel
Another option for 6″ filler blocks is to use a quarter section of a couple of the blocks that we did this year.
- A Scrap Zig Zag
- Contrary Husband
- Contrary Wife
- Flying X
There are so many options for which blocks you use. Just remember when you layout your blocks that you make sure that you don’t have any “Y” seams when assembling (unless you like to do those).
When I was trying to decide how to lay my quilt out, I used different options to see how they would look.

I shifted the center blocks, one row up, and one row down, then added some 6″ x 6″ blocks. Added a pinwheel and a white square in both columns. They just fill in, and you don’t see that they are different, and leave the side strips the same way.

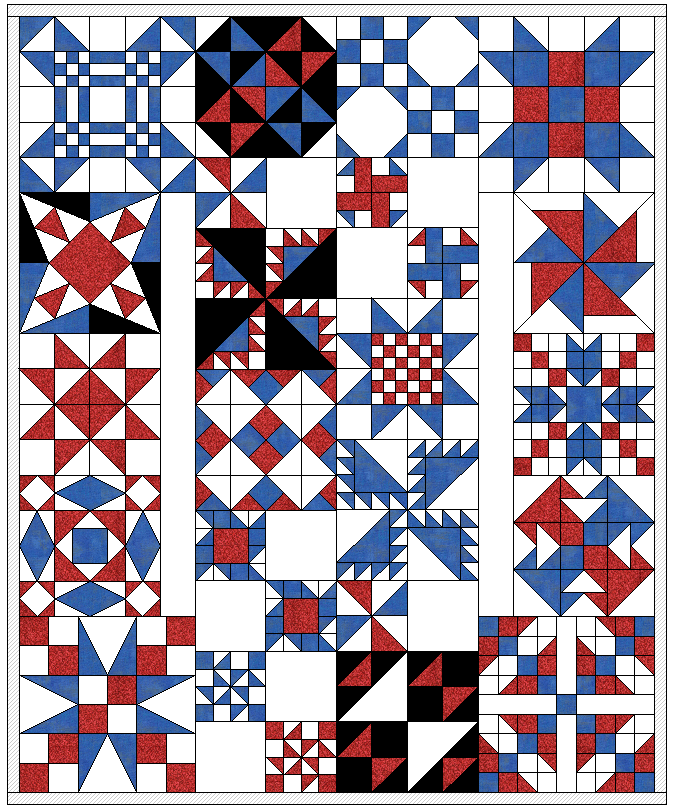
Or simply just use strips to fill the space.
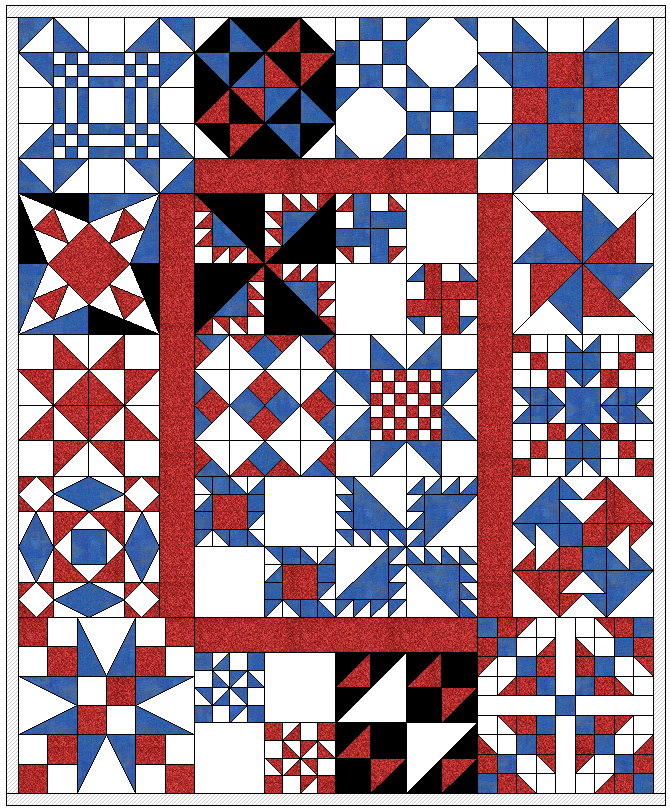
This is the layout I finally chose for my quilt top – 71″ x 84″ There are a couple options to make the quilt larger if you want.
- Make the black sashing strips wider (currently 1″ finished)
- Make the red border strip wider (currently 1″ finished)
- Make the blue border wider (currently 5″ finished)


Come back next week, and I will have instructions on how I assembled my quilt top.

Thank you!
Sent from my iPhone 🇺🇸🏠
Jeri@JeriAnderson.net
LikeLiked by 1 person