
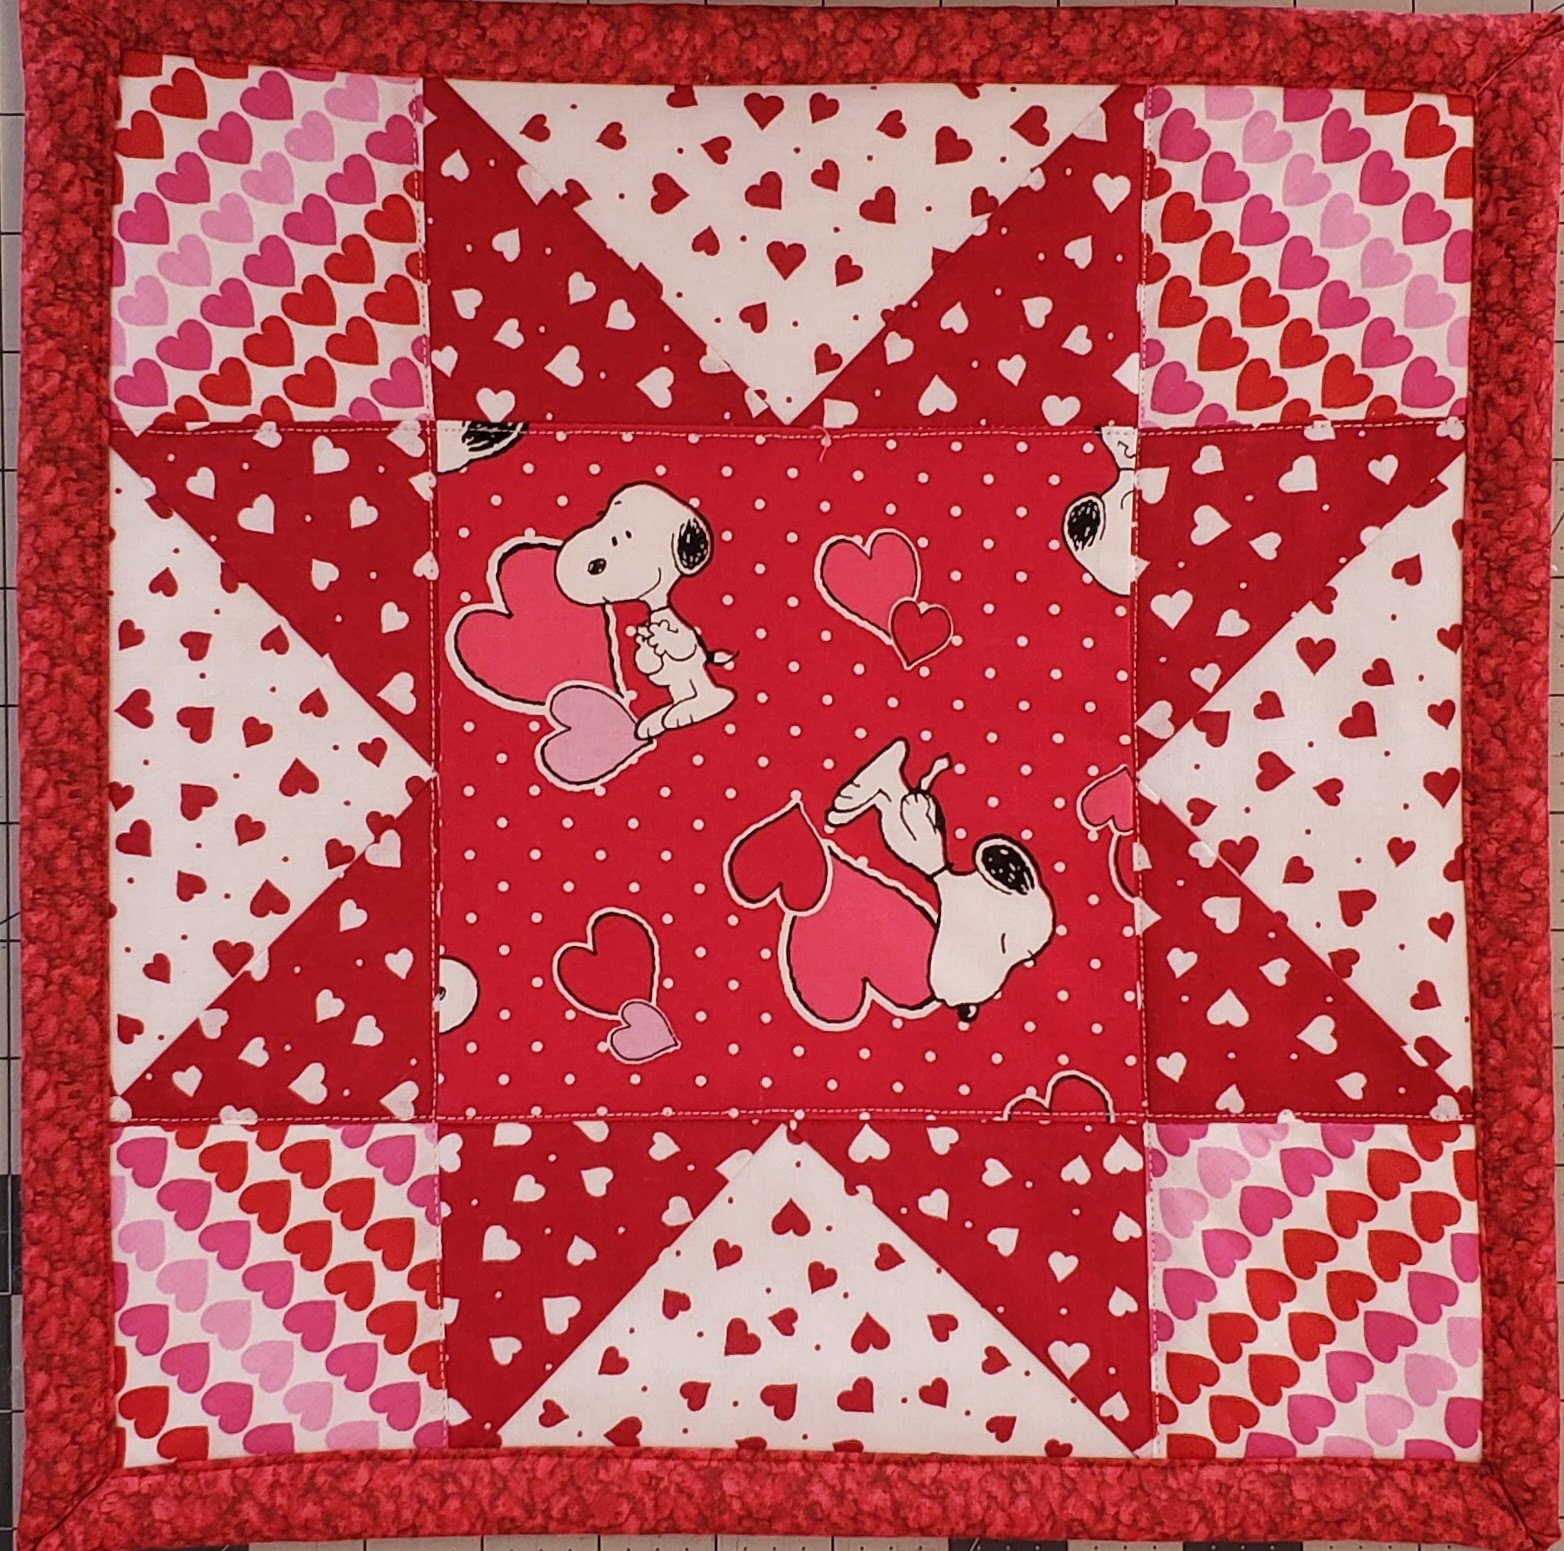
The block for this month is a variation of a Star Block. I want to create a block that could be added to a quilt, or made into a mini quilt to decorate for Valentines Day.
The block will finish at 12″ x 12″ (12 1/2″ x 12 1/2″ unfinished). The block will use the No-waste flying geese method. A quick and easy way to make four flying geese. I decided to use valentines fabric, and used some Snoopy fabric for the center block. I fussy cut the hearts for the corners to give it a more fun look.
Fabric Requirements:
- Color A – 7 1/4″ x 7 1/4″ (center of flying geese)
- Color B – 4″ x 16″ or 8″ x 8″ (sides of flying geese)
- Color C – 15″ x 4″ (Corners)
- Color D – 6 1/2″ 6 1/2″ (Center)
Fabric Cutting
- Color A – One – 7 1/4″ x 7 1/4″ (white / red hearts)
- Color B – Four – 3 7/8″ x 3 7/8″ (Red / white hearts)
- Color C – Four – 3 1/2″ x 3 1/2″ (Corners)
- Color D – One – 6 1/2″ x 6 1/2″ (Center)

Assembly
Step 1 – No Waste Flying Geese
Draw a diagonal line across the back of the smaller squares (Color B)

Place two Color B on opposite corners of Color A, right sides together, with the lines flowing together.

Stitch 1/4″ along both sides of the drawn lines

Cut along the drawn lines, down the middle between the stitch lines.

Press seams open.

Using one piece, place one Color B on the corner, with the diagonal lines flowing into the middle of the triangles.

Stitch 1/4″ on each side of the line

Cut along the drawn line


Press both pieces open.
Repeat last three steps to create the other two Flying Geese.
Square up your flying geese to the correct 3 1/2″ x 6 1/2″ making sure to square from all sides, making sure that you leave 1/4″ seam allowance above the center point.
You will have completed 4 Flying geese with no fabric waste.

Step 2 – Layout
Layout the pieces like this.
- Color C – four corners
- Color D – Center
- Flying Geese – place along the four sides with Color B towards the center

Next you will need to sew the pieces together.
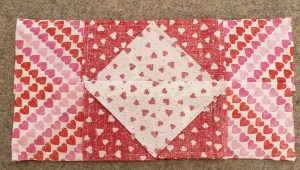
Fold over the left pieces on to the center row and sew 1/4″ seam allowance. Then fold the right pieces on to the center row, sewing 1/4″ seam allowance. (picture is turned sideways)

Then press the seams, making sure to press so the seams so they will nest together.
I recommend pressing the flying geese in the center row towards Piece D (center piece), and press the outside columns towards the corner pieces (Pieces C)

Then turn of the pieces and make sure that your layout is still correct.

Next fold the top row towards the center row and sew 1/4″ seam allowance. Then fold the bottom row towards the center row and sew 1/4″ seam allowance.
Press your seams. I pressed away from the flying geese, to reduce the bulk.
Turn over the block, and press seams.
You have now completed the Star Variation for February BOM.

I look forward to seeing all your wonderful blocks! Make sure to post on the Facebook group!
Additional step.
I went ahead and added a back with some batting, and made a 12″ x 12″ placemat for Valentine’s Day. After quilting the layers, I bound with the self-binding method.

Your block is darling!!! What a great idea for a Valentine placemat! 🙂
LikeLike
Thank you!
LikeLike