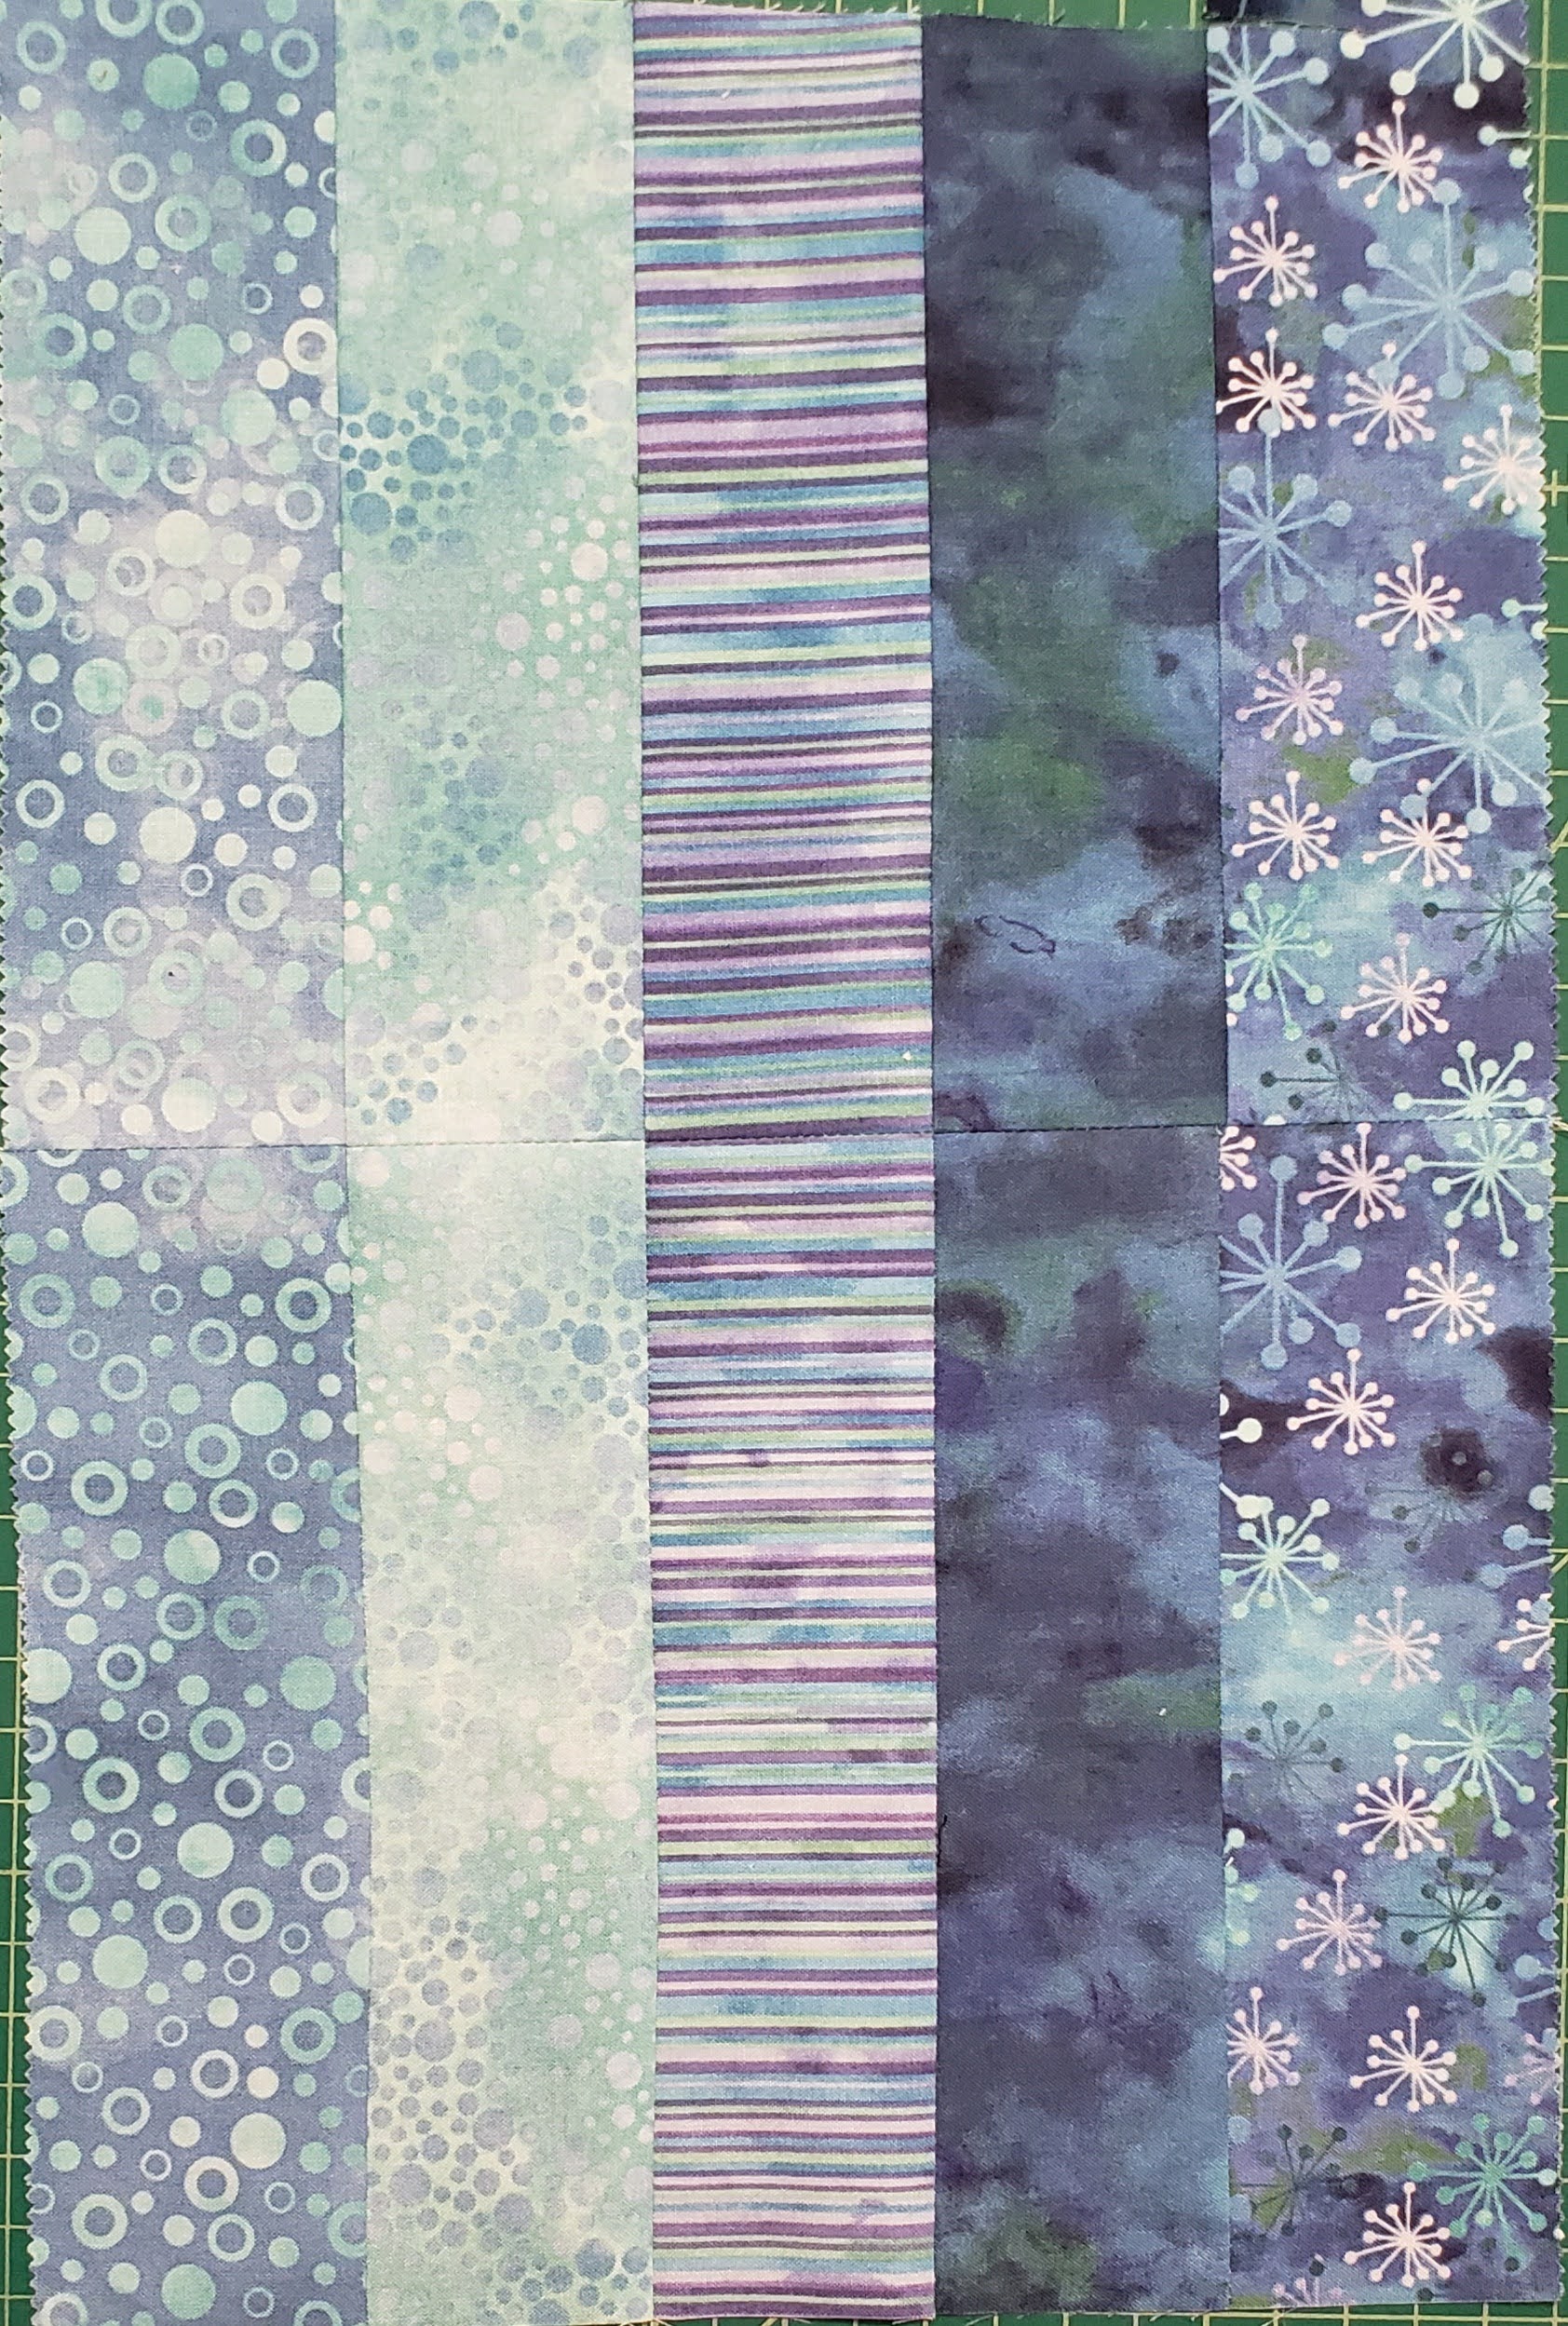
As I keep working on finishing unfinished Projects. I found a project that was more of a PHD (Project Half Done). I had a Jelly roll, that I wanted to make a Bargello Quilt. Once I had sewn the strips into sets of 5, I didn’t like the way it was looking. So set aside.
About a year later, I decided to start working on it again. I decided to cut into squares, 10 1/2″ x 10 1/2″ and create Half-square triangles (HST) with white-on-white as Half of each square.
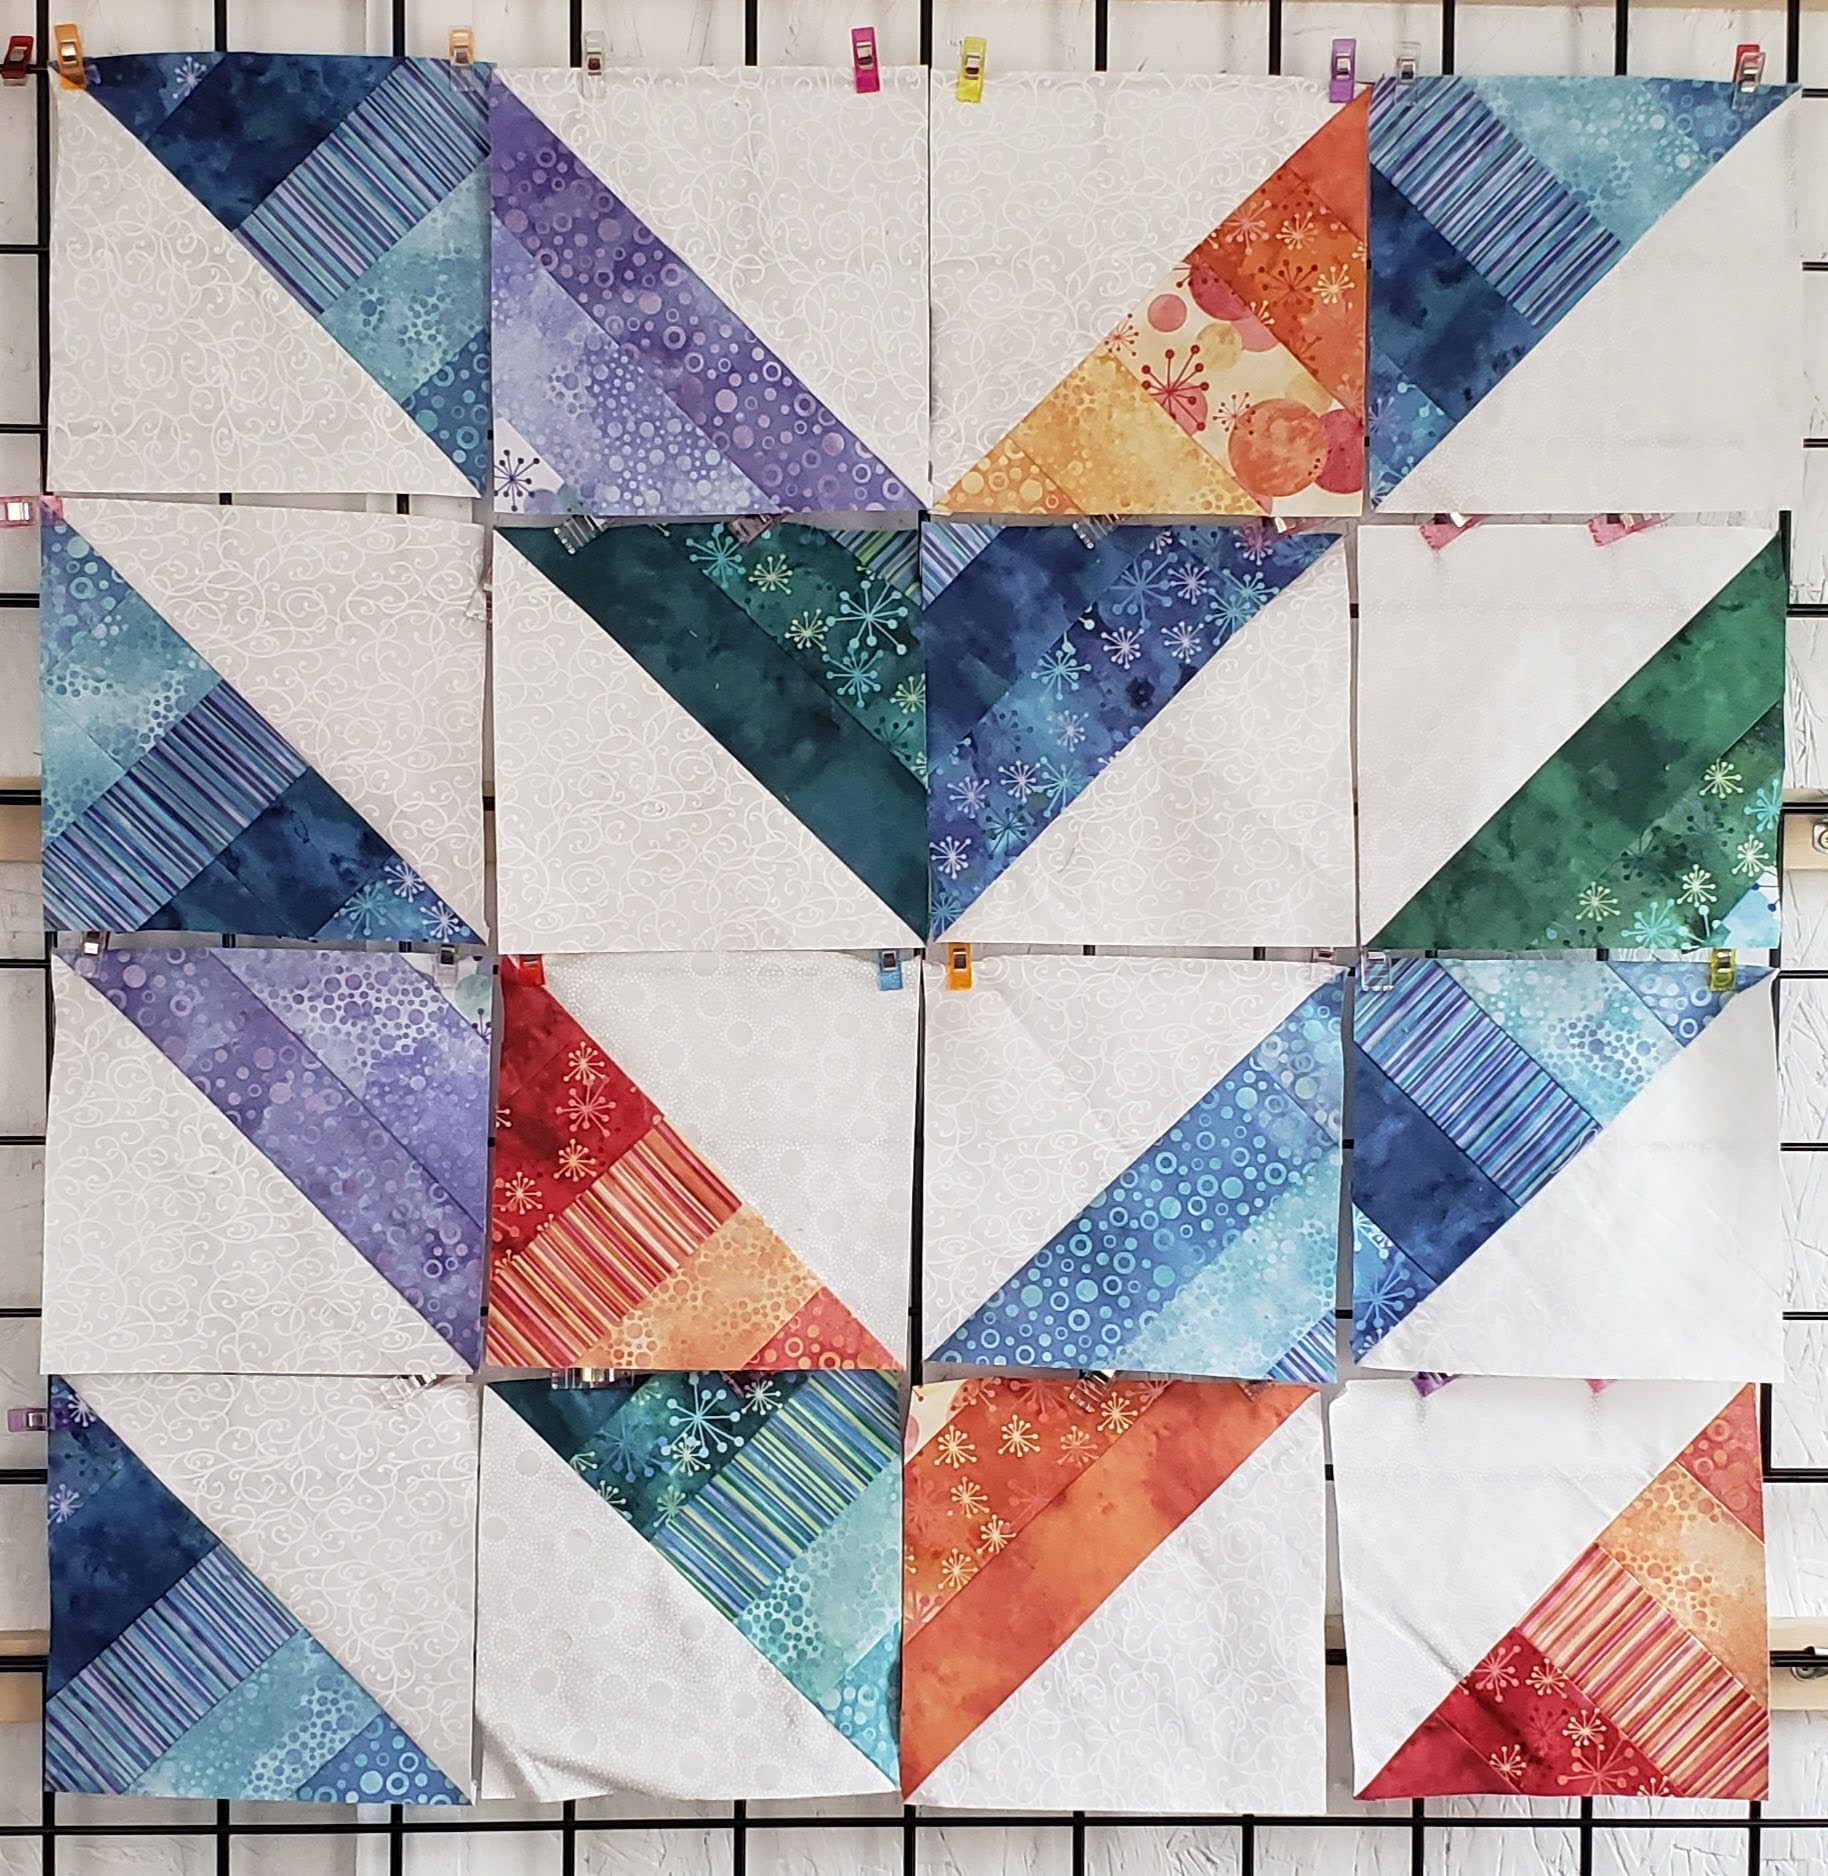
I then laid out the pieces into a similar “Round the World” pattern. I started sewing into strips. I labeled each strip set, there were 14 strips of HST.
I then wasn’t sure I liked how it looked, so it was placed back into a plastic tub to continue to be a “PHD”.
Big Quilt
In March 2023, I was looking for more unfinished quilt tops, and came across this unfinished top of strips. So, I pinned them up and finished sewing them together. I got so involved, I forgot to take pictures as I worked.
Note: I had extra pieces, so I created a second quilt, with instructions below.
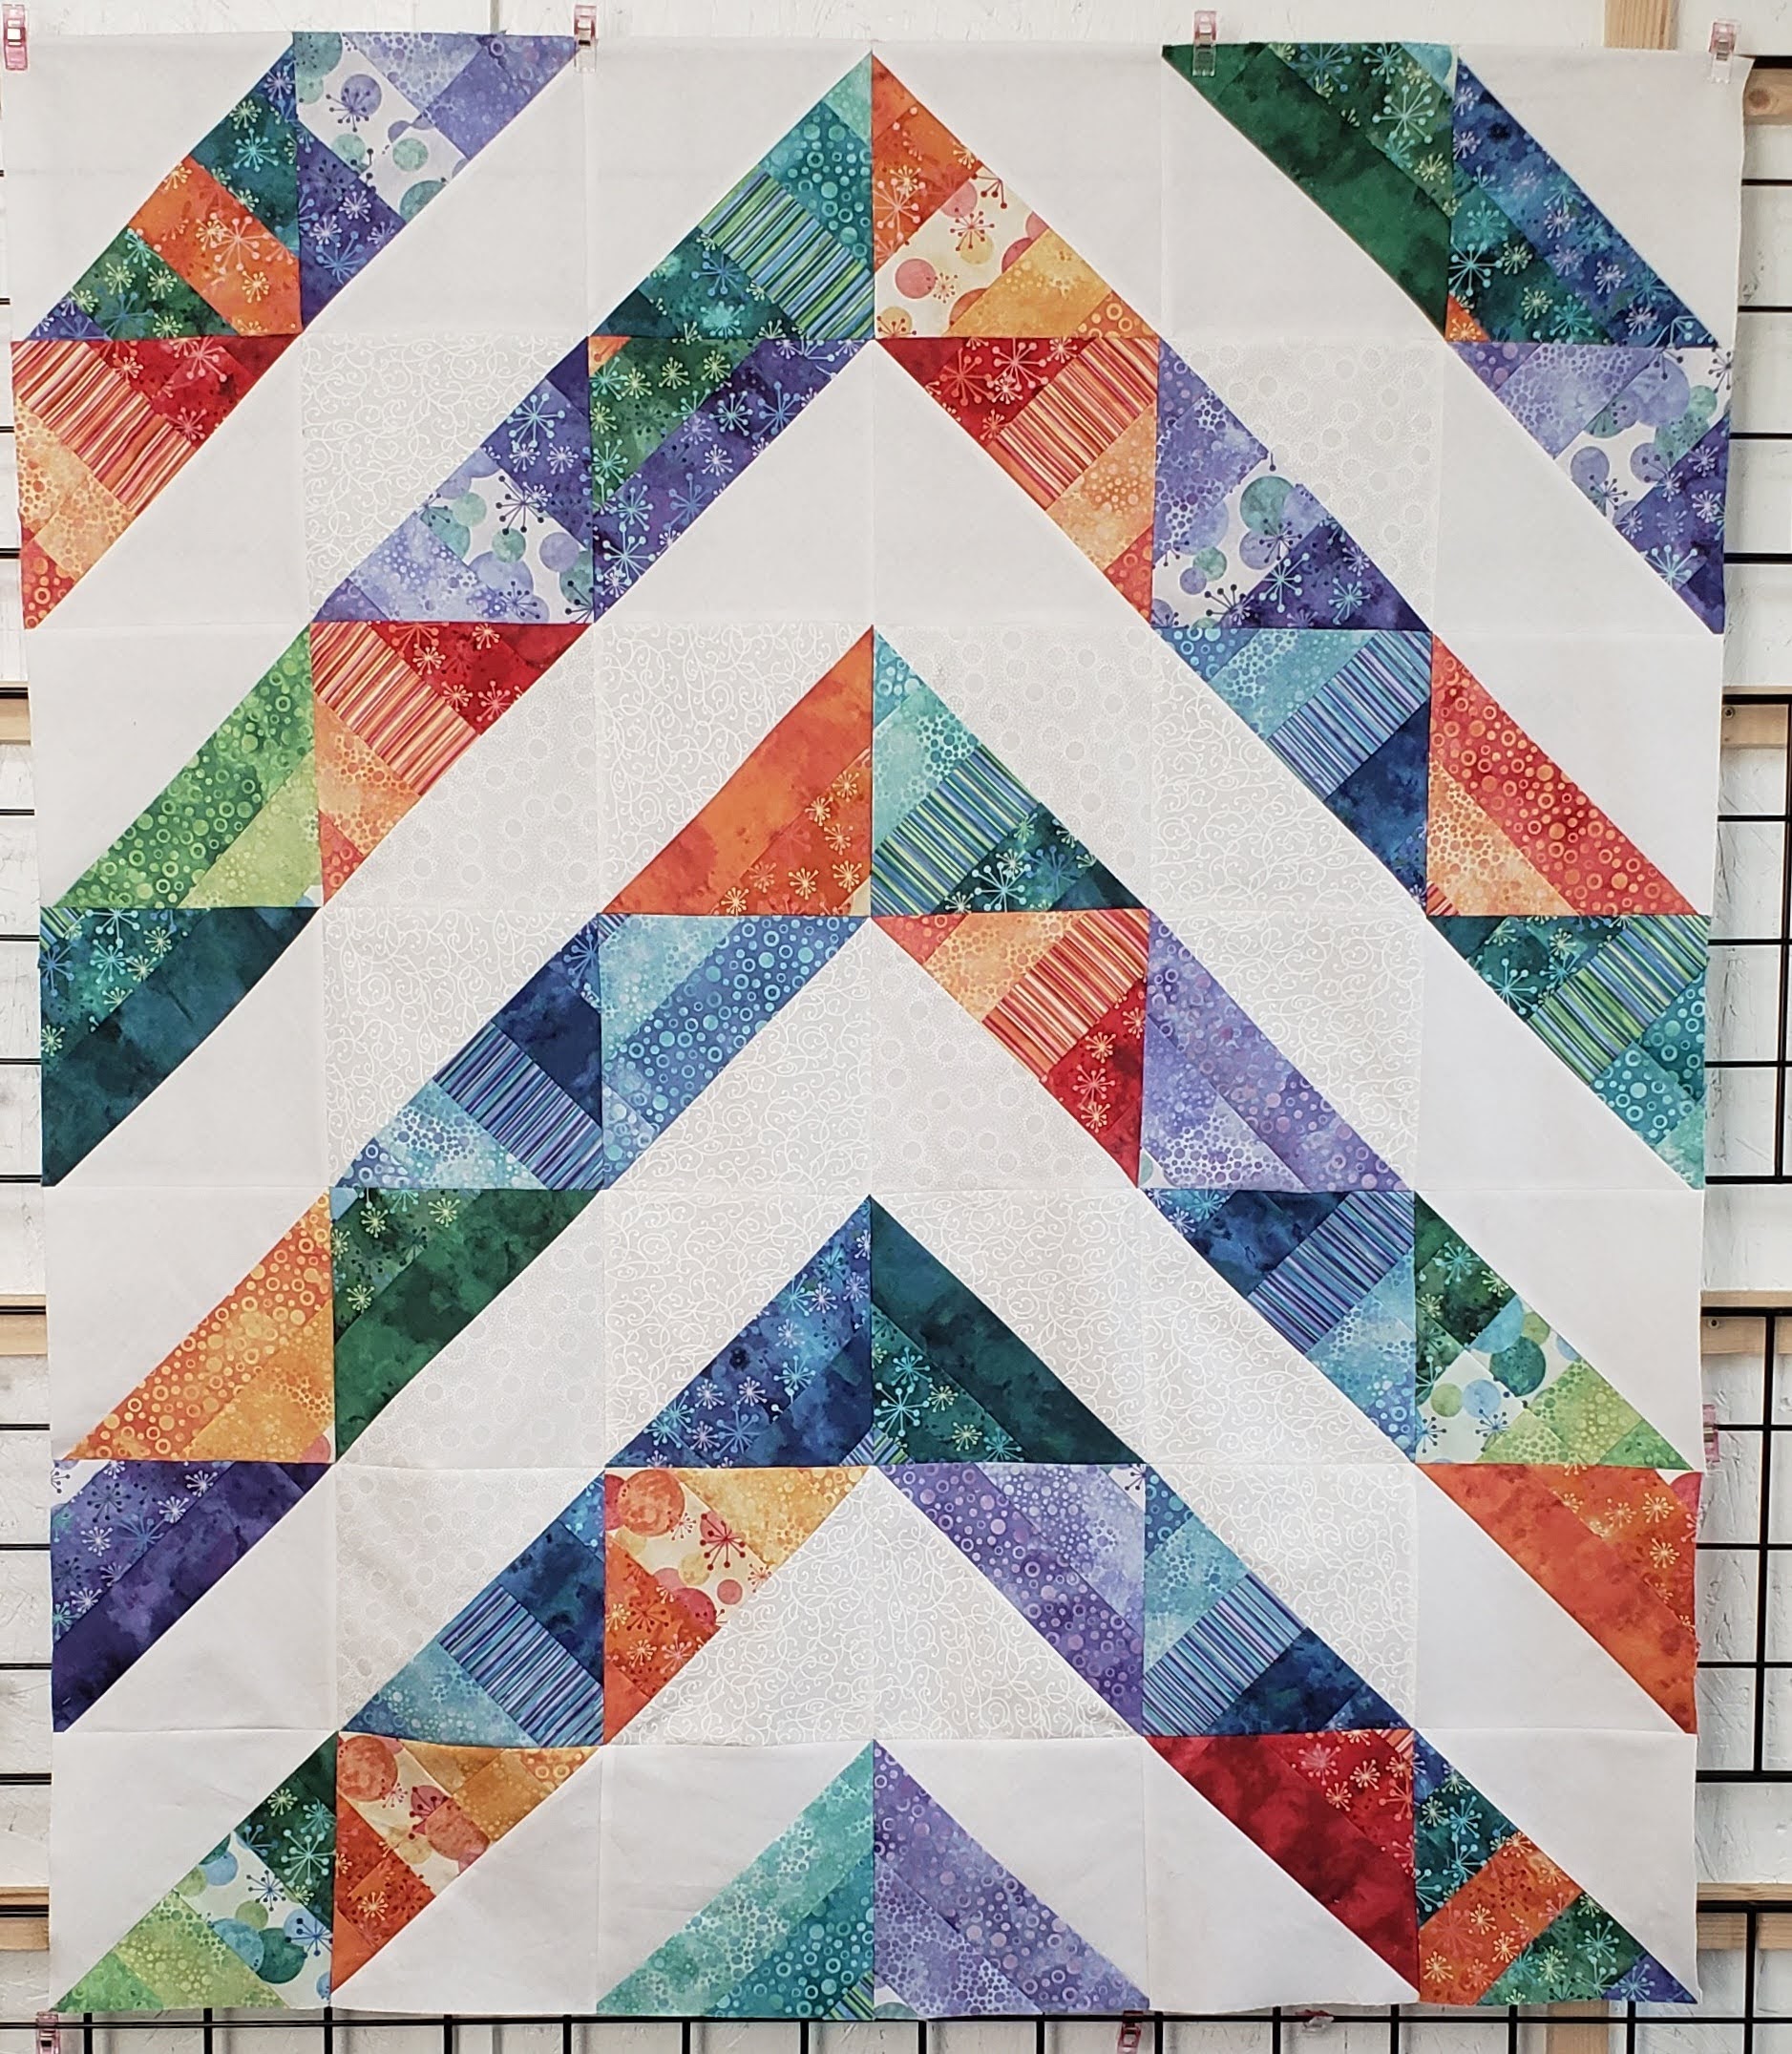
I finished sewing the quilt top together. Here is the finished Quilt top. It is similar to “Round the World” with a little twist.

I used Hobbs Batting, 80/20 batting. I quilted using White Aurifil white thread on the front, and the back is a red blended fabric, and I used the Aurifil red thread on the back.
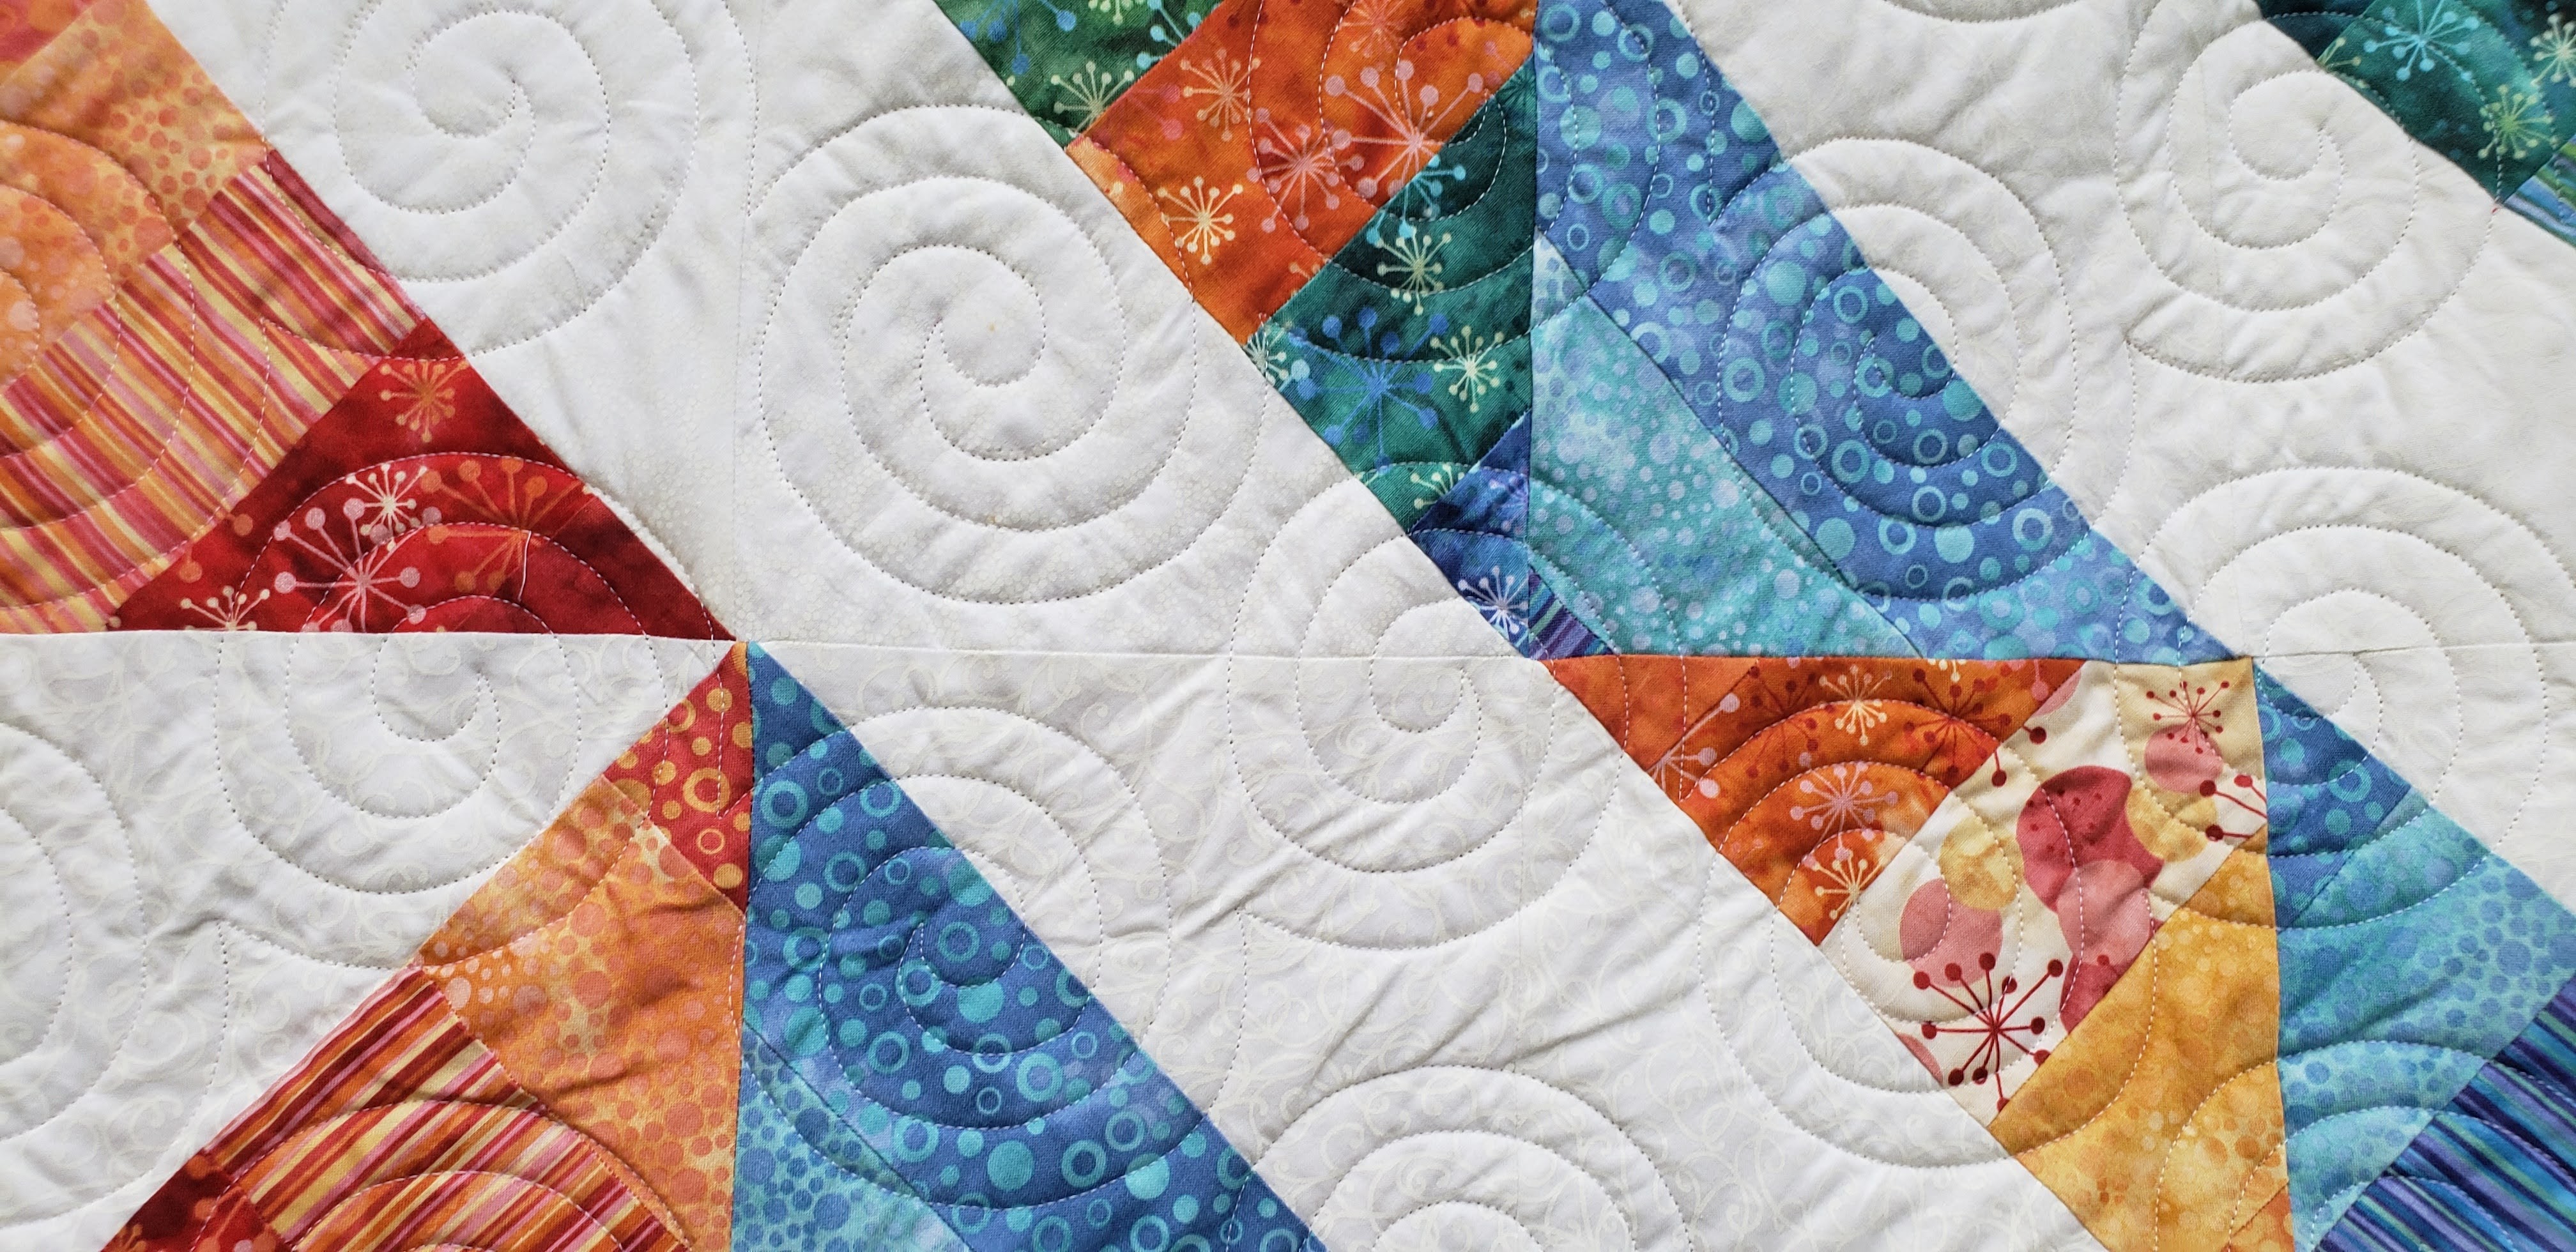
I quilted using a new Pantograph I purchased from “Quilting Pantographs” called “Swirly Whirly“.
The back was done with a red fabric, and I used the scraps to bind the quilt. (The sun was shining, so you could see the front thru the back).

This quilt is large, 78″ x 98″.
Part 2 – Extra pieces – quilt instructions
After finishing the large quilt, I had a lot of left over pieces, and decided to make a few more HST to make a second quilt.
Here are the instructions for creating the second quilt, which is the same as the first quilt, however, with a different layout and borders.
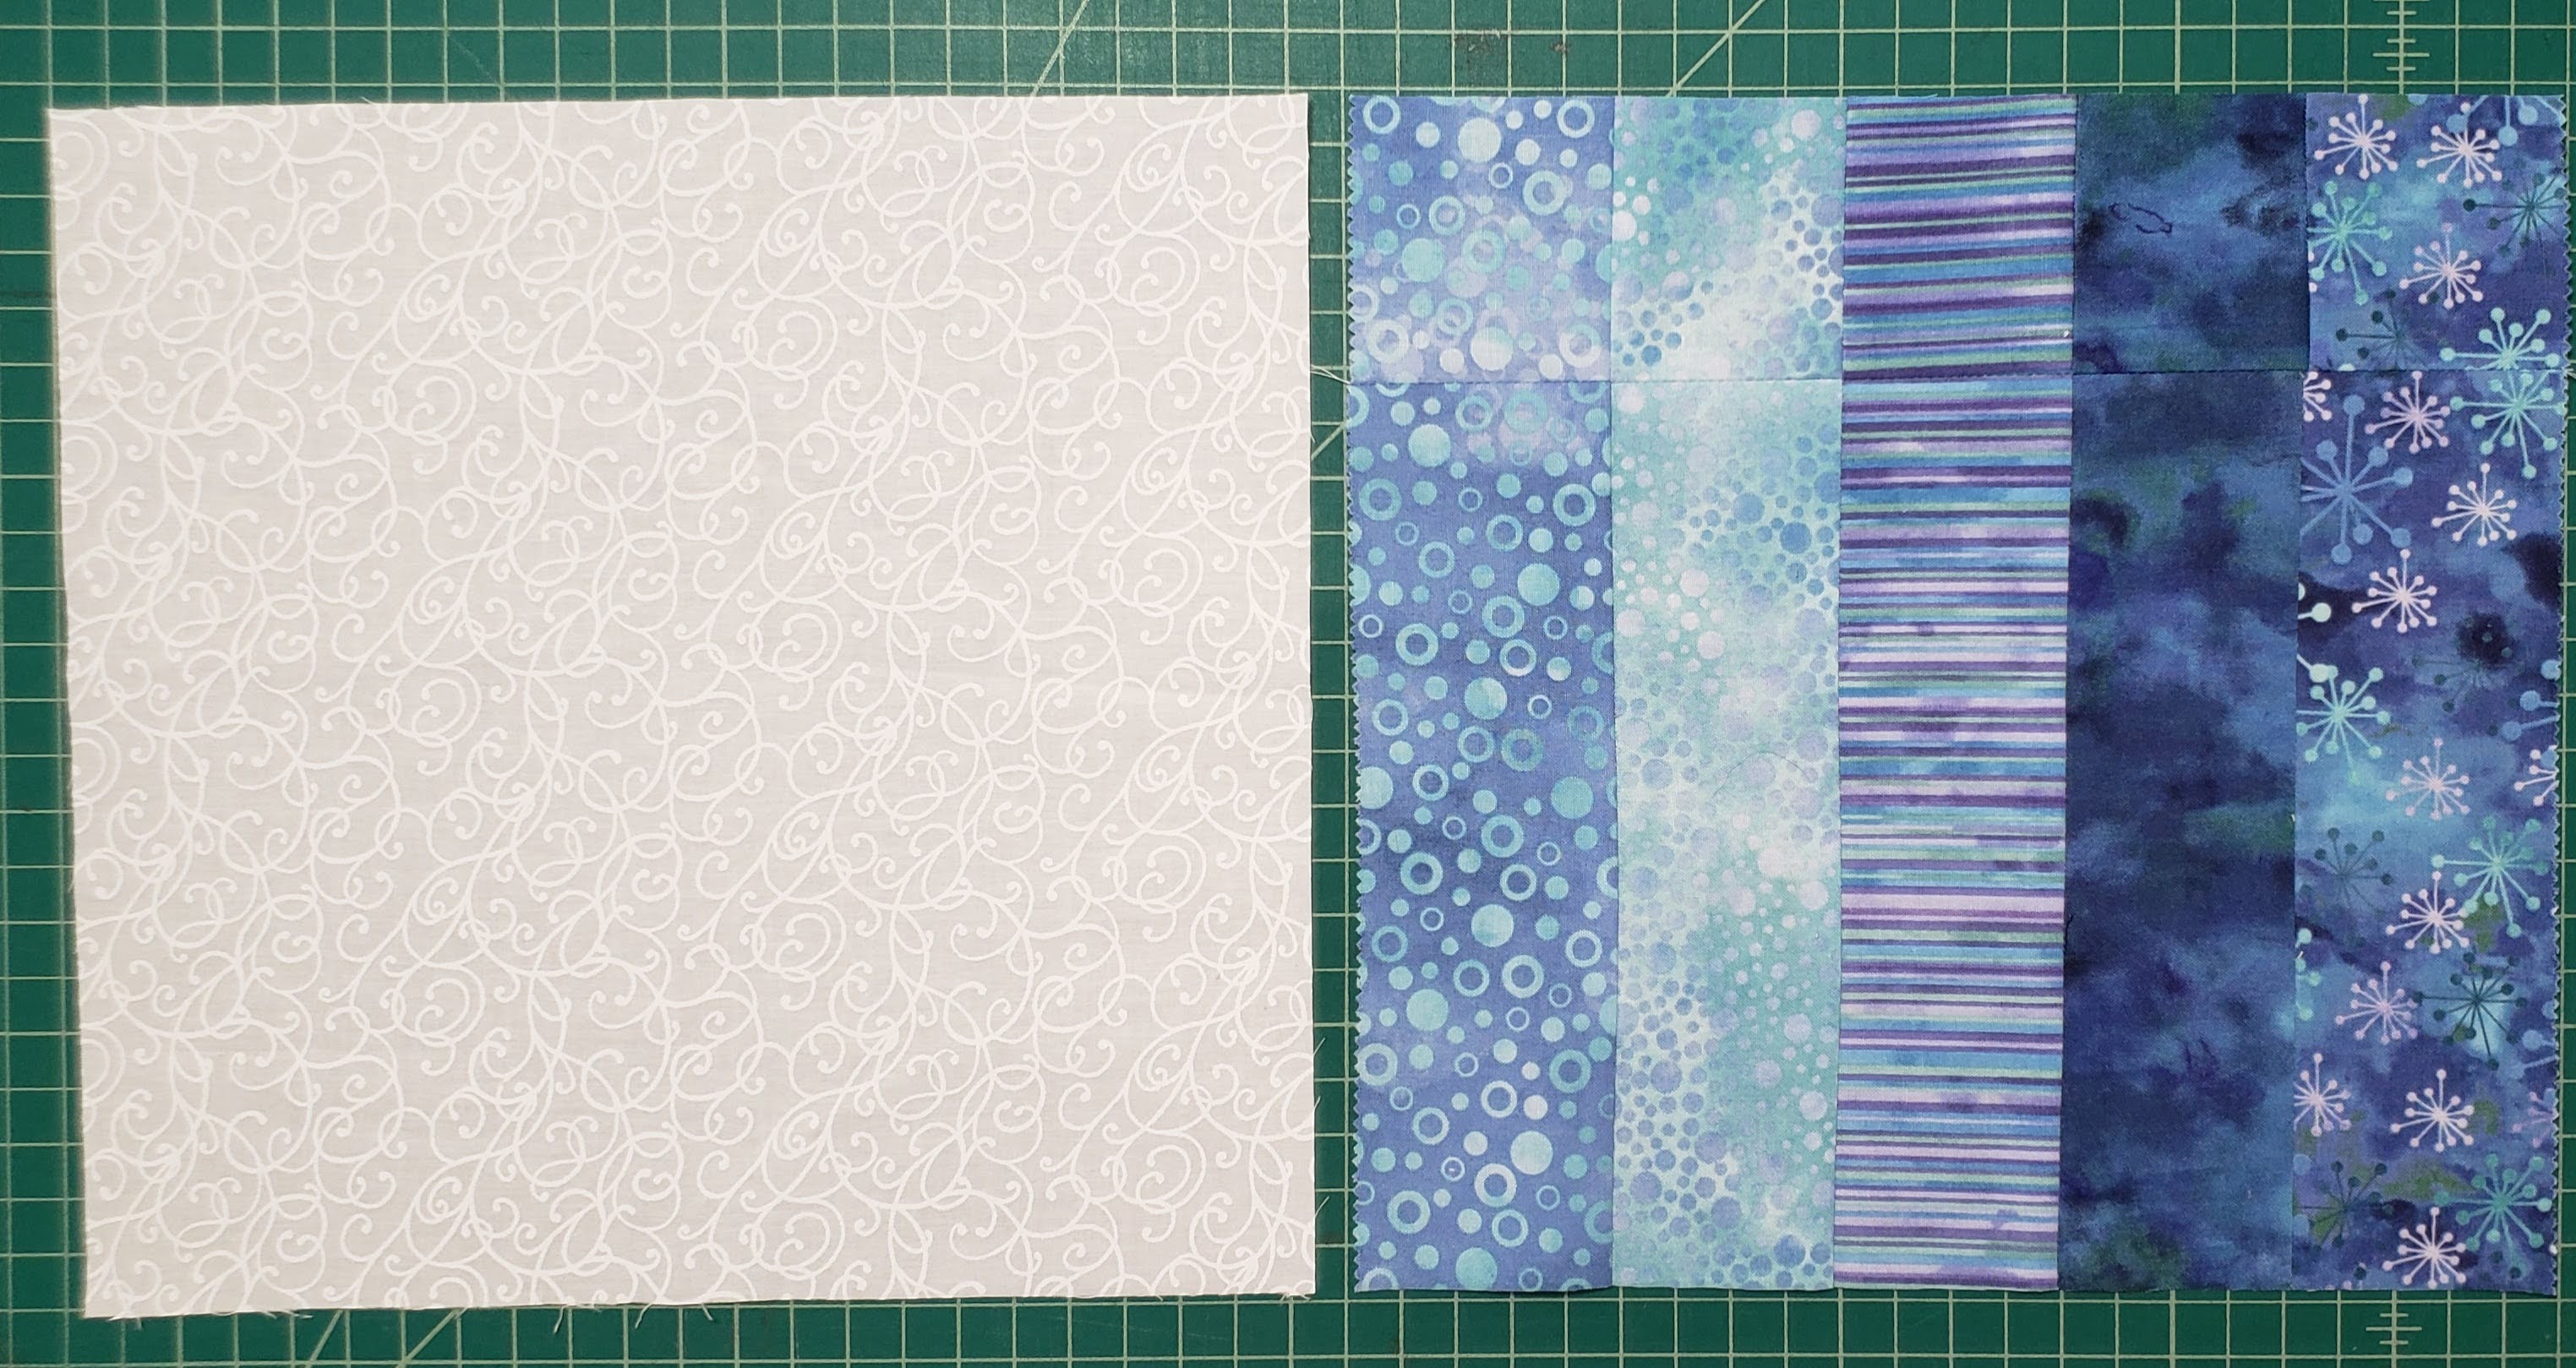
After sewing 2 1/2″ strips into long strip of 5 fabrics. Then cut the strip sets of 5 into 10 1/2″ x 10 1/2″ squares.
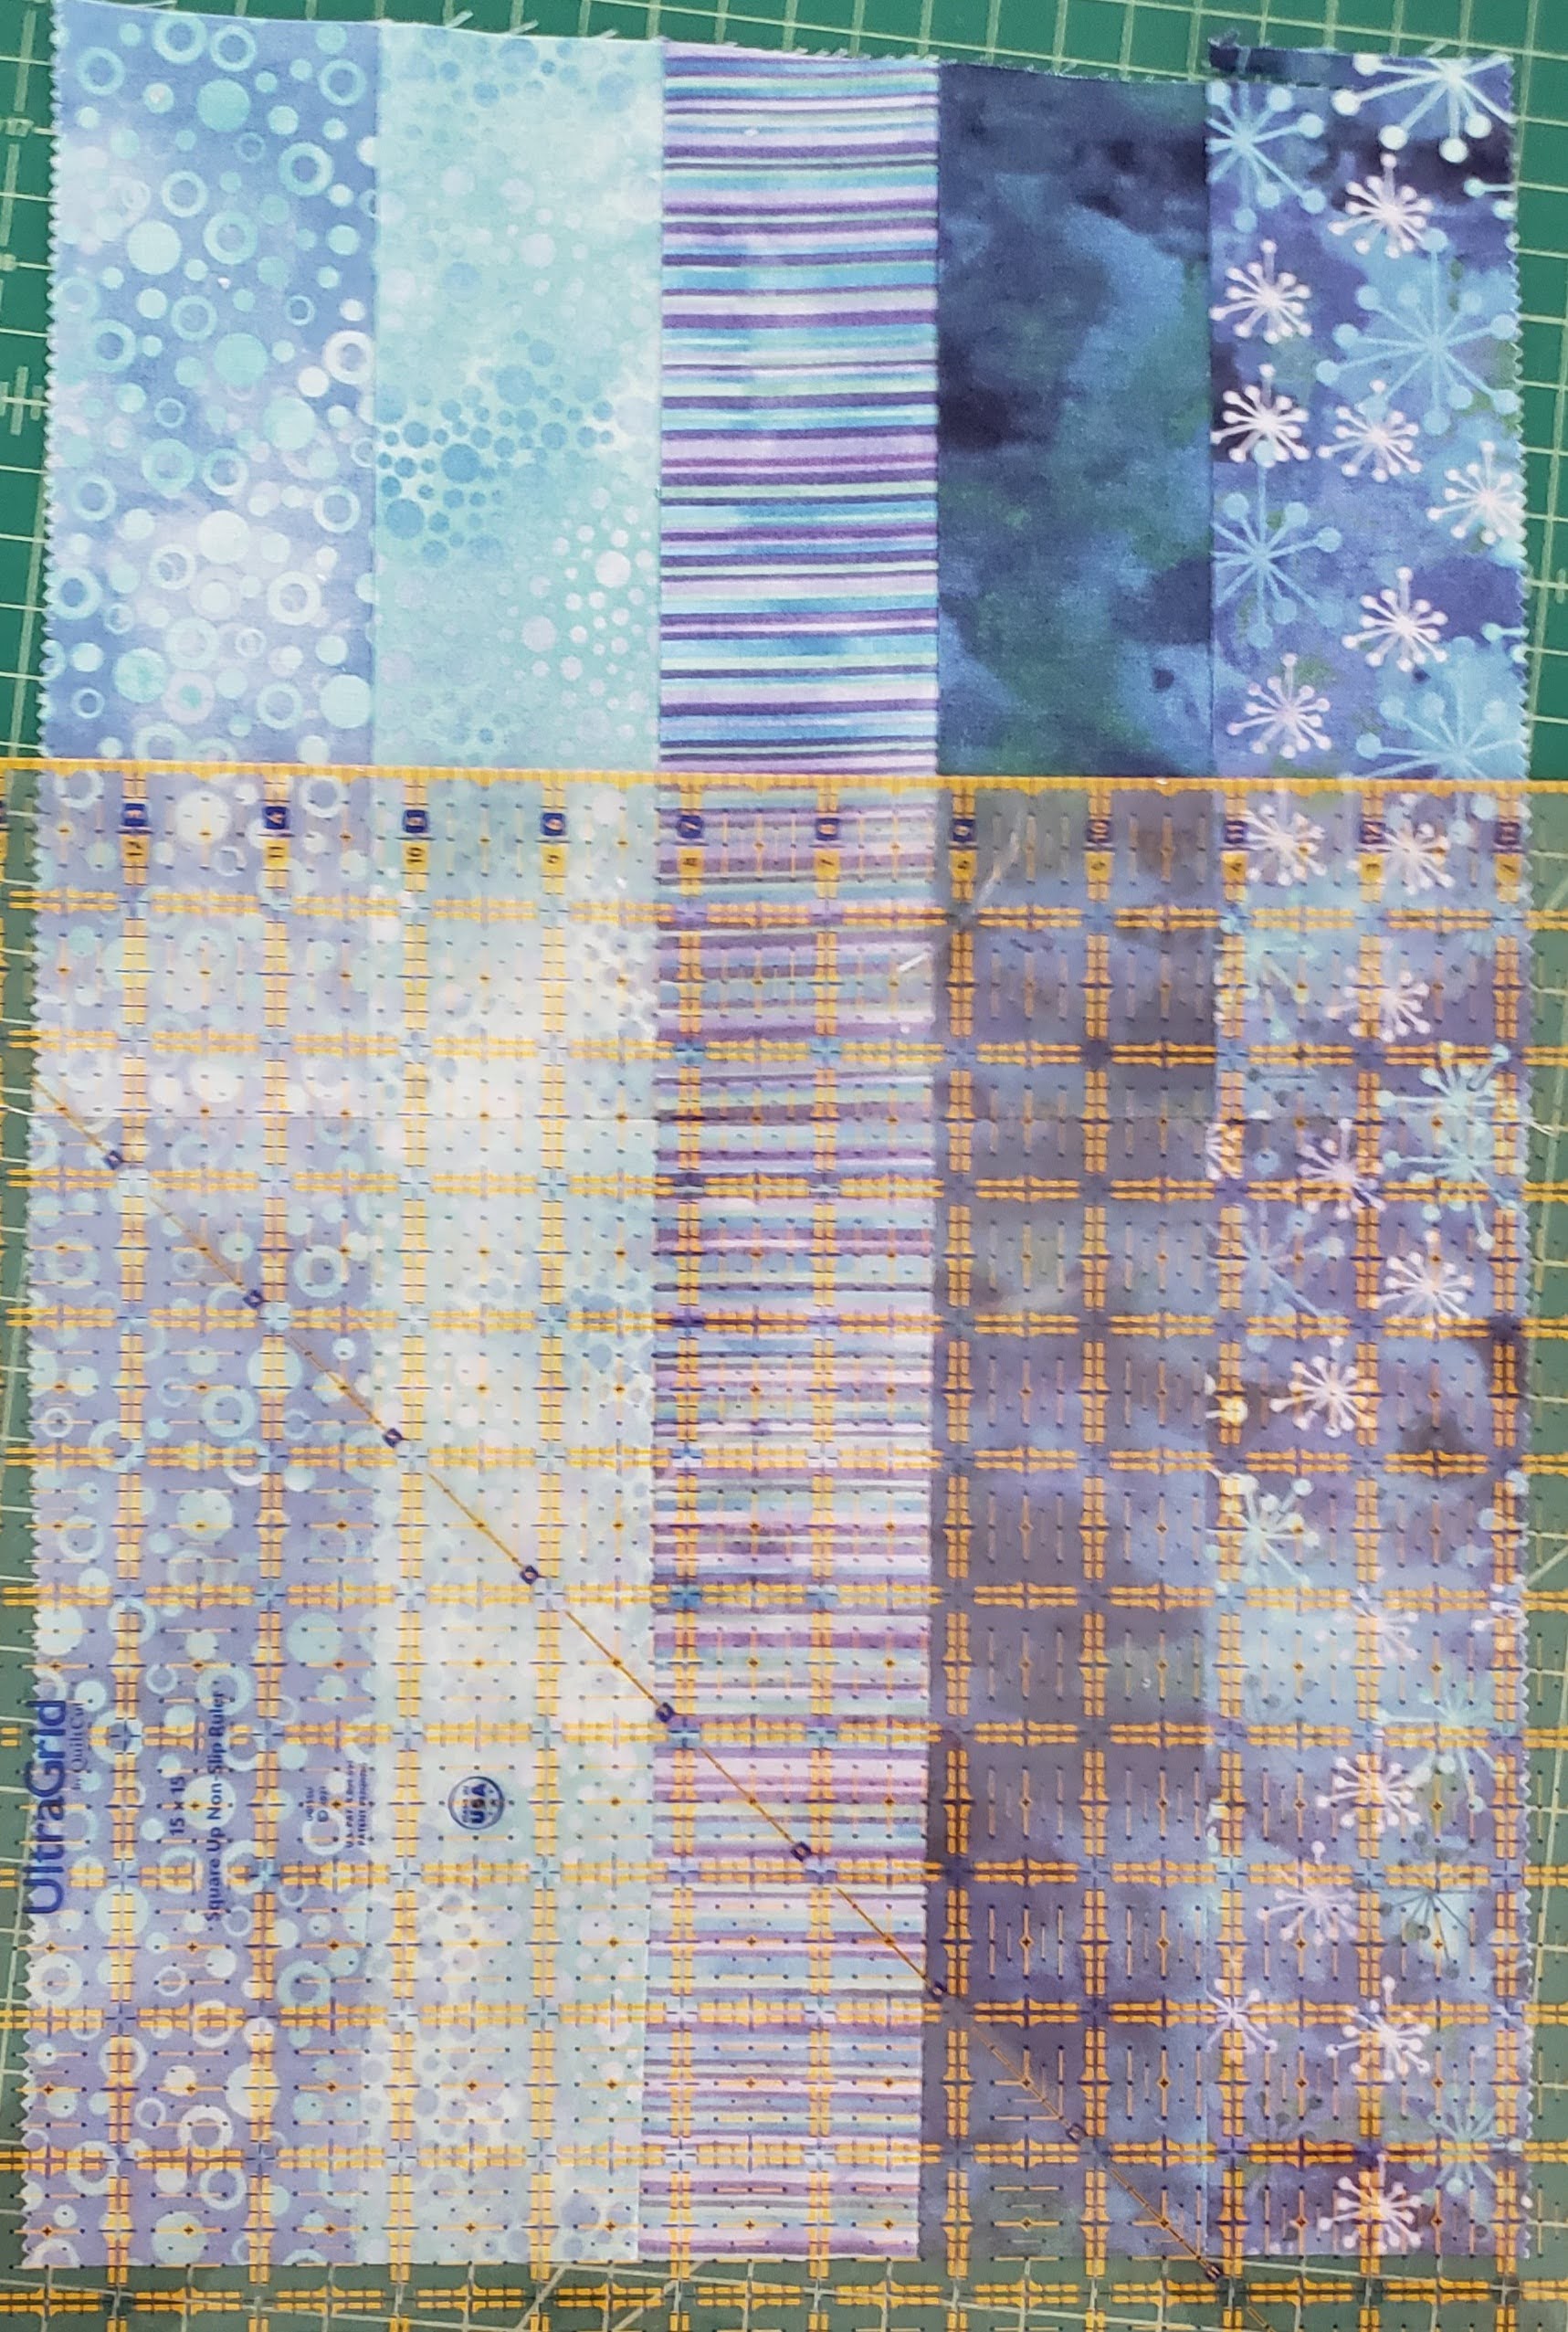
I kept cutting until I had 4 – squares, and a little extra piece, set these extra pieces aside to use for the border.
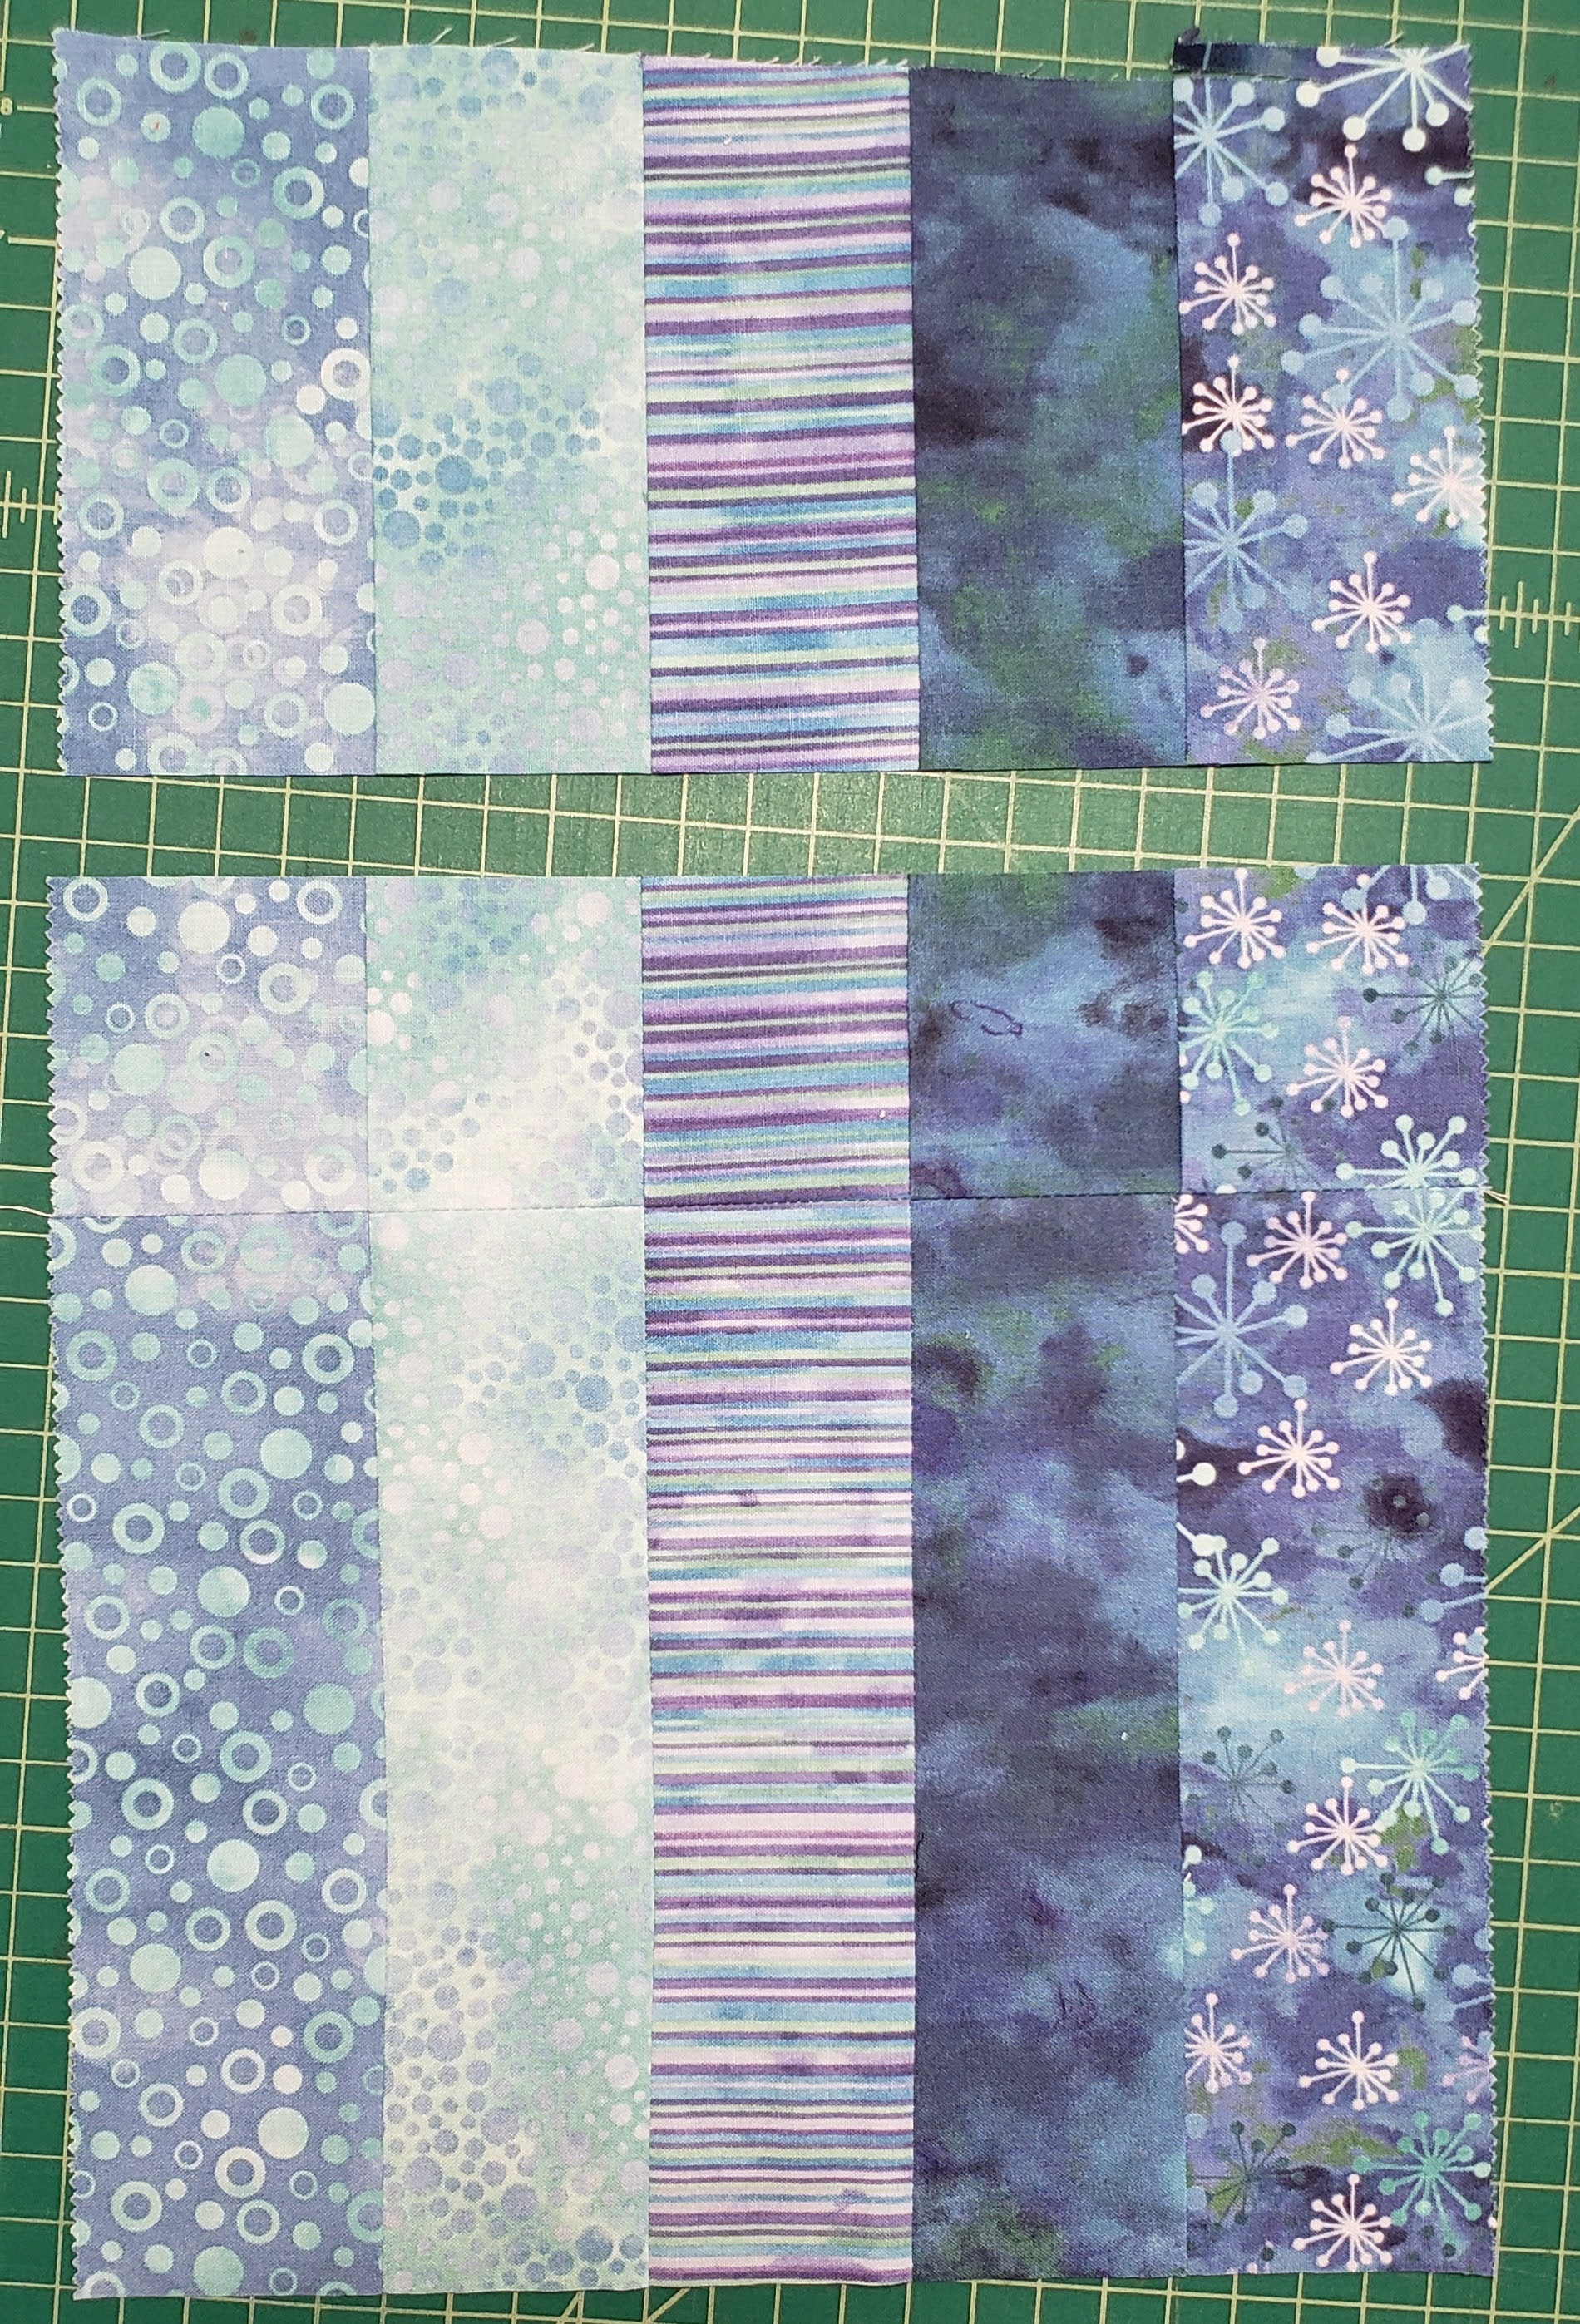
Continue cutting for all sets of strips.
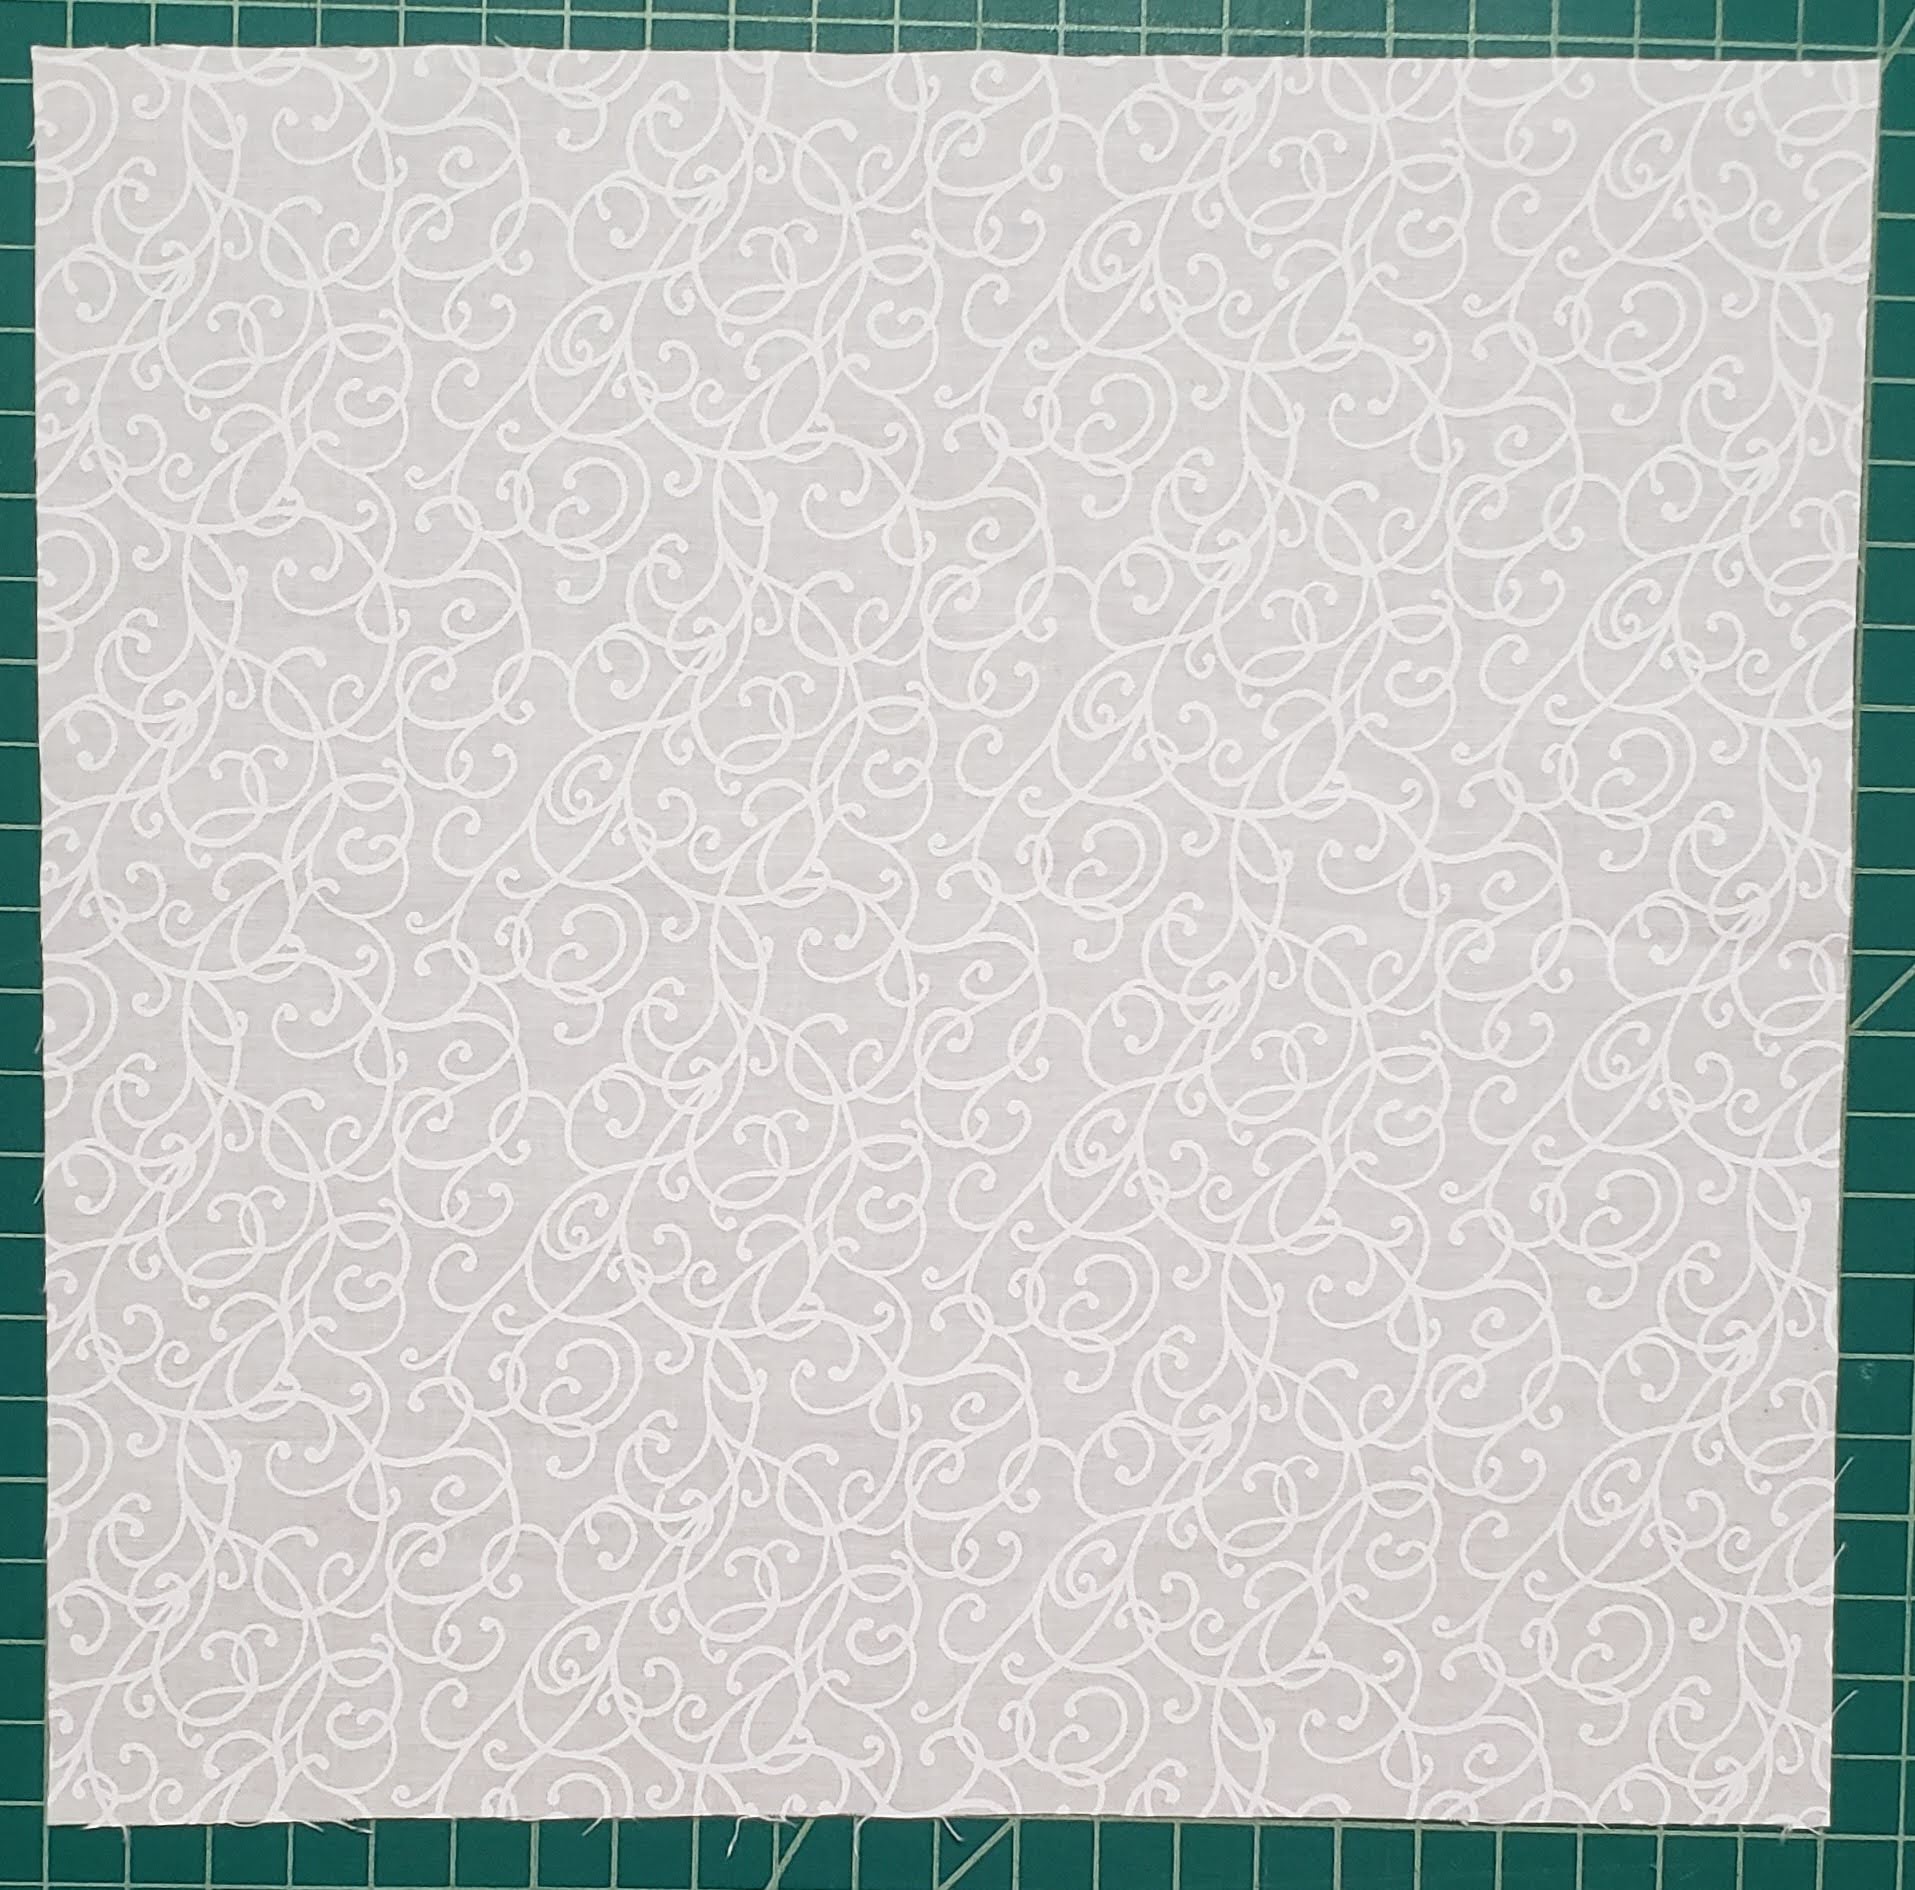
Cut 10 1/2″ squares of white and/or white-on-white fabric. You will need one for each square of the color fabric. I originally was using a lot of various White-on-White fabric but ran out and added some white fabric as well. You can use any solid color you want.
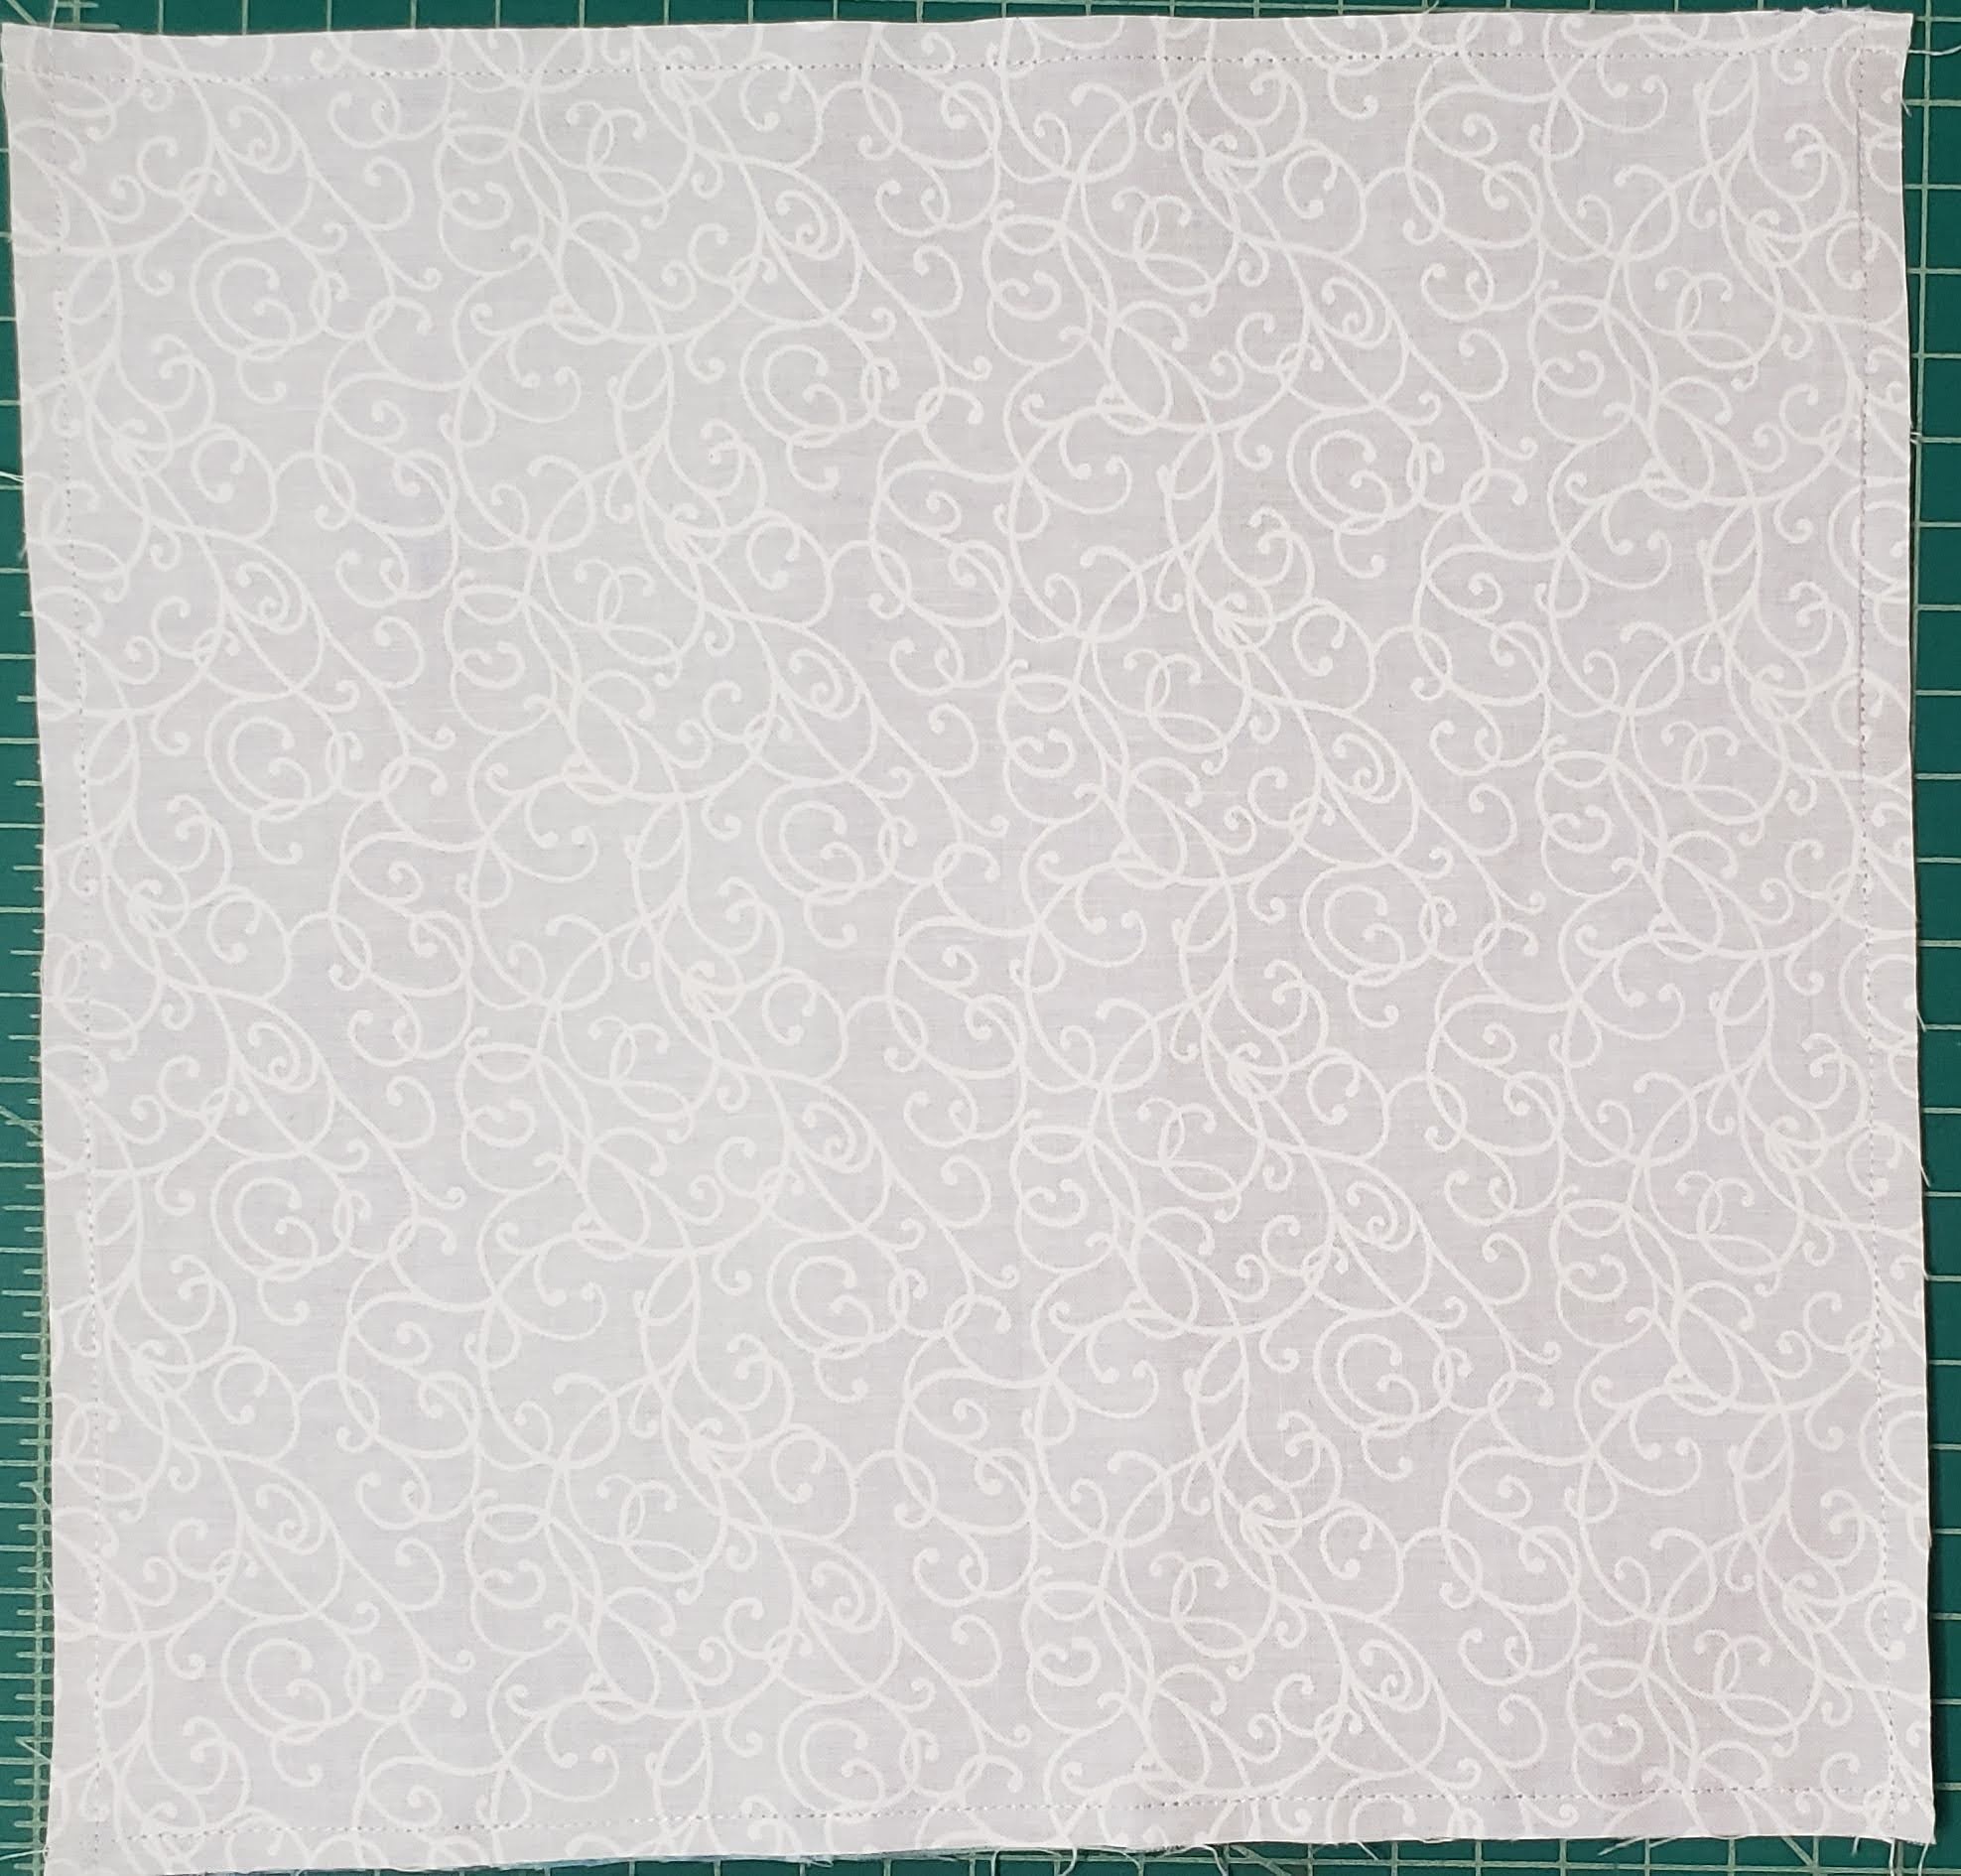
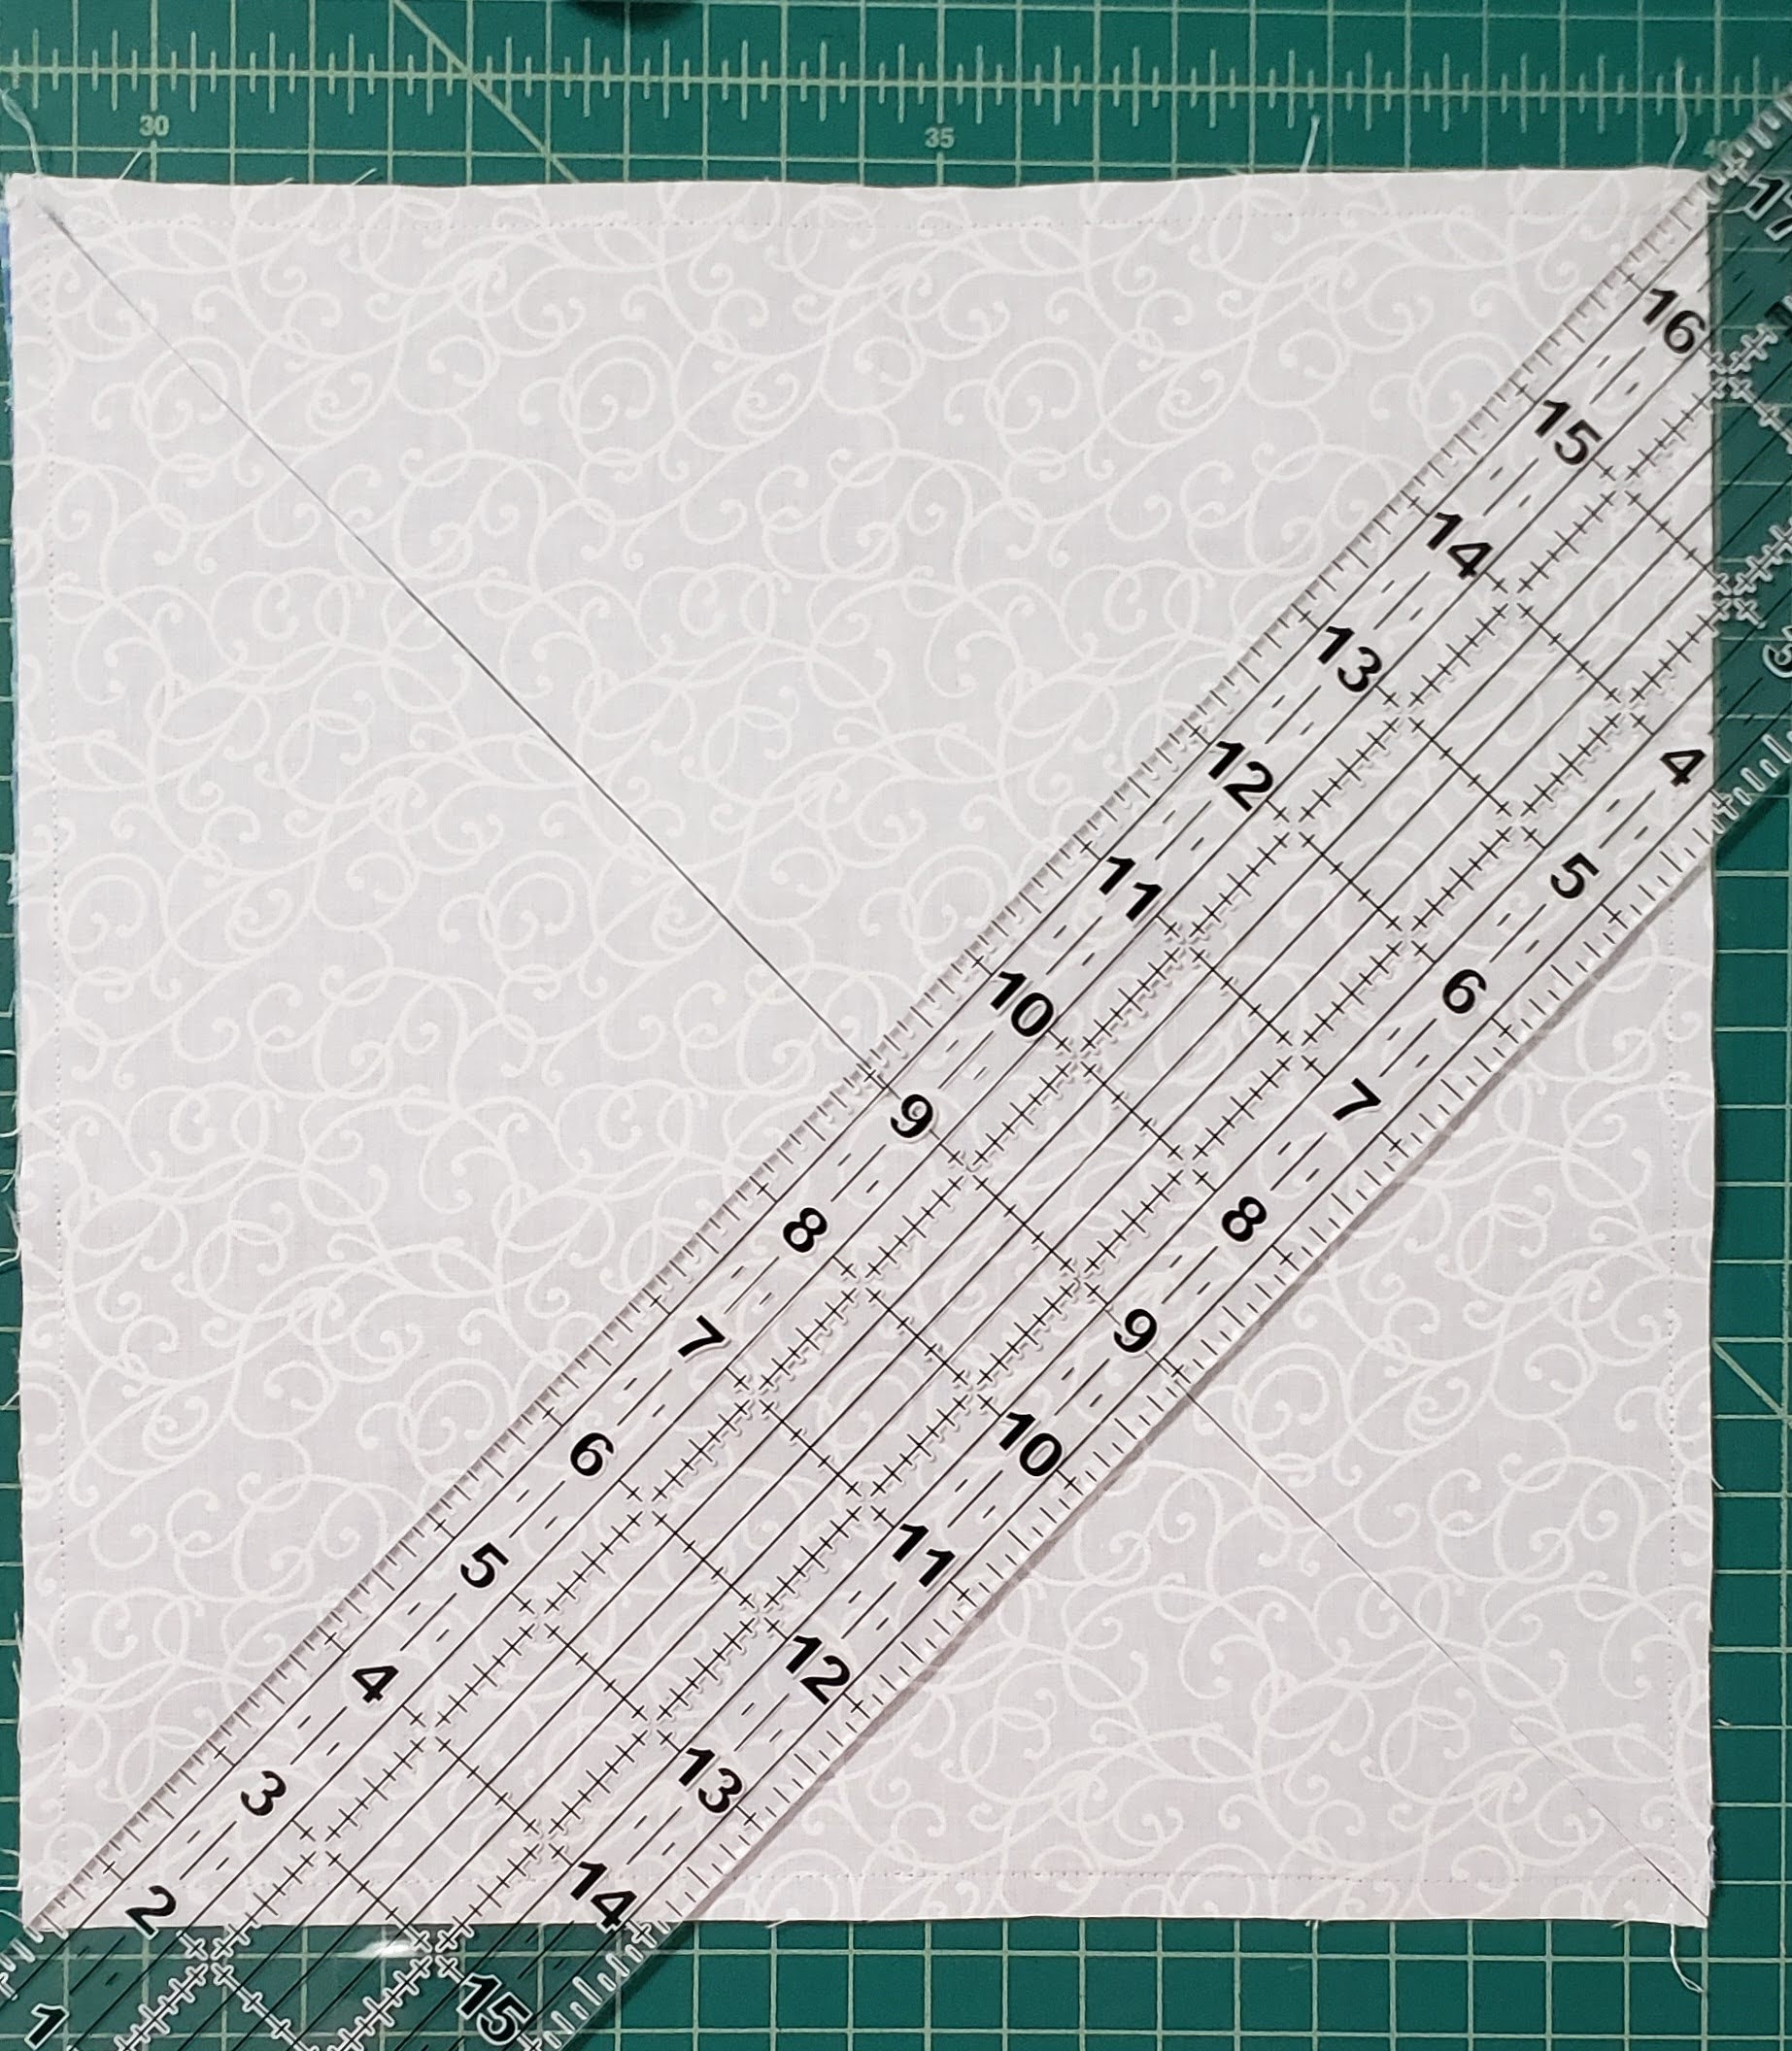
Using one white square (solid color) and one strip square, we are making large Half-square triangles (HST).
Place right-sides together.
Stitch 1/4″ all the way round the square.
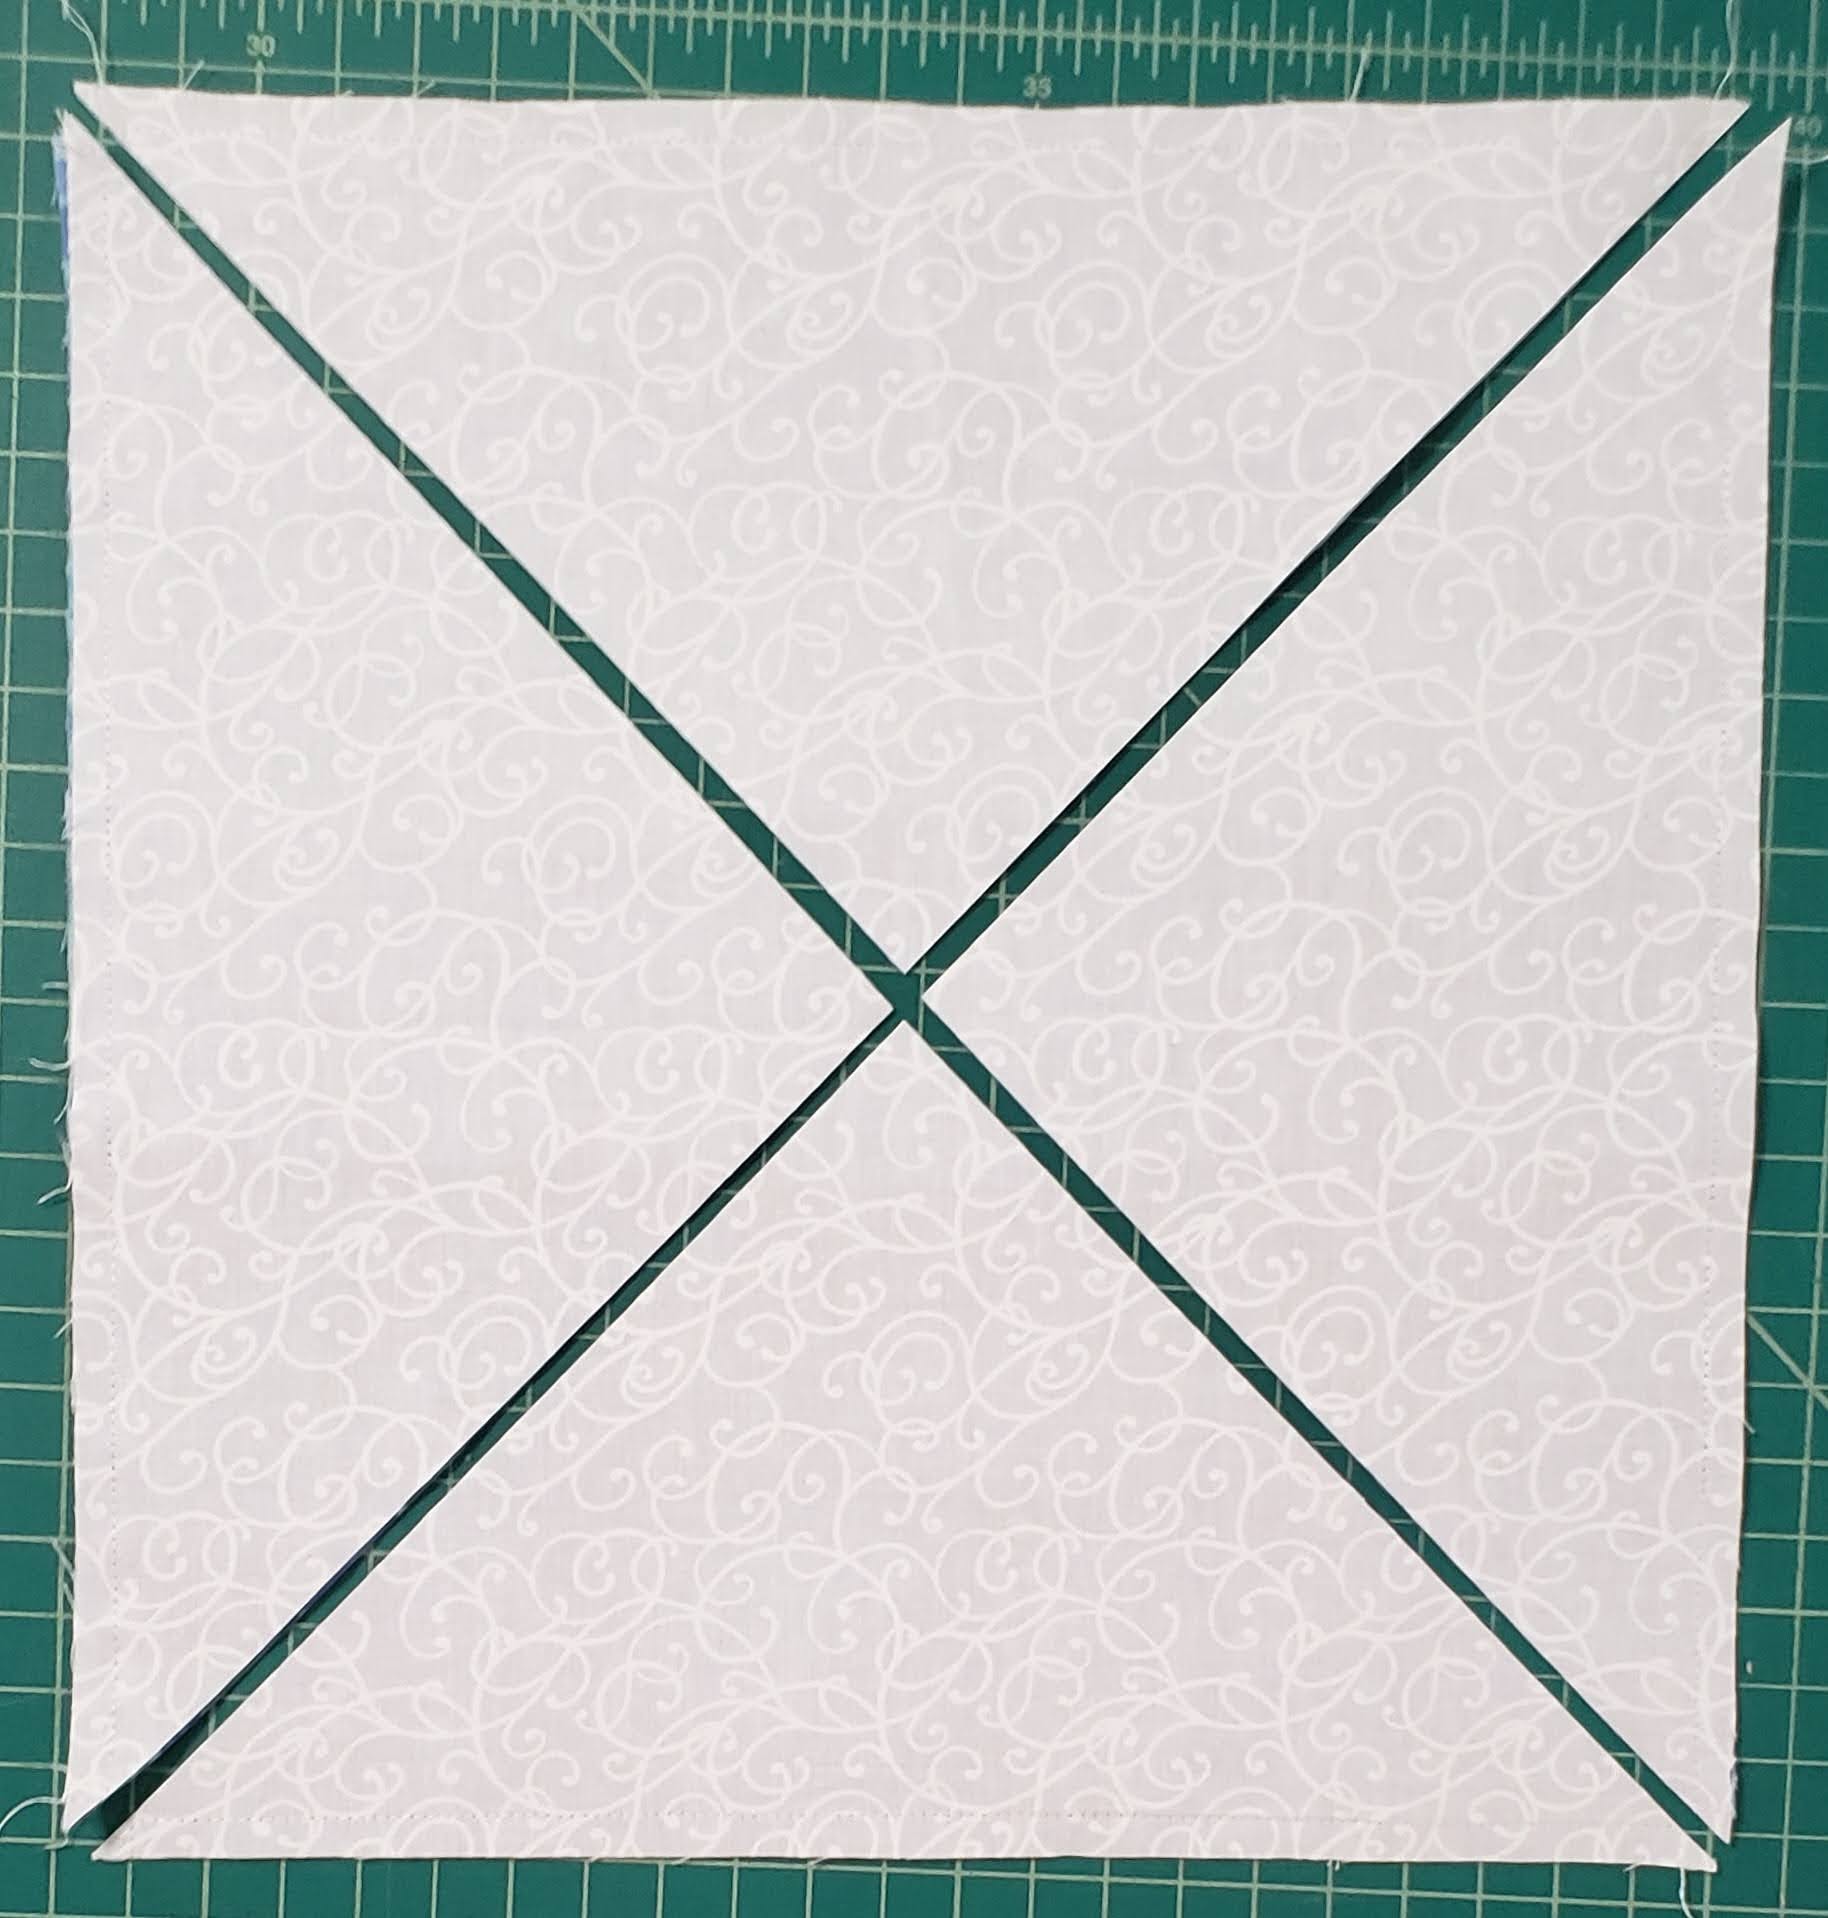
Using a ruler, cut the square diagonally in half.
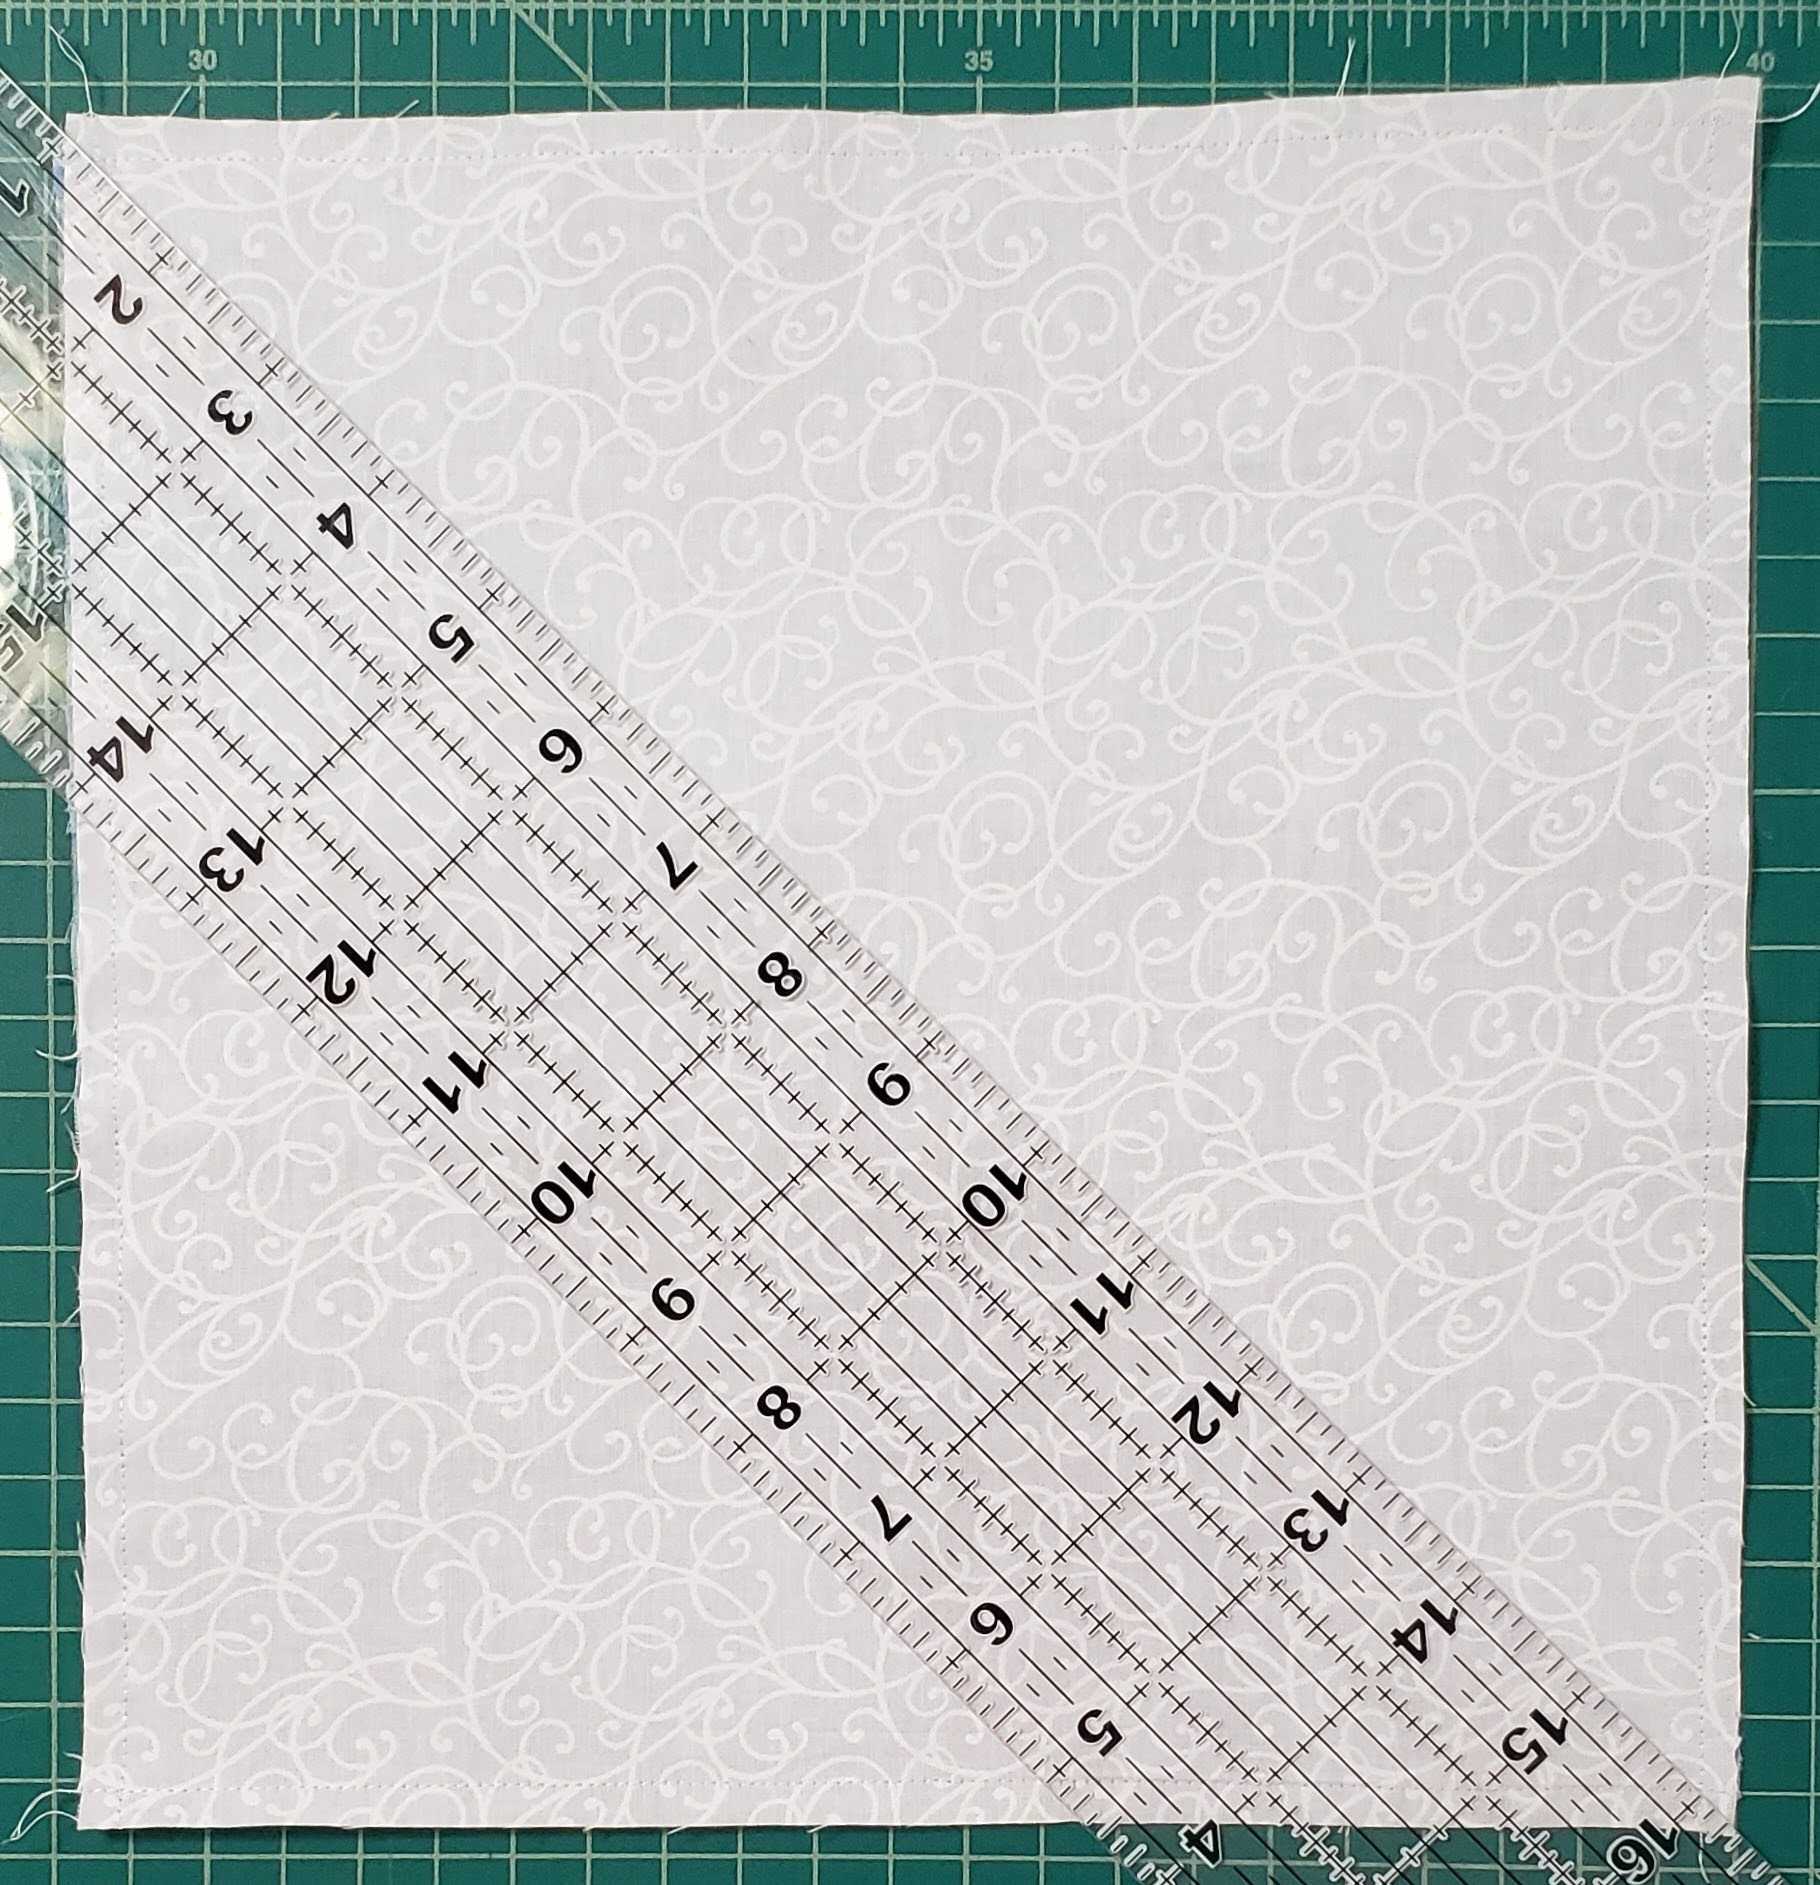
Then cut diagonally in half the opposite direction.
When done, you will have four triangles.
Press the HST open.

Continue to press all four pieces.
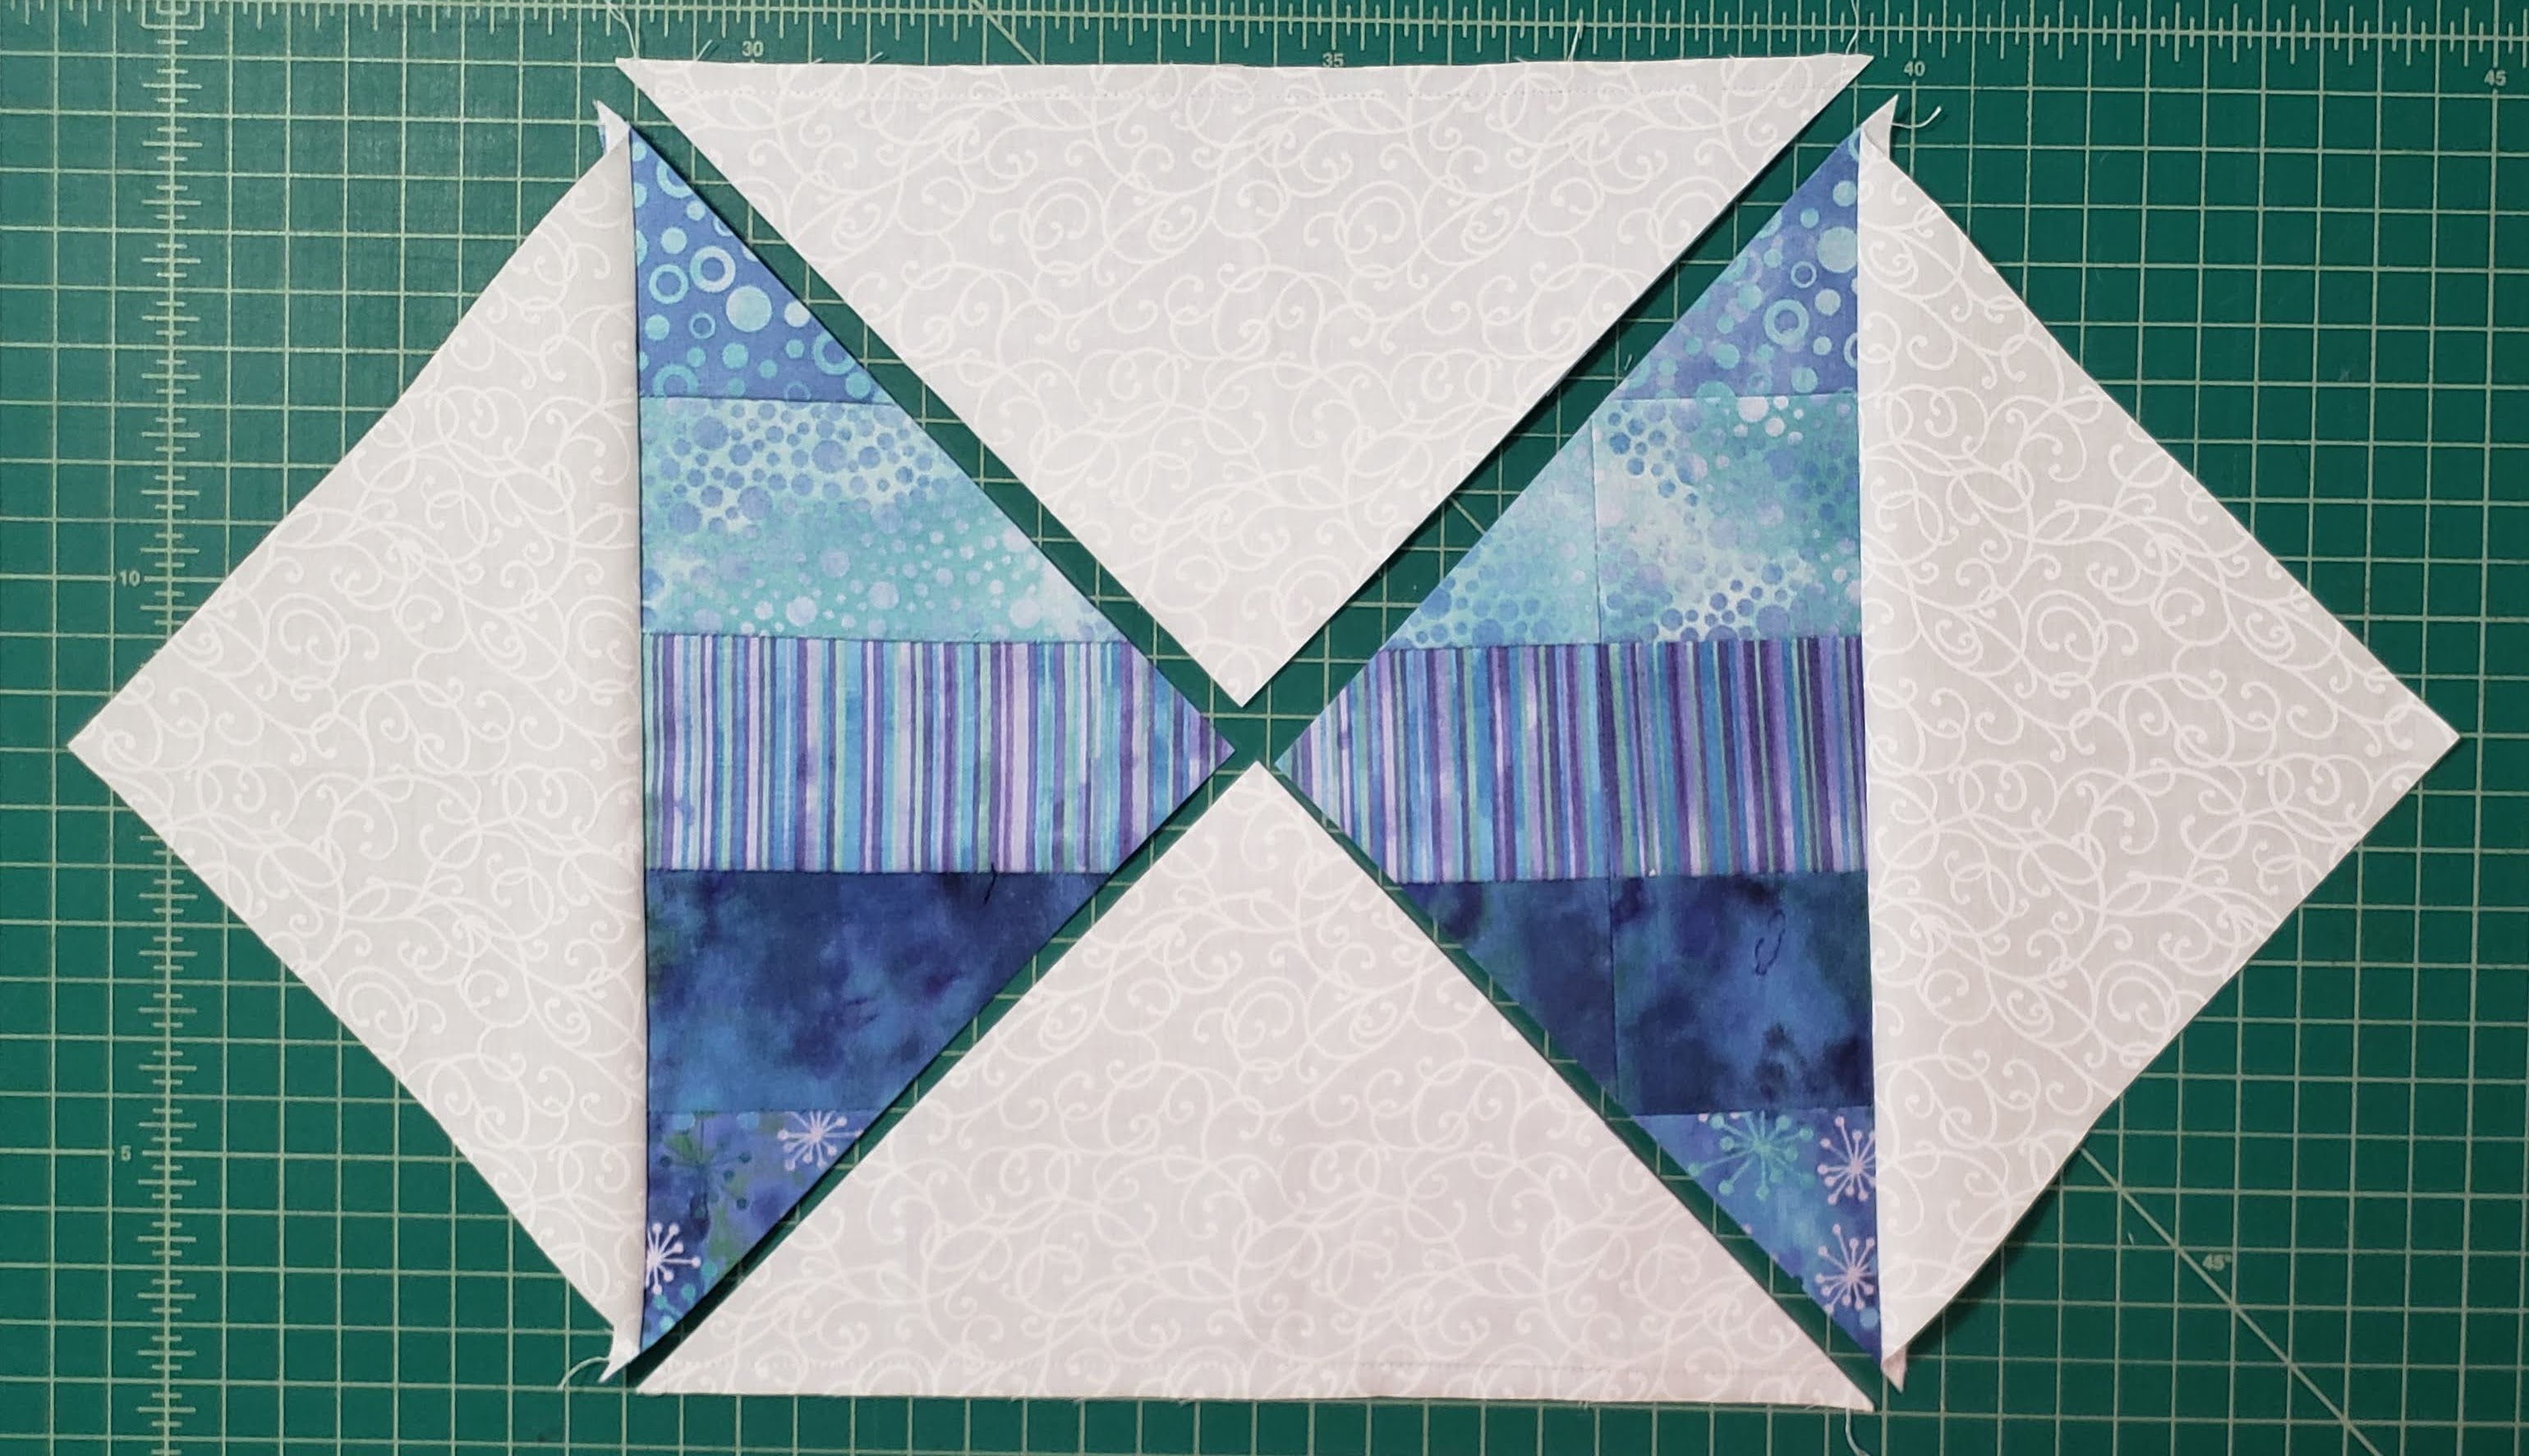
You will have four HST completed. They will all be a little different, based on how they were cut diagonally in half.
You will continue to cut all the squares, until you have the number you want for the size of the quilt.
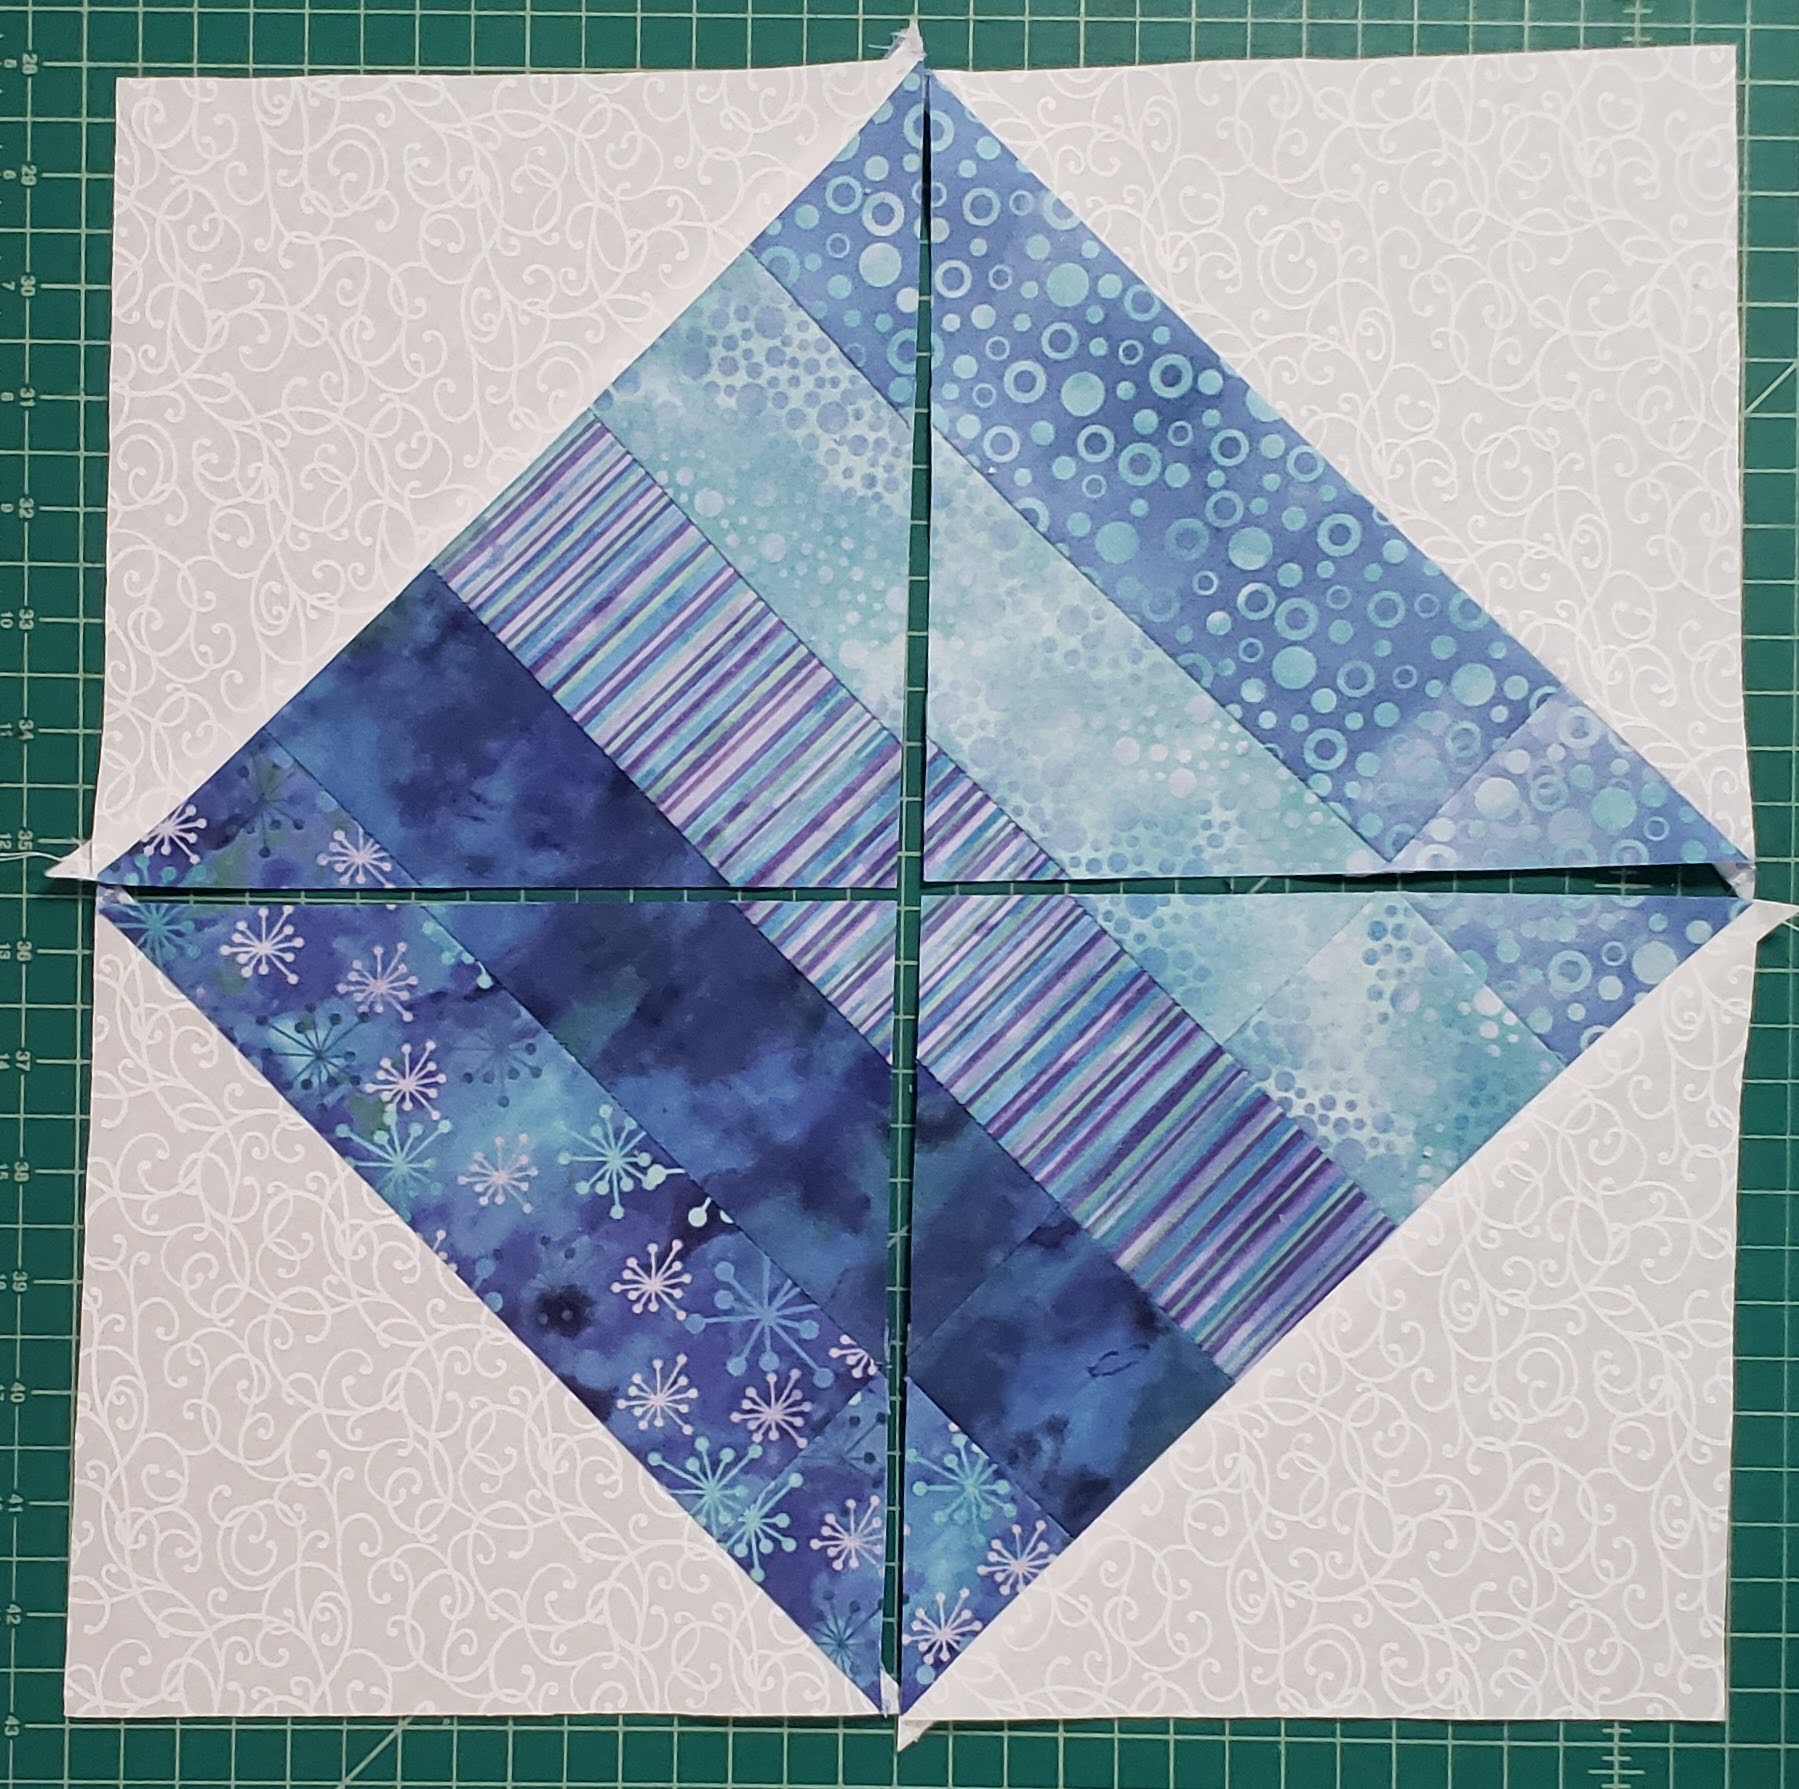
Start laying out the HST to create the layout.
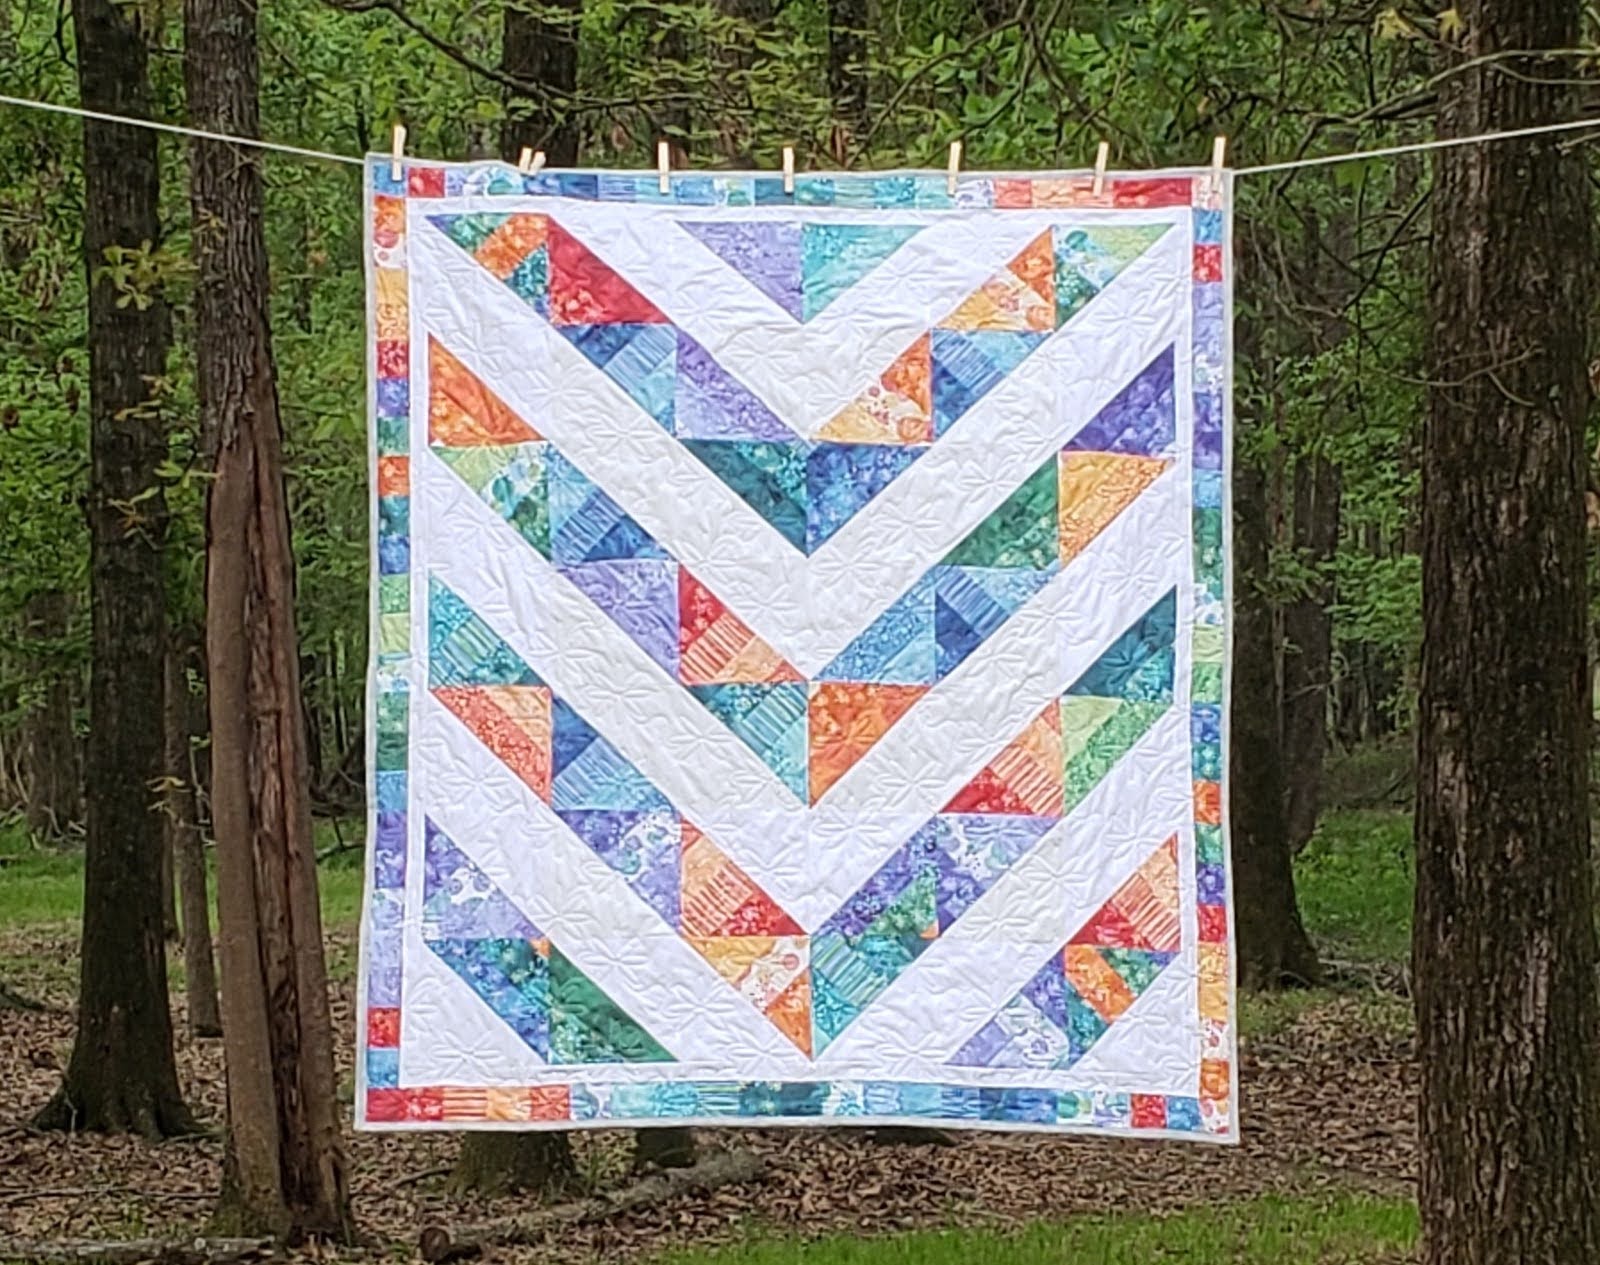
I decided to create points all going in the same direction for the second quilt.

Sew all the squares together. Make sure to press the seams as flat as you can. This is especially important around the color strips that could have multiple layers.
Next add a 1 1/2″ strip of the white (or your solid color) all the way around the block. Press towards the white fabric.
Next using the extra strip pieces, cut 2 1/2″ strips. For my quilt I used Ninety – 2 1/2″ squares. Make one long strip.
Sew across the sides with the strips, removing the seams when you get to the end of the piece. They should be full 2″ sew sections.
Then add a row across the top and the bottom, again, they should match across.
Press towards the white, as this has the least seams, reducing the bulk.

Then used Hobbs Batting 80/20, and I used some light gray fabric for the back.
I quilted using White Aurifil thread on the front, and I used the Aurifil 2600 Gray thread on the back.
I quilted the quilt on my longarm using a Pantograph I purchased from “Quilting Pantographs” called “Yellow Wild Flowers“

I bound with some of the extra gray fabric from the back.
Here is my finished quilt, it finished at 44 1/2″ x 50 1/2″.
If you are working on any PHD or UFO projects, I would love to see what you have completed. I hope to have another UFO quilted in April.
If you create this smaller quilt, please post pictures, I love to see the completed quilts.
Happy UFO Quilting!
#hobbsbatting, #aurifil, #aurifilthread, #schmetzneedles, #juki, #quiltingpantographs

Your instructions are very clear and make me want to begin a new project. Not that I really need one!
But I do need to make a baby quilt for my grandson due in September….
LikeLike
Wow! Absolutely beautiful. Thanks for sharing.
MaryStay safe. Stay healthy. And stay happy. Thanks 🙏🏻. God bless America. 🇺🇸
<
div dir=”ltr”>
<
blockquote type=”cite”>
LikeLike
Love both of the quilts!!!
LikeLiked by 1 person