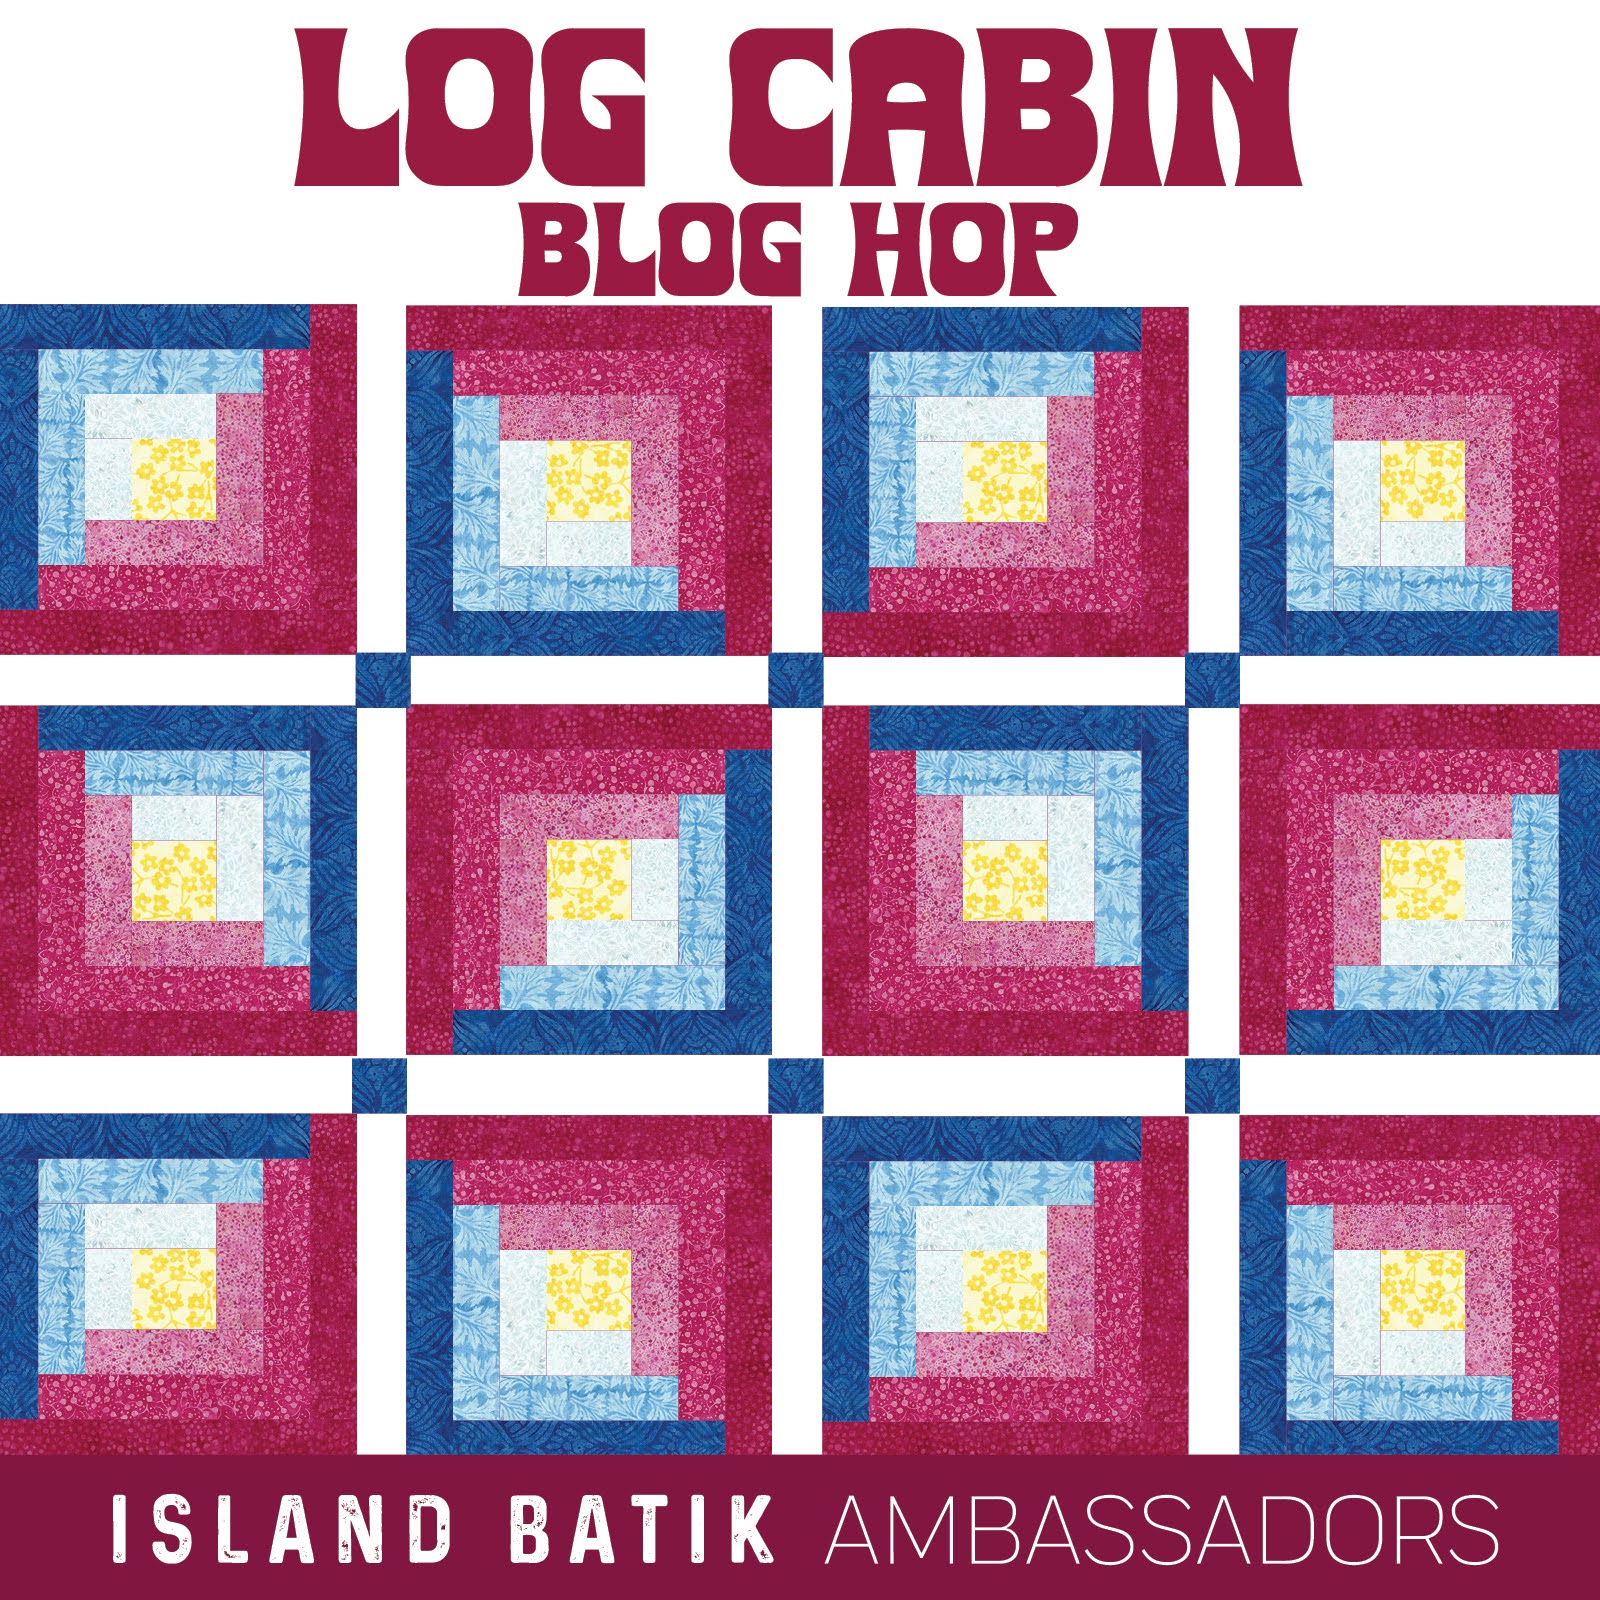
The first Island Batik Ambassador Challenge for 2024 is a Blog Hop, where we were challenged to create a log cabin quilt. This is an old favorite patter, and we could use whatever layout we wanted, while using whatever technique we wanted. I’ve created a few small Log Cabin blocks, but never a full-size quilt.
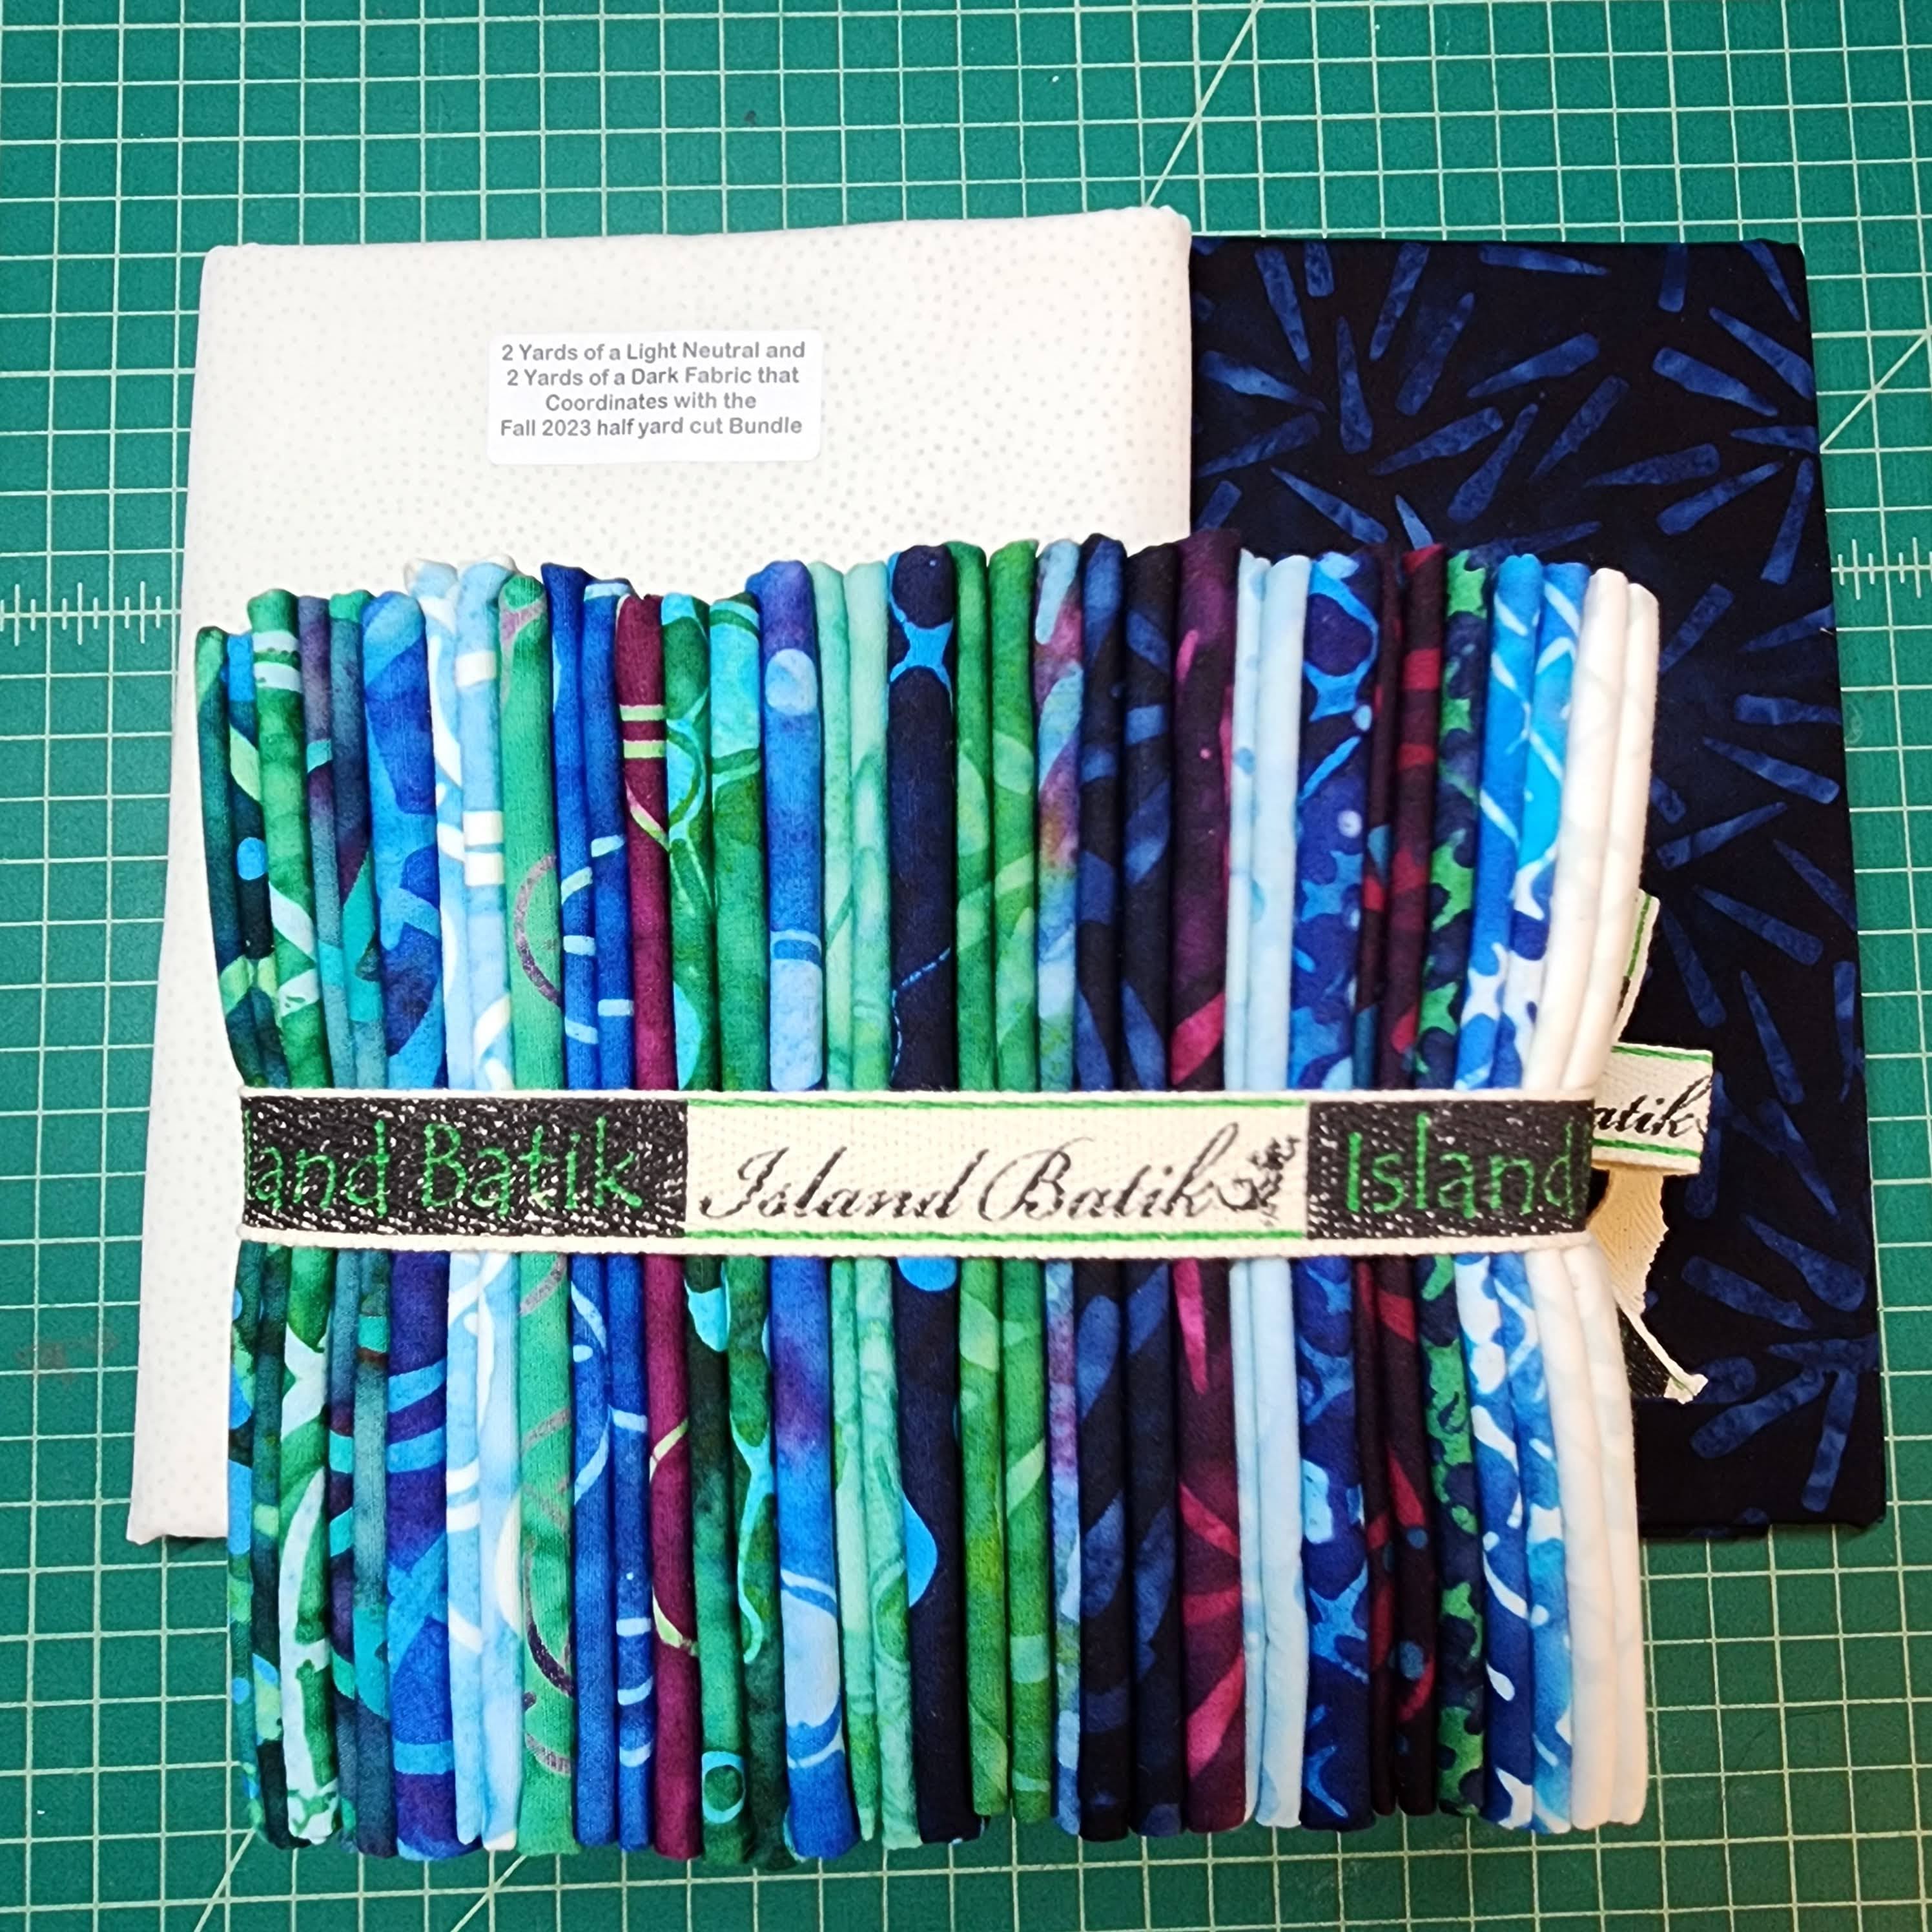
We were given a line of the new Fall 2023 fabric bundles to create this quilt. The fabric line, I received is created by Studio 180 Designs, called Squiggles, Dots & Lines. I received a half yard cut bundle of the 20 fabrics in this line, as well as two yards of a light and 2 yards dark coordinating fabrics.
The materials used in the making of this quilt were provided to me free by Island Batik and their industry partners, Aurifil Thread, Studio 180 Designs, Schmetz Needles, and Hobbs Batting, as part of my role as an Island Batik Ambassador.
My first year as an Island Batik Ambassador, (2022), I received a Studio 180 Designs Ruler, Winged Clipper I for a project. I wanted to use one of the Studio 180 Designs rulers in my project, since the fabric line was designed by them. I decided the Winged Things, a Flying Geese ruler, would be the ruler I used. This was sent to me free that year.

There are so many different layouts and techniques that you can use to create a Log Cabin quilt. I was looking to create a quilt that was more than the traditional Log Cabin Block. I wanted a design that would also highlight this beautiful fabric line.
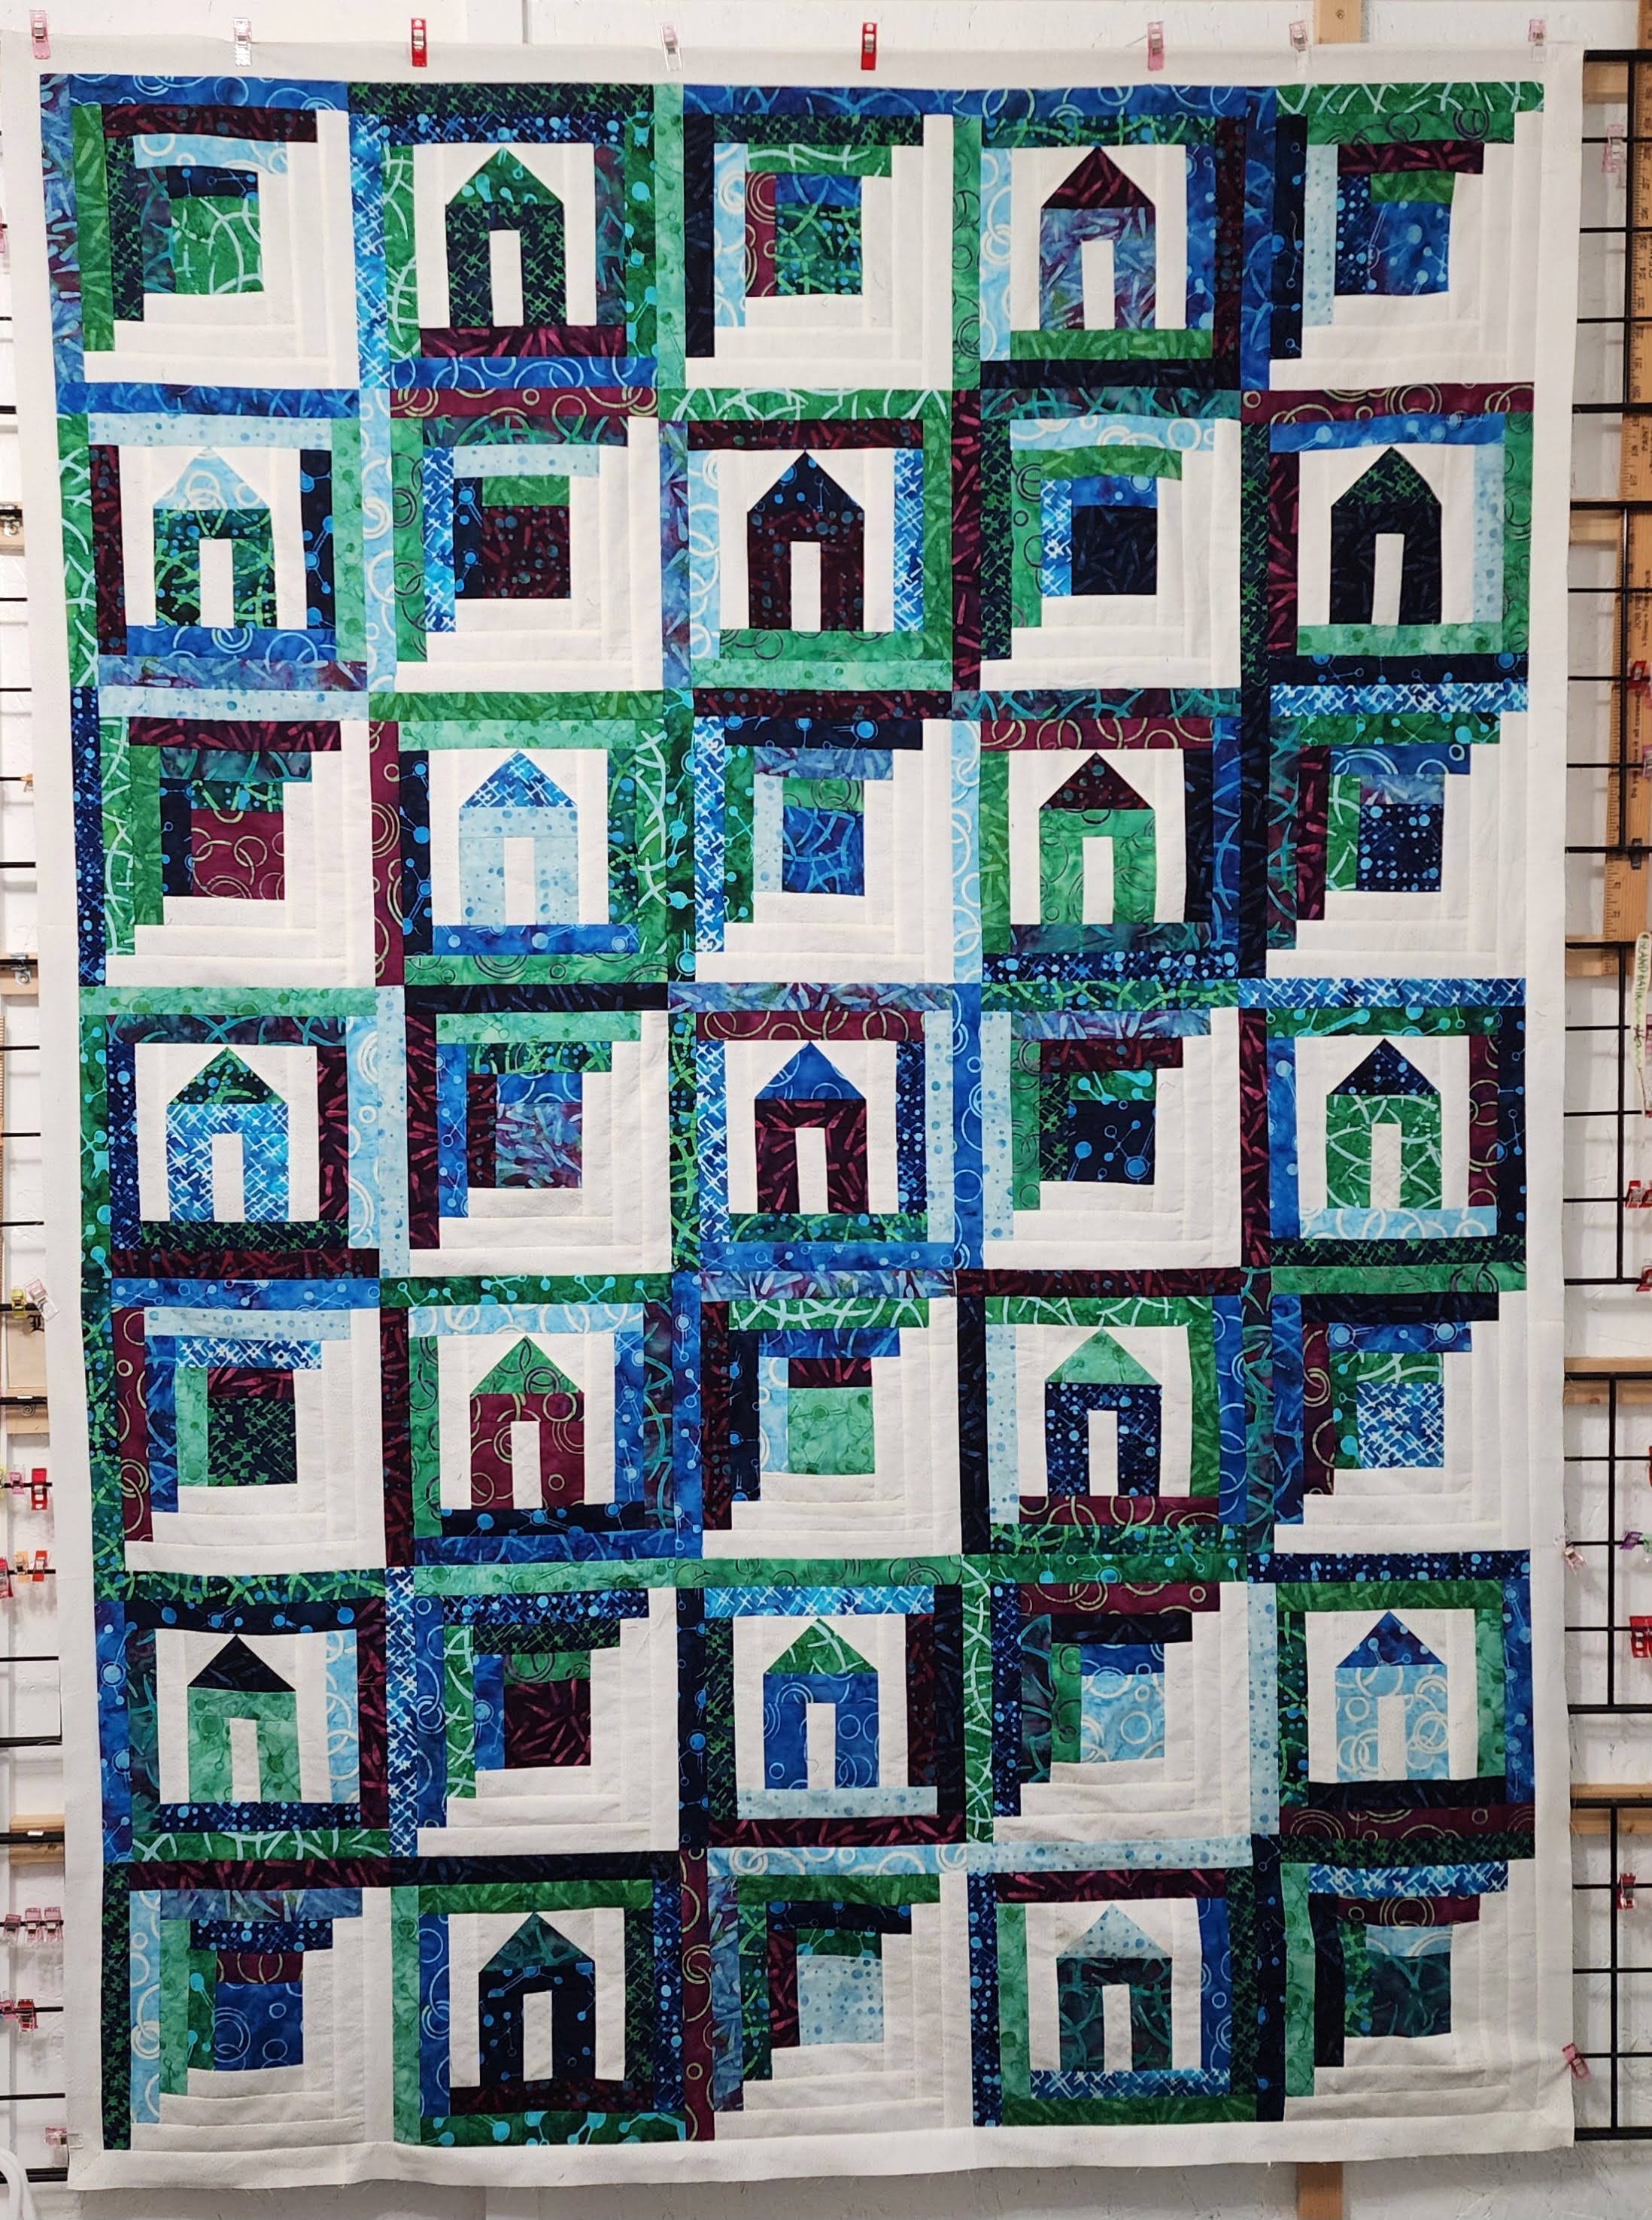
I wanted to do something Scrappy, so I could easily use all 20 fabrics in the quilt. I came across a Missouri Star Quilt Blog with some Log Cabin Ideas. I loved one that Jenny made called “Cozy Cabin”. This design has both the traditional Log Cabin block, as well as a house block, surrounded by log cabin rows.
I did increase the block sizes to 10″ finished squares, using my Electric Quilt 8 software. This helped me see how the layout would look, and what sizes I need to cut the fabric.
Fabric Cutting
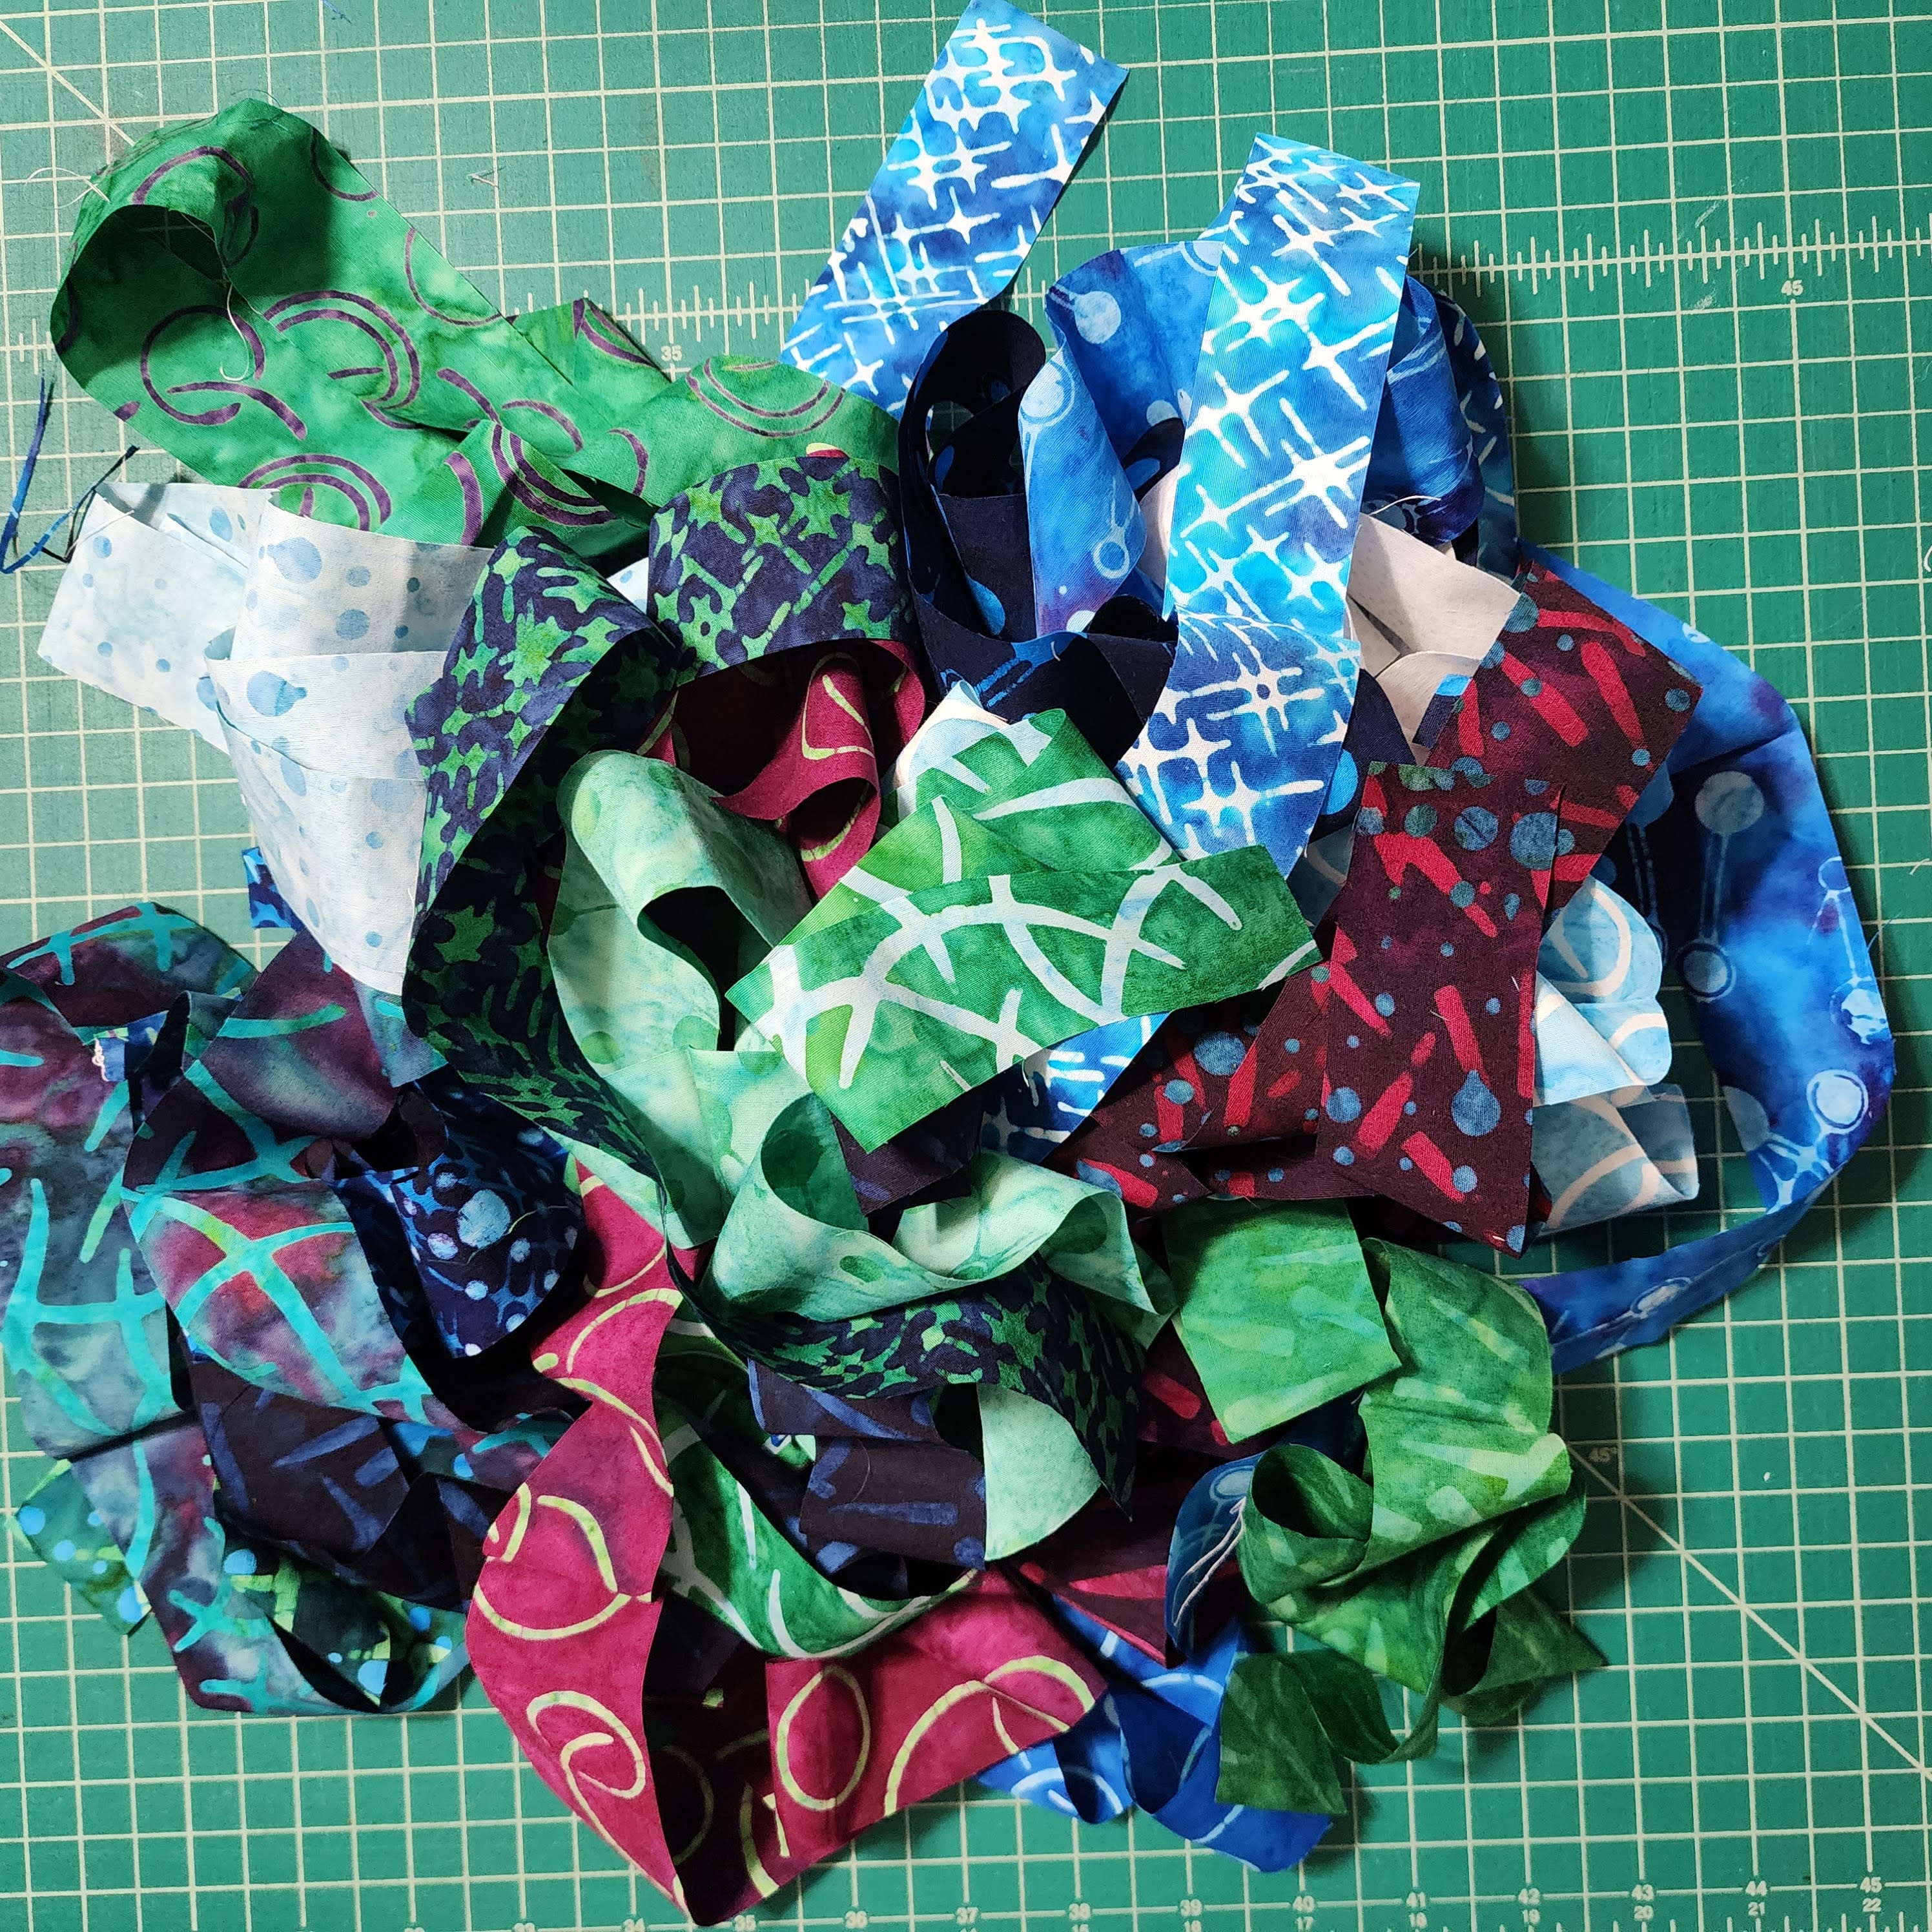
I cut all the fabric 1 1/2″ strips cutting 30 strips of fabric, for the pieces that I would need for all the blocks. This made it easier to create a scrappy look, without having to cut as I go. I cut 30 strips of the Coordinating pieces as well. I cut 30 – 3 1/2″ x 3 1/2″ square for the center.
I ended up cutting extra pieces for the Houses, as Initially I was going to create 15 of each block style. I couldn’t make up my mind what colors to use, so I kept cutting all the pieces that I liked of the fabric and ended up cutting the smaller pieces out of most of the fabrics.
House Block
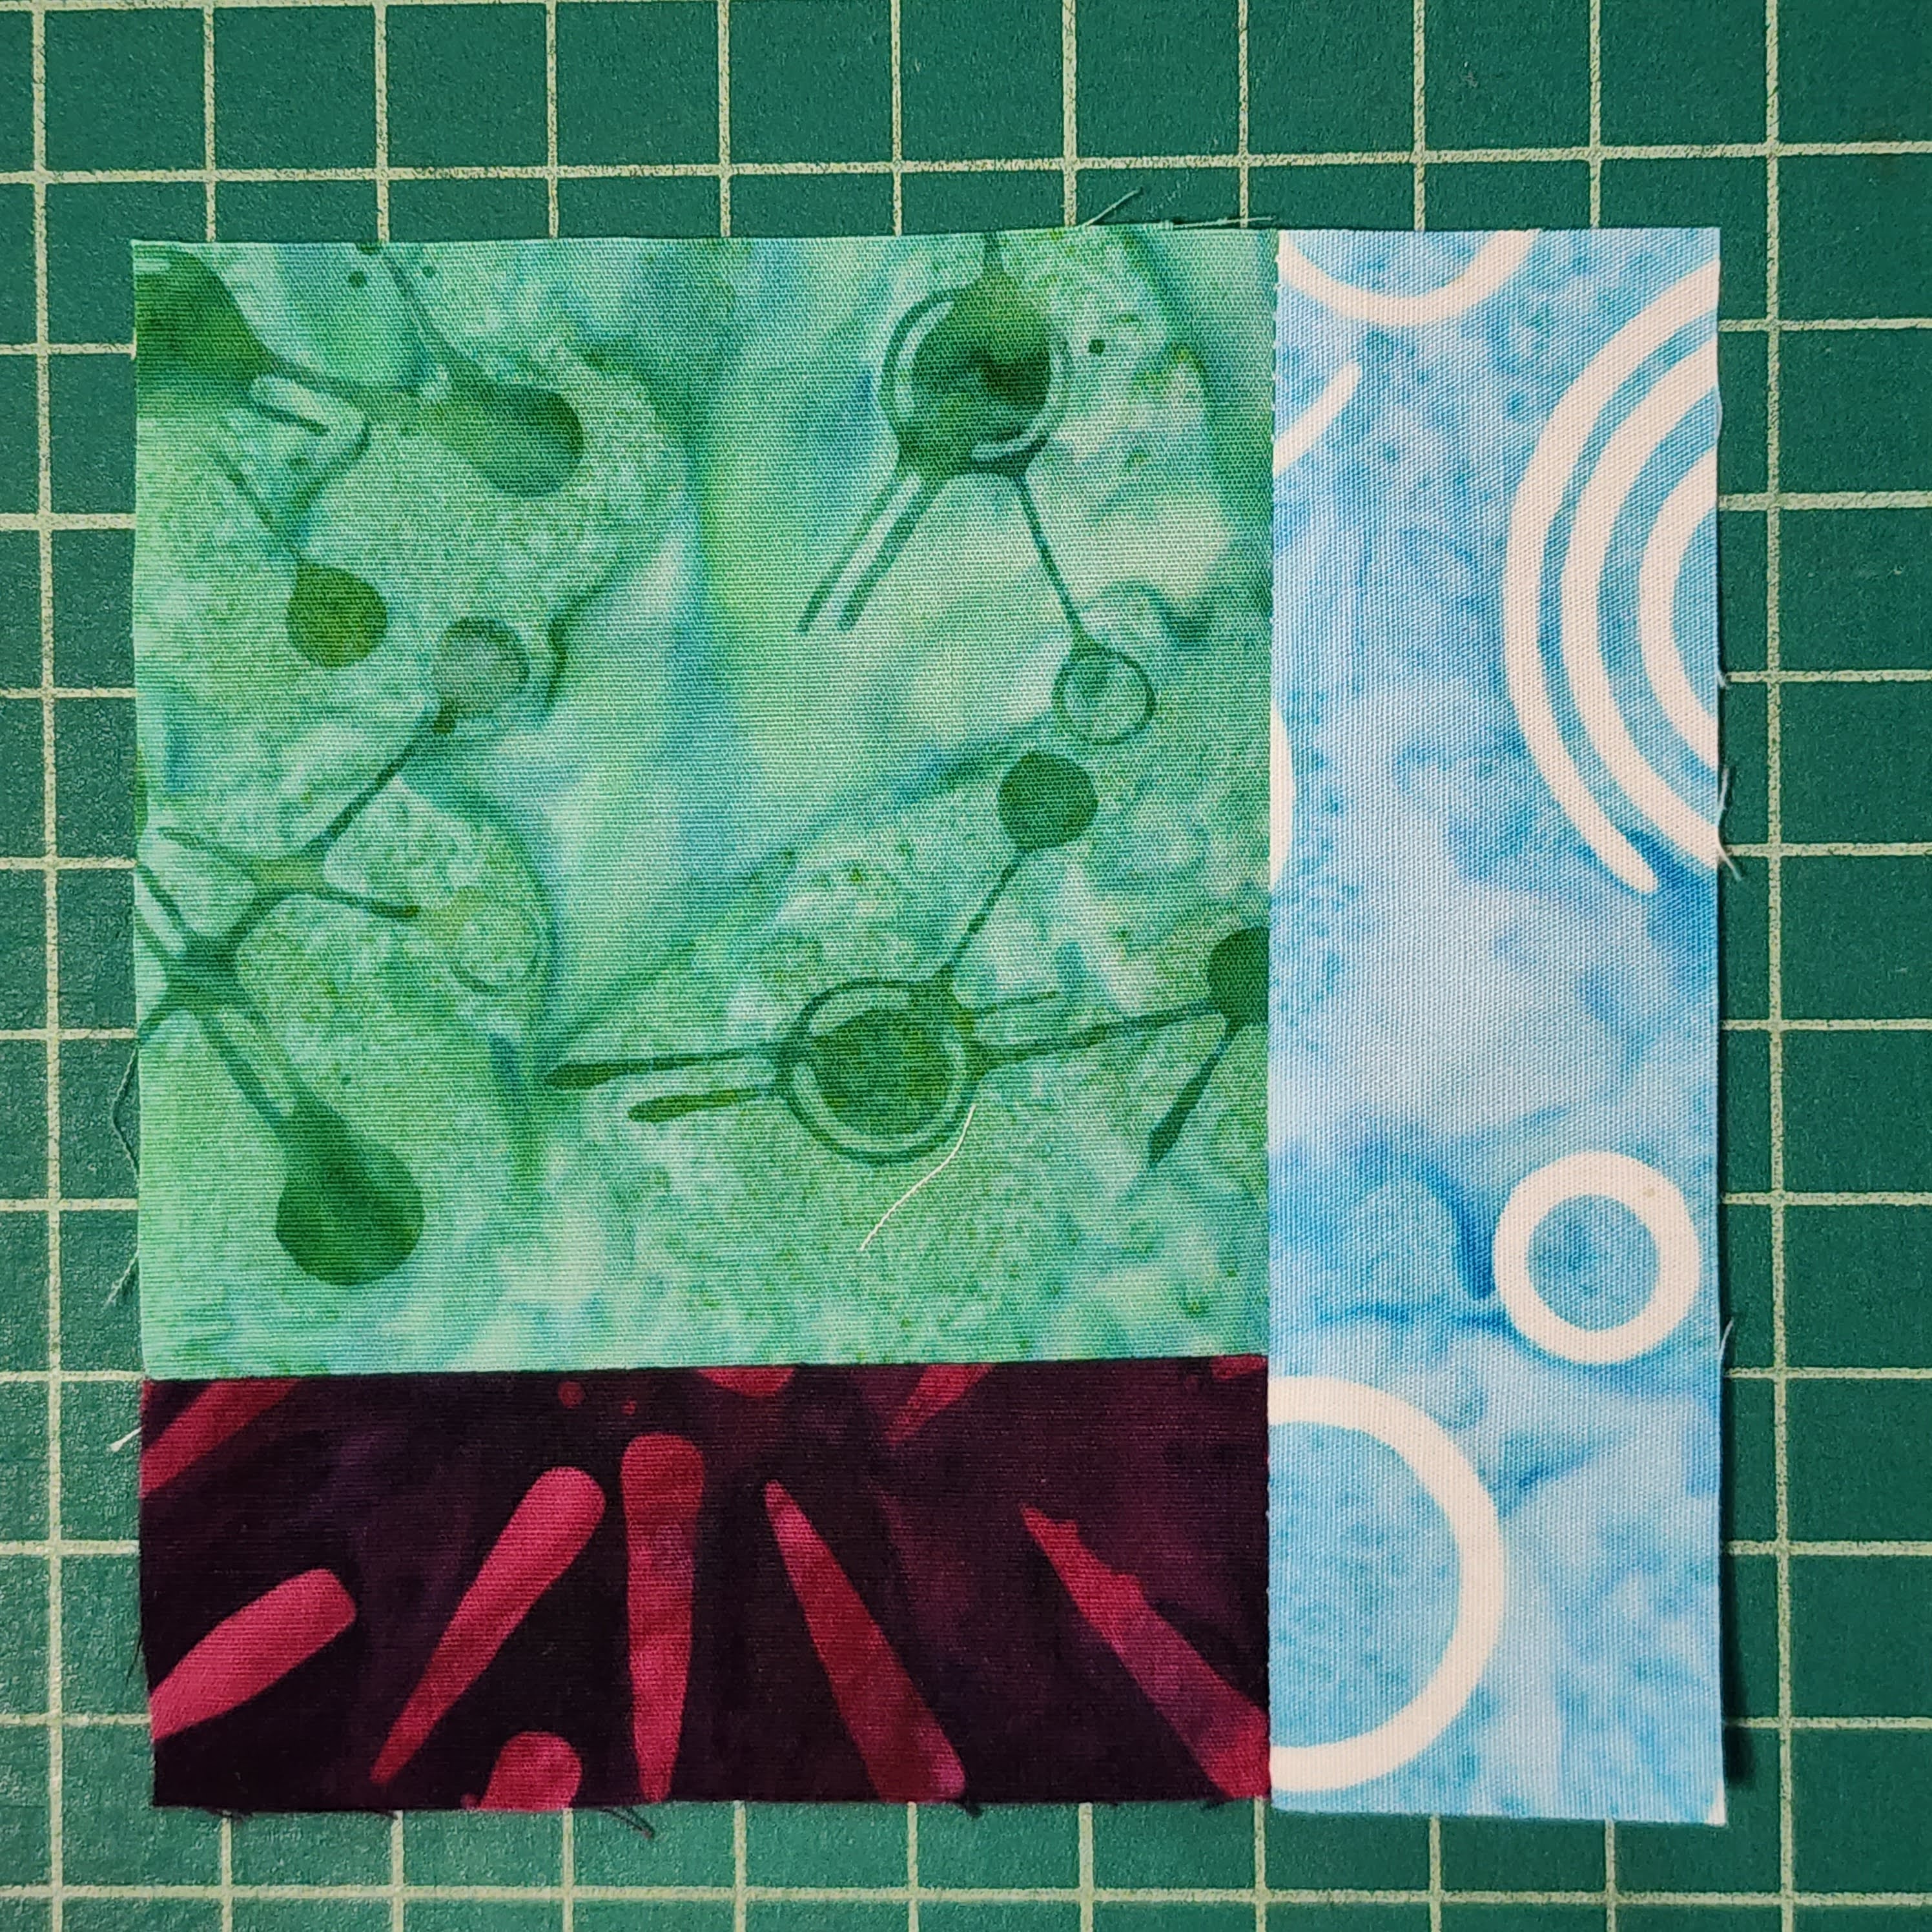
I started with the House block. I created the main part of the house, sewing 4 pieces of fabric together. When they were sewn together, I squared each to 4 1/2″ x 4 1/2″.

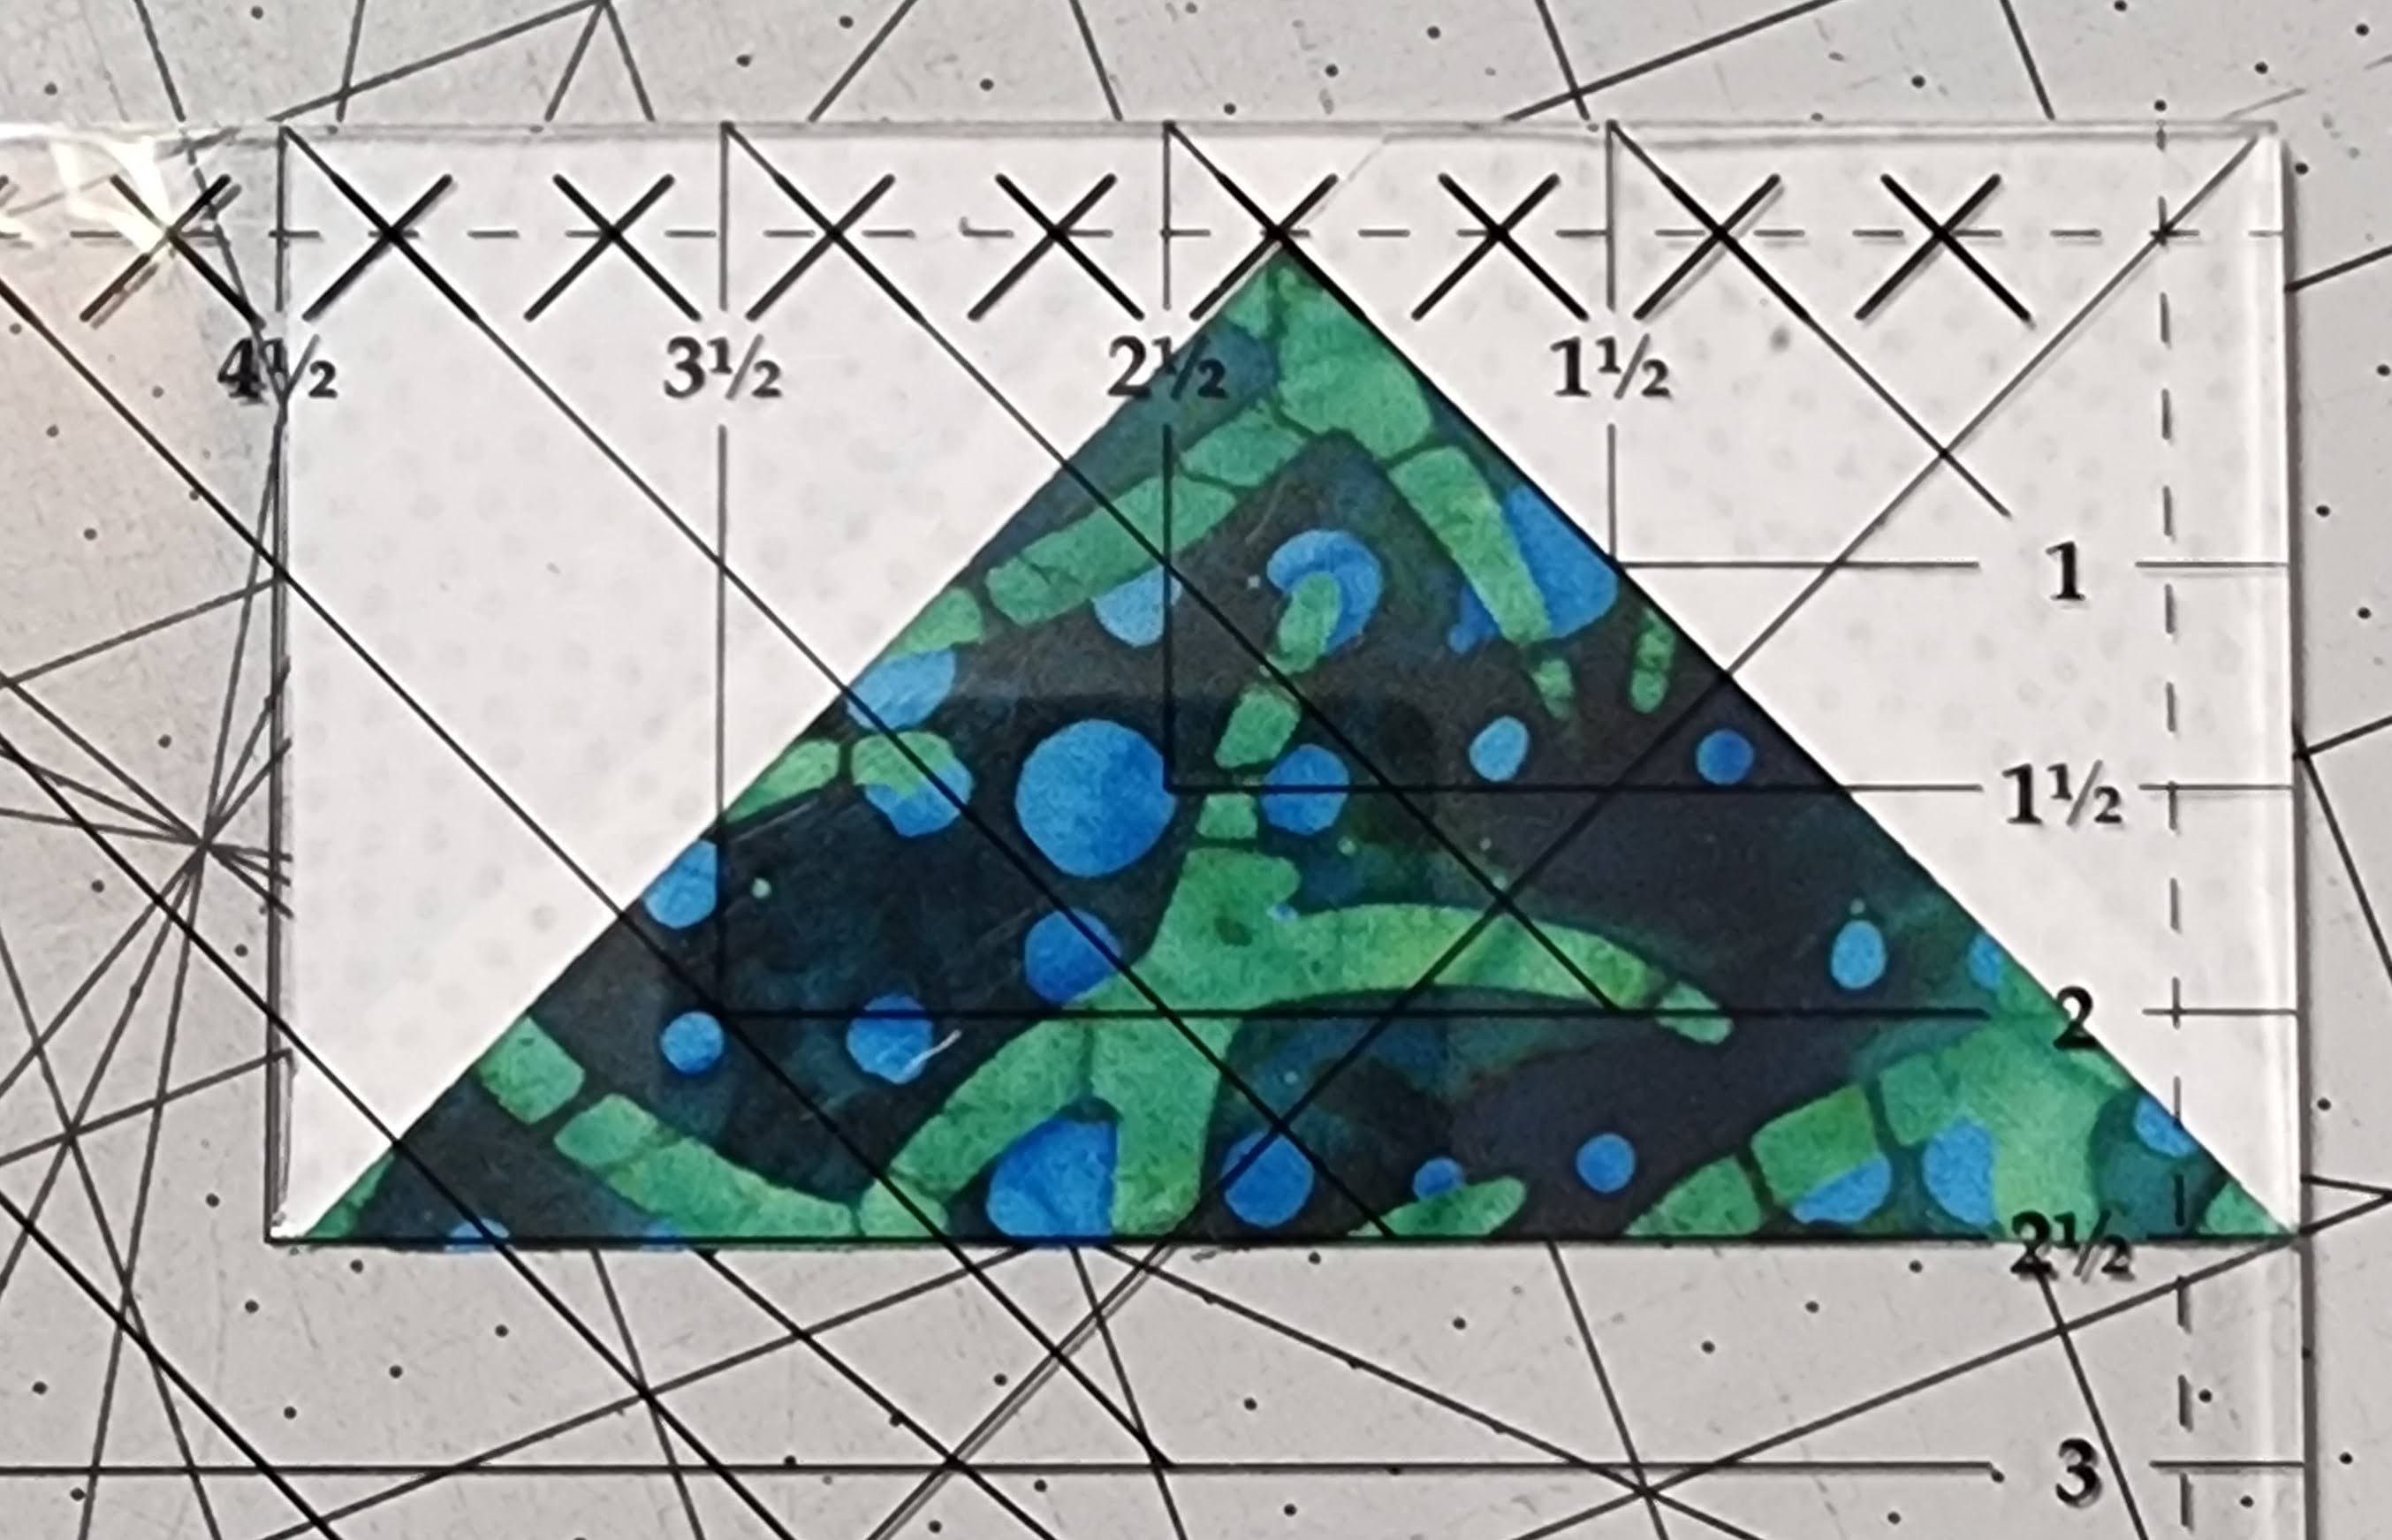
I created the Flying geese for each of the roofs. I cut the 3″ squares, diagonally in half, and sewed one to each side of the 2 1/2″ x 4 1/2″ roof piece. Then I trimmed these down to 2 1/2″ x 4 1/2″. This is where the Winged Things ruler by Studio 180 designs came in handy. I makes trimming flying geese up so much easier. By making sure that all the roof Flying geese were the correct size, made the house go together more accurate.
I then added the Roof to the main part of the house and attached white (coordinating light fabric) strips on each side. I then squared the house to 6 1/2″ x 6 1/2″.

I created all of the center of the house blocks first. Doing chain piecing is a create way to create all these.

I then started randomly adding a color strip to each side of the block, starting with the right side of the block using a 1 1/2″ x 6 1/2″ strip. You can cut all of the strips to the size you need, or you can use a strip of fabric, and cut as you go. This is the method I used, so I didn’t have to worry which piece I need to use next. You will continue around two times to create a 10 1/2″ x 10 1/2″ block. I then squared the completed House block to 10 1/2″ x 10 1/2″. Making sure they were all square.
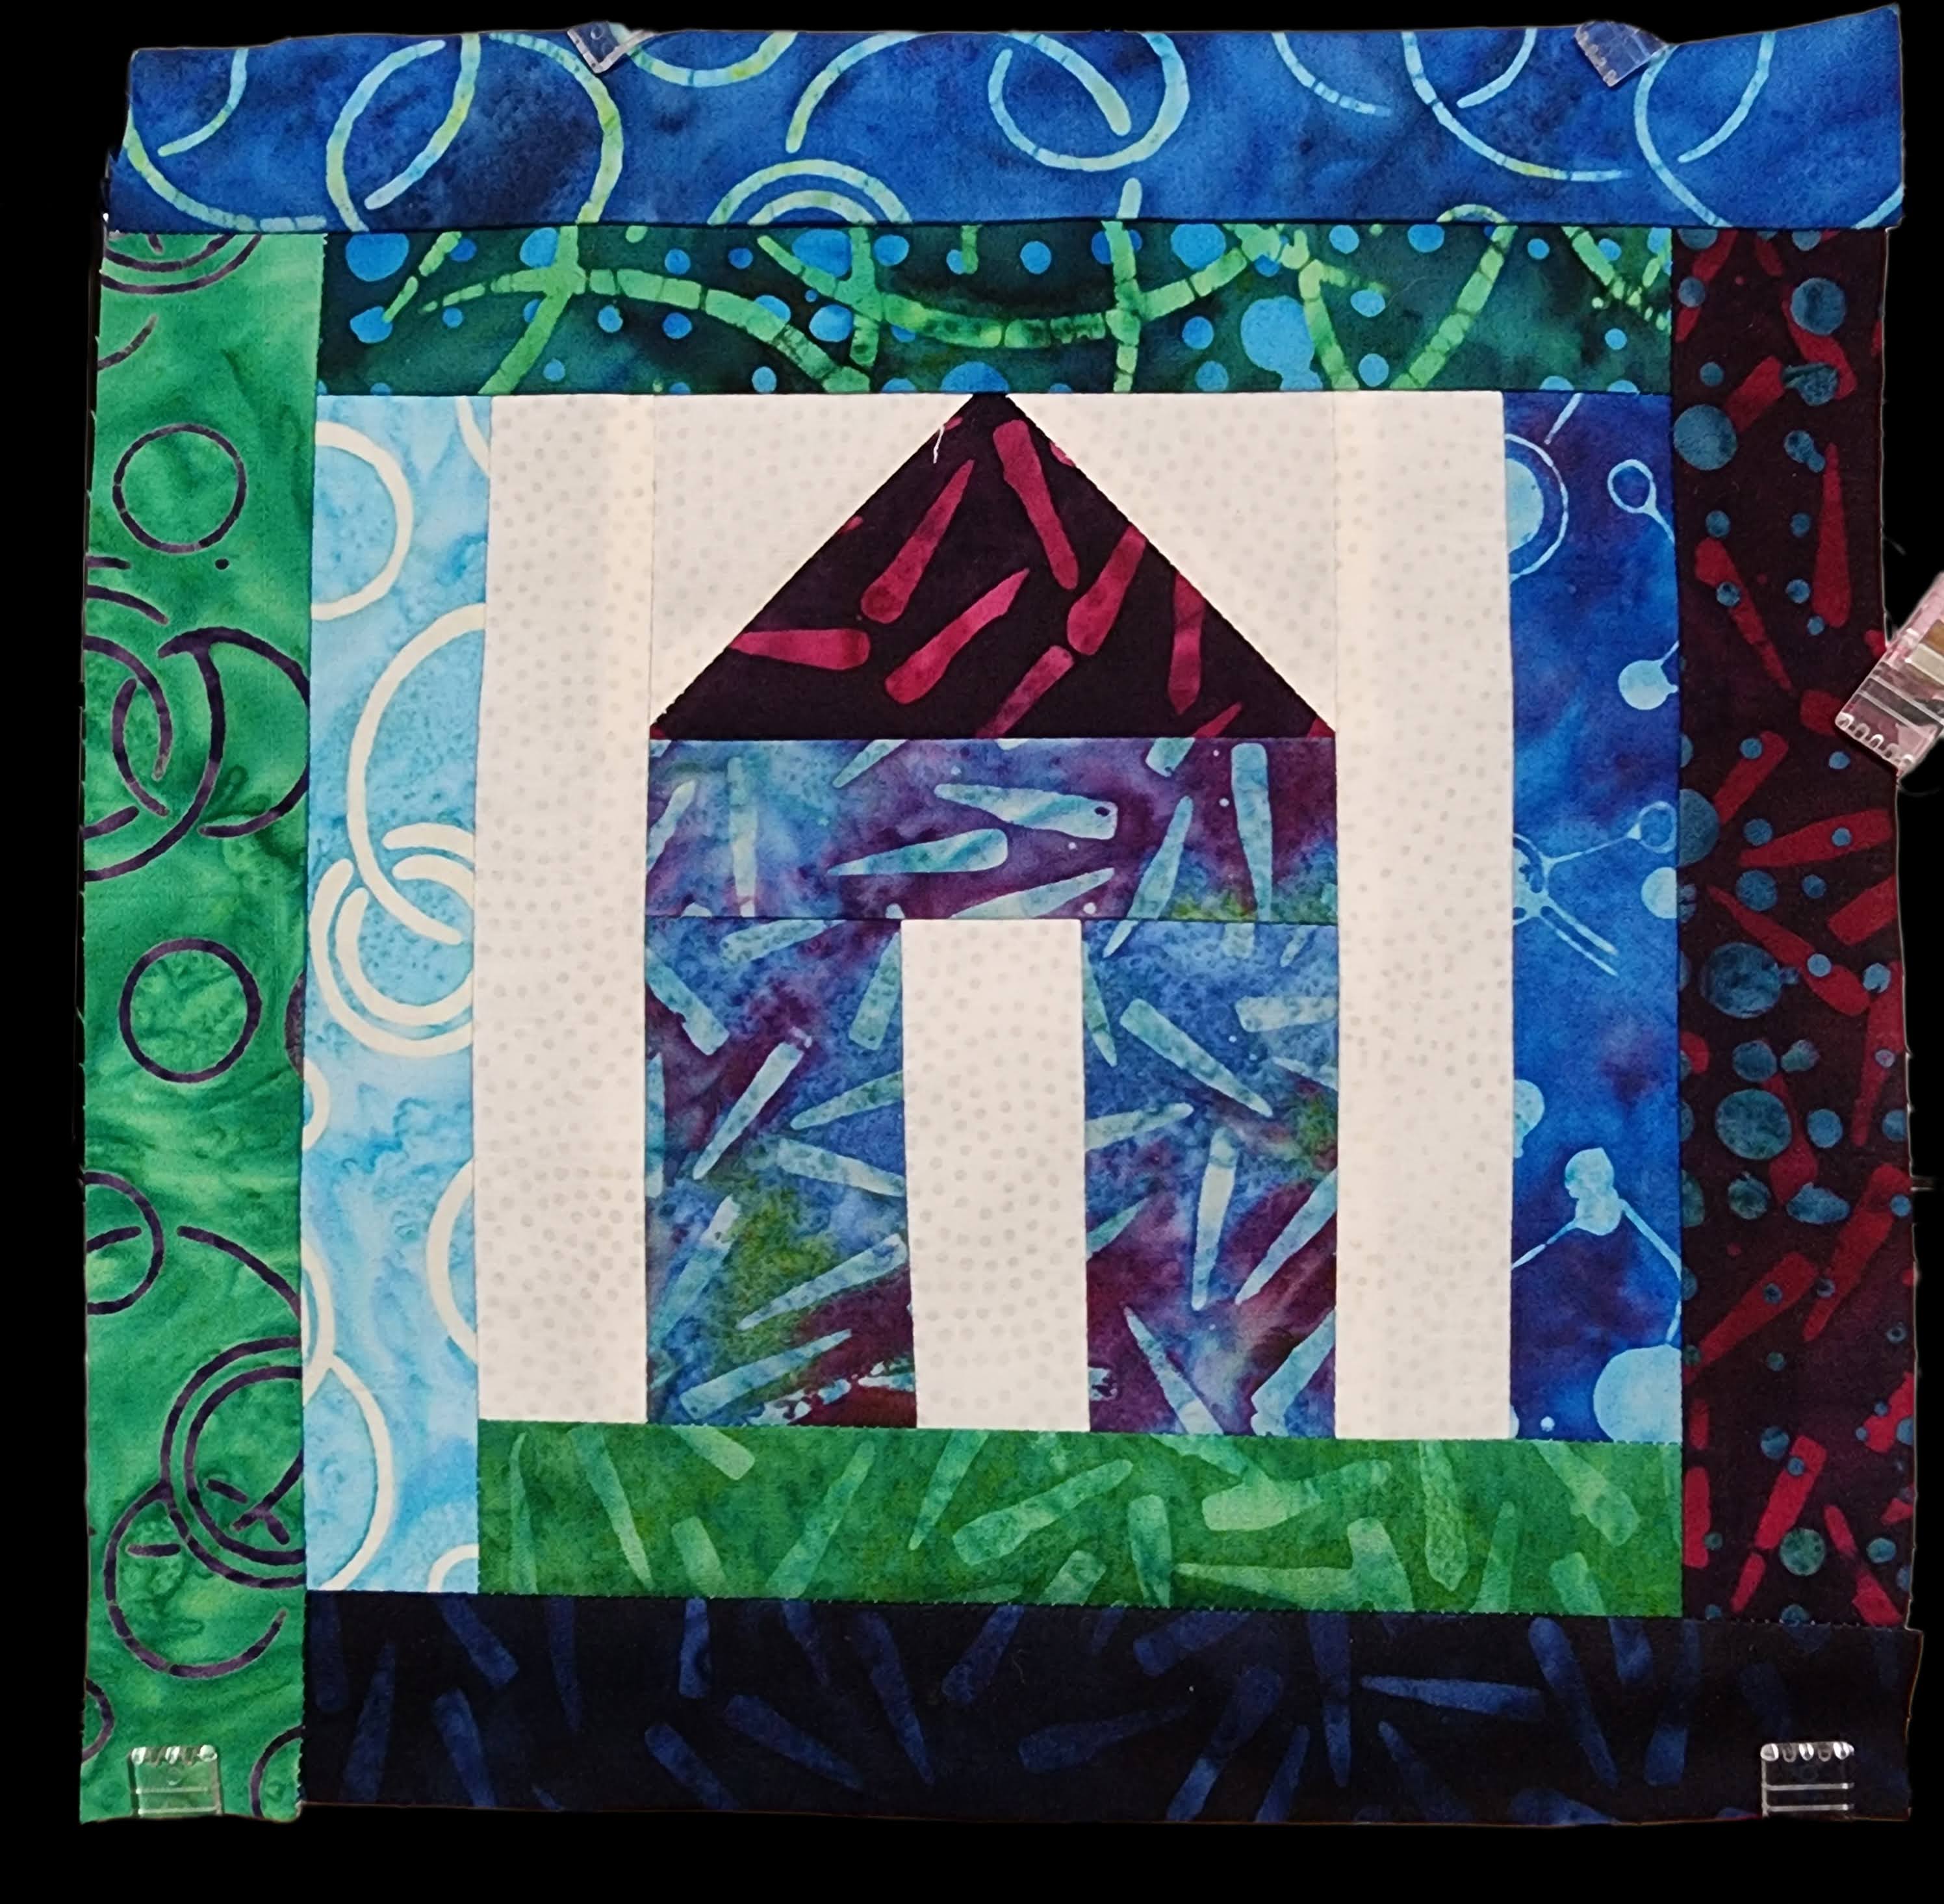
I didn’t use the light fabric on the House blocks, but you could use them on one side of the block for a little different look.
I ended up creating 20 House blocks. This will give me the option to make the quilt larger than I initially planned, or have extra for another project, or to place on the back.
Log Cabin Block
Next, I created the traditional Log Cabin Blocks, but with a scrappy look. This was using random color pieces on one side of the block, and white on the other side. Instead of matching two sides, I wanted them to be all scrappy. So each block would have 8 color fabrics, instead of 4.
I started with the 3 1/2″ x 3 1/2″ square piece. I started by adding a strip of color fabric to two sides.
Then I added white to the other two sides. I cut the strips as I went along, so I didn’t have to worry about what size I needed. I just kept a pair of scissors next to my sewing machine. You can precut the pieces, and then sew as you go, without having to cut.

When you finish the block, you will have four strips on two sides (color) and three strips on two sides (white).
I cut 15 of the center squares, only one of each fabric, so each of the blocks would be different. You could cut the same fabric for all the centers, but I wanted a scrappier look, so they are all different.
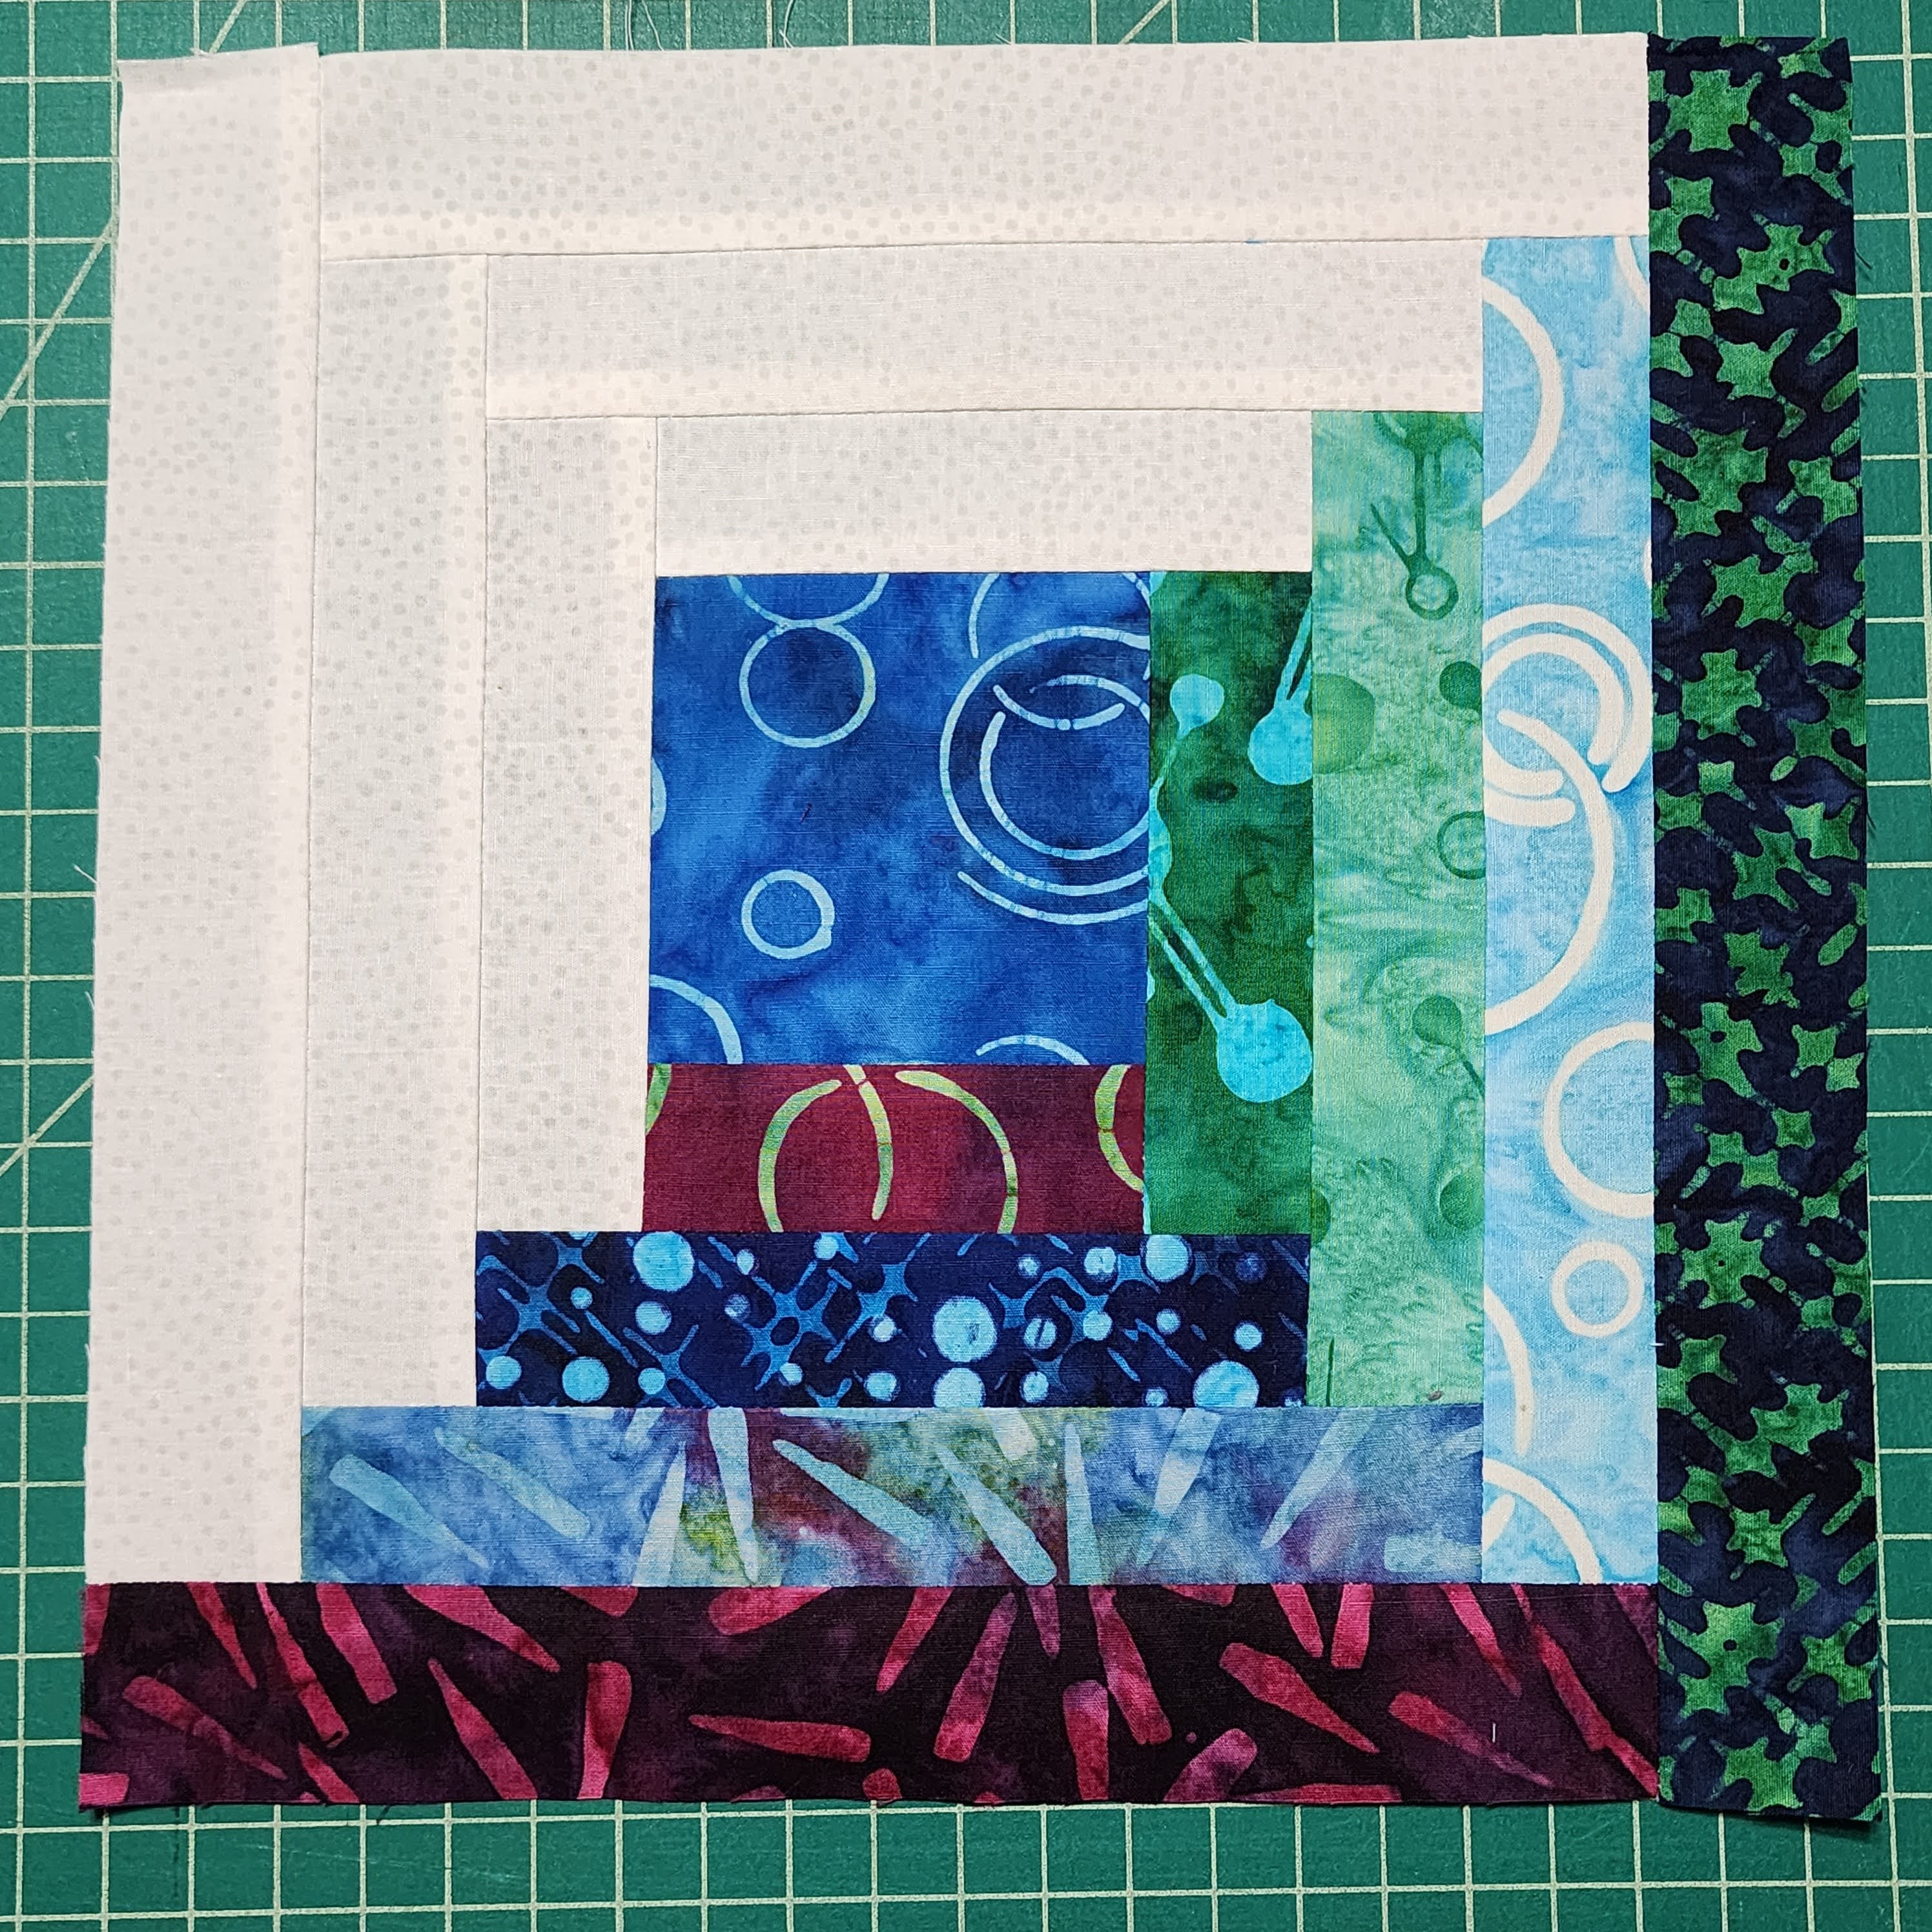
Make sure to press as you go, and when you have all of the sides added, you will square to 10 1/2″ x 10 1/2″.
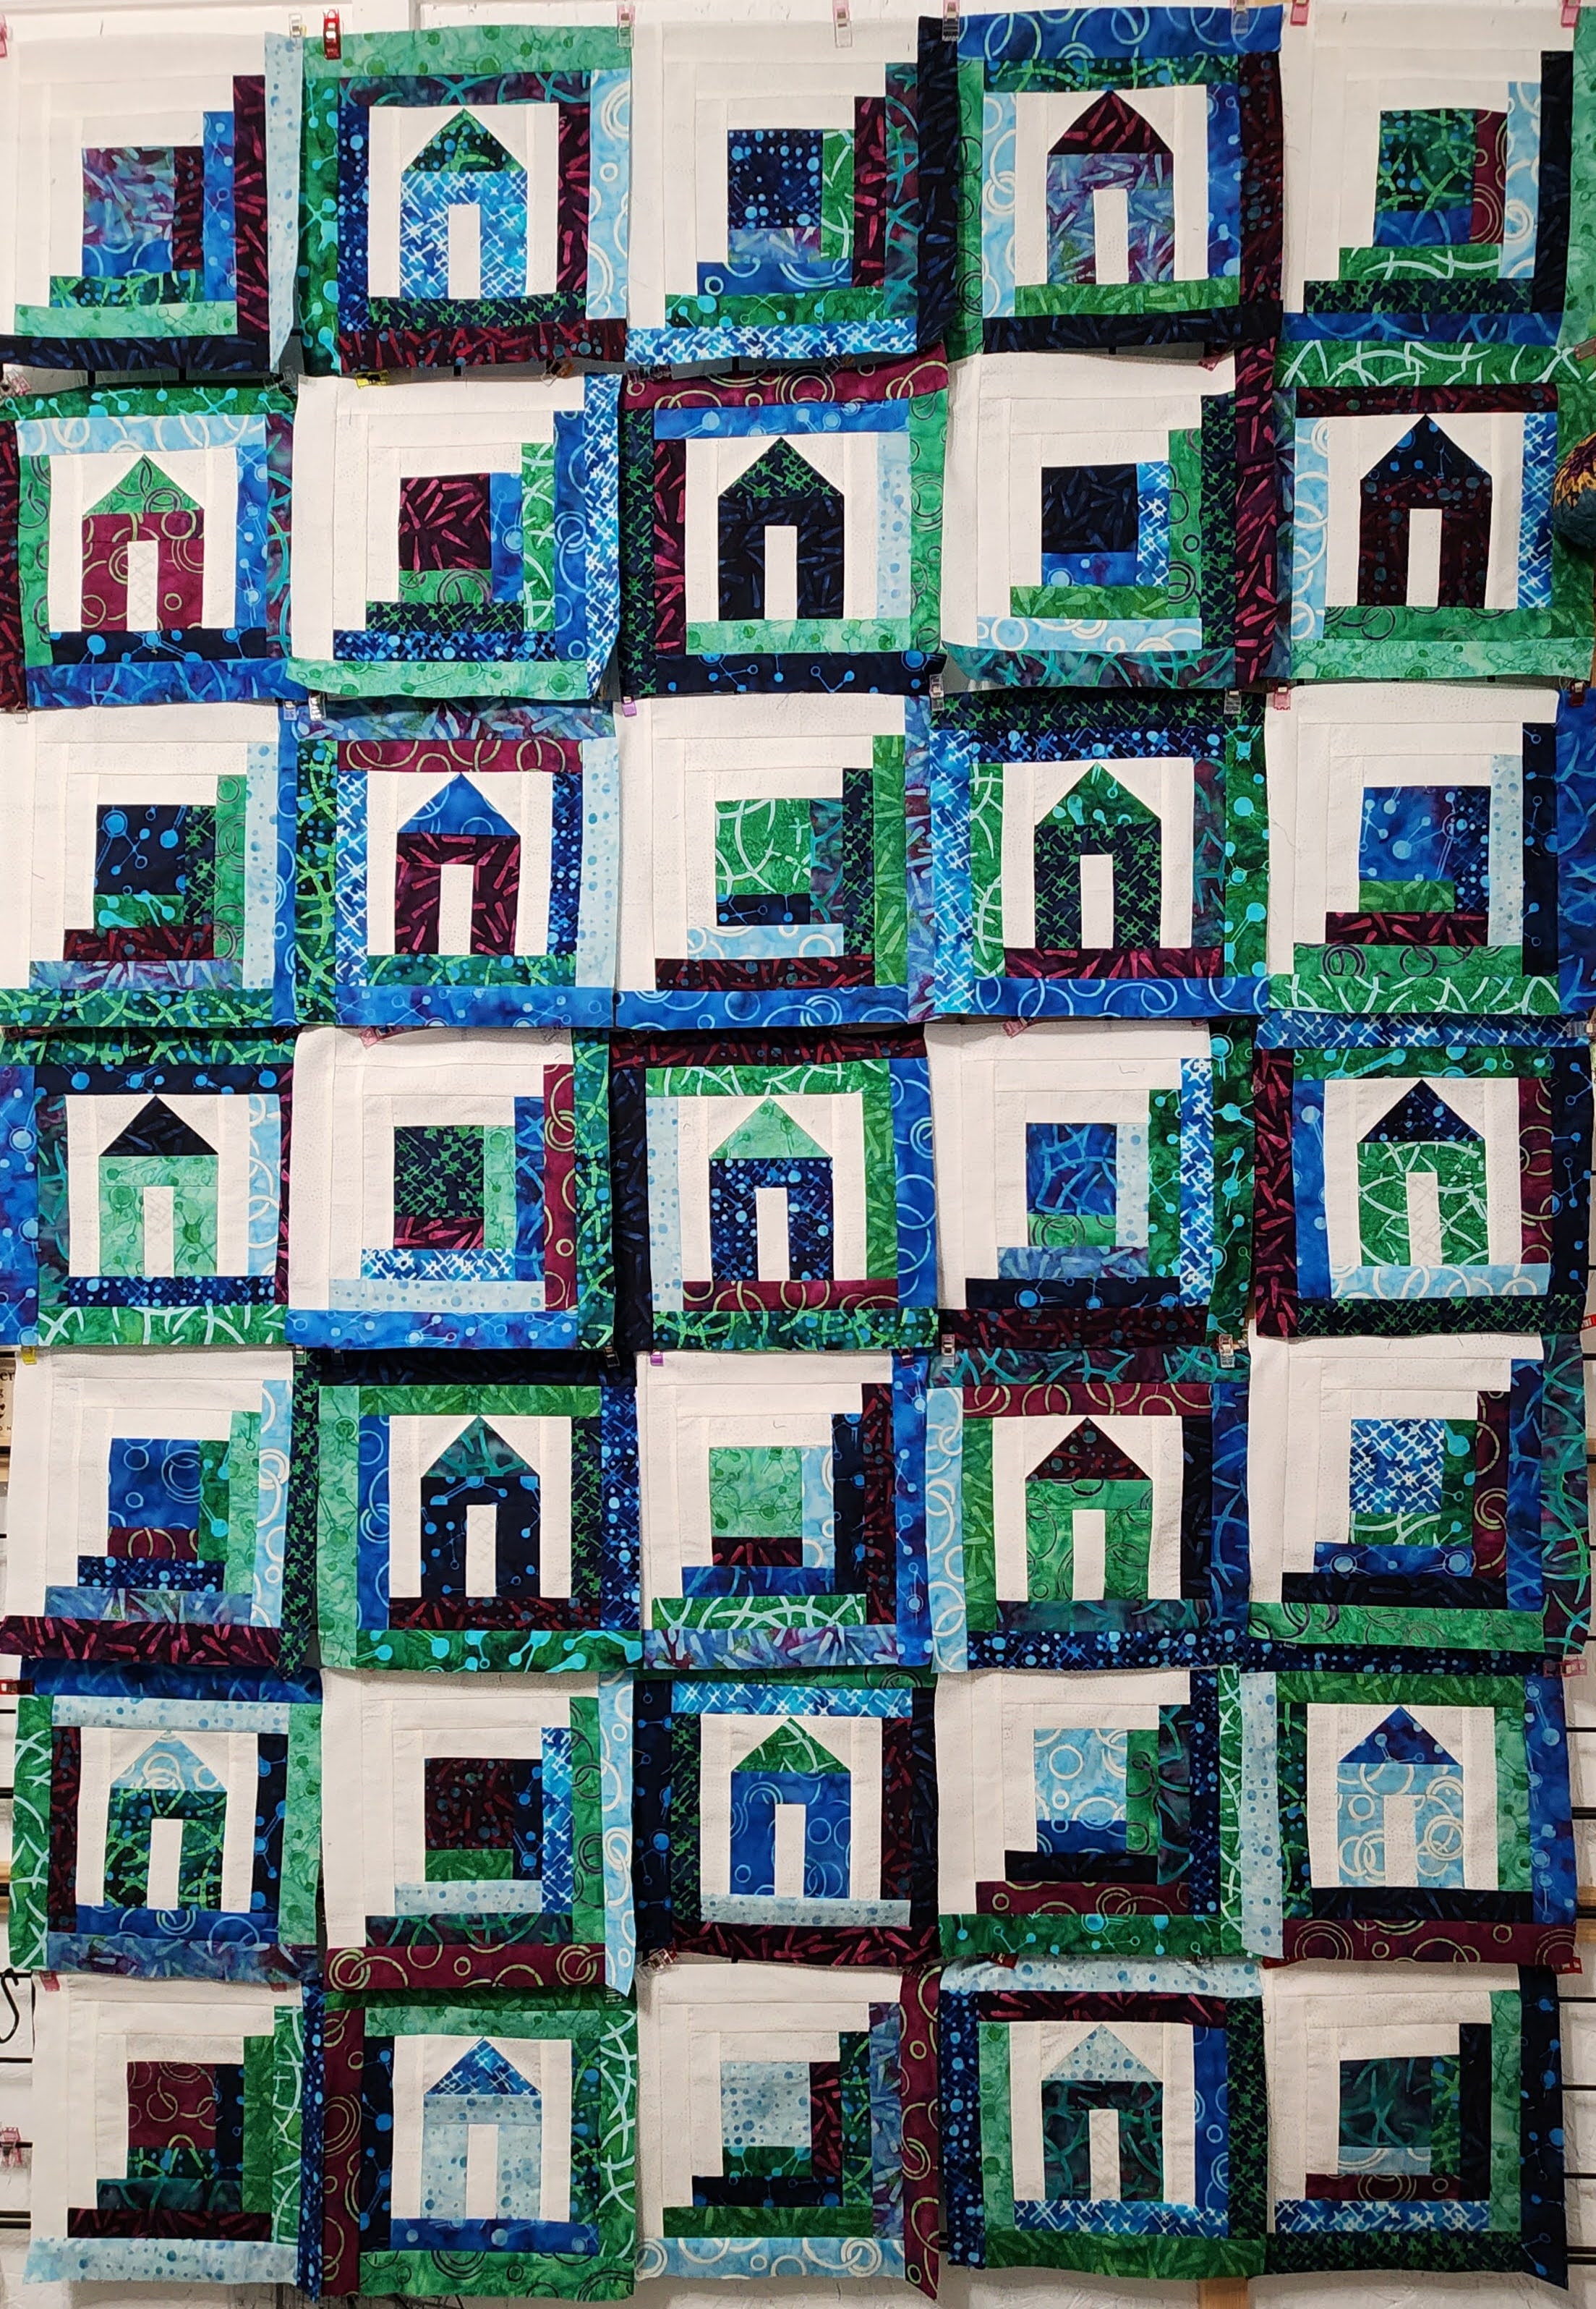
Layout
I laid out the blocks alternating between House and Log Cabin blocks. 5 on each row, for 7 rows. I moved them around to find the layout that I liked. Then sew the top together. I did decide to flip the log cabin blocks to have the white on the bottom right side of the block. (Forgot to take picture of the revised look.)
After sewing the blocks together, I added a 1 1/2″ strip of the white (Light Coordinating) fabric to all four sides.
Initially I was just going to add a 6″ border of the dark coordinating fabric, but decided I wanted to have the log Cabin blocks in the corners of the border as well.
I created four smaller Log Cabin blocks, starting with a 1 1/2″ x 1 1/2″ center square and then adding three rows of color fabric and two rows of white. This created a 6 1/2″ x 6 1/2″ square. I attached to the 6 1/2″ strips of the dark coordinating fabric when adding to the four sides of the top.

The quilt top finished at 63″ x 83″.
Quilting
I like using Hobbs Premium Batting in my quilts. I used Heirloom® Wool Batting that I had received as my role as an Island Batik Ambassador, to create a warm quilt. The wool fibers breath, allowing excess heat to disperse away from the body. The wool adds warmth, without adding weight. You can quilt up to 4″ apart, and it creates excellent loft retention.

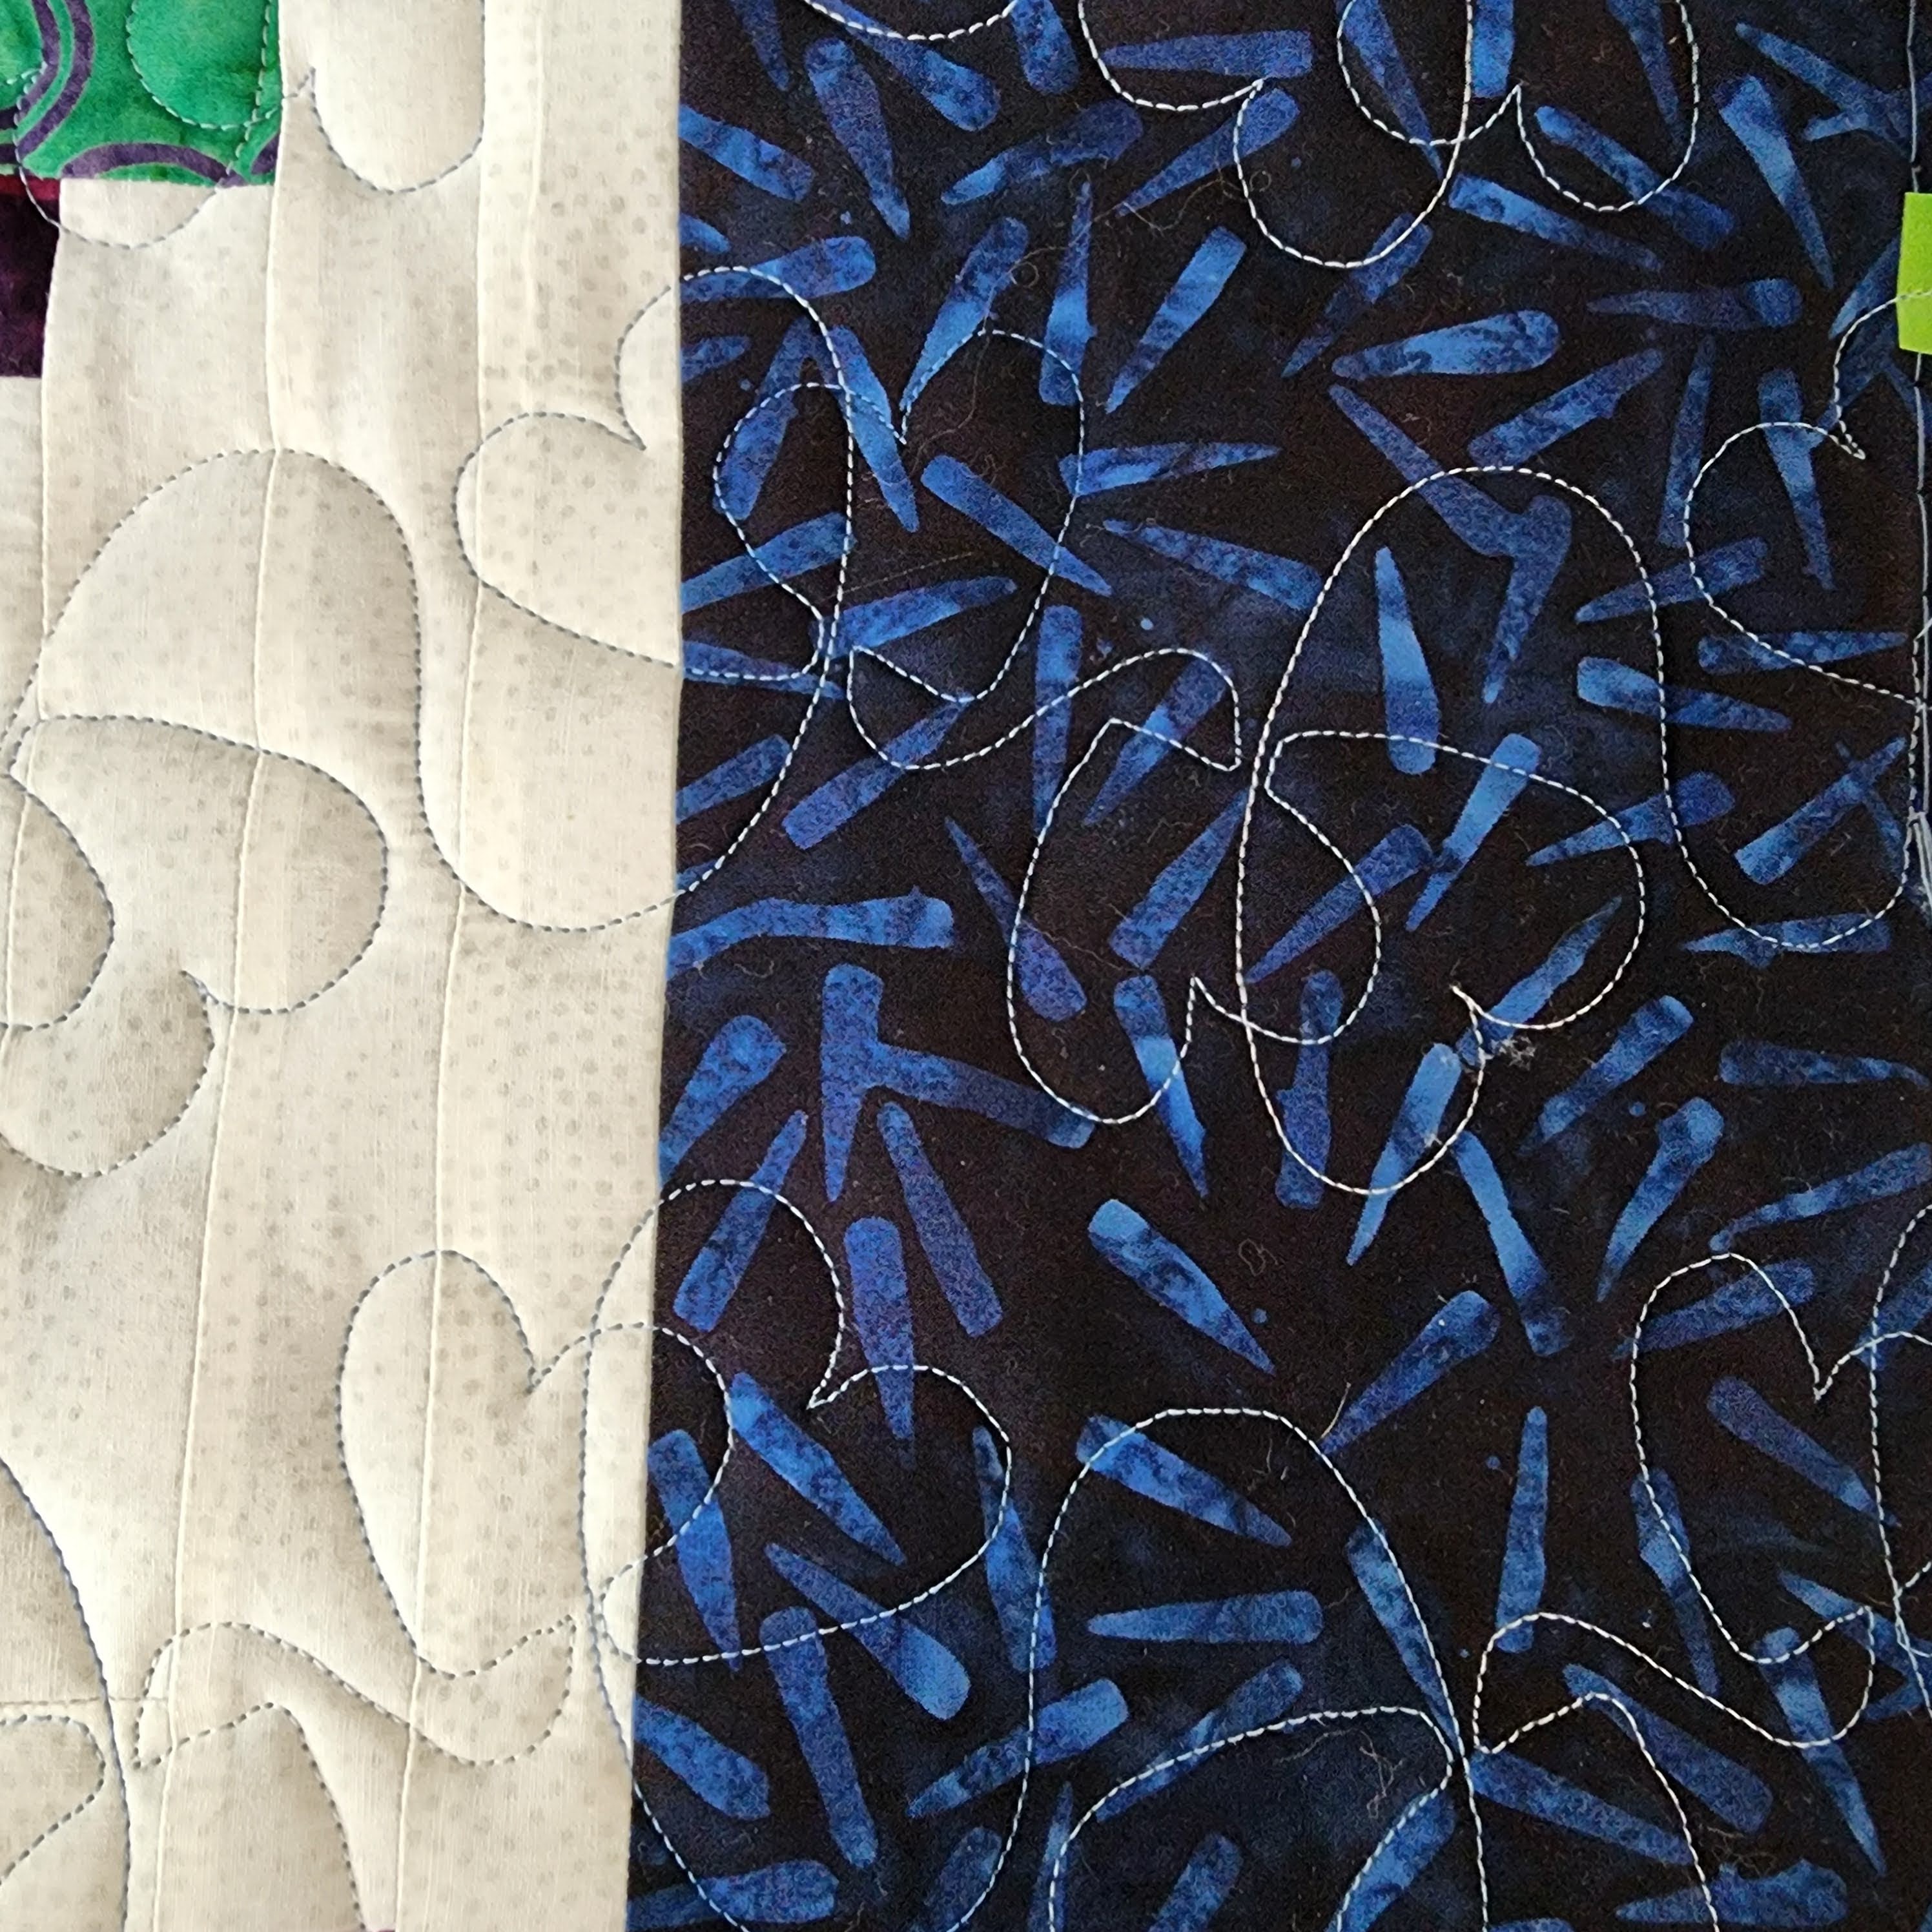
I quilted the top on my Juki Longarm, with Aurifil Thread, variegated blue (3770), with a design from Quilting Pantographs, called Abby’s Joyful Hearts. I choose this pattern, as traditional Log cabin quilt blocks have a red center, as a symbol of the “Heart of the Home”. While my centers are not red, I did want to keep that idea in the quilt, by keeping the Heart in the quilt.
Binding
I created a flange binding with the two coordinating fabrics. This gave a break between the blue border and the edge.
Here is my completed Island Batik Log Cabin Quilt, using Squiggles, Dots & Lines fabric from Studio 180 designs.

Follow me on Instagram @LisasQuiltingPassion , or on my blog at www.lisasquiltingpassion.blog (new link in 2024), or join my Facebook group.
Make sure to check out Connie Kauffman‘s Log Cabin Quilt that she made using the same fabric line and see how different they look with the same fabric line.
If you enjoyed my Log Cabin Quilt, make sure to check out the other Island Batik Ambassador’s interpretation of this traditional block. You will be amazed at some of their ideas and the beautiful fabrics they were given to use.
Brenda Alburl ~ Songbird Designs
Renee Atkinson ~ Pink Tulip Quilting
Megan Best ~ BestQuilter
Pamela Boatright ~ PamelaQuilts
Susan Deshensky ~ Lady Blue Quilts Studio
Brittany Fisher ~ Bobbin with Brittany
Preeti Harris ~ Sew Preeti Quilts
Mania Hatziioannidi ~ Mania for quilts
Jane Hauprich ~ Stitch by Stitch Custom Quilting
Kim Jamieson-Hirst ~ Chatterbox Quilts
Victoria Johnson ~ Forever Quilting for You
Connie Kauffman ~ Kauffman Designs
Connie Kresin Campbell ~ Freemotion by the River
Emily Leachman ~ The Darling Dogwood
Denise Looney ~ A Quiltery
Leah Malasky ~ Quilted Delights
Maryellen McAuliffe ~ Mary Mack Made Mine
Lisa Pickering ~ Lisa’s Quilting Passion
Sarah Pitcher ~ Pitcher’s Boutique
Lana Russel ~ Lana Quilts
Julia Schweri ~ Inflorescence Designs
Gail Sheppard ~ Quilting Gail
Carol Stanek ~ Stitch with Color
Sandra Starley ~ Textile Time Travels
Jennifer Thomas ~ Curlicue Creations
Suzy Webster ~ Websterquilt
#hobbsbatting, #aurifil, #aurifilthread, #schmetzneedles, #juki, #islandbatikAmbassador, #iloveislandbatik, #islandbatik #hobbsbatting, #studio180designs, #Wingedclipper

Beautiful quilt!
LikeLike
Love your houses and the fabric is awesome!
LikeLike
Love the houses!
LikeLiked by 1 person
You highlighted the fabric beautifully. Good job!
LikeLiked by 1 person
Beautiful quilt Lisa. I love your design. The house blocks are really cute.
LikeLiked by 1 person
Great quilt–like your use of the Missouri Star pattern.
LikeLiked by 1 person
I like the house blocks and the log cabins in the corners.
LikeLiked by 1 person