Fabric
A fat quarter of Orange and Green
A 6 1/2″ x 6 1/2″ brown piece
Cut fabric
Green – four – 3 ½ x 2″
– four – 2″ x 2″
– 12″ x 6 ½” piece for HST
Orange – twenty – 2″ x 2″
– 12″ x 6 ½” piece for HST
HST – Twenty – 2″ x 2″ unfinished
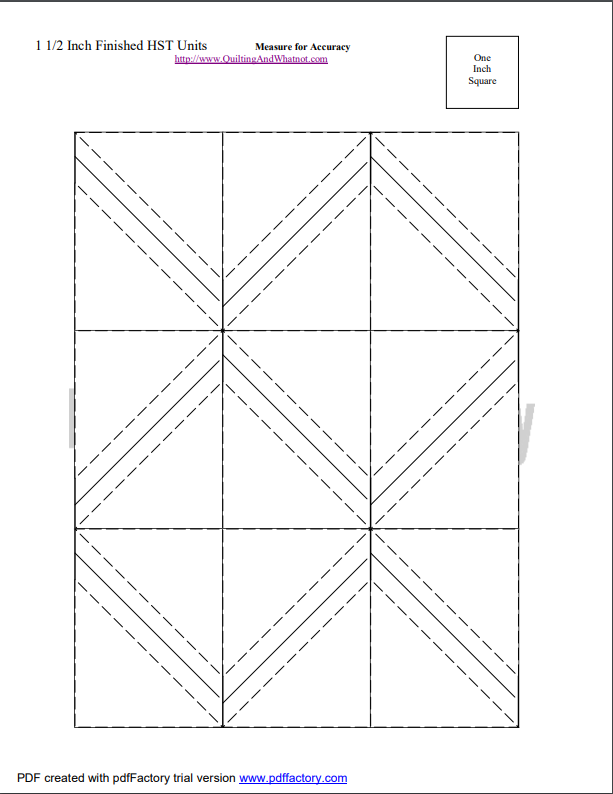
The easiest way to create these small HST is to use HST paper, you can download free pages at http://quiltingandwhatnot.ca/pdf_files/oneonehalfinfinhst.pdf
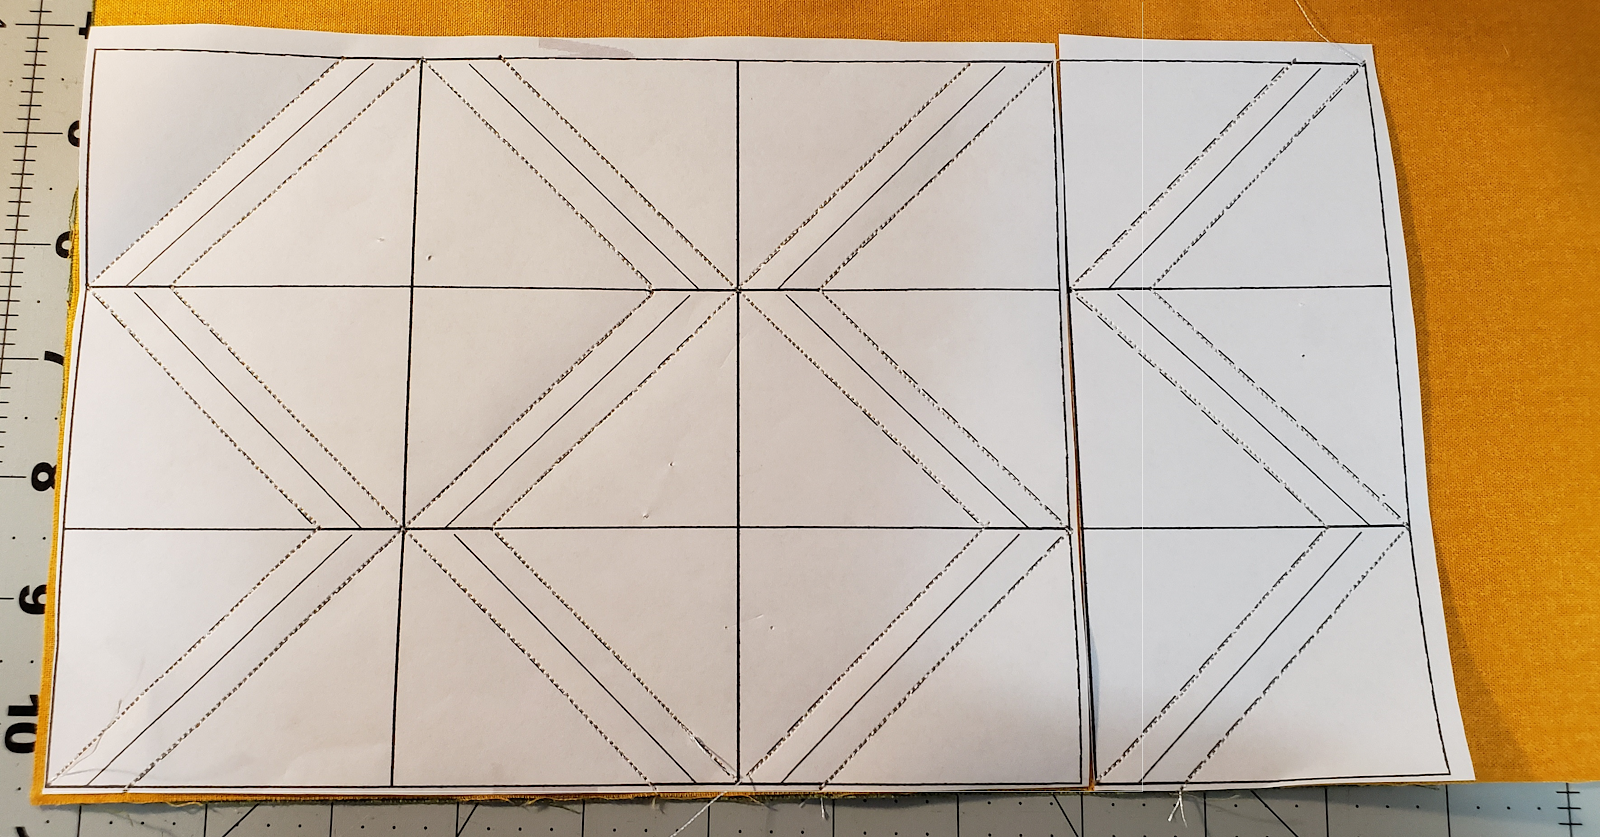
Each page will create 18 HST, and you need 20, so you will need to print two pages, and then just use part of the second page. I trimmed the paper, so there was only a small edge around the outside lines, so I could save fabric.
NOTE: I used one row, and then set the other 4 HST aside for another project, or you can just cut out for the two.
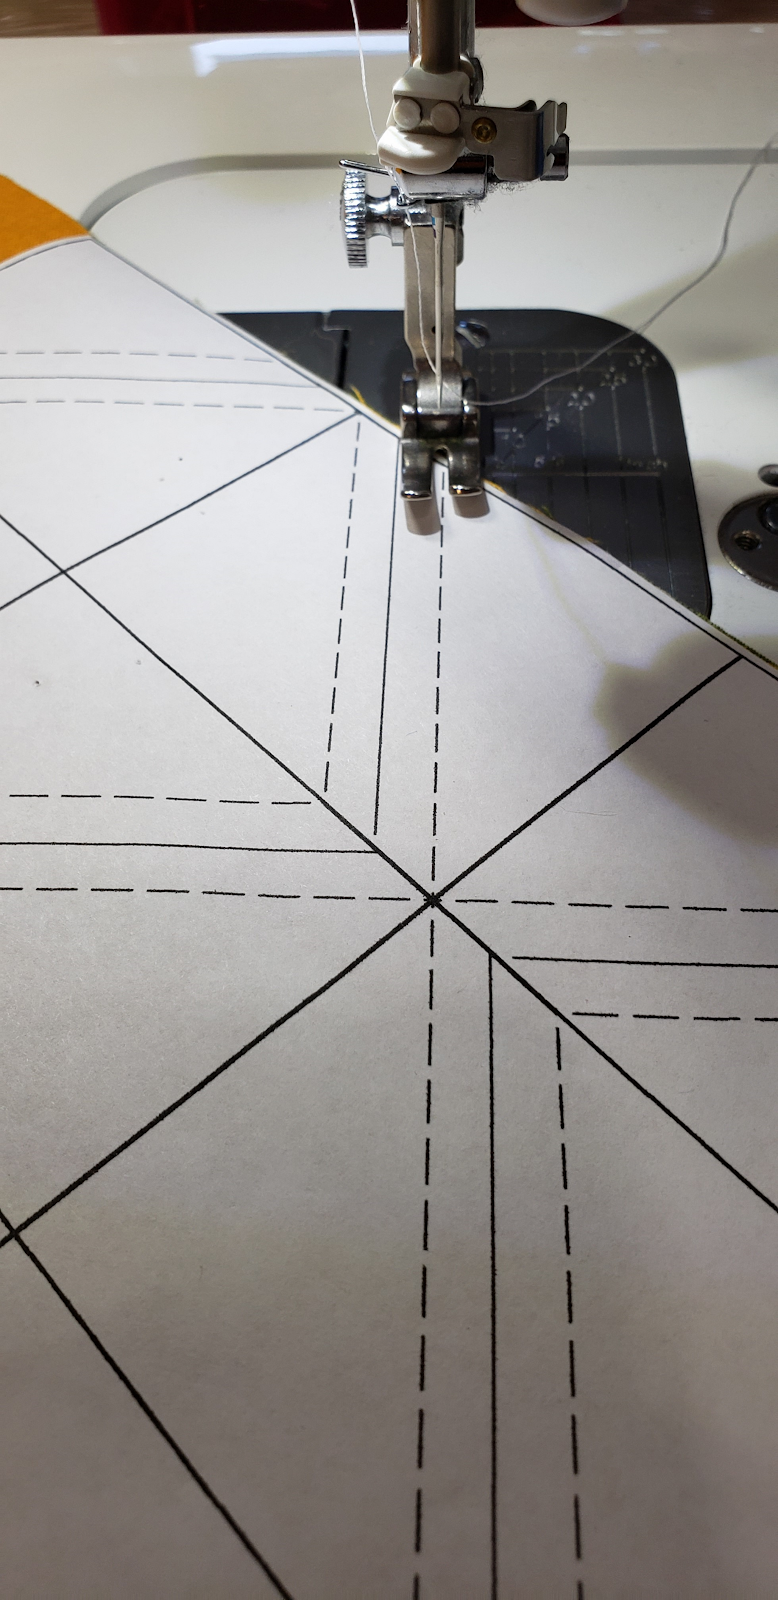
Creating HST – if you have not used paper to create HST, it is really easy, put the 12″ x 6½” yellow and green pieces right side together. Place the paper on the light side fabric, so when you press open the HST, you can press to the “dark side”.
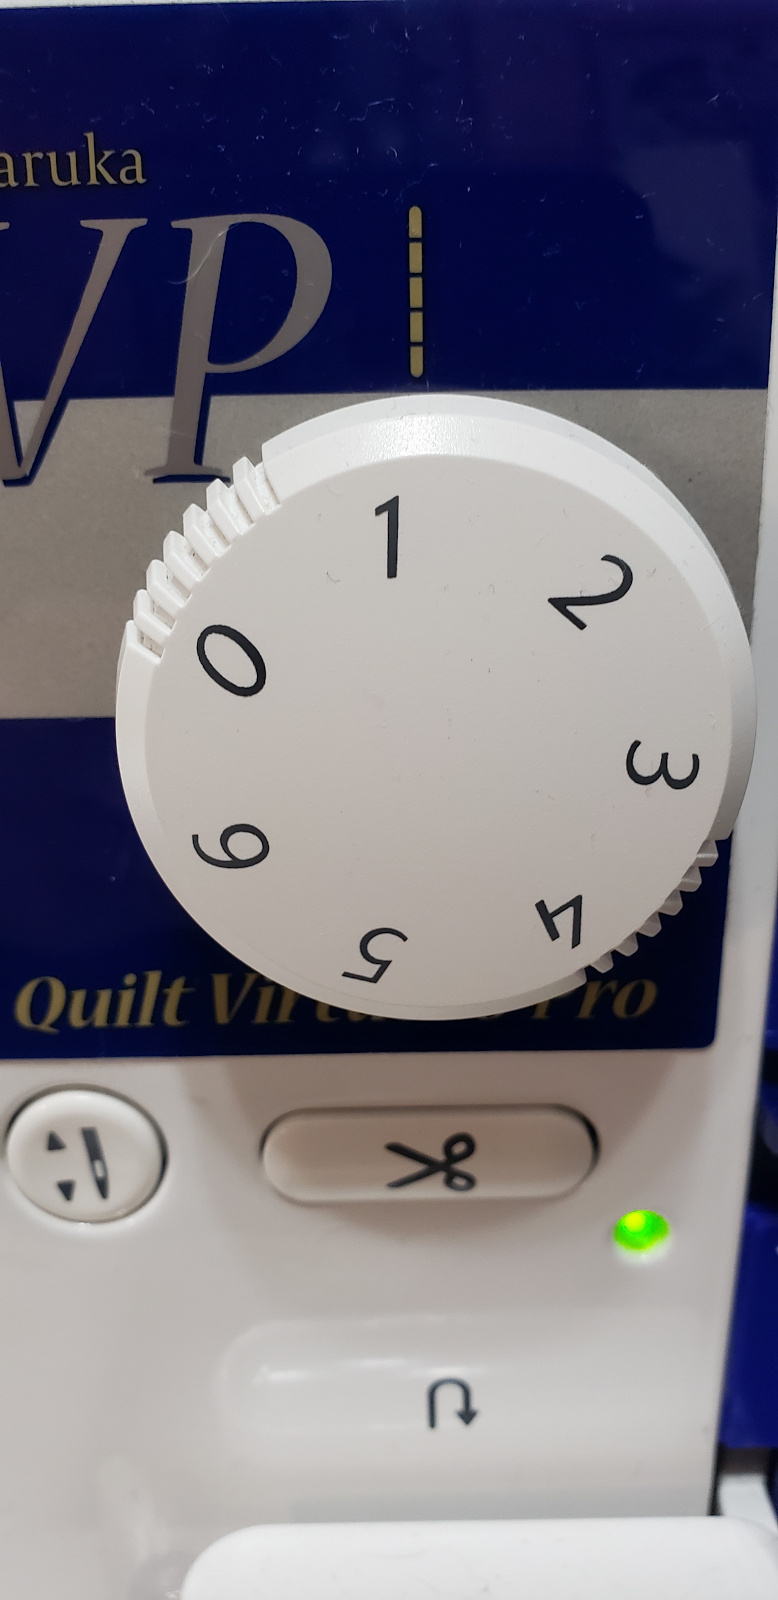
Adjust your stitch width to smaller, so the paper will tear easier.
Stitch on the – – – – (dotted) lines. The solid lines are for cutting.
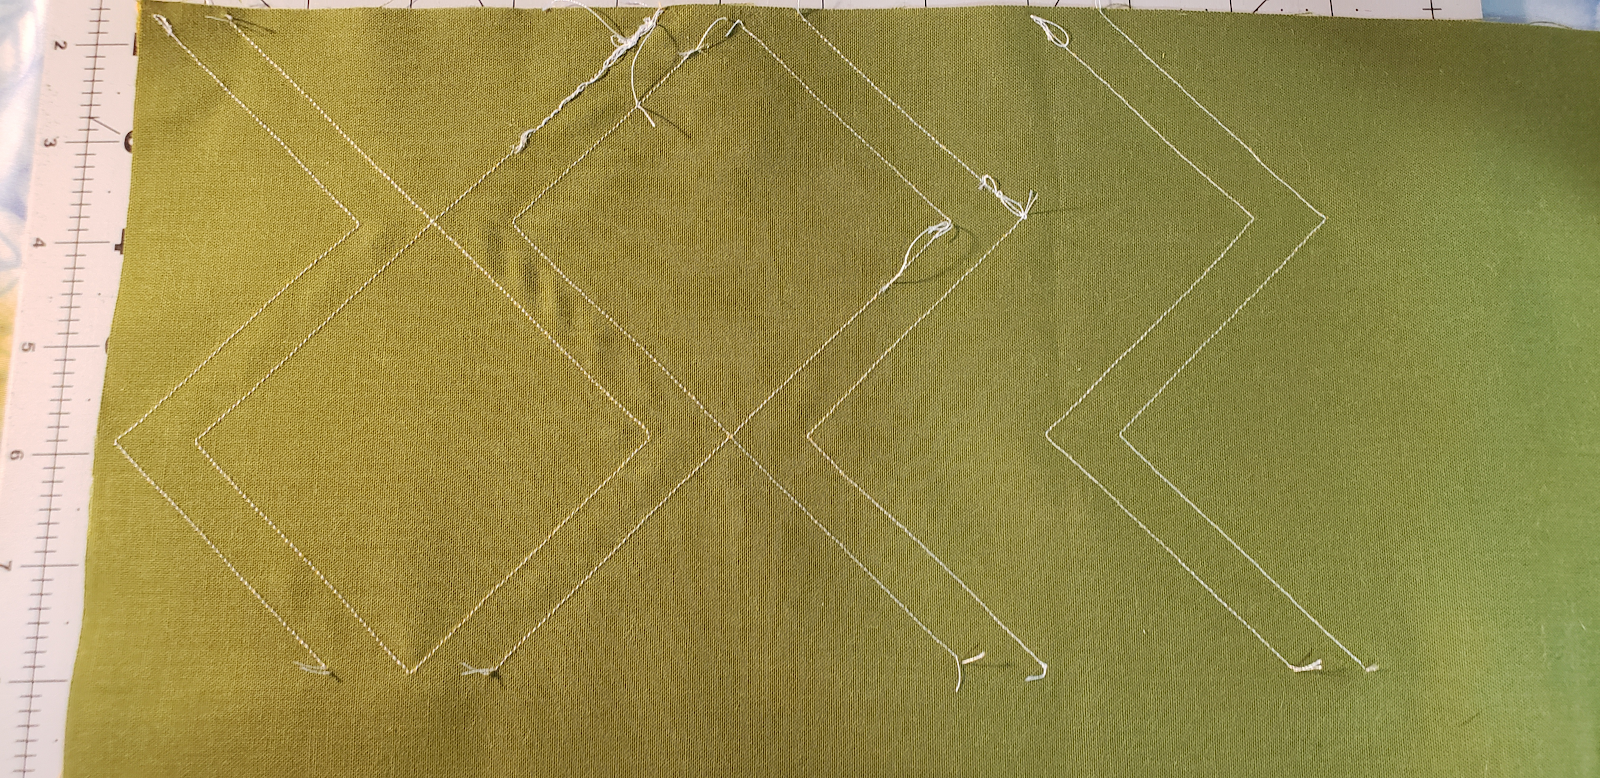
Here are how the lines were stitched. (I used a lighter thread so you could see the stitches)
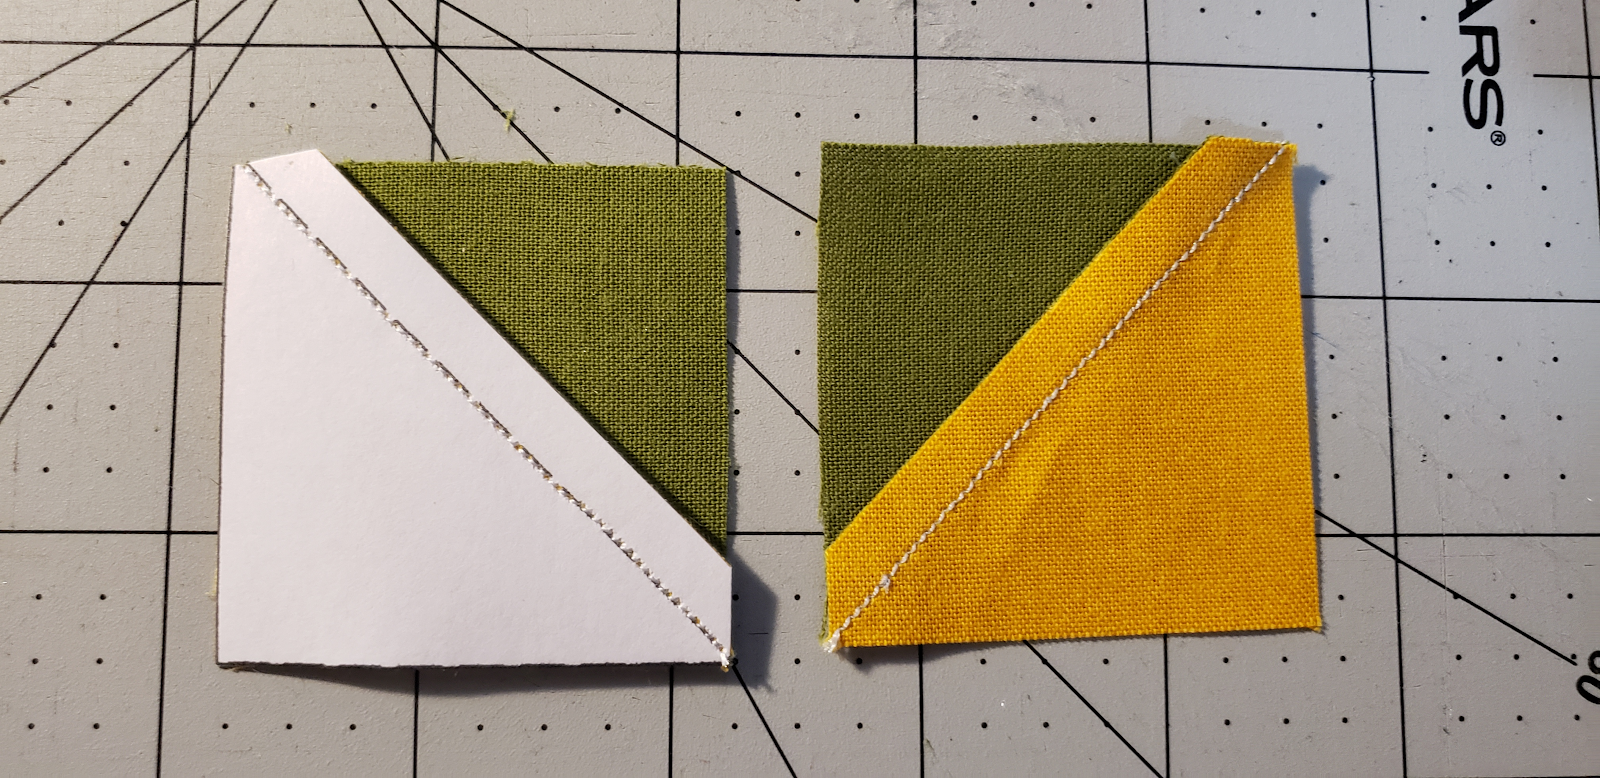
Using your ruler, cut along the solid lines, so you will create the HST. You should have a total of 20 for the block.

Press open the HST, pressing towards the darker fabric, as can see why you put the paper on the light side, it will press easier.
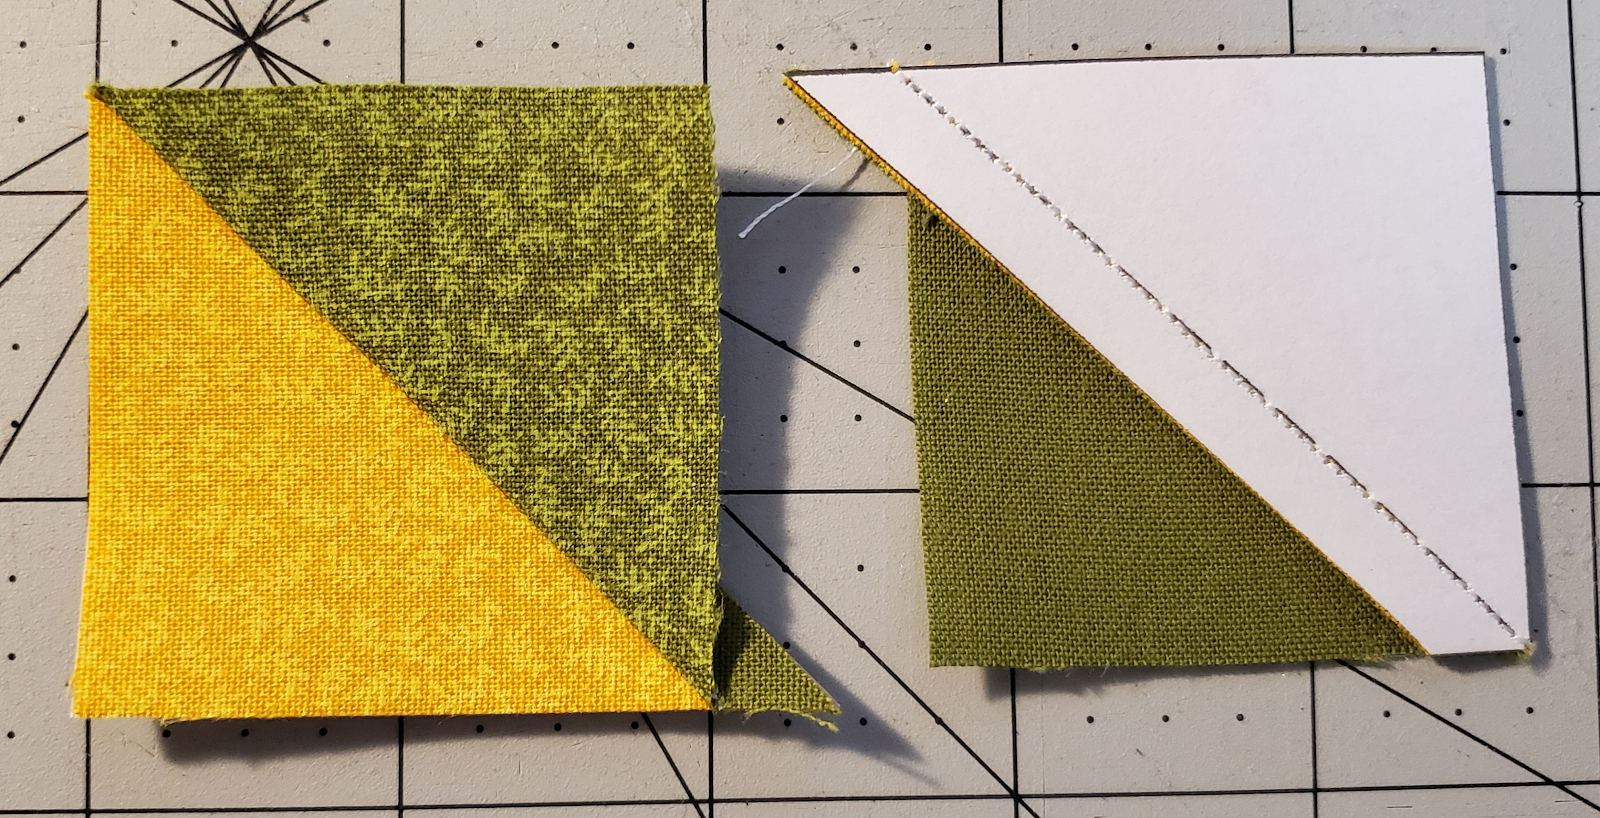
Carefully remove the paper from the back of each HST. The way I like to do it, is to fold the paper over the stitches, and then carefully pull the bigger piece from the back. Making sure to watch how I pull at the corners, so you do not pull out the stitches.
Center
- Using four of the 2″ x 2″ yellow and the Brown 6 1/2″ x 6 1/2″ piece.
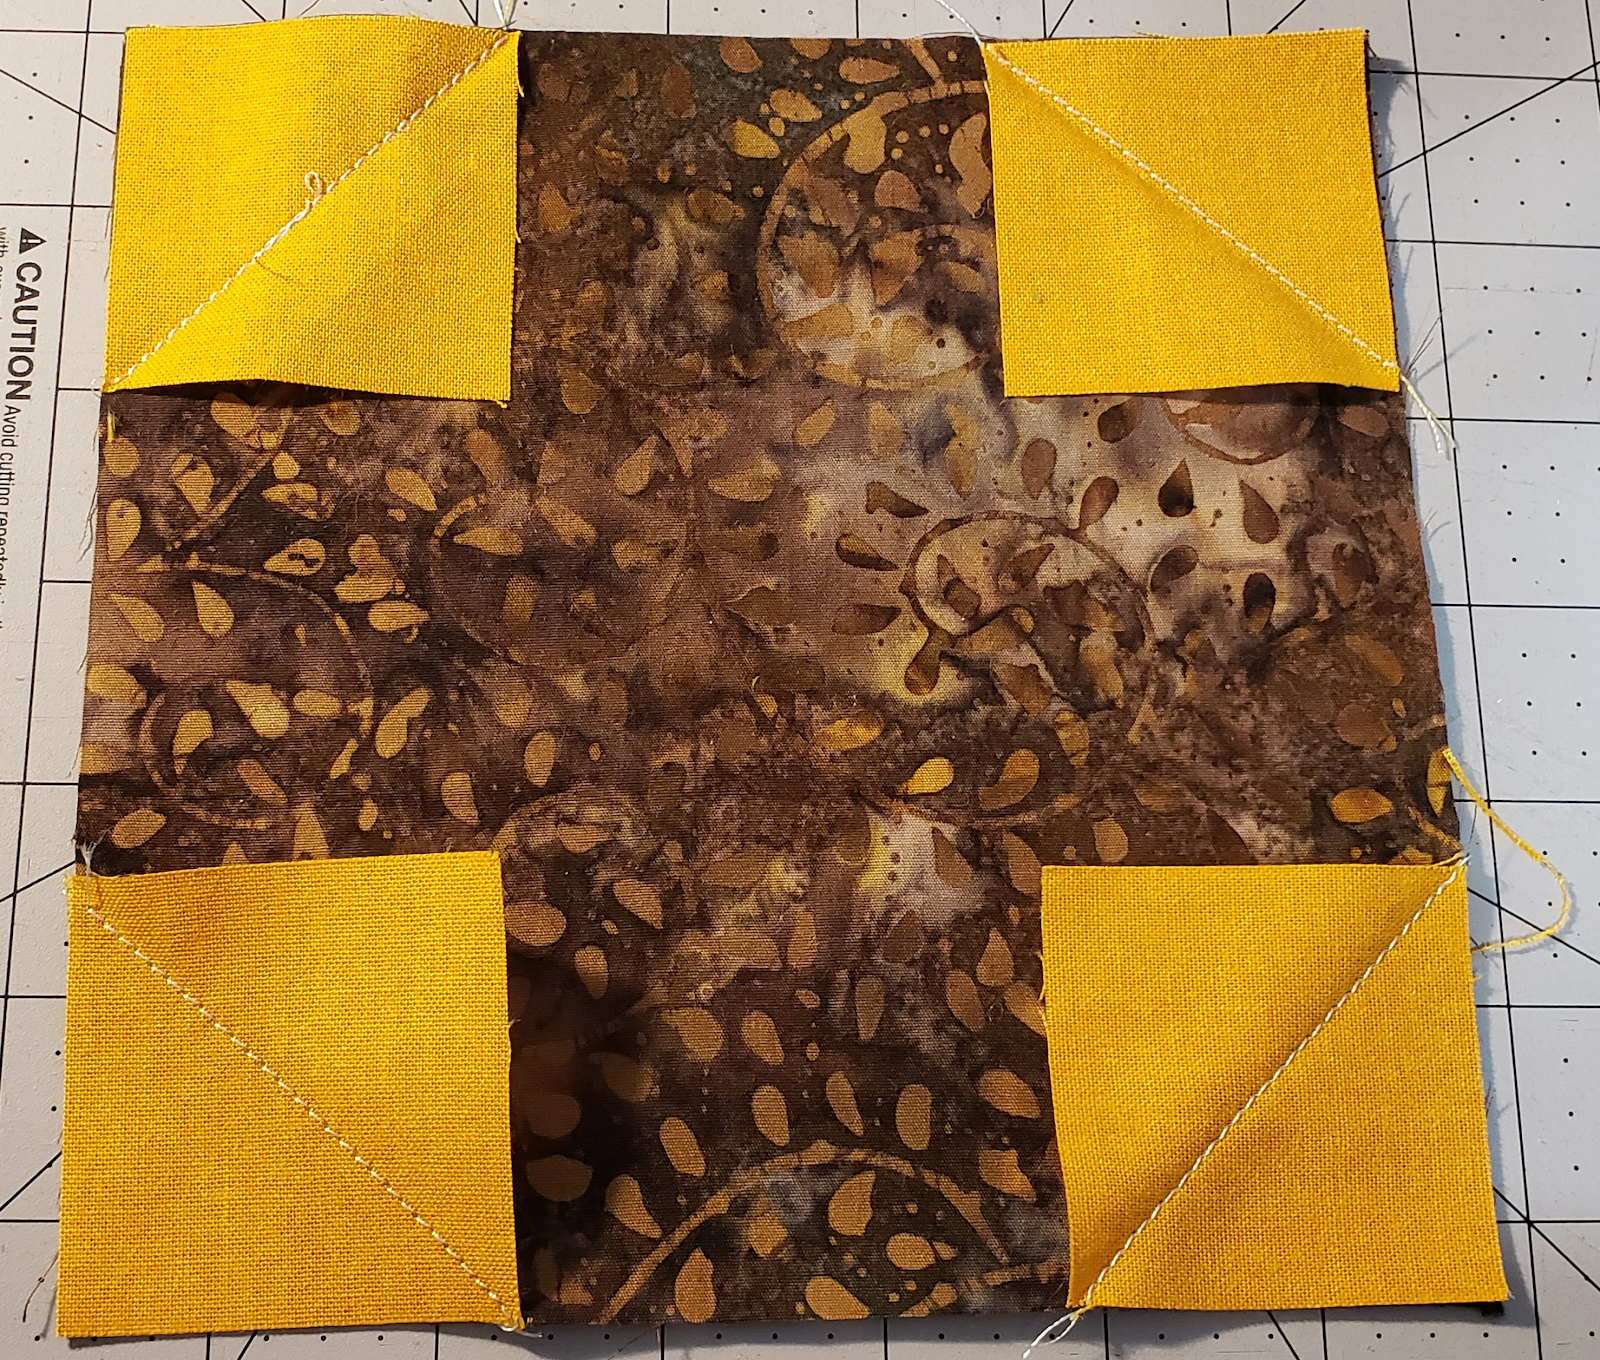
- Fold the 2″x2″ squares diagonally in half (creating a triangle), finger press (or light touch with iron).
- Open back up.
- Laying each 2″x2″ square on a corner of the brown piece.

- Stitch along the fold from one corner to the other. Repeat for all four corners.
- U sing your ruler, measure 1/4″ from the stitches and cut. (on the outside of the stitch line)
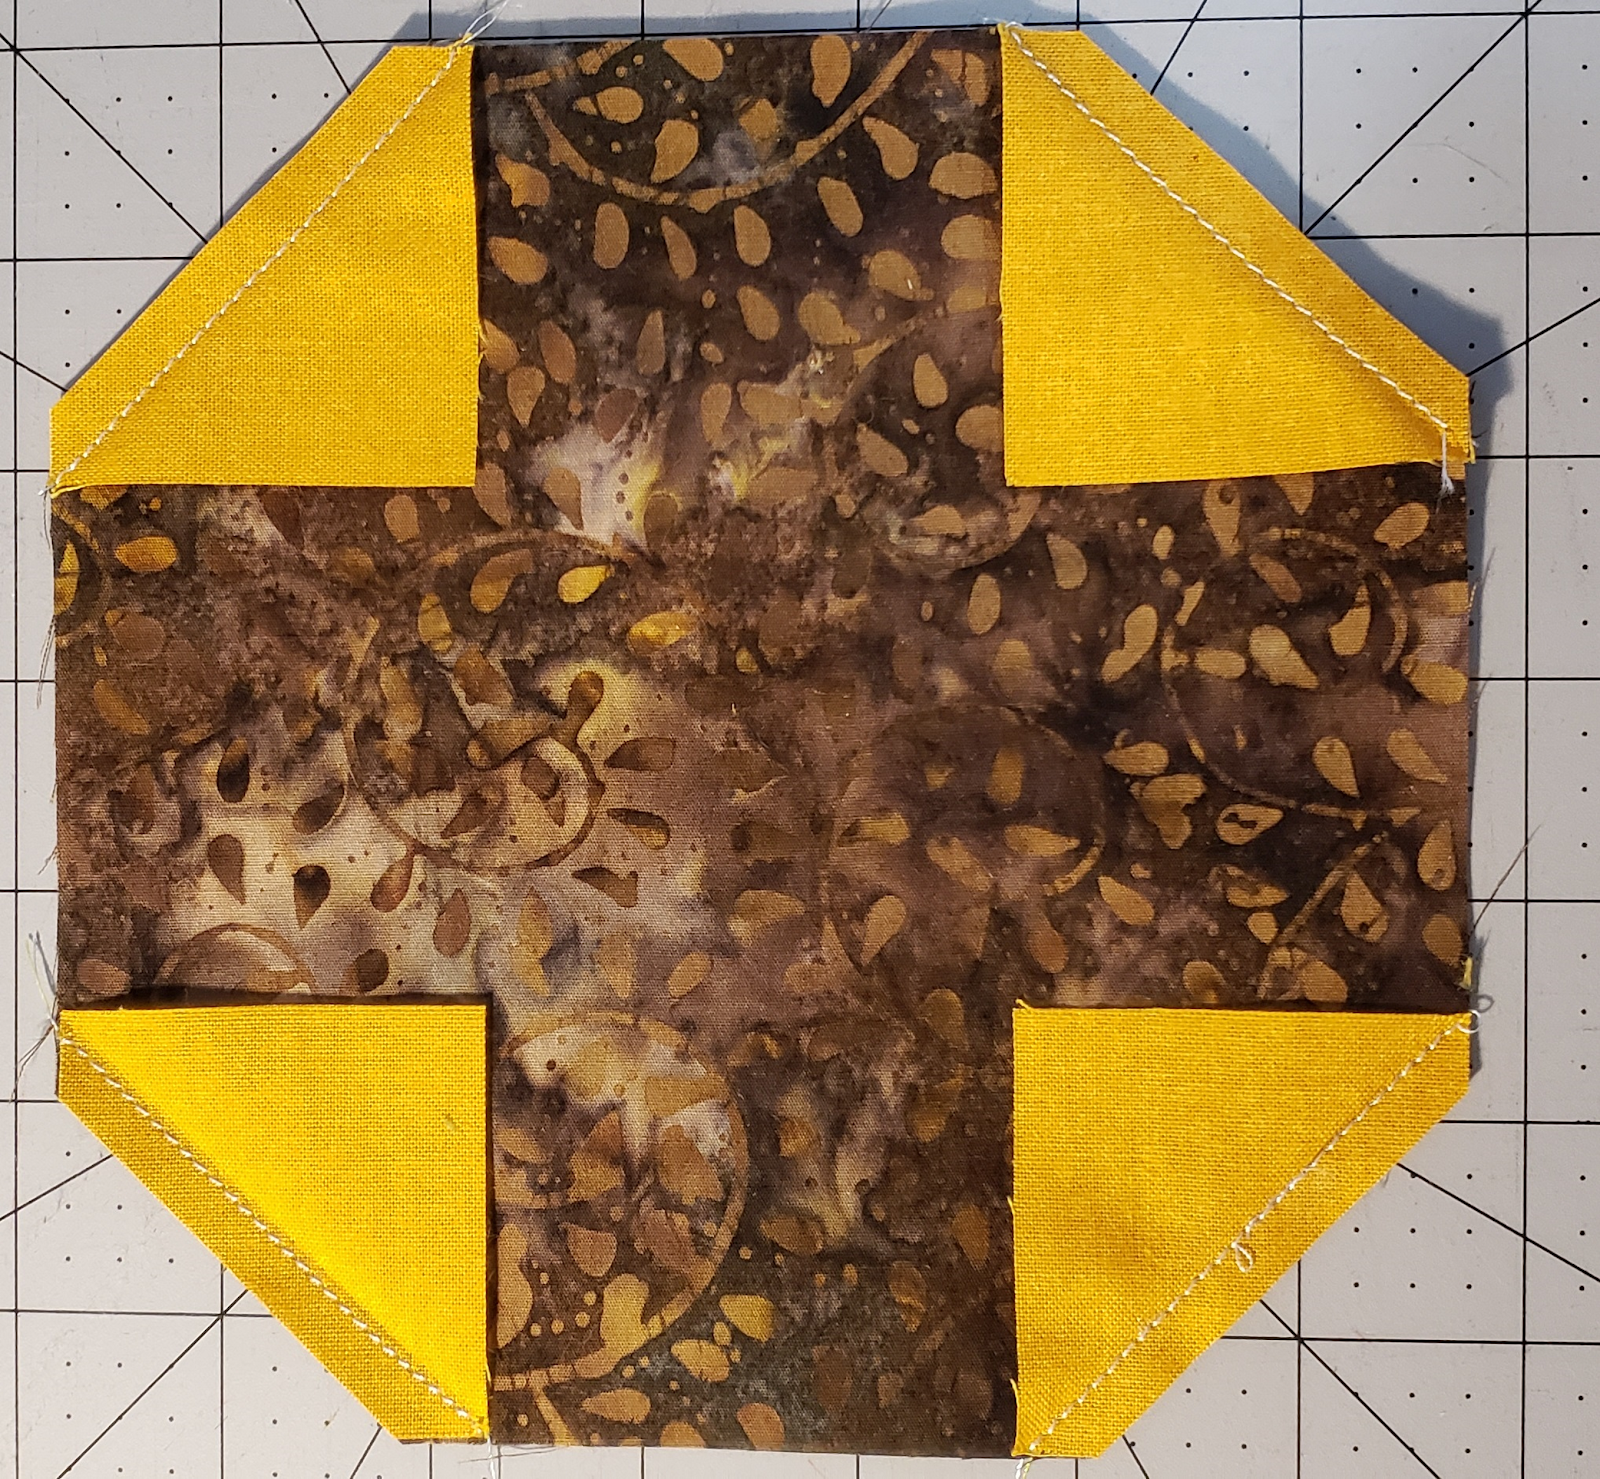
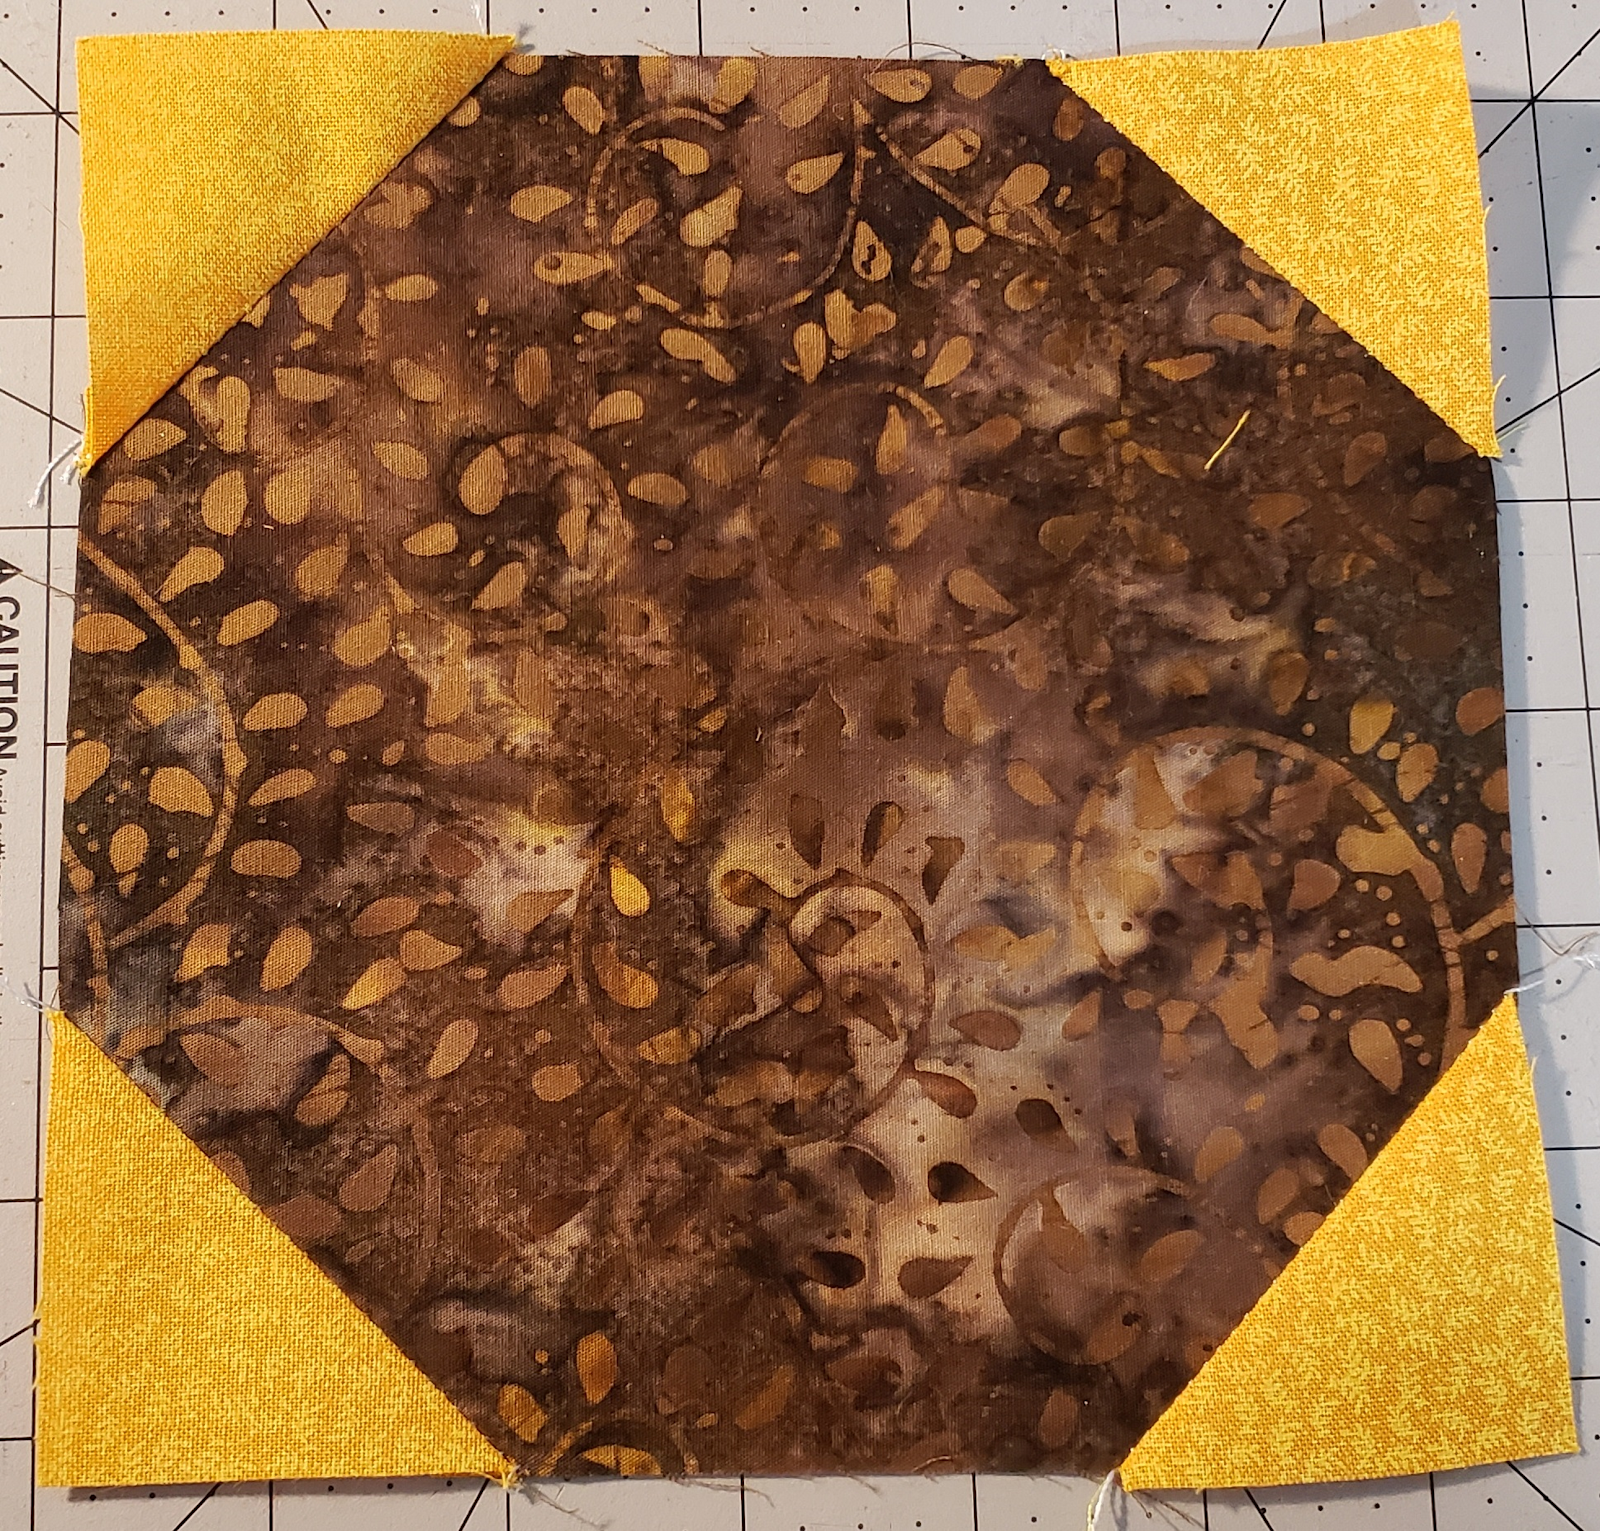
- Press open the seams, creating a 6 1/2″ x 6 1/2″ square. (Also called Snowball corners)
Layout
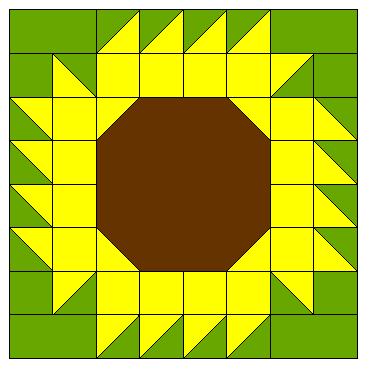
Layout the pieces like the pattern
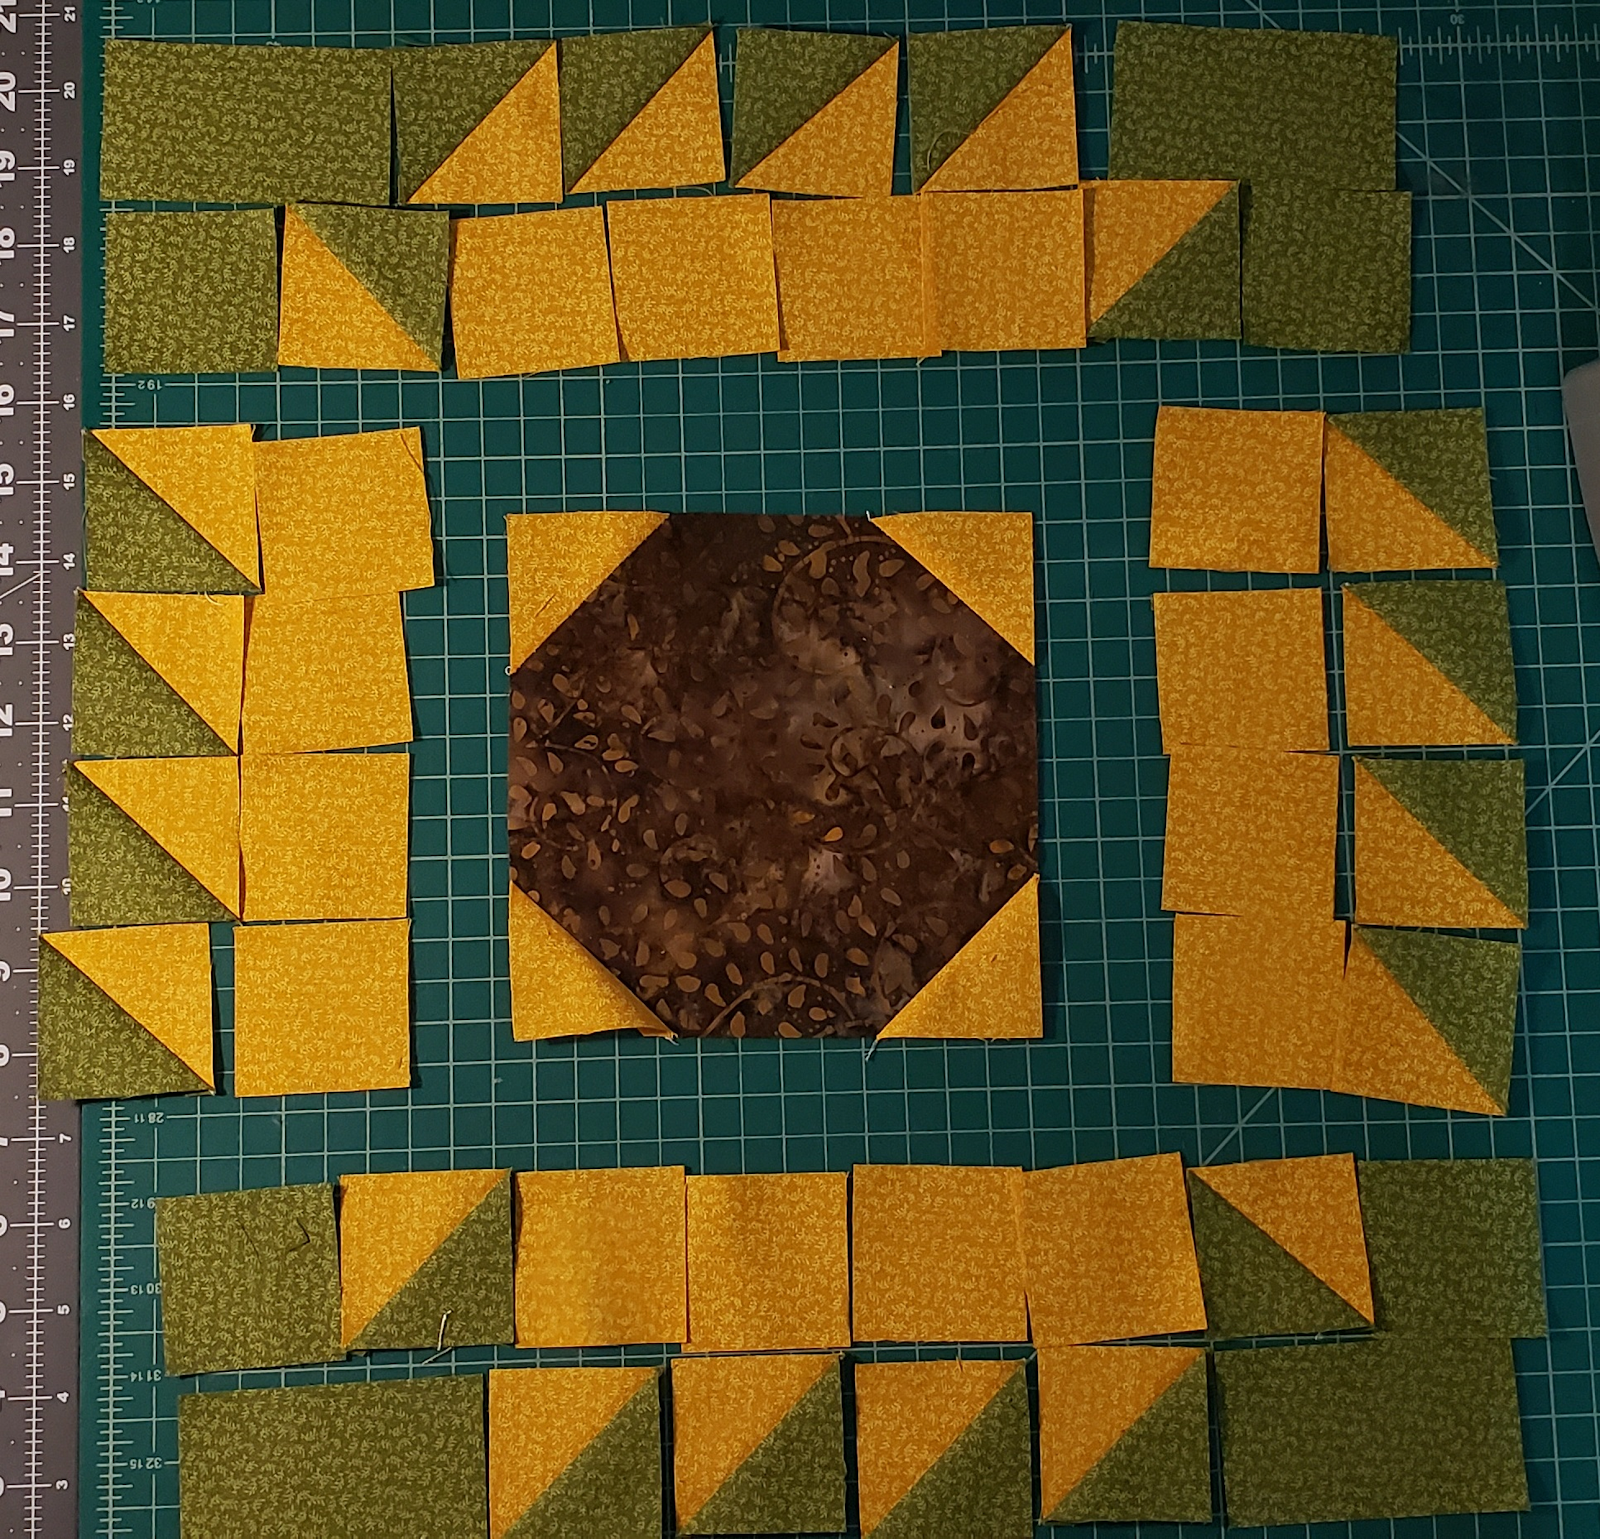
Sew the top two rows and the bottom two rows together.
Sew the side 8 pieces together and then attached to the middle.
Then sew the three rows together to create the block.
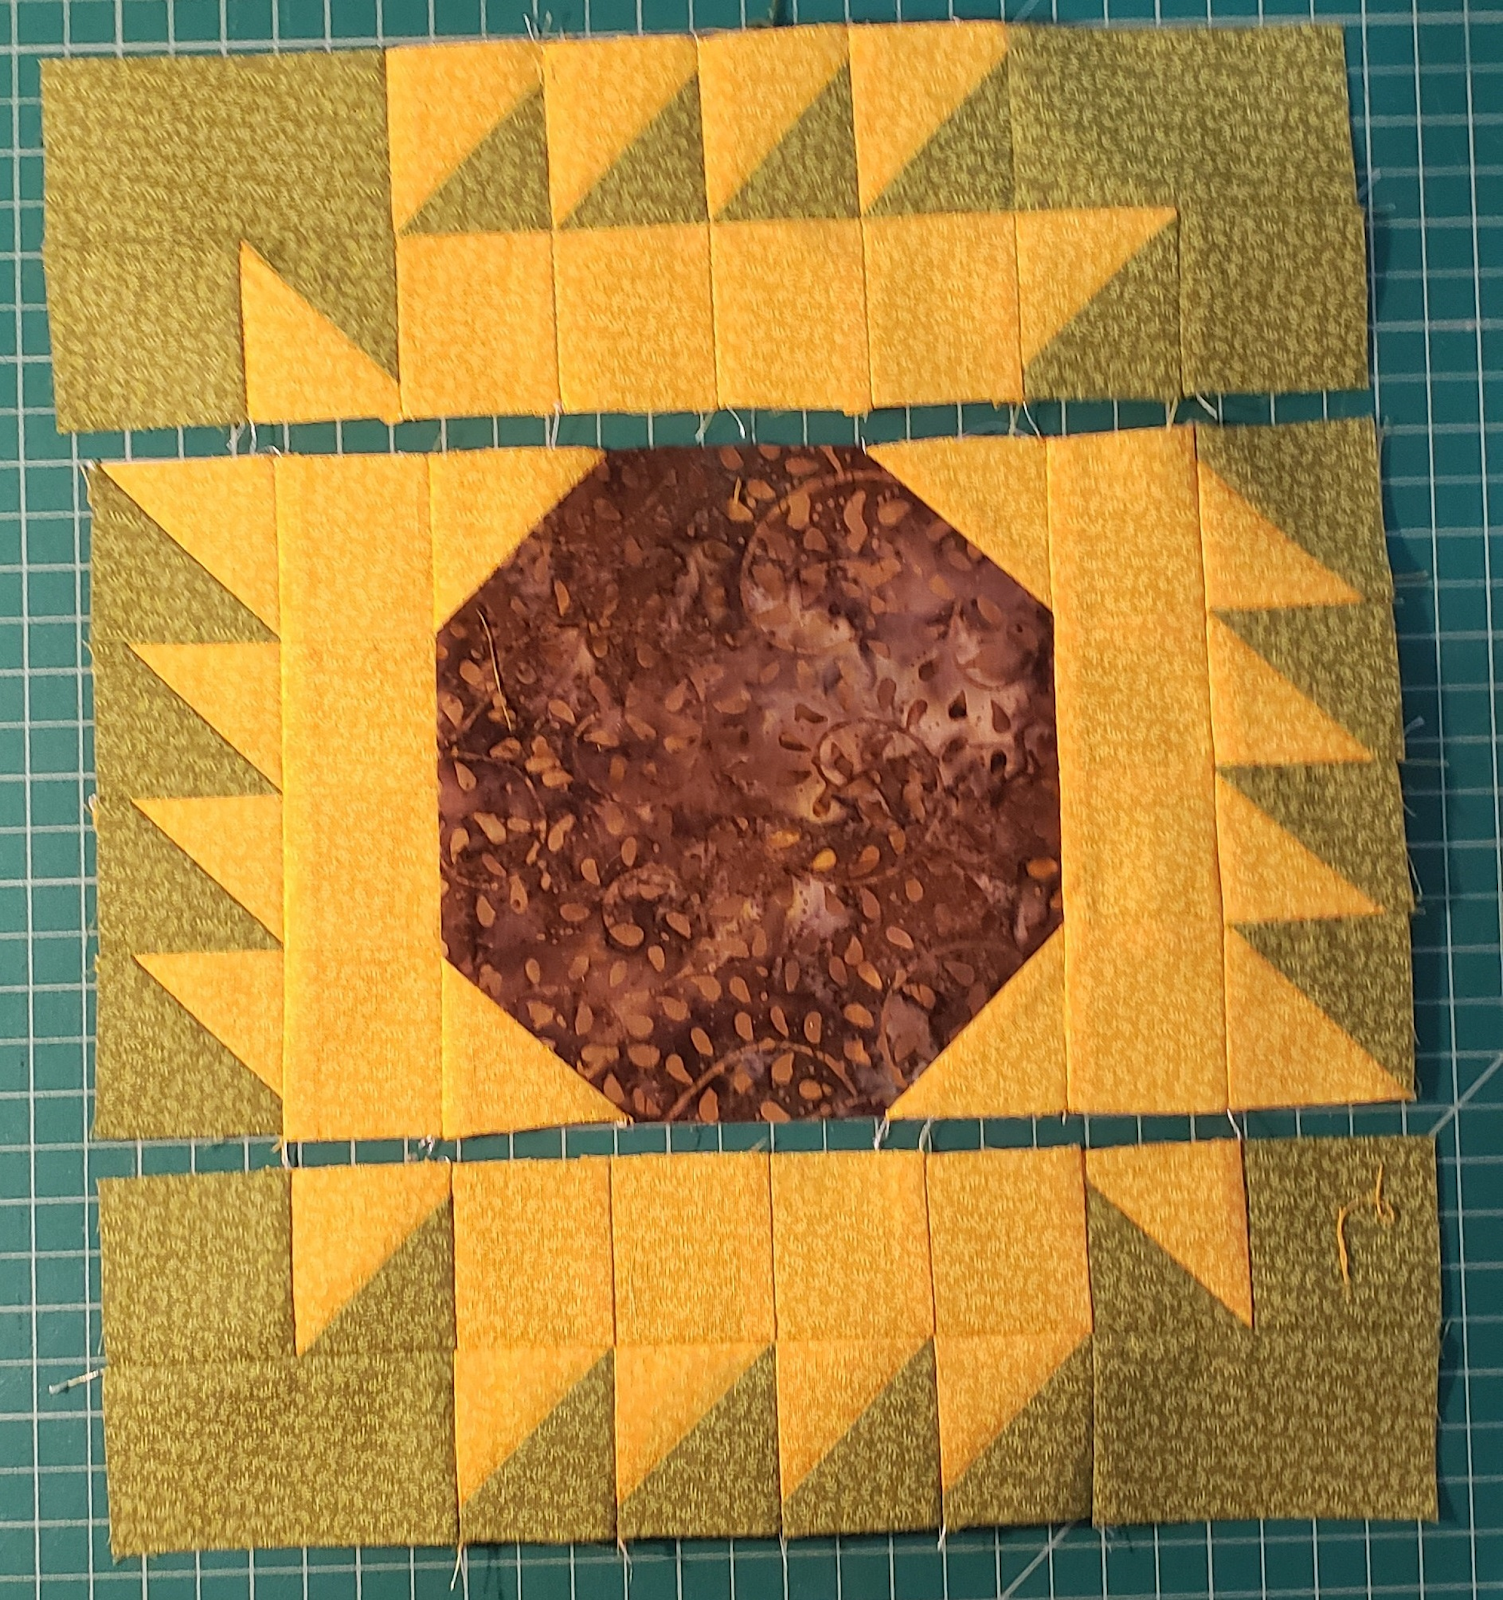
Note: After I got all assembled, I realized that my top row was backwards. So picture is not quite right.
Note: Check out our Chain Piecing Blocks blog for how to quickly assemble to block.
Here is the completed (and correct) block

I look forward to seeing all your wonderful blocks! Make sure to post on the
Thank you for joining us in this Season Block of the Month!
Click here for a downloadable PDF of the instructions.
See You next month for the September Block!

I’m having such fun with this block. I’m doing a set of 6 for a table runner. That’s a lot of HSTs, but having these papers makes a huge difference. Is there somewhere I can get other sizes? I would love to have “all the sizes” in my quilting supplies.
LikeLike
Hello Suzanne,
You can purchase “Triangles on a Roll” in all different sizes, or if you want you can print other sizes from http://quiltingandwhatnot.ca/Half-Square-Triangle.html. Just remember if you are printing them from the web, make sure they print correct size, using the “one inch square”.
LikeLike