Over the last three weeks, I have posted how to make the three different blocks for my New York Beauty Quilt top. This was my first go at this block, and it was so much fun to design the top.
The layout really depends on how you want your top to look, or how many of the New York Beauty blocks you would like to include. I decided that I didn’t want to overdue the number of the blocks, so added a lot of squares to fill in.
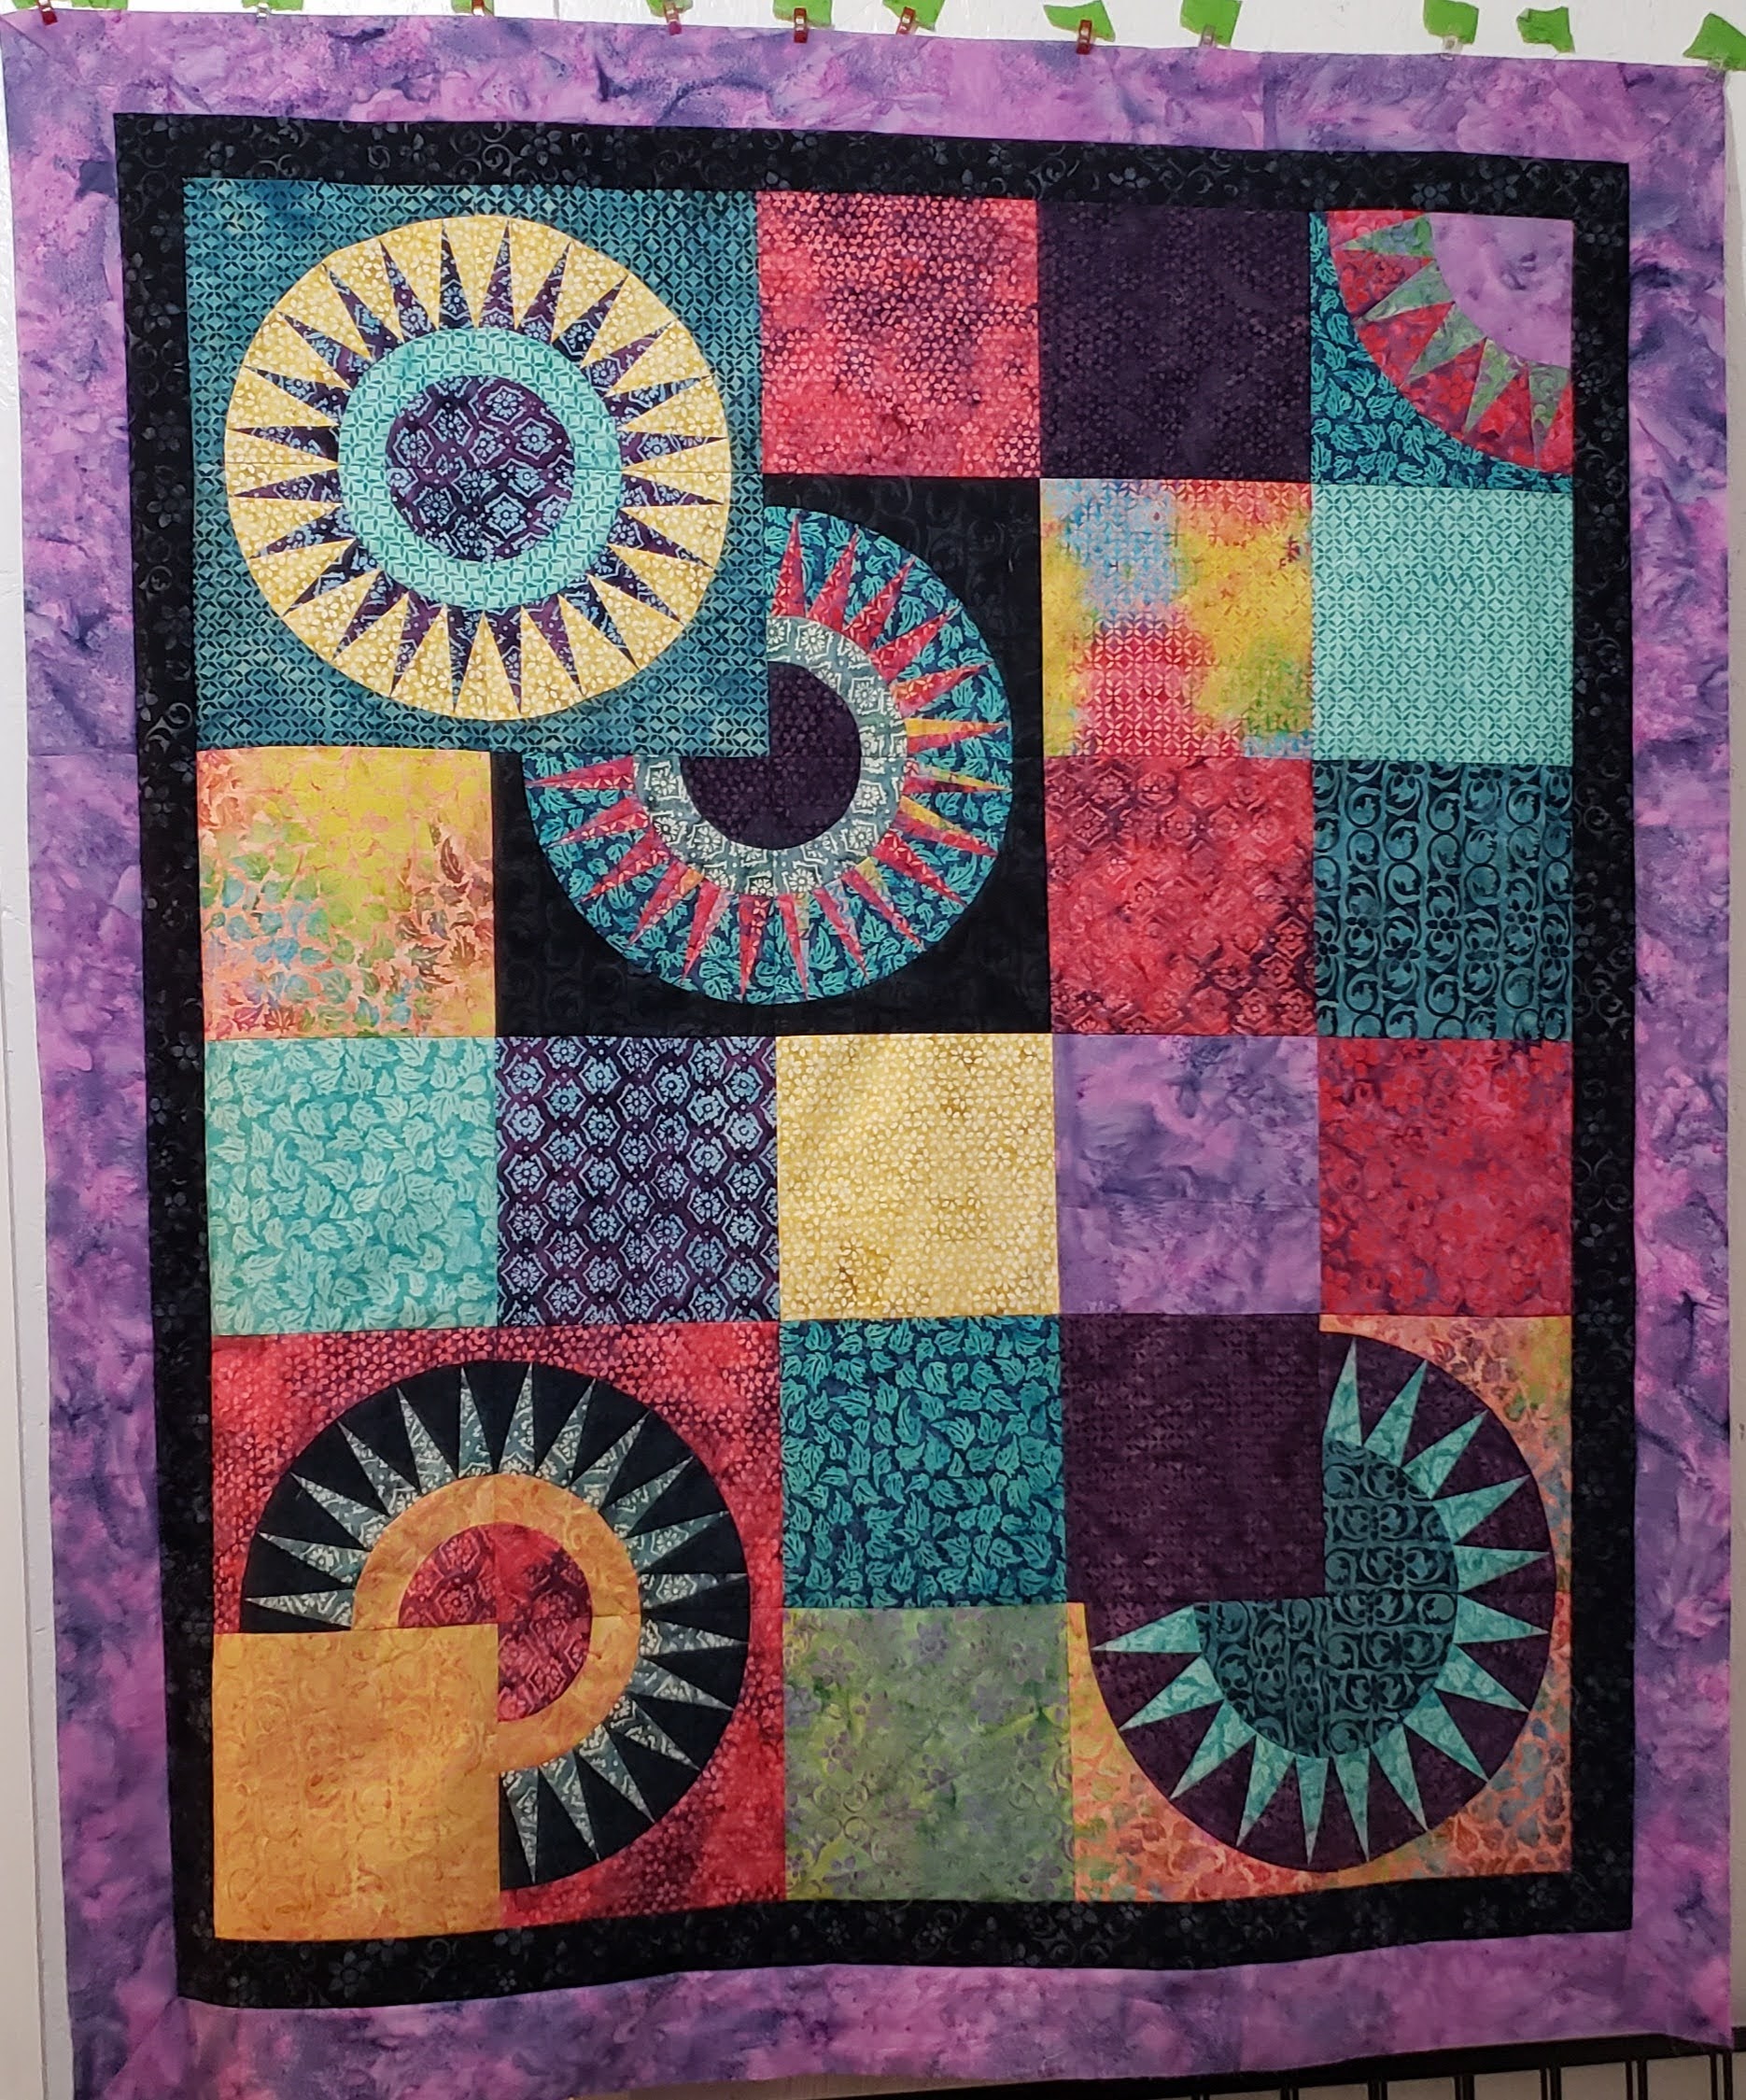
My quilt top finished at 55″ x 64″ and consisted of 5 different block sets, with 3 different layouts. 16 additional 9 1/2″ x 9 1/2″ blocks.
I also created an alternative back, instead of using a solid piece of fabric. Instructions are below.
The layout will depend on how you feel you blocks look best. Before you sew together, this is a good time to layout the blocks, and see how the feel.
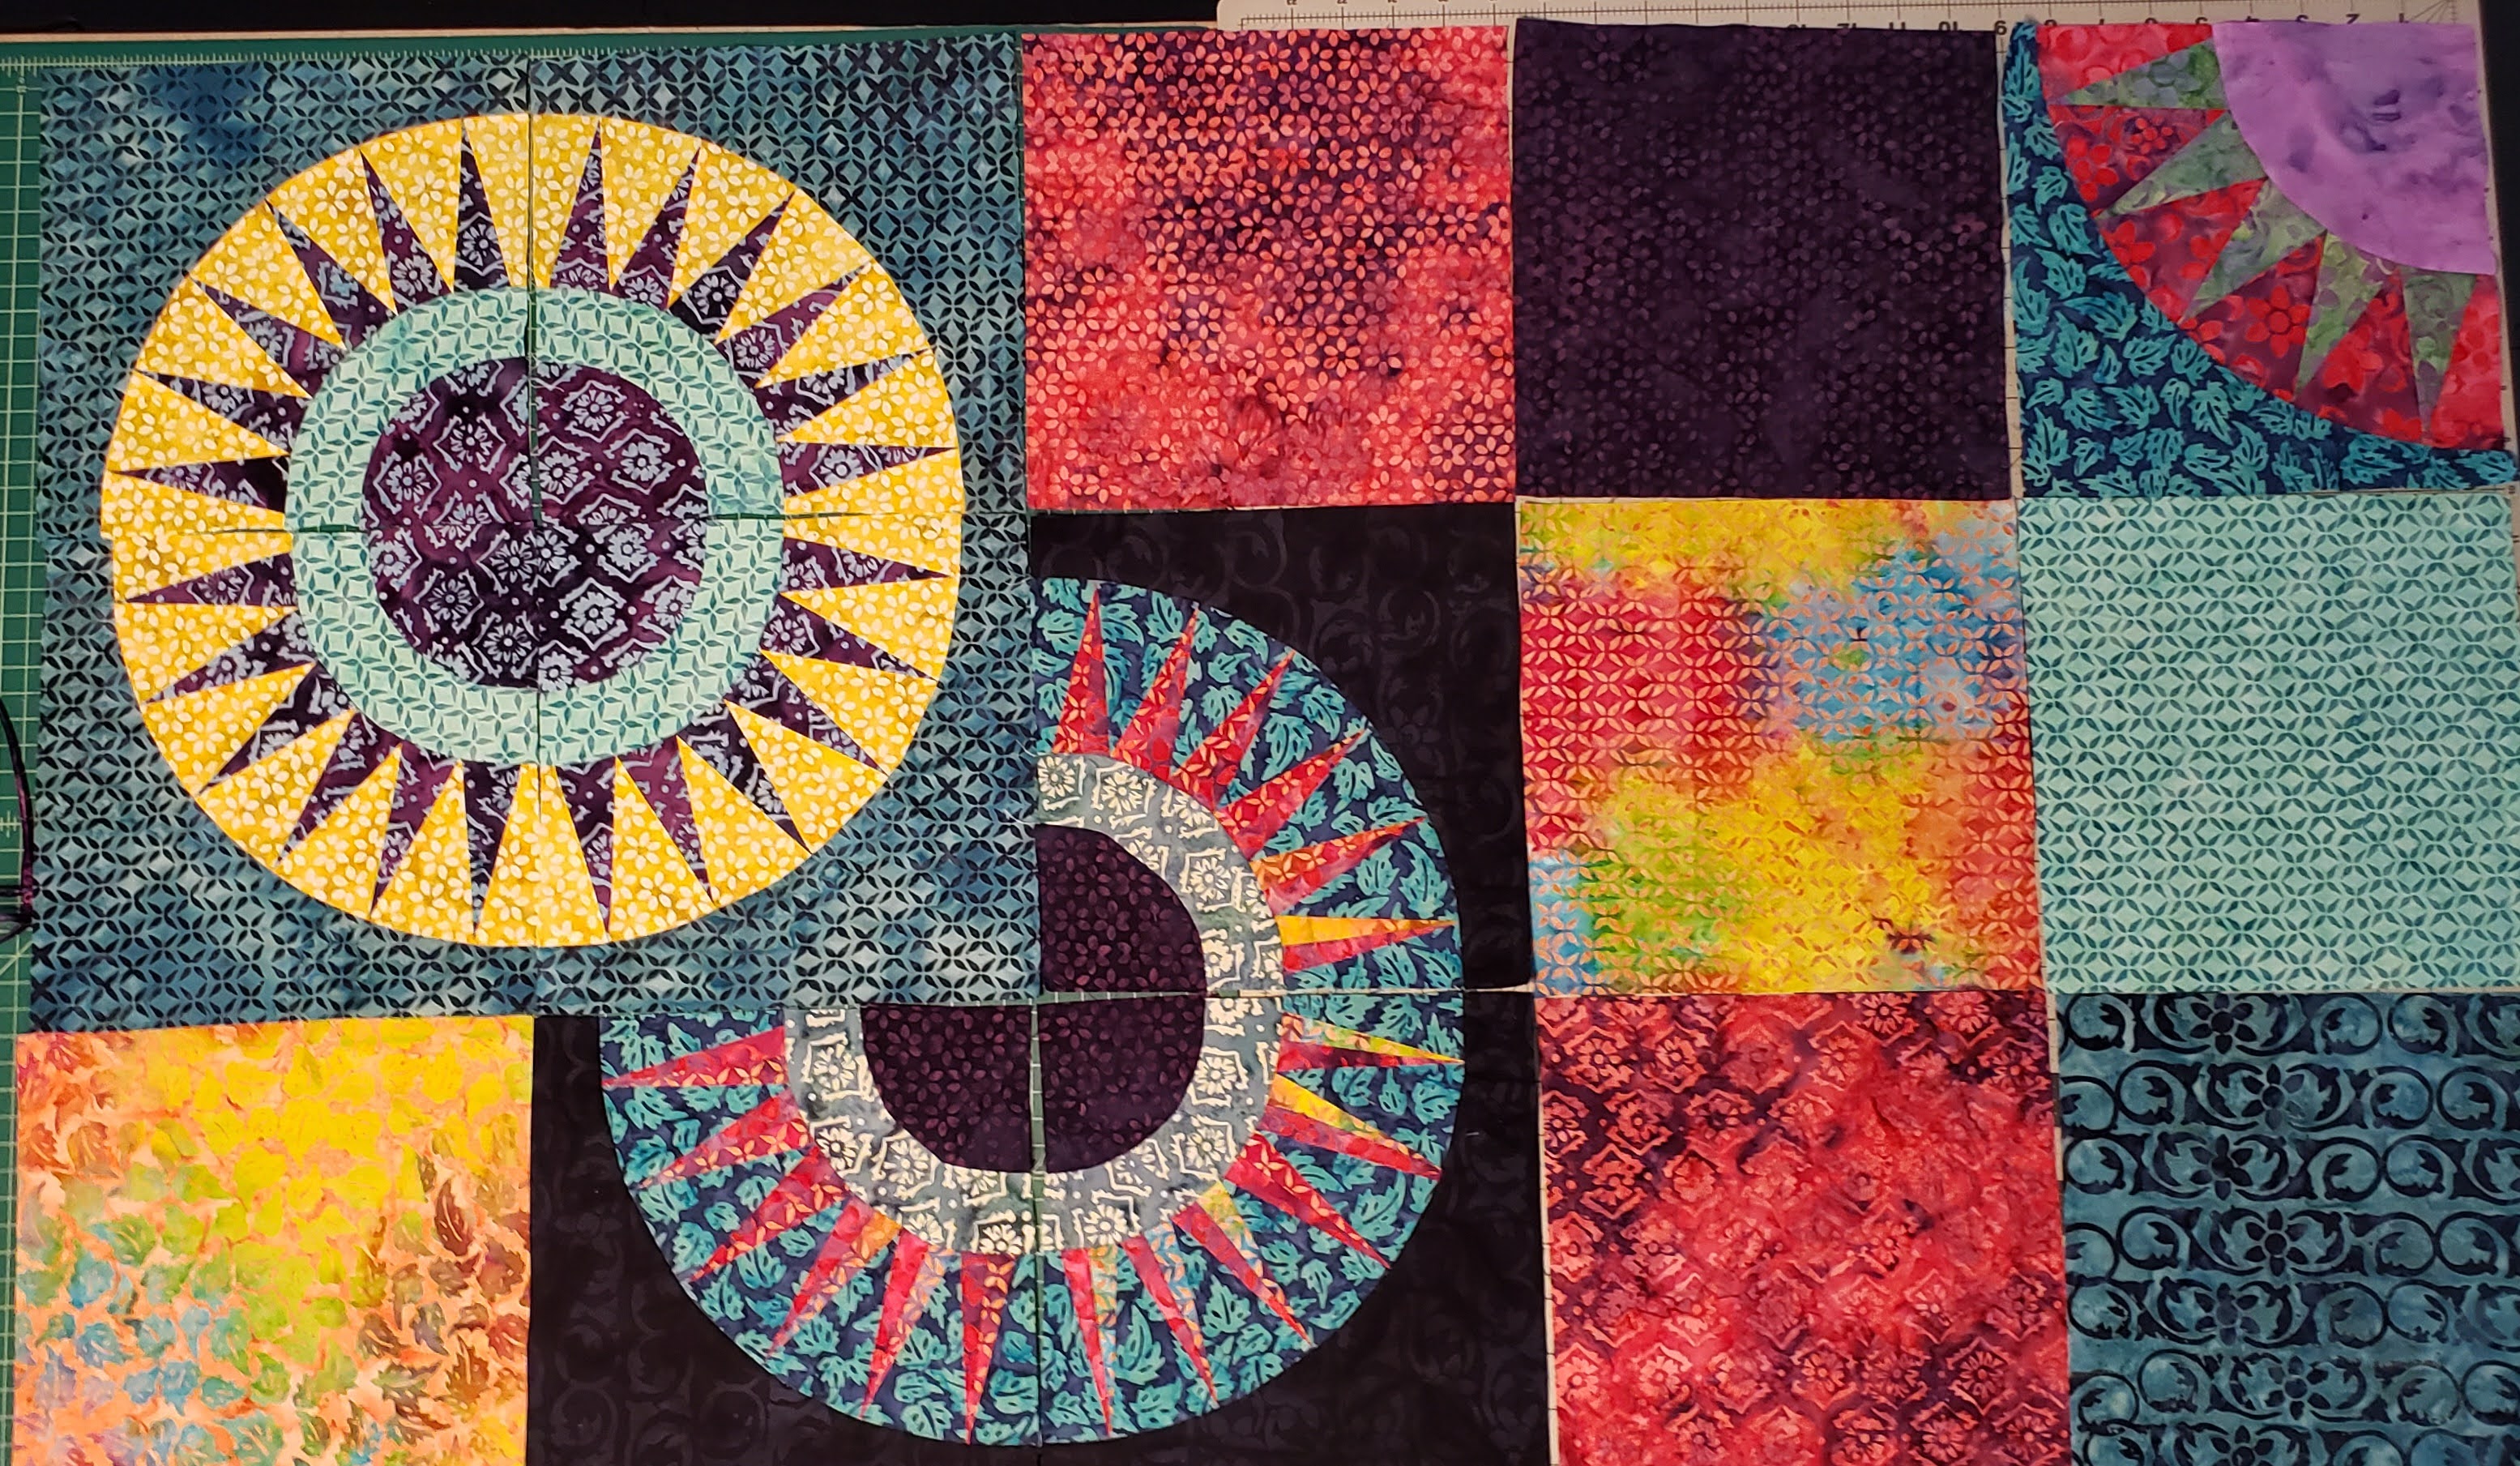
In my two bottom New York blocks, I added the forth block as a matching square to part of the other blocks.
Once I laid out the fabric, I moved the 9 1/2″ x 9 1/2″ blocks around to get the look that I liked.
Then sew the blocks in rows, and then the rows together. Double checking as you go to make sure that the blocks were still where you want them to be.
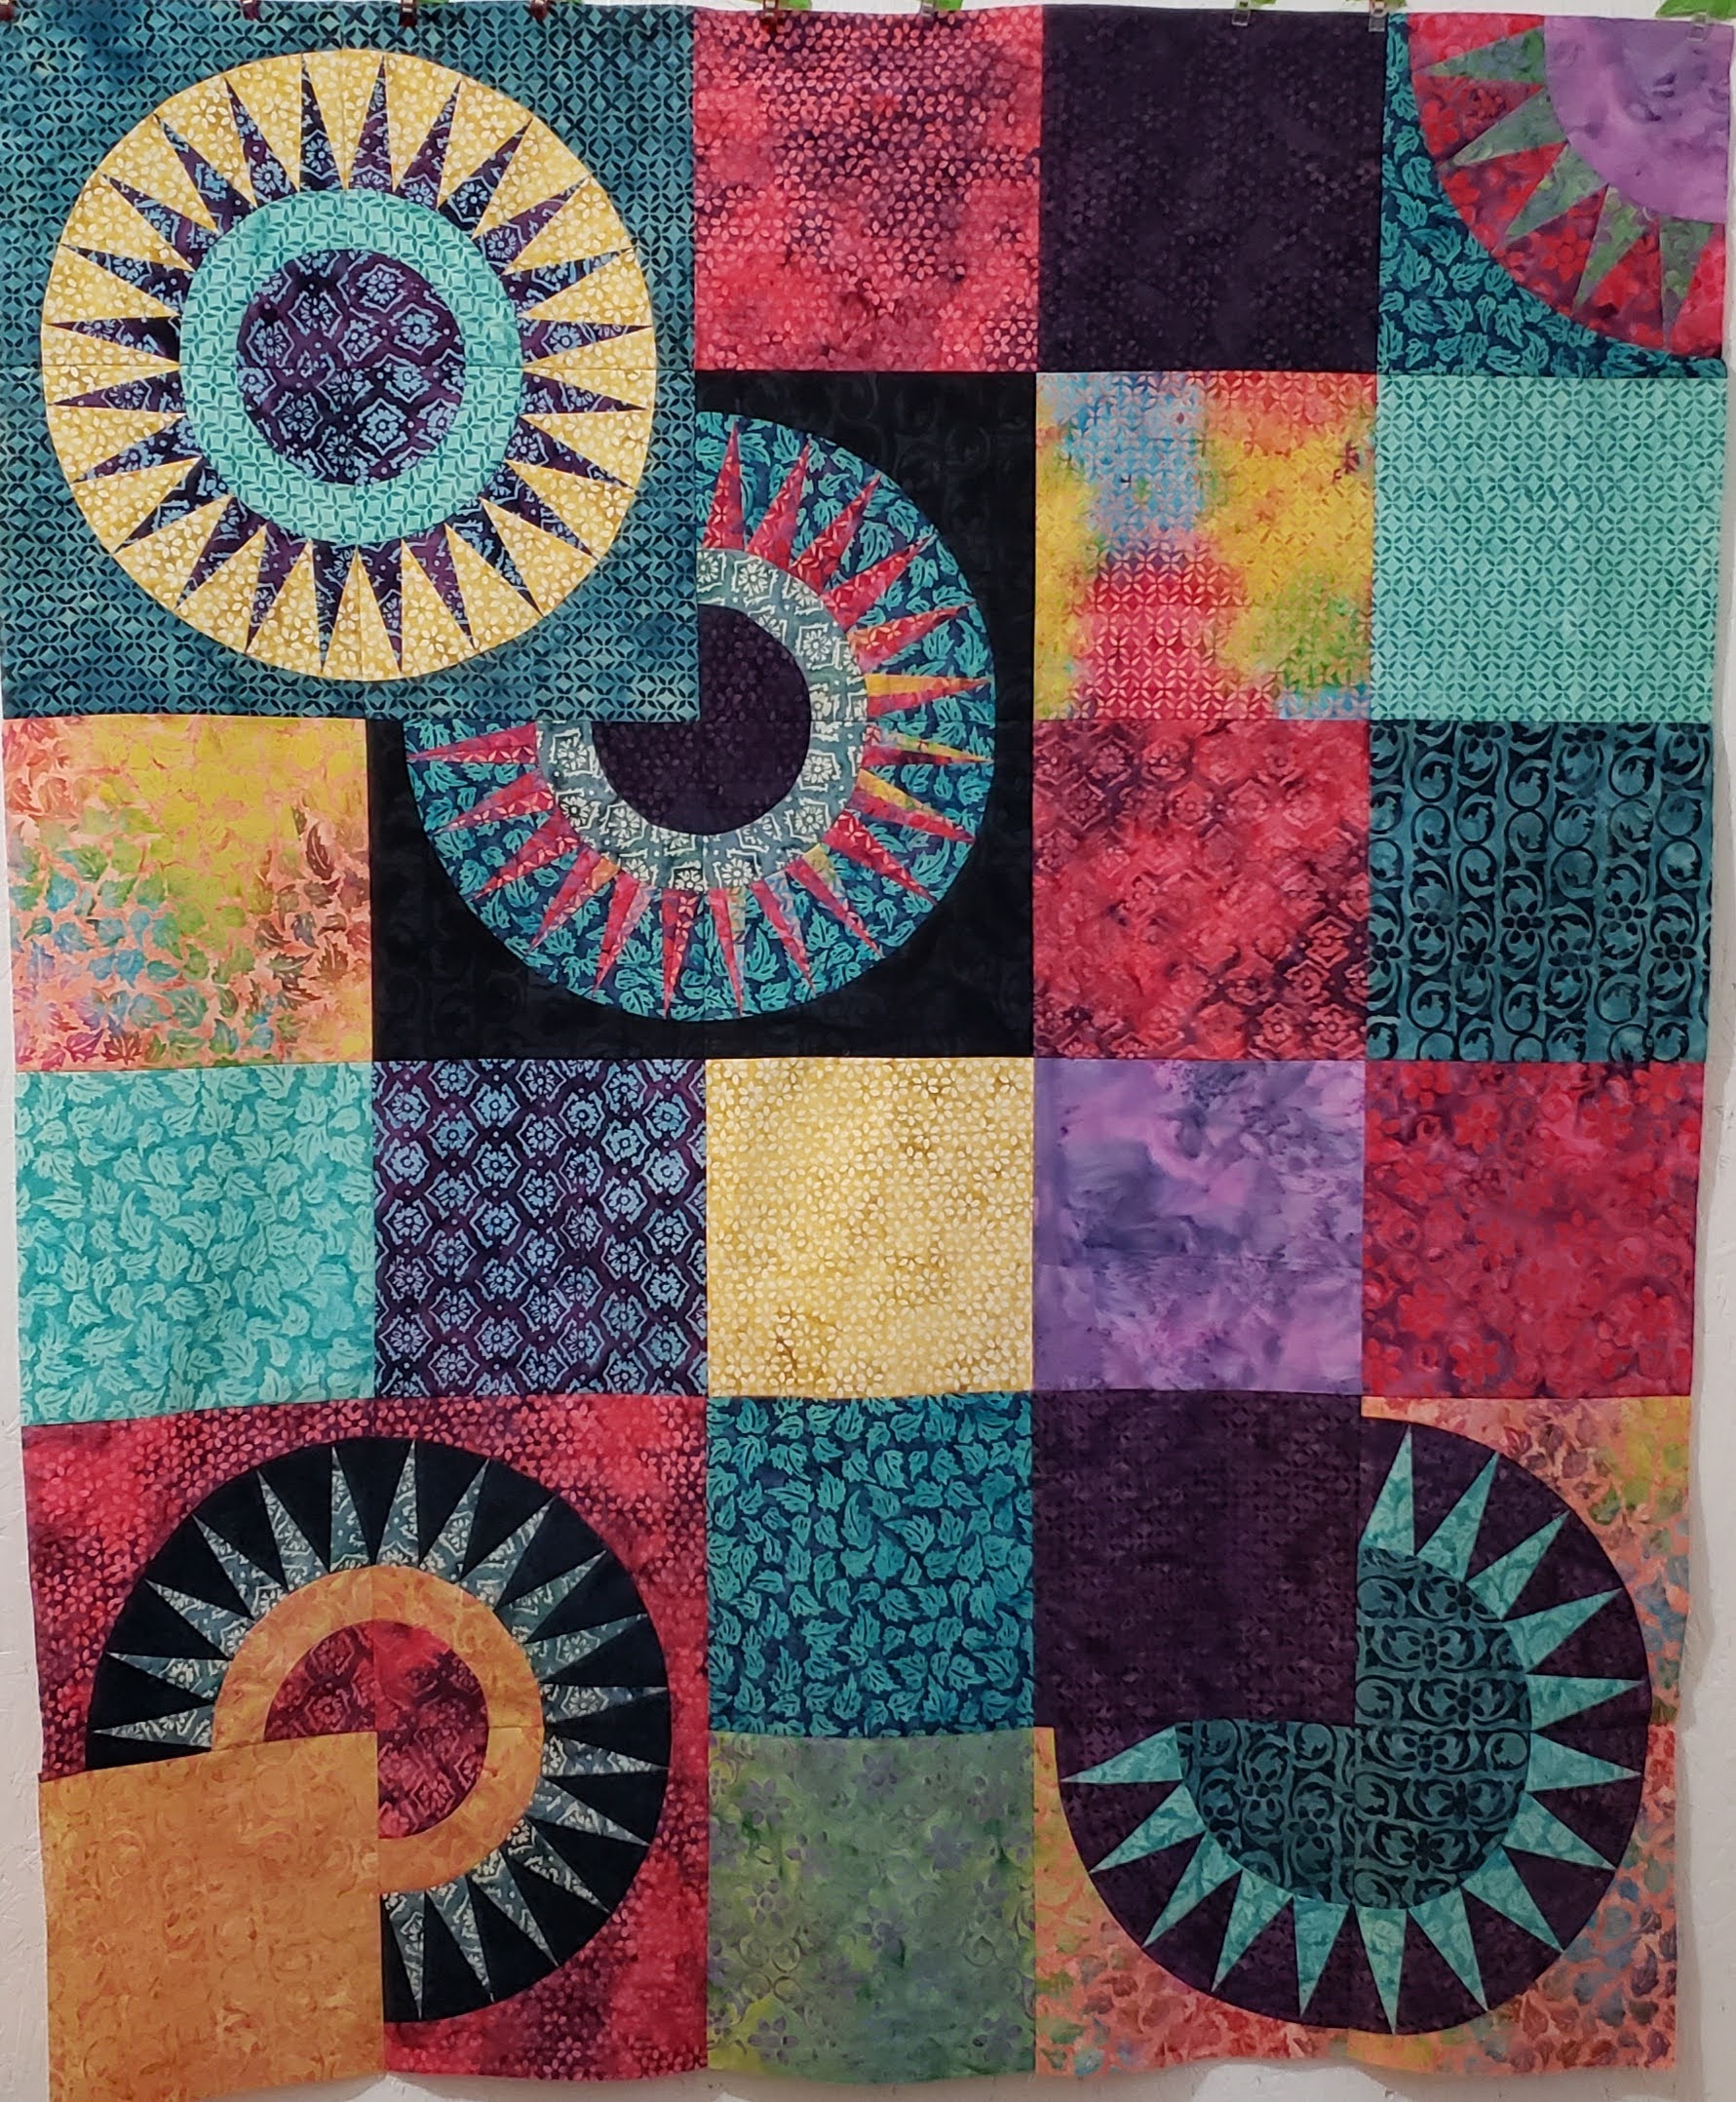
I added a border of the darkest Savannah fabric, 2″ finished strip. I used my new Accuquilt Strip cutter die to cut the strips.
Then added a 3″ finished strip of matching Urchin fabric. I had a two yard piece of this coordinating fabric. The top is now complete.
Alternative Back
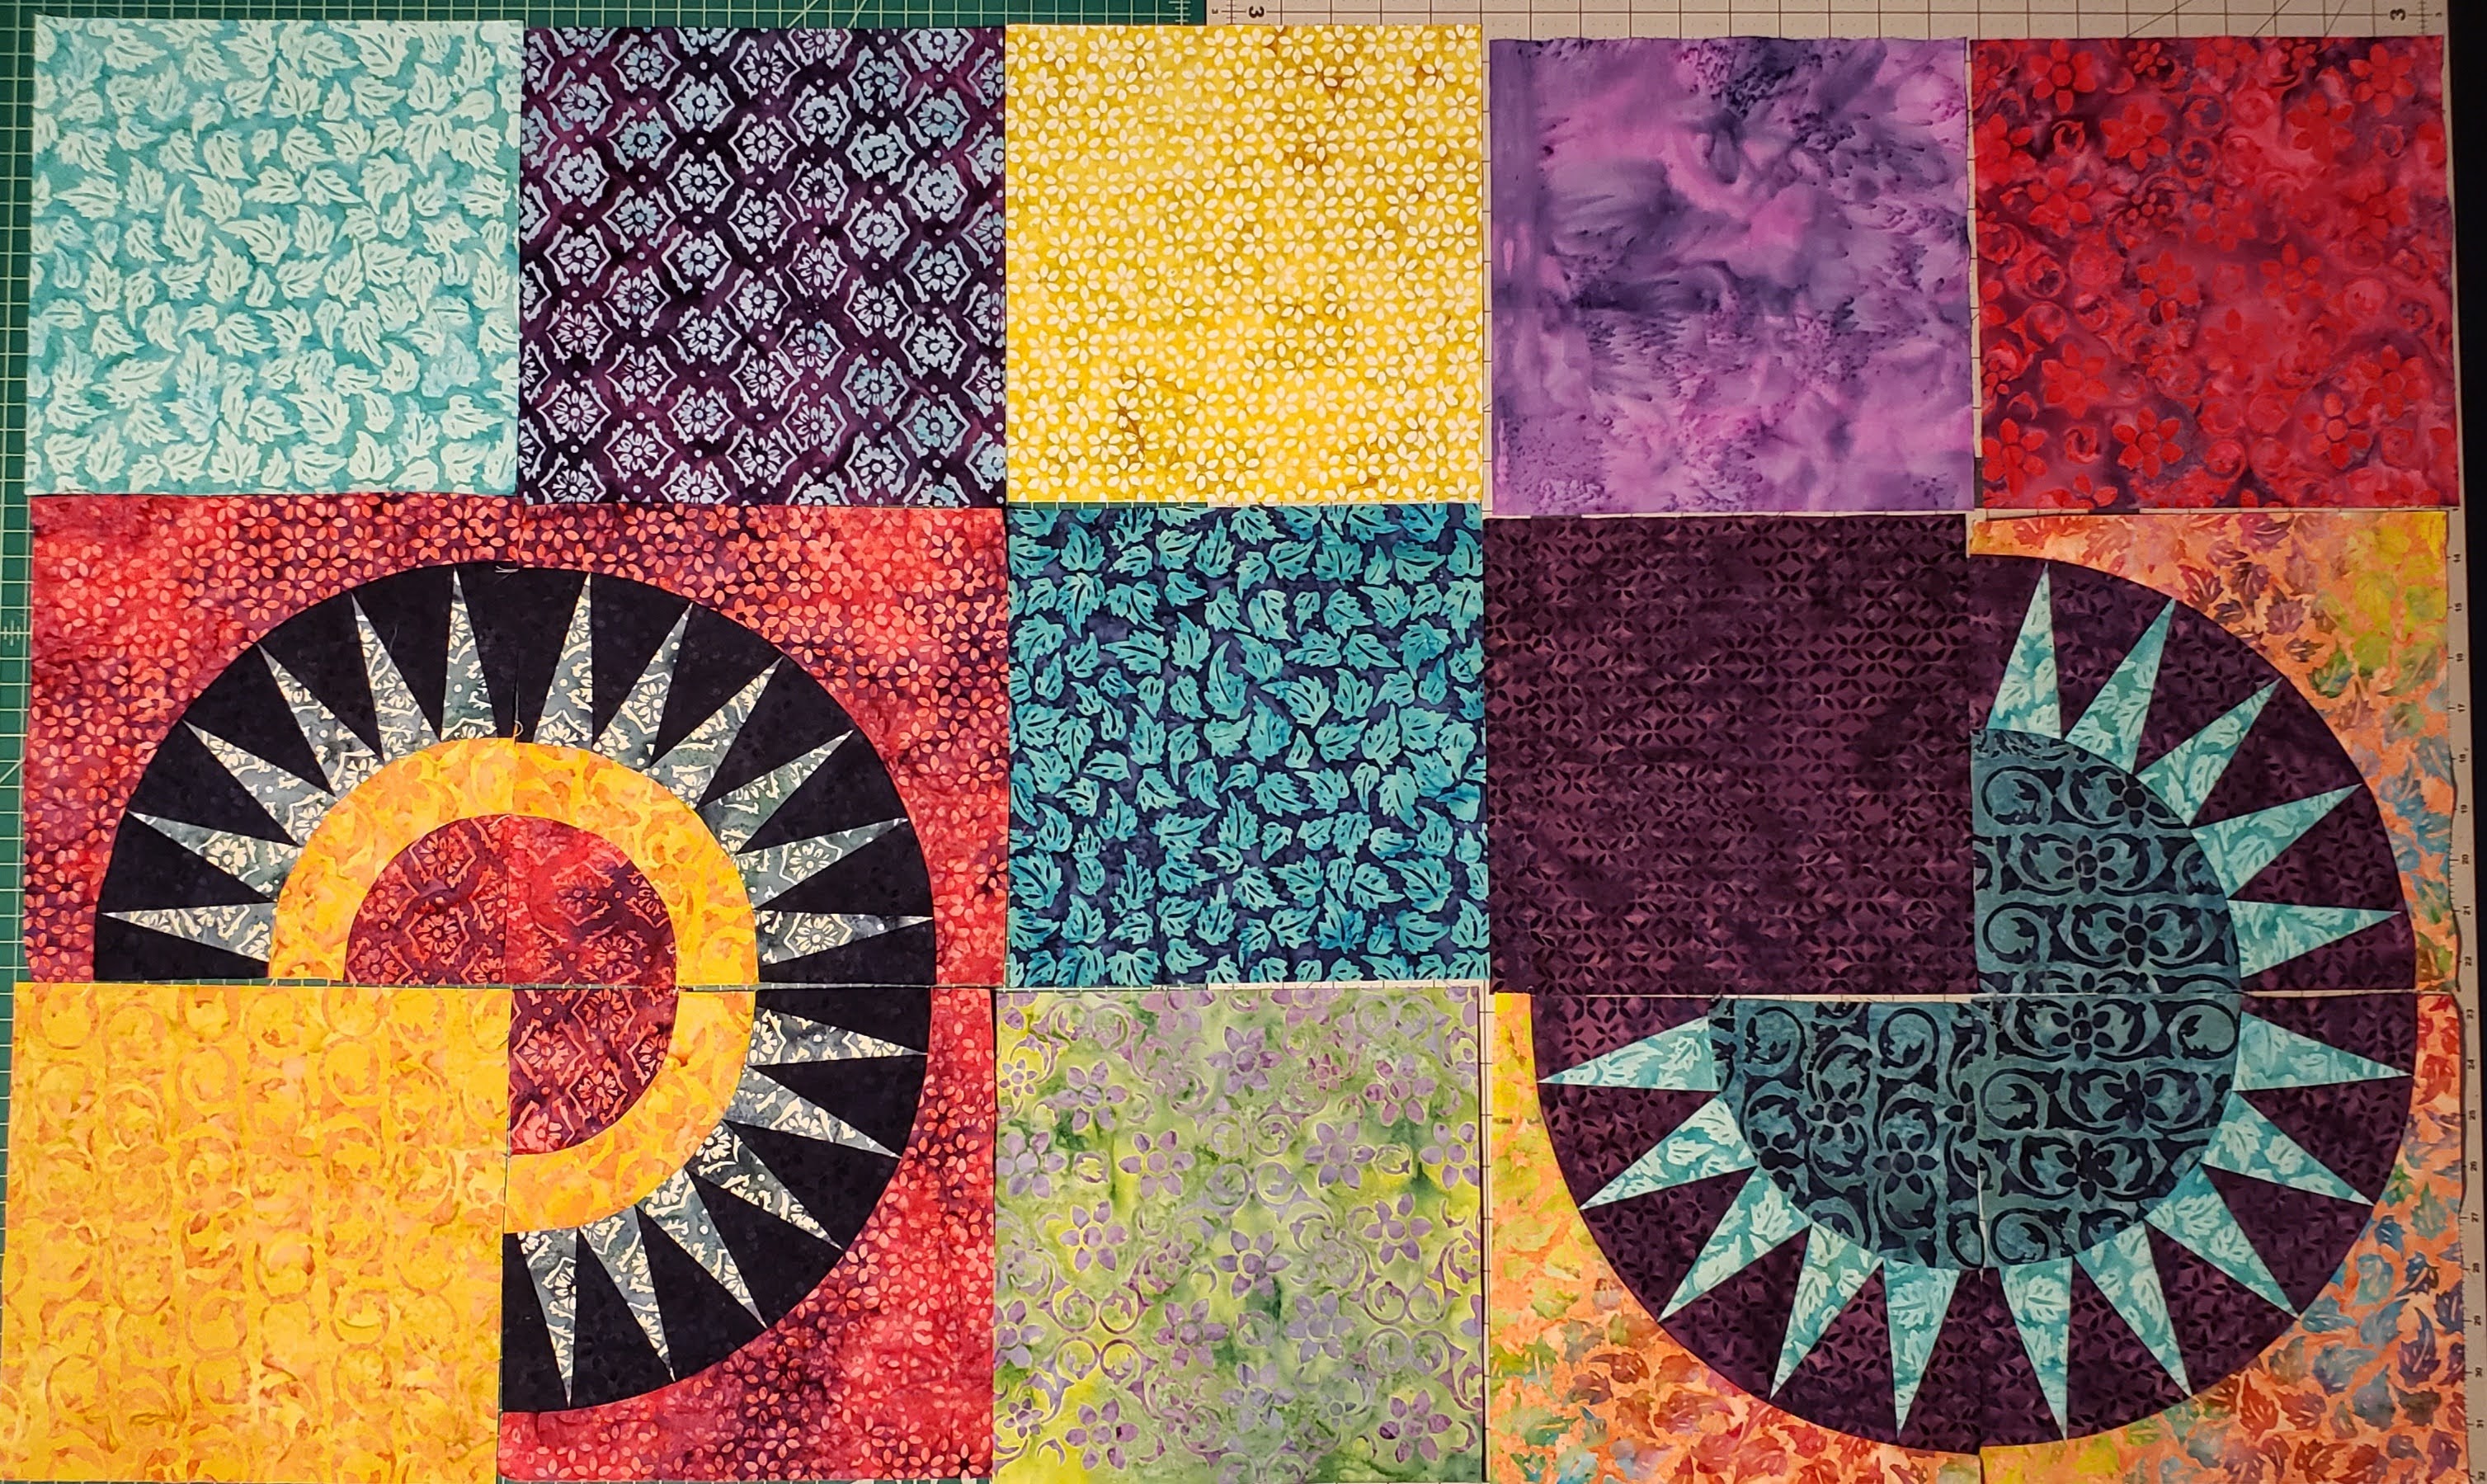
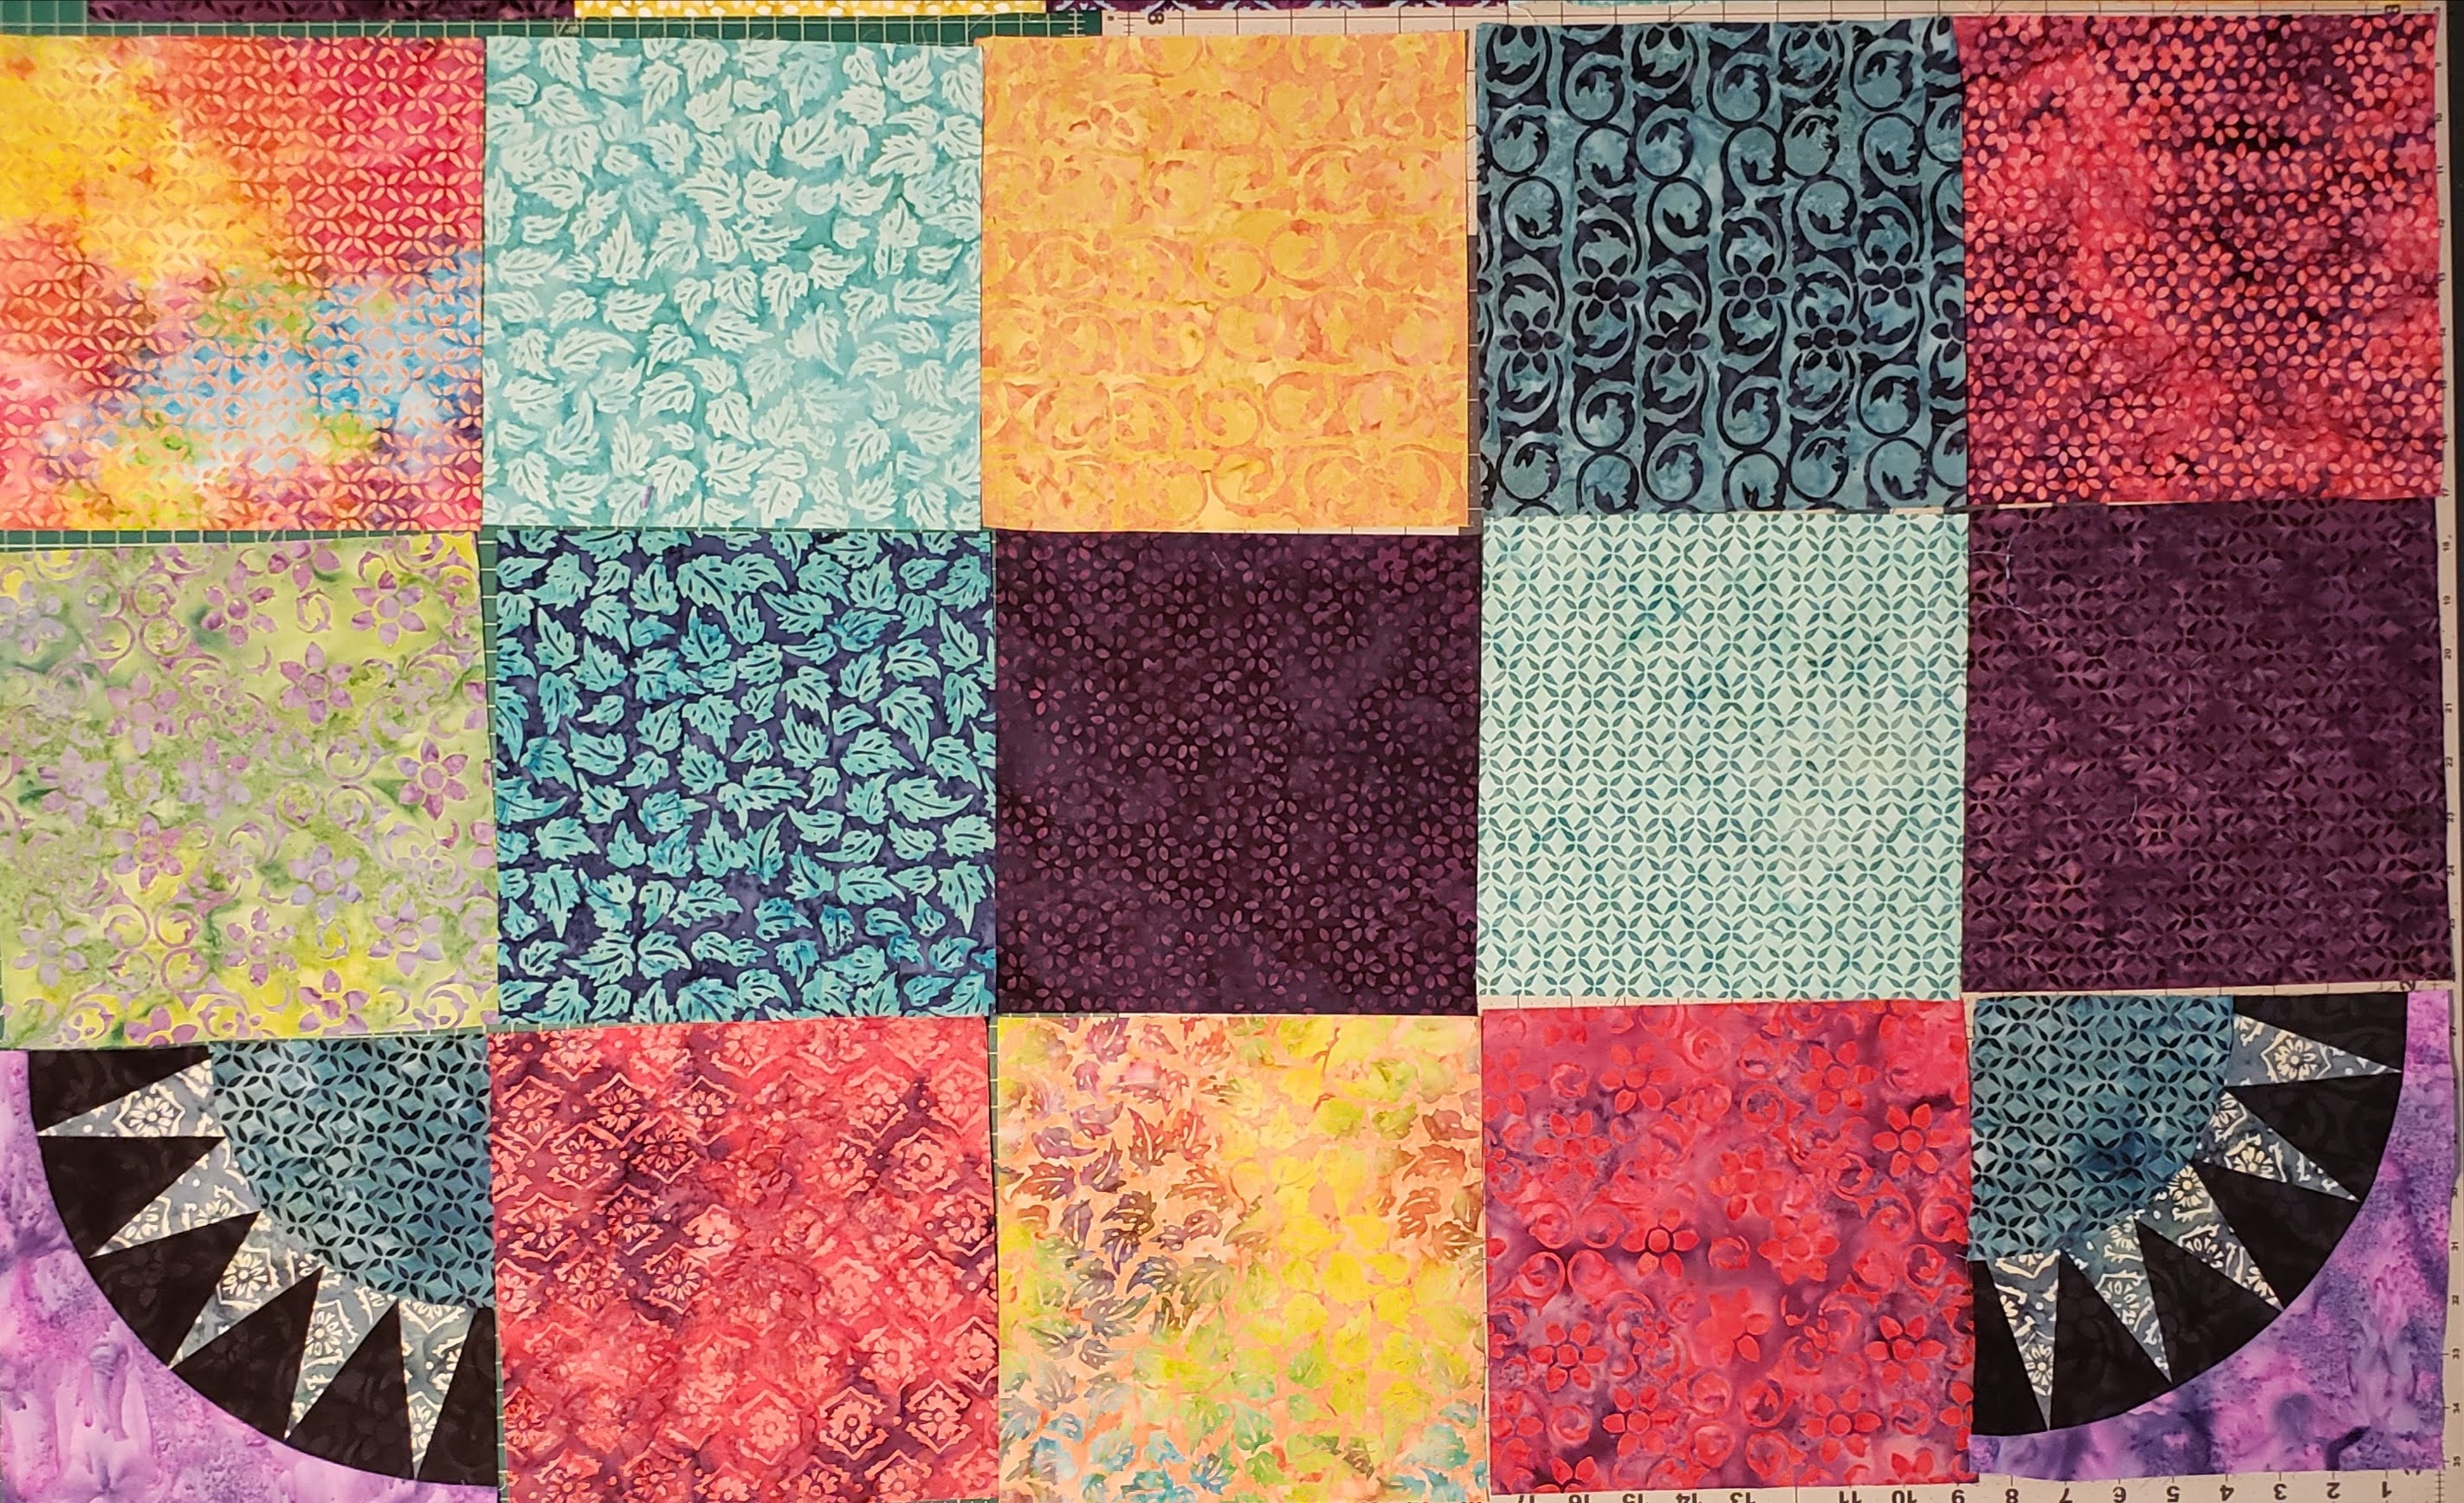
After I had finished the quilt top, and was getting ready to add the back, I decided that this quilt needed a little more than just a plain back, so I decided to create a corresponding matching back. I had received 1/2 yard cuts of all the fabrics from Island Batik, so I decided to piece the back in a similar layout, except a little smaller blocks.
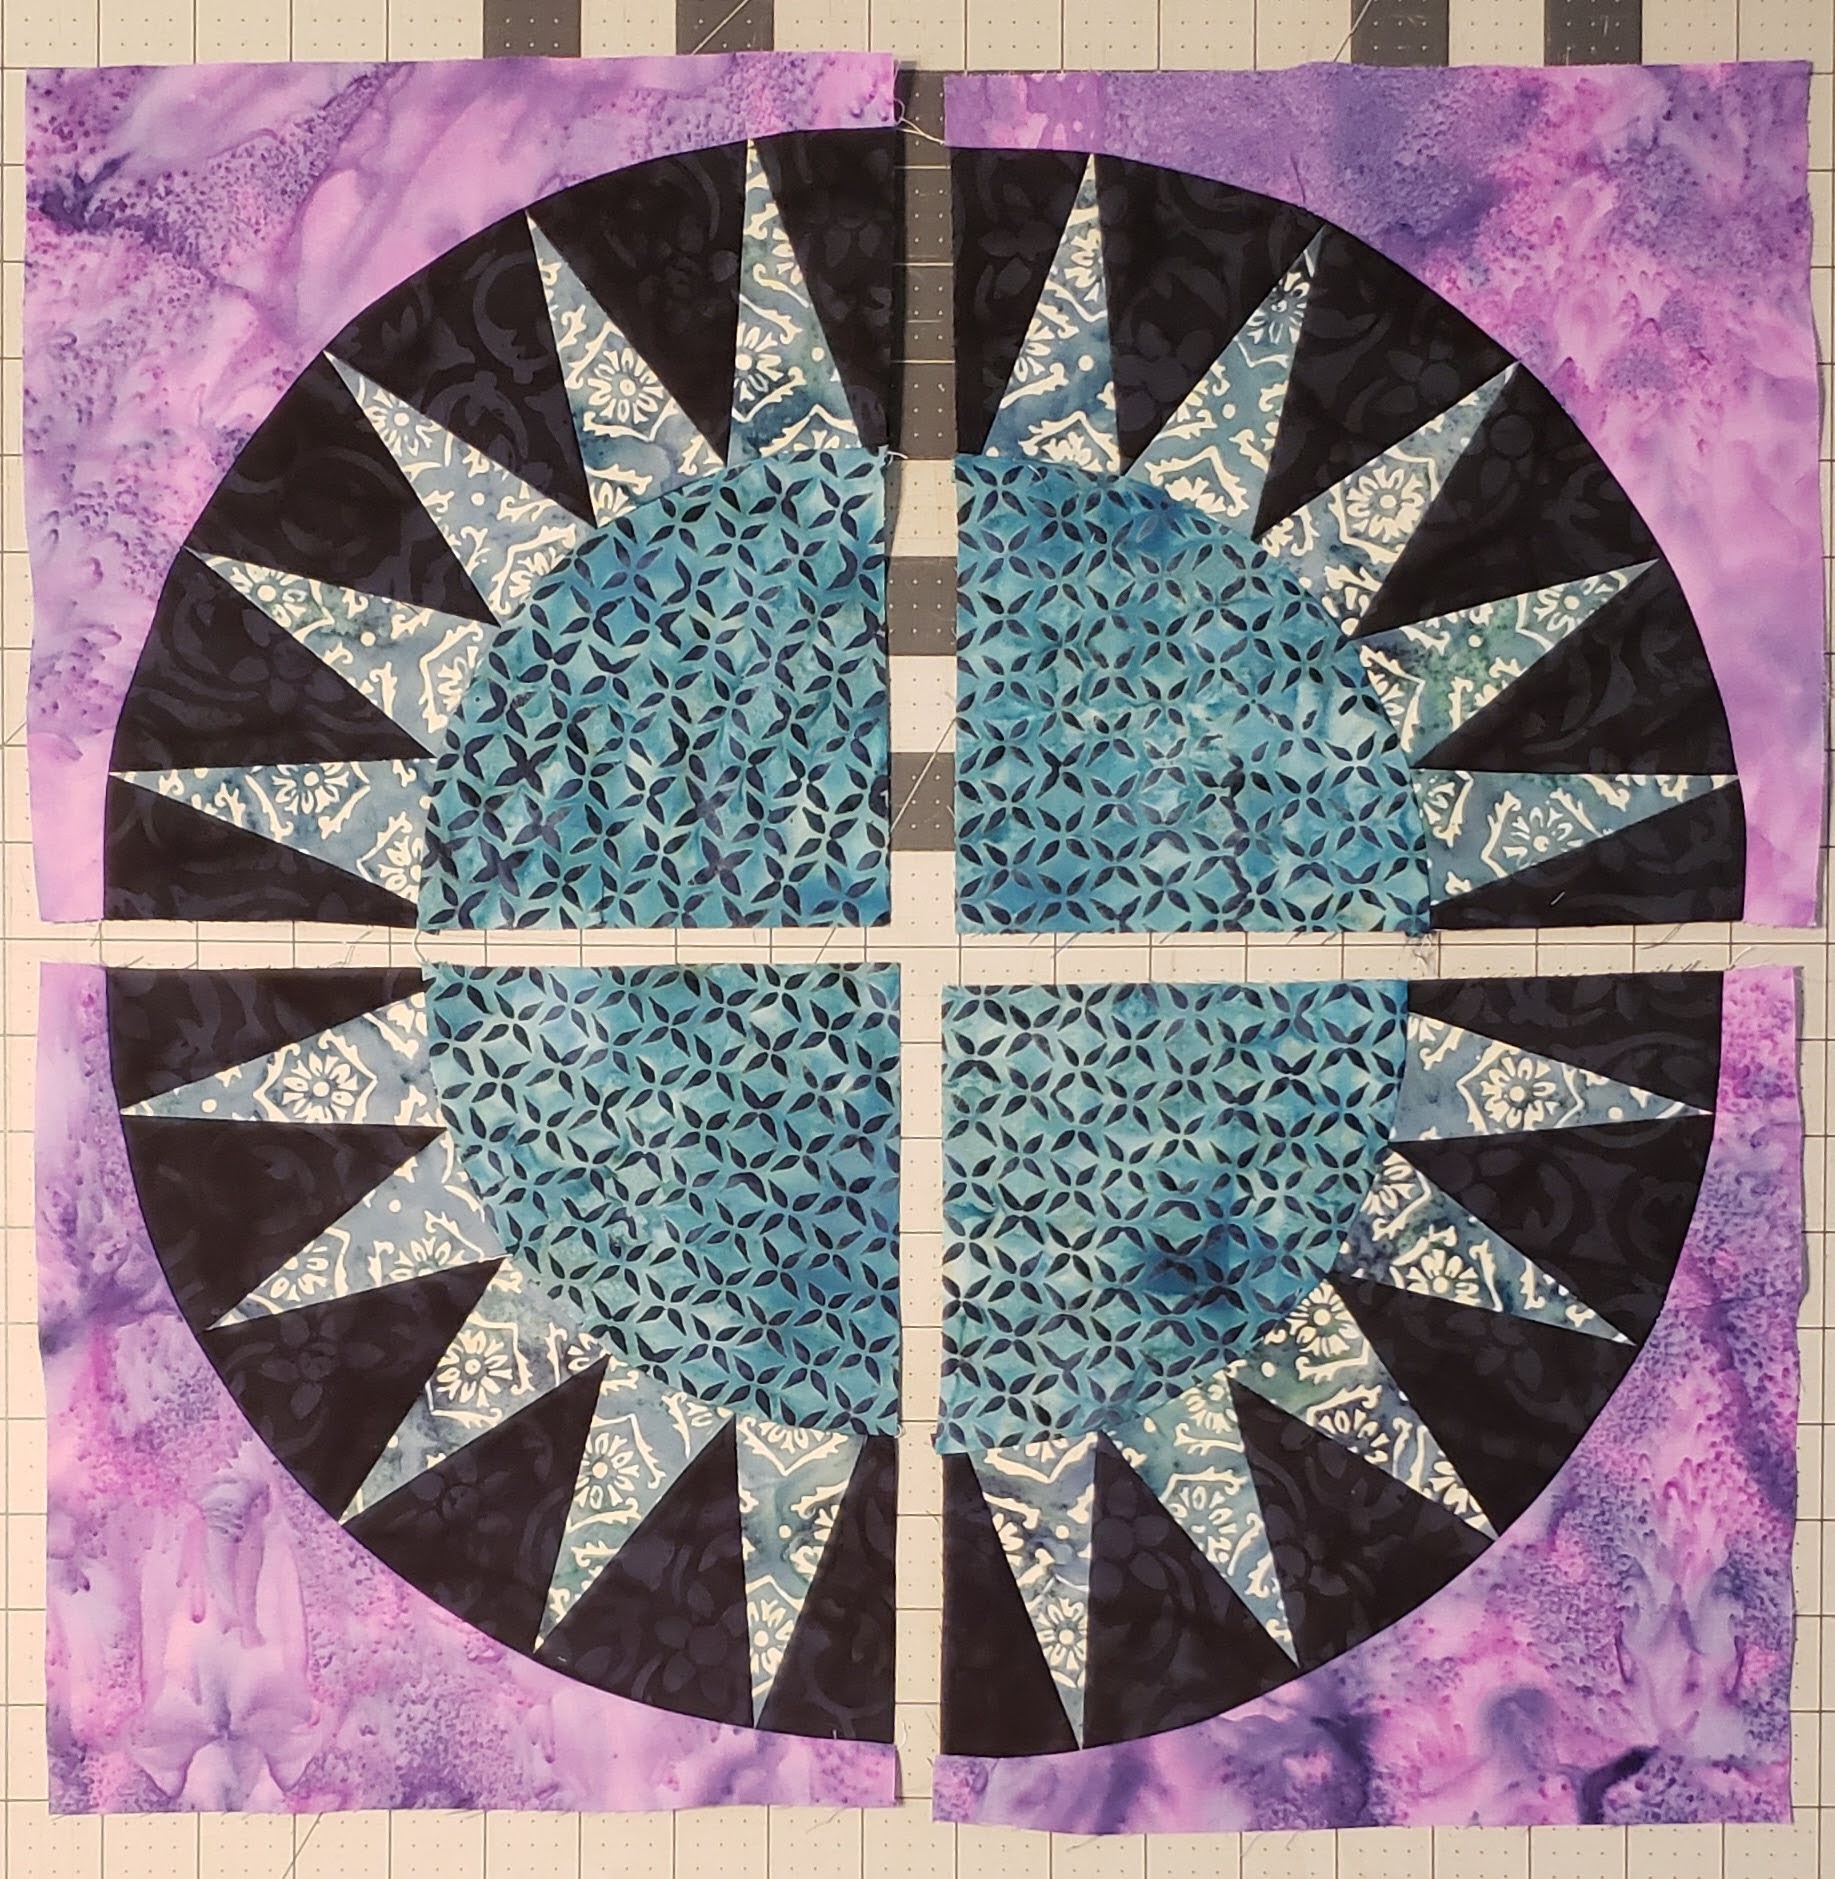
I added in each corner a New York beauty blocks that finished at 8 1/2″ x 8 1/2″, a little smaller than the front blocks. I used the simple Layout 3. In addition, cut twenty-six different 9″ x 9″ squares of the fabric, I had 19 pieces of the Savannah fabric (one was used for the border on the front), so a couple that were duplicated.
To create the corner New York Beauty Blocks, you can download a template and Foundation Paper Piecing for this alternative block.
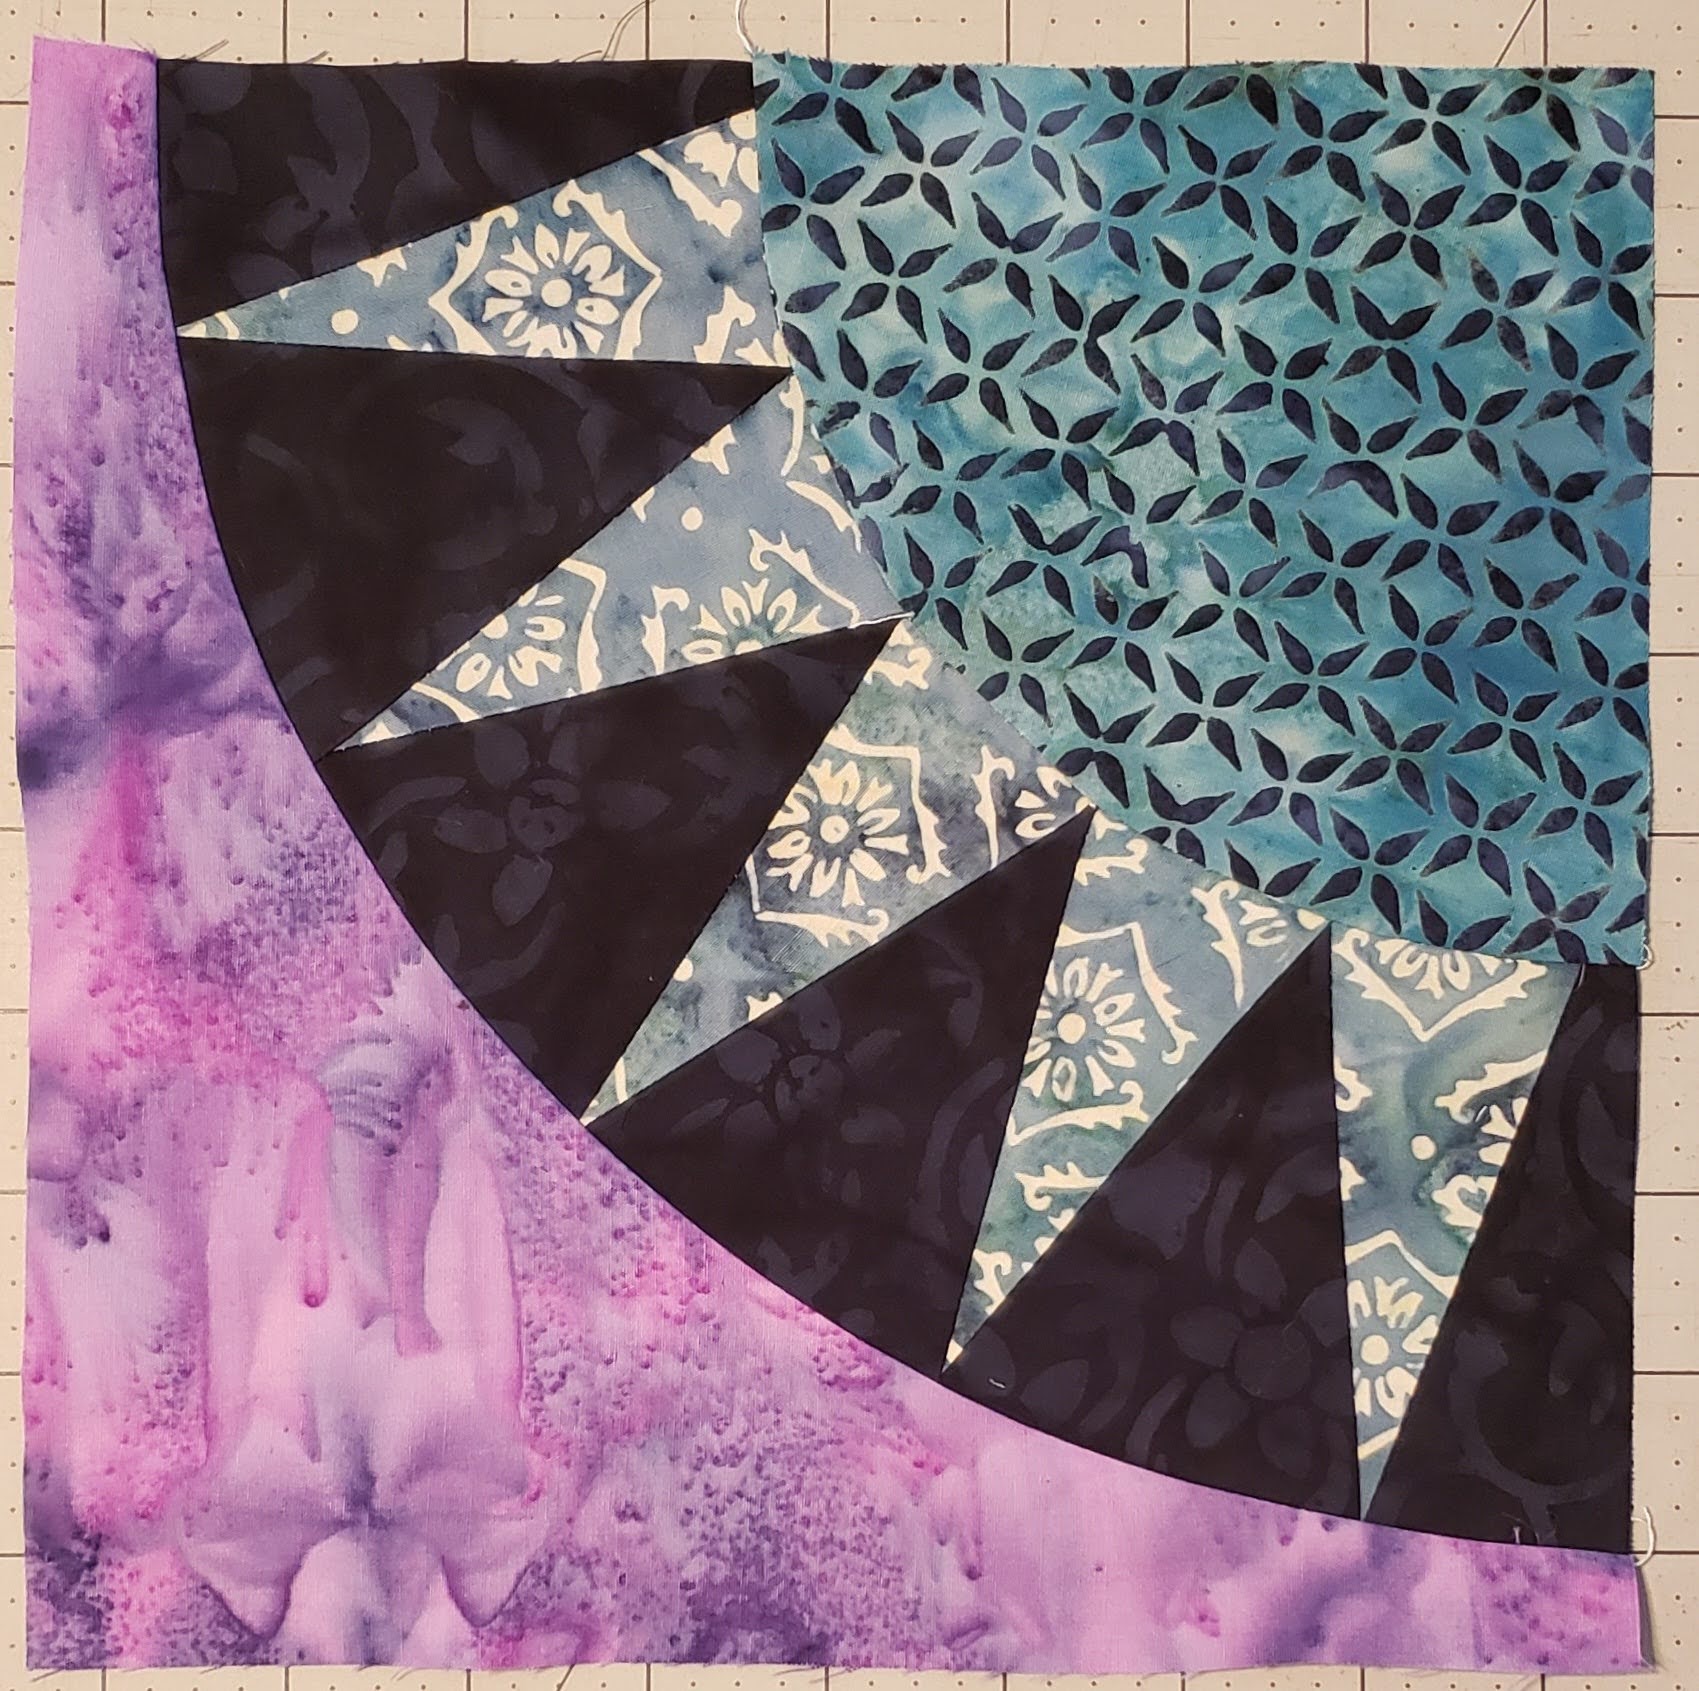
Make sure as you create these blocks and press the seams, since they are being sewn next to squares, it does not matter which way you press the seams, just go with the least resistance. If you need help with how to assemble, check out the Week 1 Blog for instructions.
You will need to create four of these blocks, one for each corner. You can make them all the same, or different. I made all four the same.
Layout the Corners and the 9″ squares, to see what you like the best, move around the fabric as needed until you are satisfied with the layout.

Once you get the layout you like, sew in rows, then sew the rows together. (Similar to the front).
I assembled the top three row, then the bottom three, and then attached, but you can start at top and work to bottom.

Then add a 2″ border to the outside with Urchin.

Then add a 7 1/2″ strip of matching Icing fabric as an outside border. This does make the back a little larger than the front to help with centering together and leaving extra on the back to fold over for self-binding. If you are having a long-arm quilt you may want to make the back even larger by making the 7 1/2″ strips to 9 1/2″ or 10″ strips.

Quilting the Quilt
I used Hobbs Cotton Batting, and I pieced and quilted using Aurifil Thread. Both of these items were given to me as well as the fabric used in this quilt.
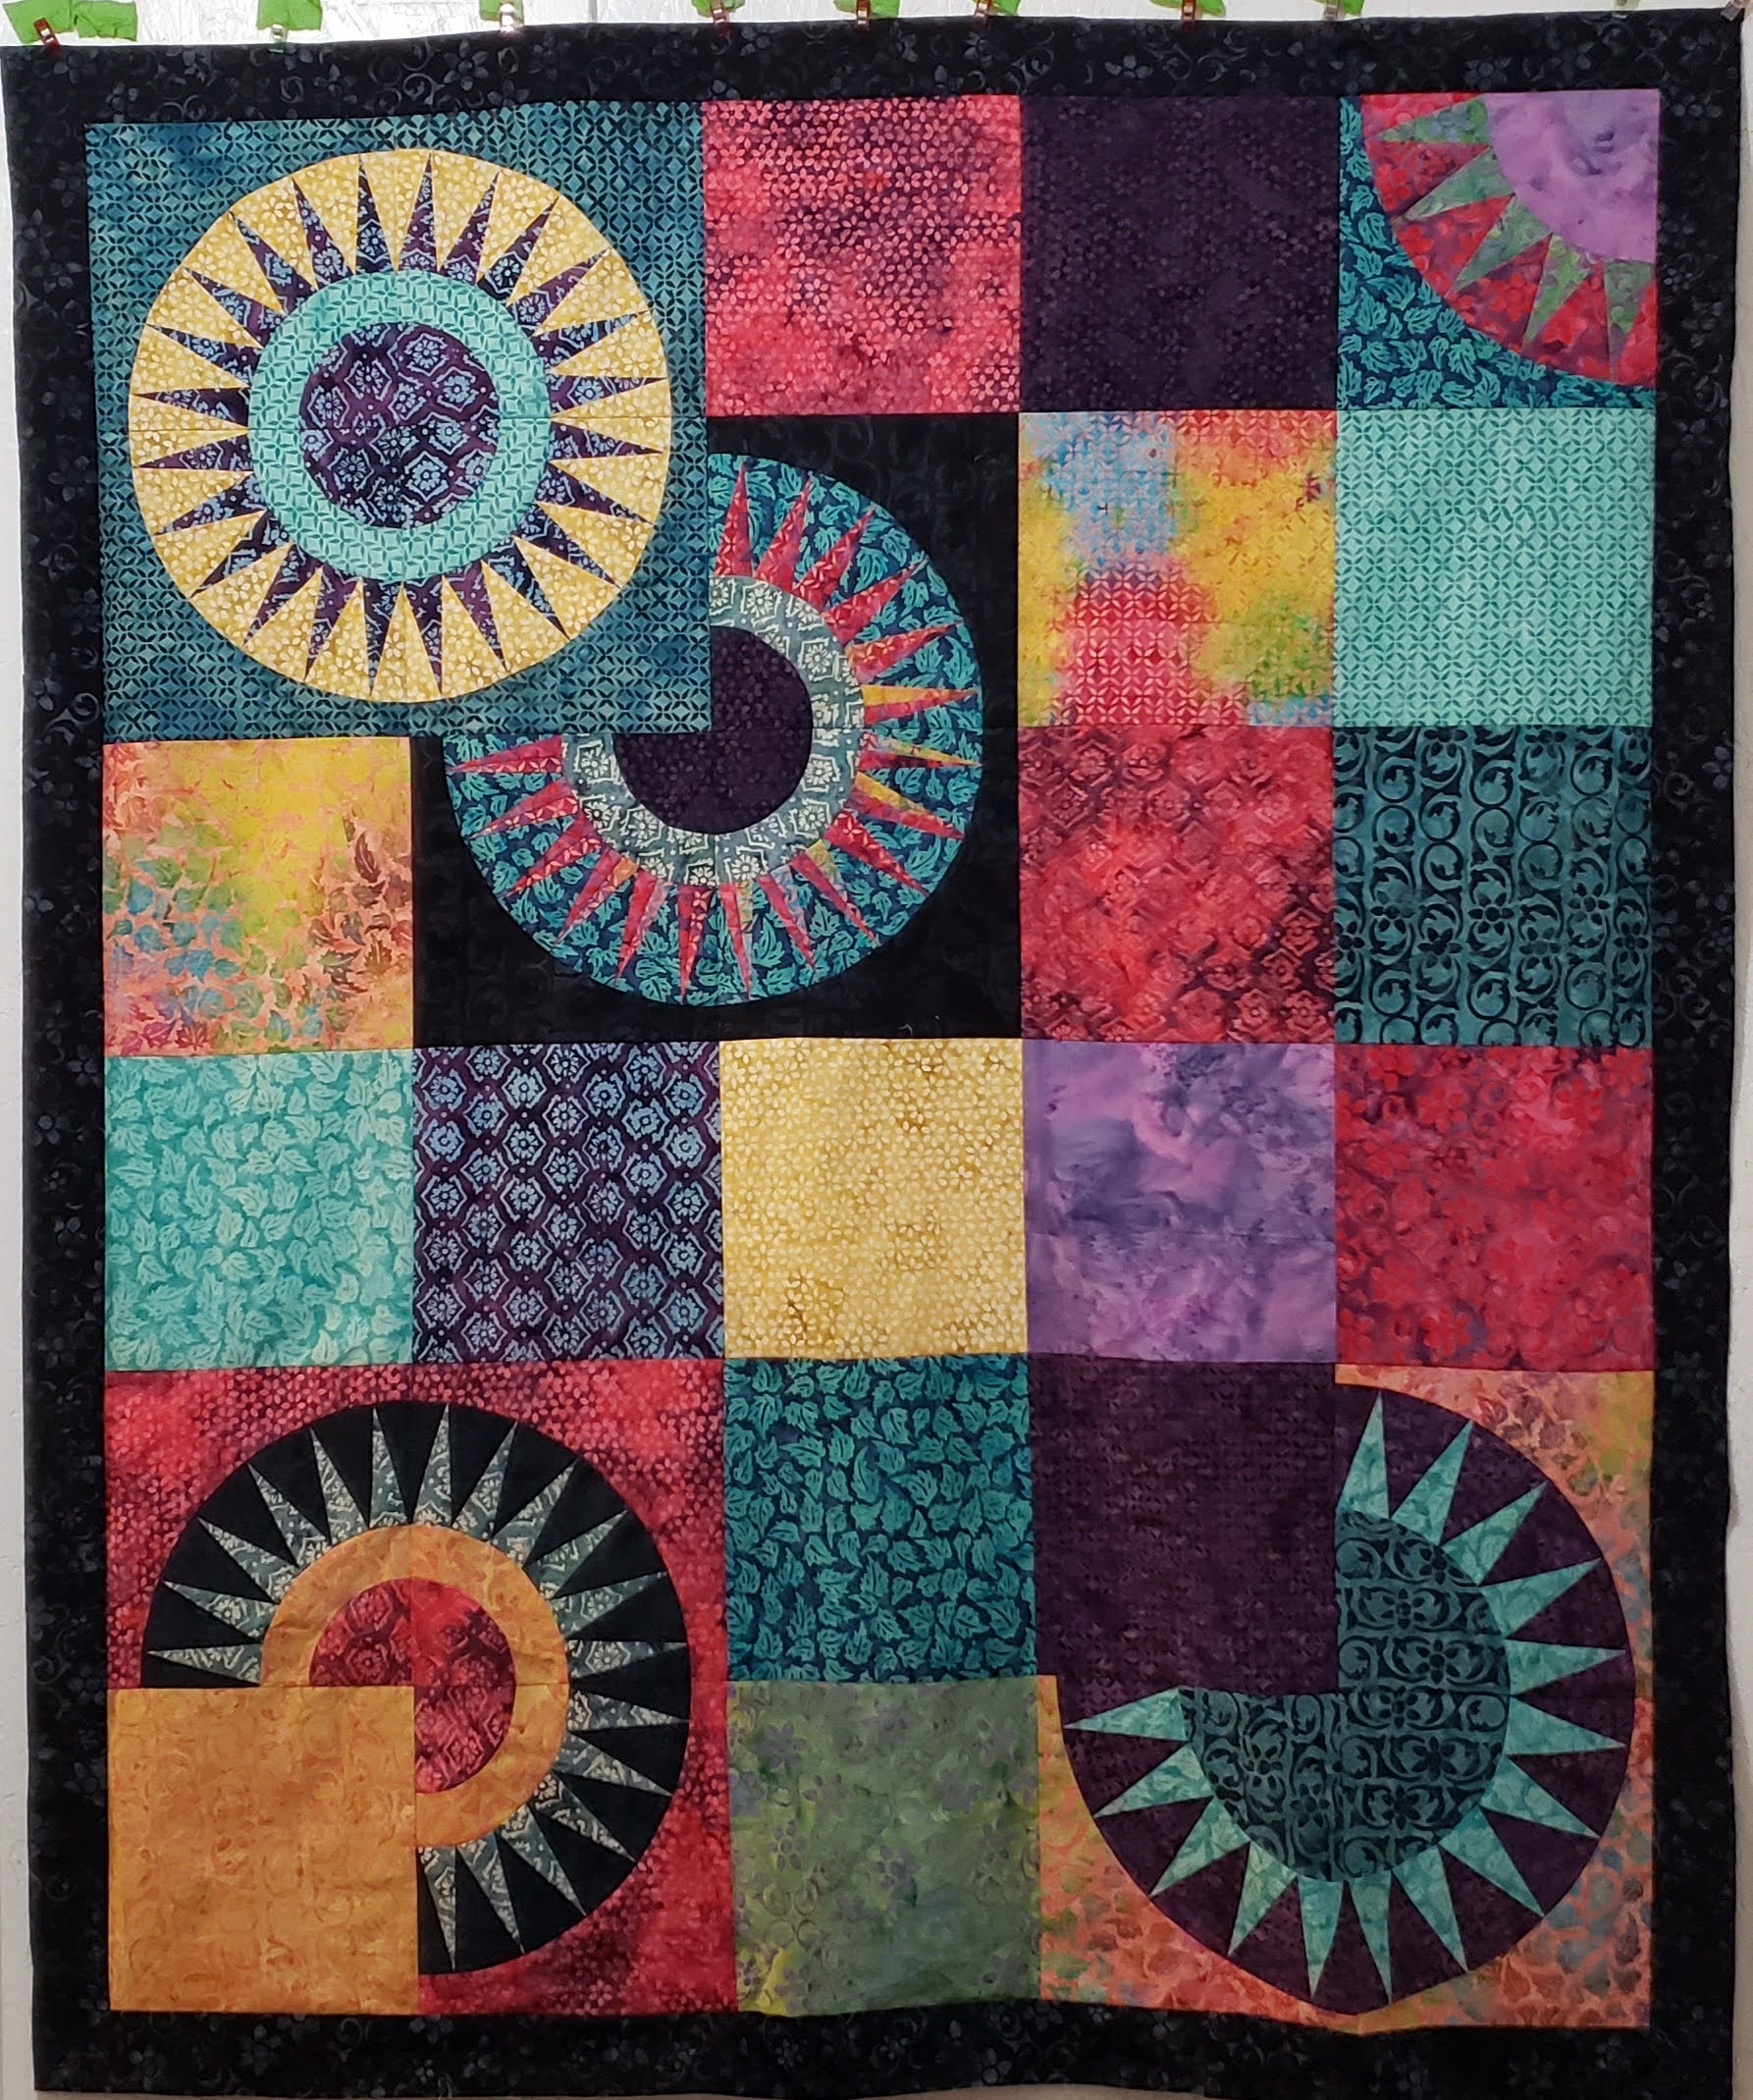
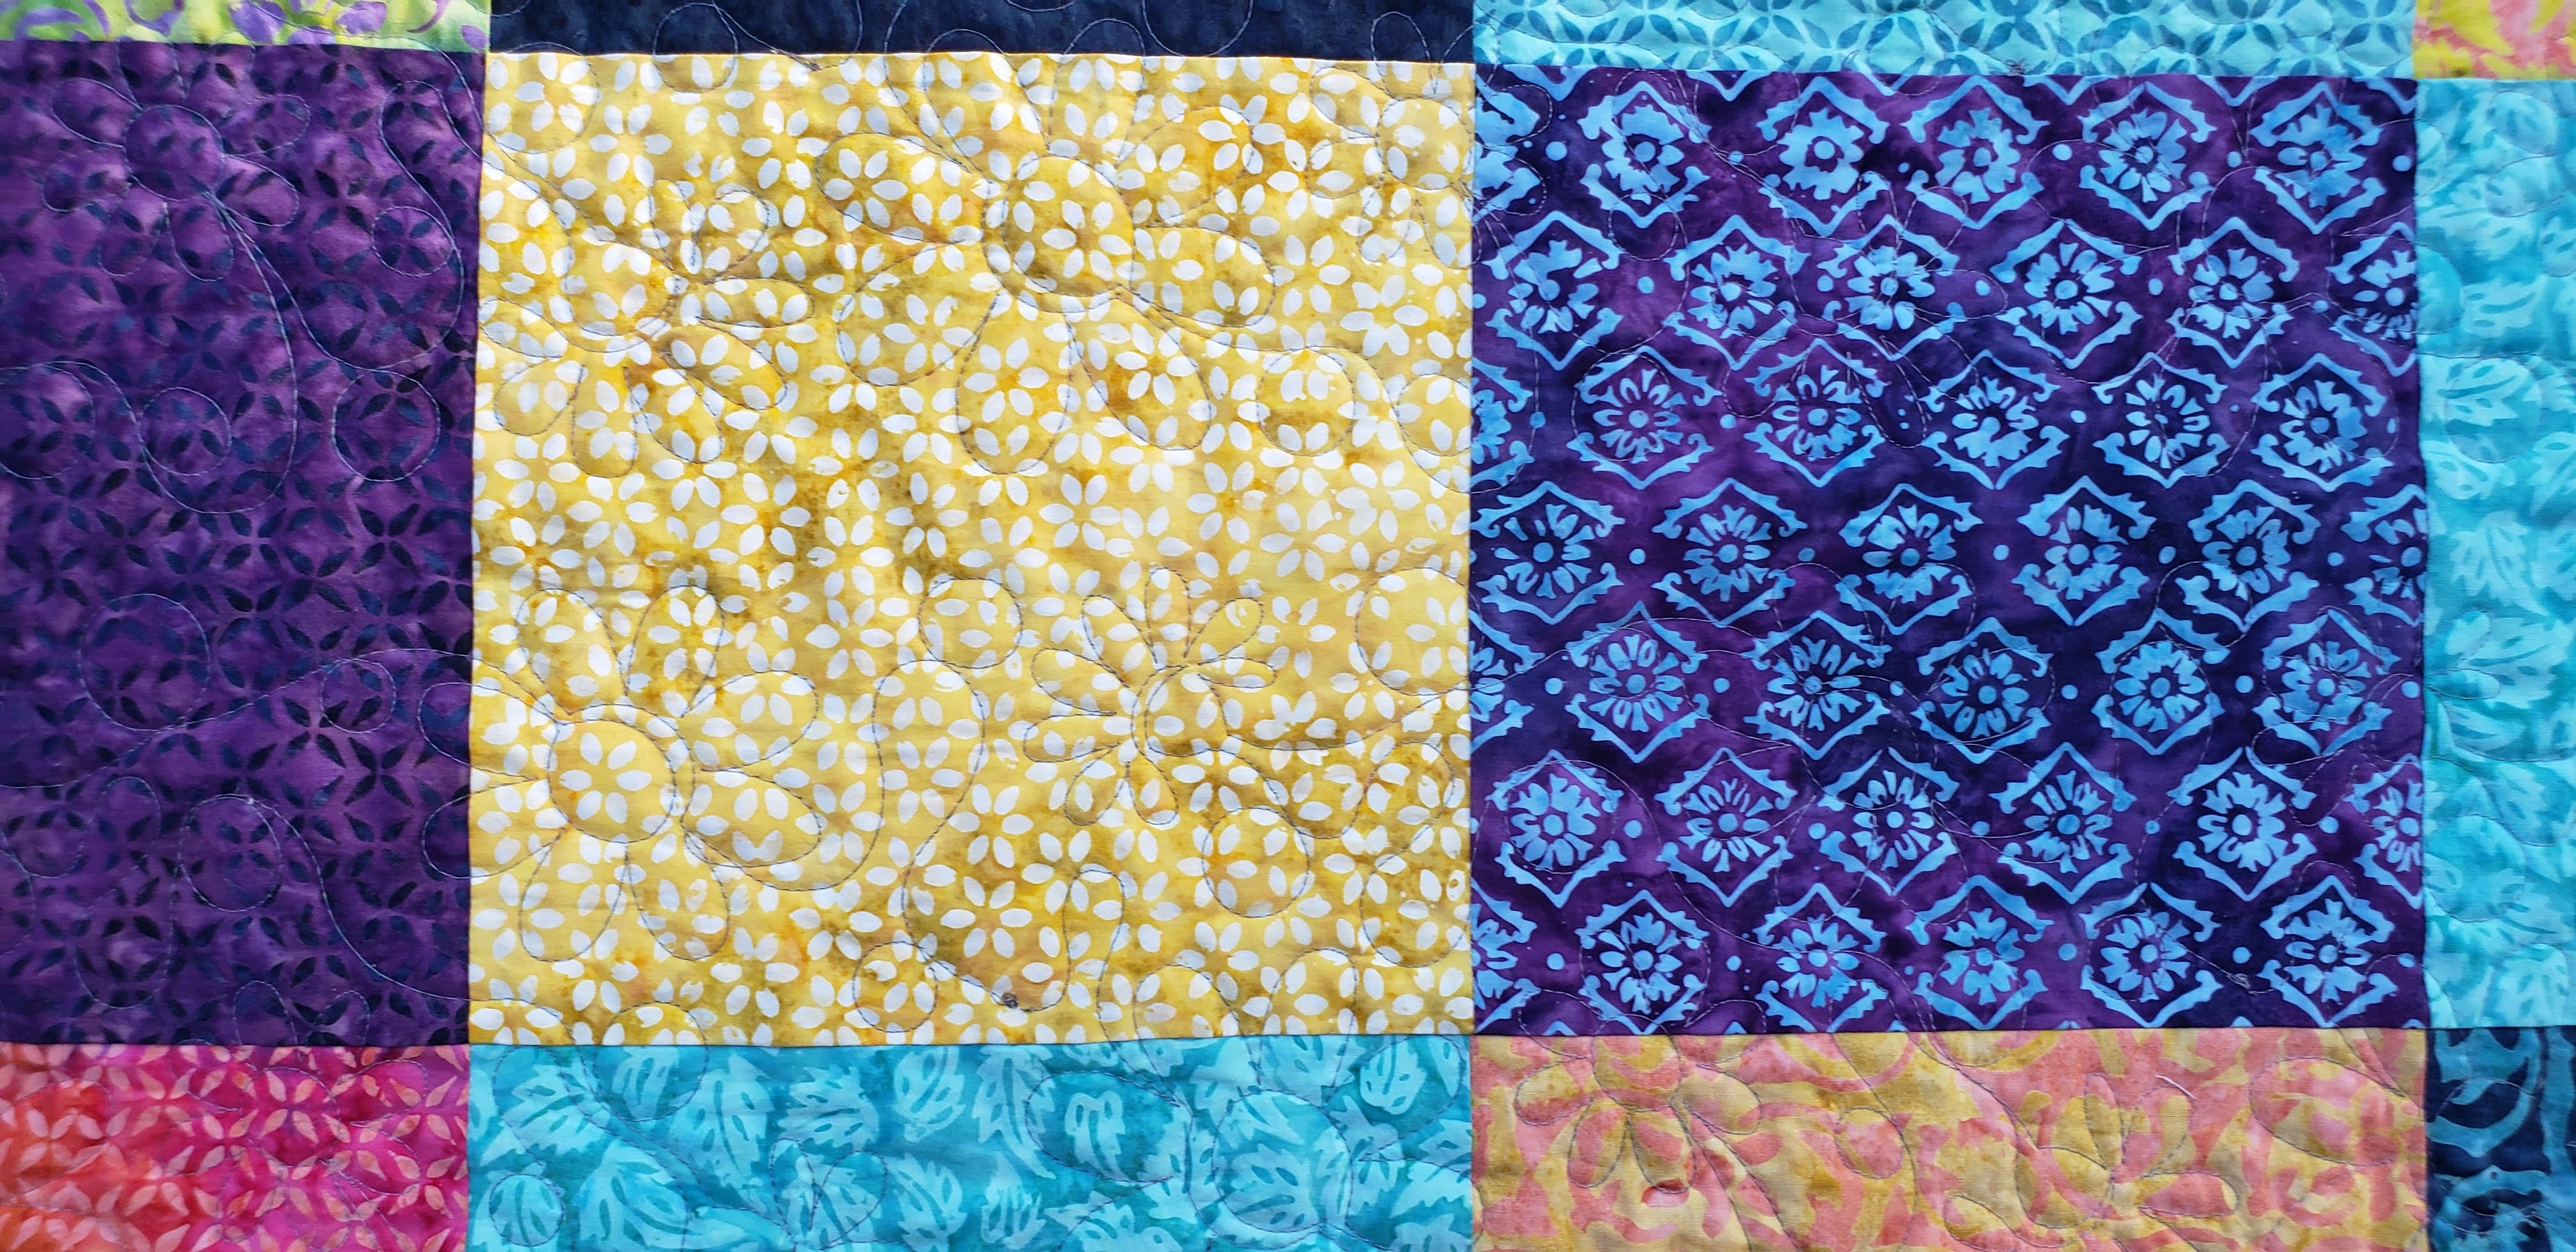
I quilted using an embroidery edge-to-edge design, Dots and Daisey’s, (I purchased from by JuJu Designs) on my Janome 500e. I enjoy the finished look of these designs more than my free-motion quilting that I do on my Juki machine.
Finished quilt and quilted back.


Remember the templates and paper piecing pieces are only available until end of September 2022.
Thank you to Island Batik, Hobbs Batting Aurifil Thread, Schmetz & Accuquilt Go! for providing me with the materials to make this quilt.


This is gorgeous! The borders really set off the blocks, like a frame. Beautiful back as well.
LikeLike