The July 2022 Island Batik Ambassador challenge was to use the Accuquilt Tree of Life die and either create the traditional Tree of Life block, or to utilize the die to create other blocks or quilts. Each Accuquilt die can be used for more than one block layout or quilt top.

I like the traditional Tree of Life, however, I decided to use the die to create a Christmas tree utilizing several of the die pieces. My quilt finished at 31″ x 59″.

I decided to use some of the scraps I had left from the Glorious Greens, gradation collection from my first Island Batik challenge in January, and some scraps left from the Wonderous collection, from my second challenge in February. I wanted to use greens for the tree and these two collections had lots. The Wonderous collection had a Christmassy feel to it, so thought it would be great for the star and the borders. For the background, I used Icing and Oster.
The Accuquilt, Tree of Life die has several pieces, however, I only used part of the pieces.
I used the following parts
- A – Square 2 1/4″ x 2 1/4″
- B – Triangles for Half Square Triangles
- C – Strip 4″ x 2 1/4″
- D – Strip 9 1/4″ x 2 1/4″
- F – Large Triangle
There were some parts that I didn’t use on this quilt, but easily could have been used. E-5″ x 2 1/4″ strip, G, H-small triangle.
Fabric Requirements
- Background fabric (Oster/Icing) 3/4 yard of each
- Star – two Colors (Dark Red/Light Red) 3″ x 9″ piece each
- Inner Border & Corners 1/2 yard
- Outside Border – 1/2 yard
- Green Pieces – scraps 2 1/2″ to 3″ squares – 33 pieces or 66 pieces if you want all different – green of trees.
- Light Green – 1/2 yard for binding
Cutting
Here are the quantities and pieces that I need for this quilt top.
Note: I will show you how I cut Piece D – I didn’t cut in the traditional way, as I wanted WOF strips
| Piece | Icing | Oster | Green | Darker Green | Red Dark | Red Light | |
| 2 1/4″ x 2 1/4″ square | A | 7 | 7 | ||||
| 2 1/4″ x 1 3/4″ | A | 2 | 2 | ||||
| 2 1/2″ Triangle | B | 33 | 33 | 66 Variety | |||
| 2 1/2″ Triangle | B | 4 | 4 | 8 | 8 | ||
| 2 1/4″ x 4″ | C | 1 | |||||
| Large Triangle | F | 4 | |||||
| 2 1/4″ x WOF | D | 9 | 9 |
For the Borders and binding
| Part | Darker Green | Green | Light Green | |
| 2 1/2″ x WOF | Border 1 | 4 1/2 strips | ||
| 3 1/2″ x WOF | Border 2 | 5 strips | ||
| 2 1/4″ X WOF | Binding | 5 strips |
Piece D – special instructions
I wanted to make the strips 2 1/4″ by WOF (width of fabric), instead of by 2 1/4″ x 9″, so I had to modify how I cut the strips. This takes a little time, and you can do them one strip at a time, or two.
Use strips of fabric at least 2 1/2″ wide, and then with the cut end at or close to the end of one side of piece D.
Carefully layout the strip along piece D, and then fold back “before” you get to the other end of the strip. You do not want that end to be cut, so you need to fold back before the end.
Carefully lay back, and make sure to fold again if you get back to the other end. Making sure that the fold is not cut. Make sure that the fabric is folded straight so you strip will be straight.
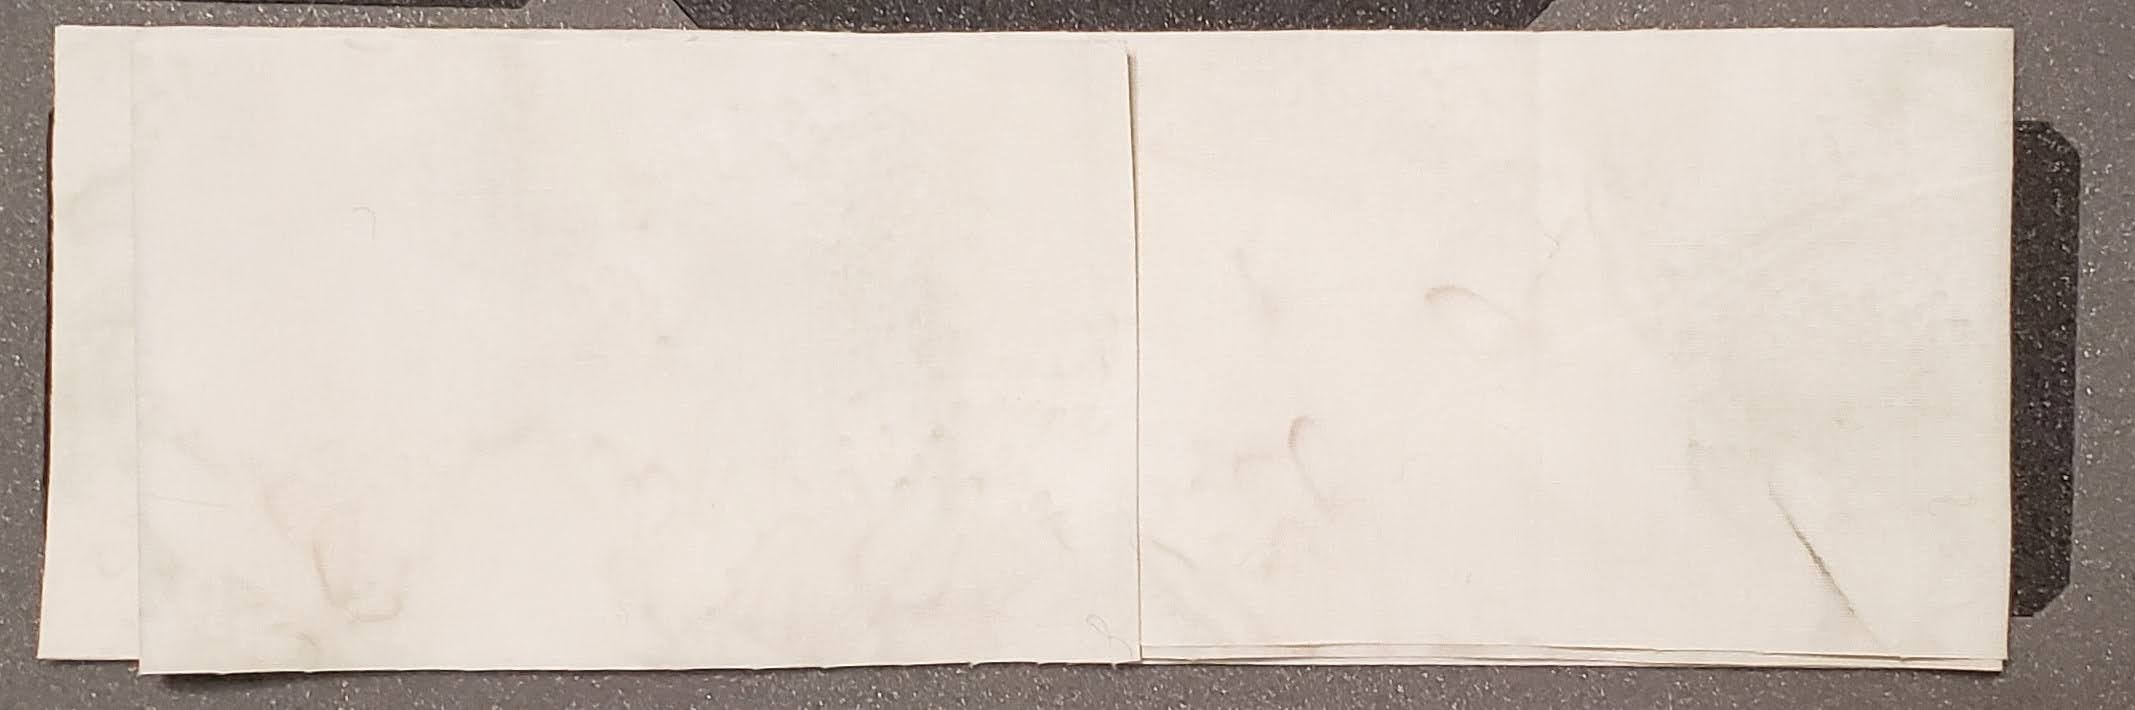

This will give you a long strip of 2 1/4″ x WOF.

You will need to do this for all 2 1/4″ x WOF strips, 9 from Oster and 9 from Icing.
This will be part of your background, assembly instructions later.
You could cut the squares individually with the die, a few at a time, and then sew together, however, I decided to use the 2 1/4″ strips to create the squares, reducing time needed to layout and piecing.
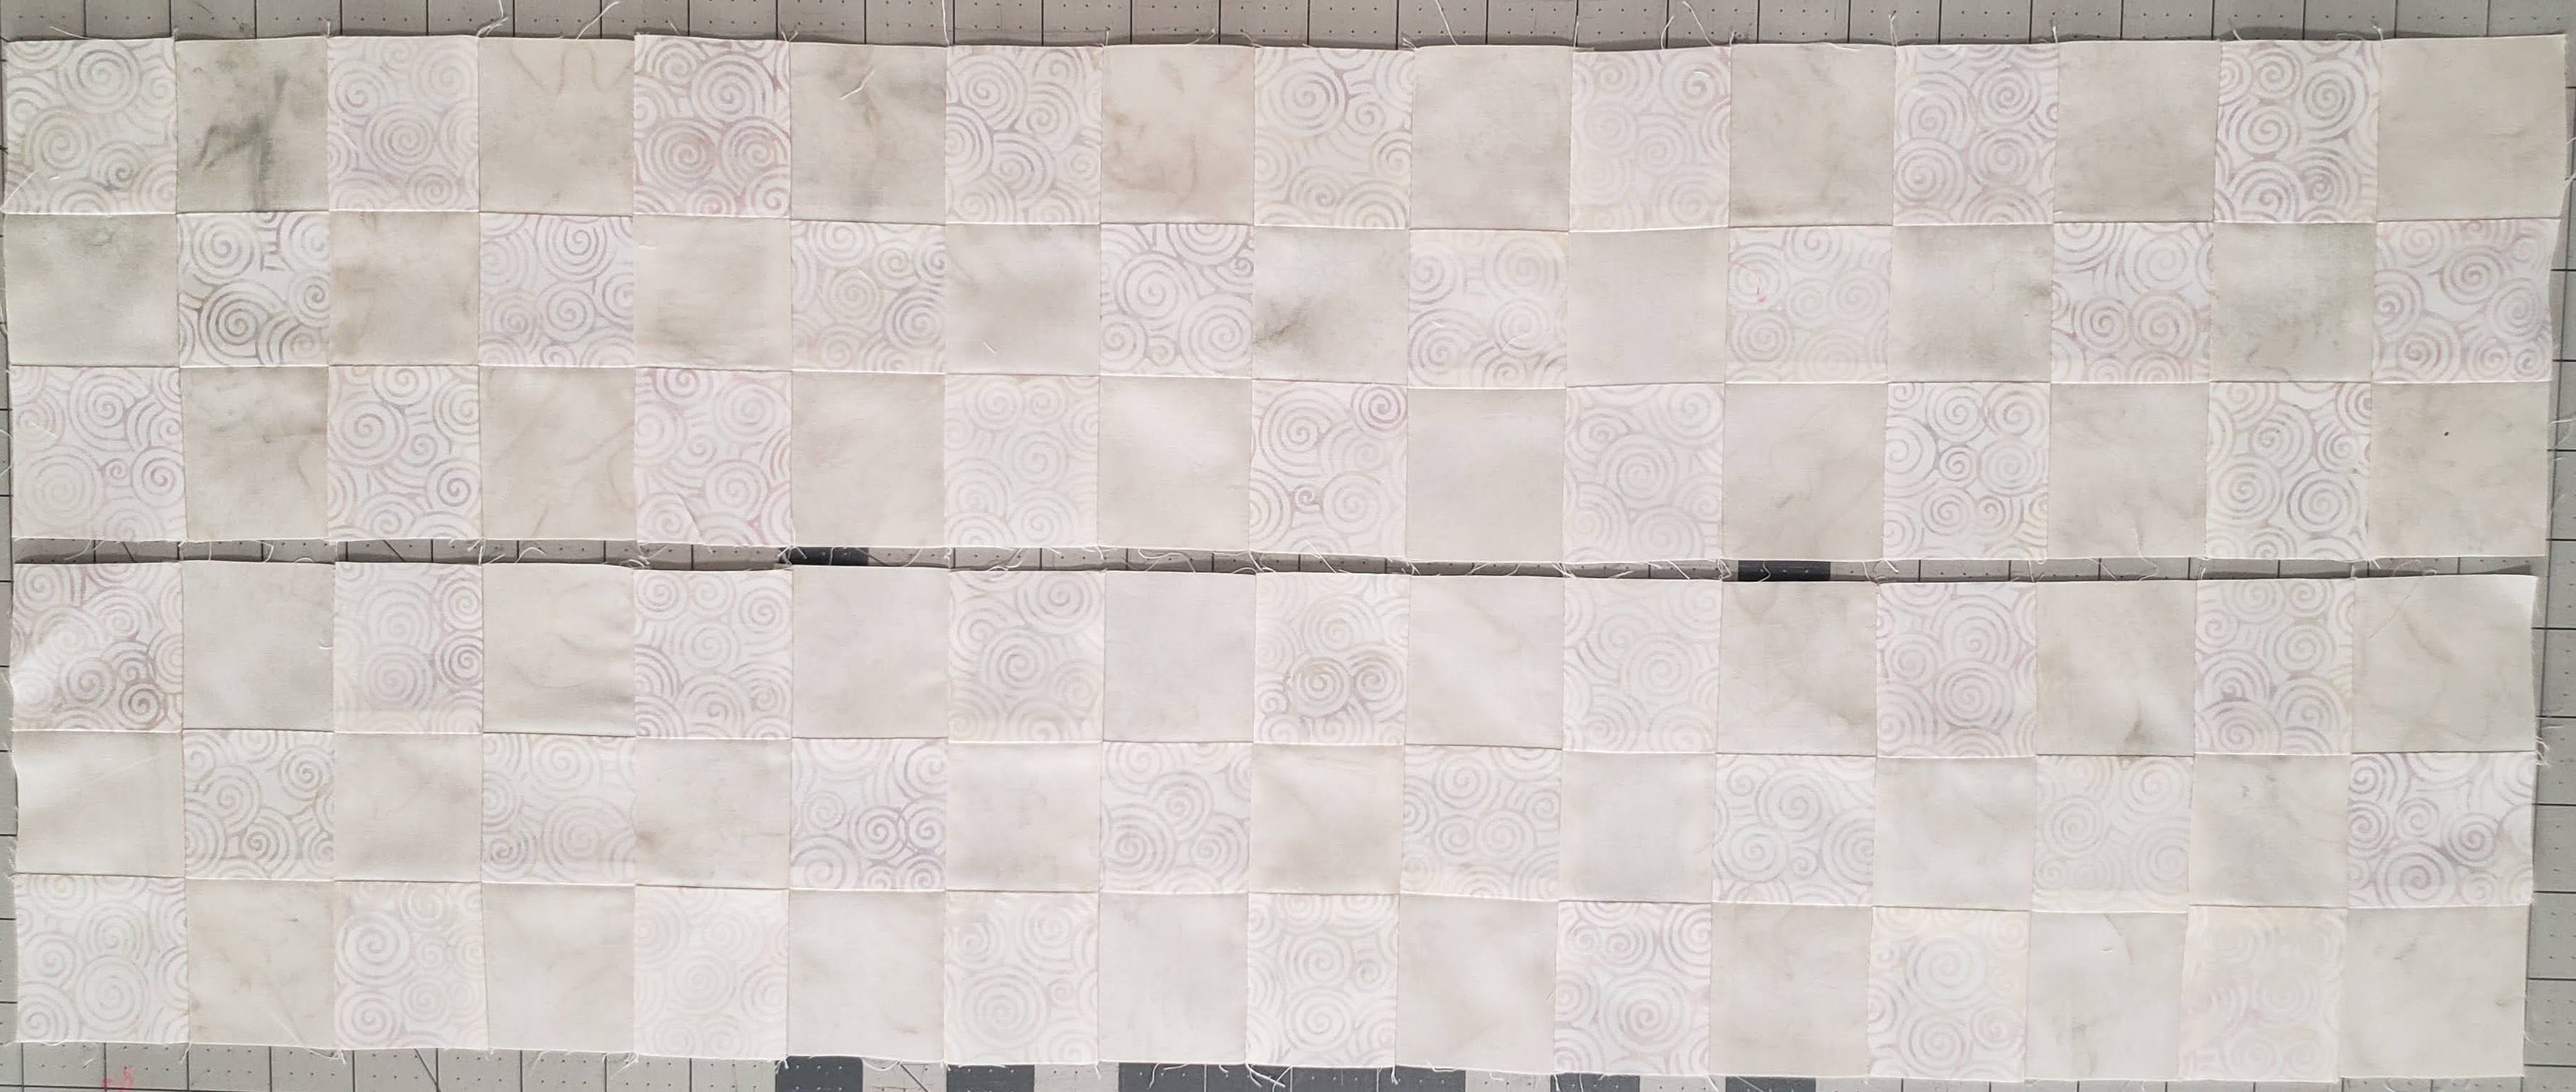
Assembly of Background
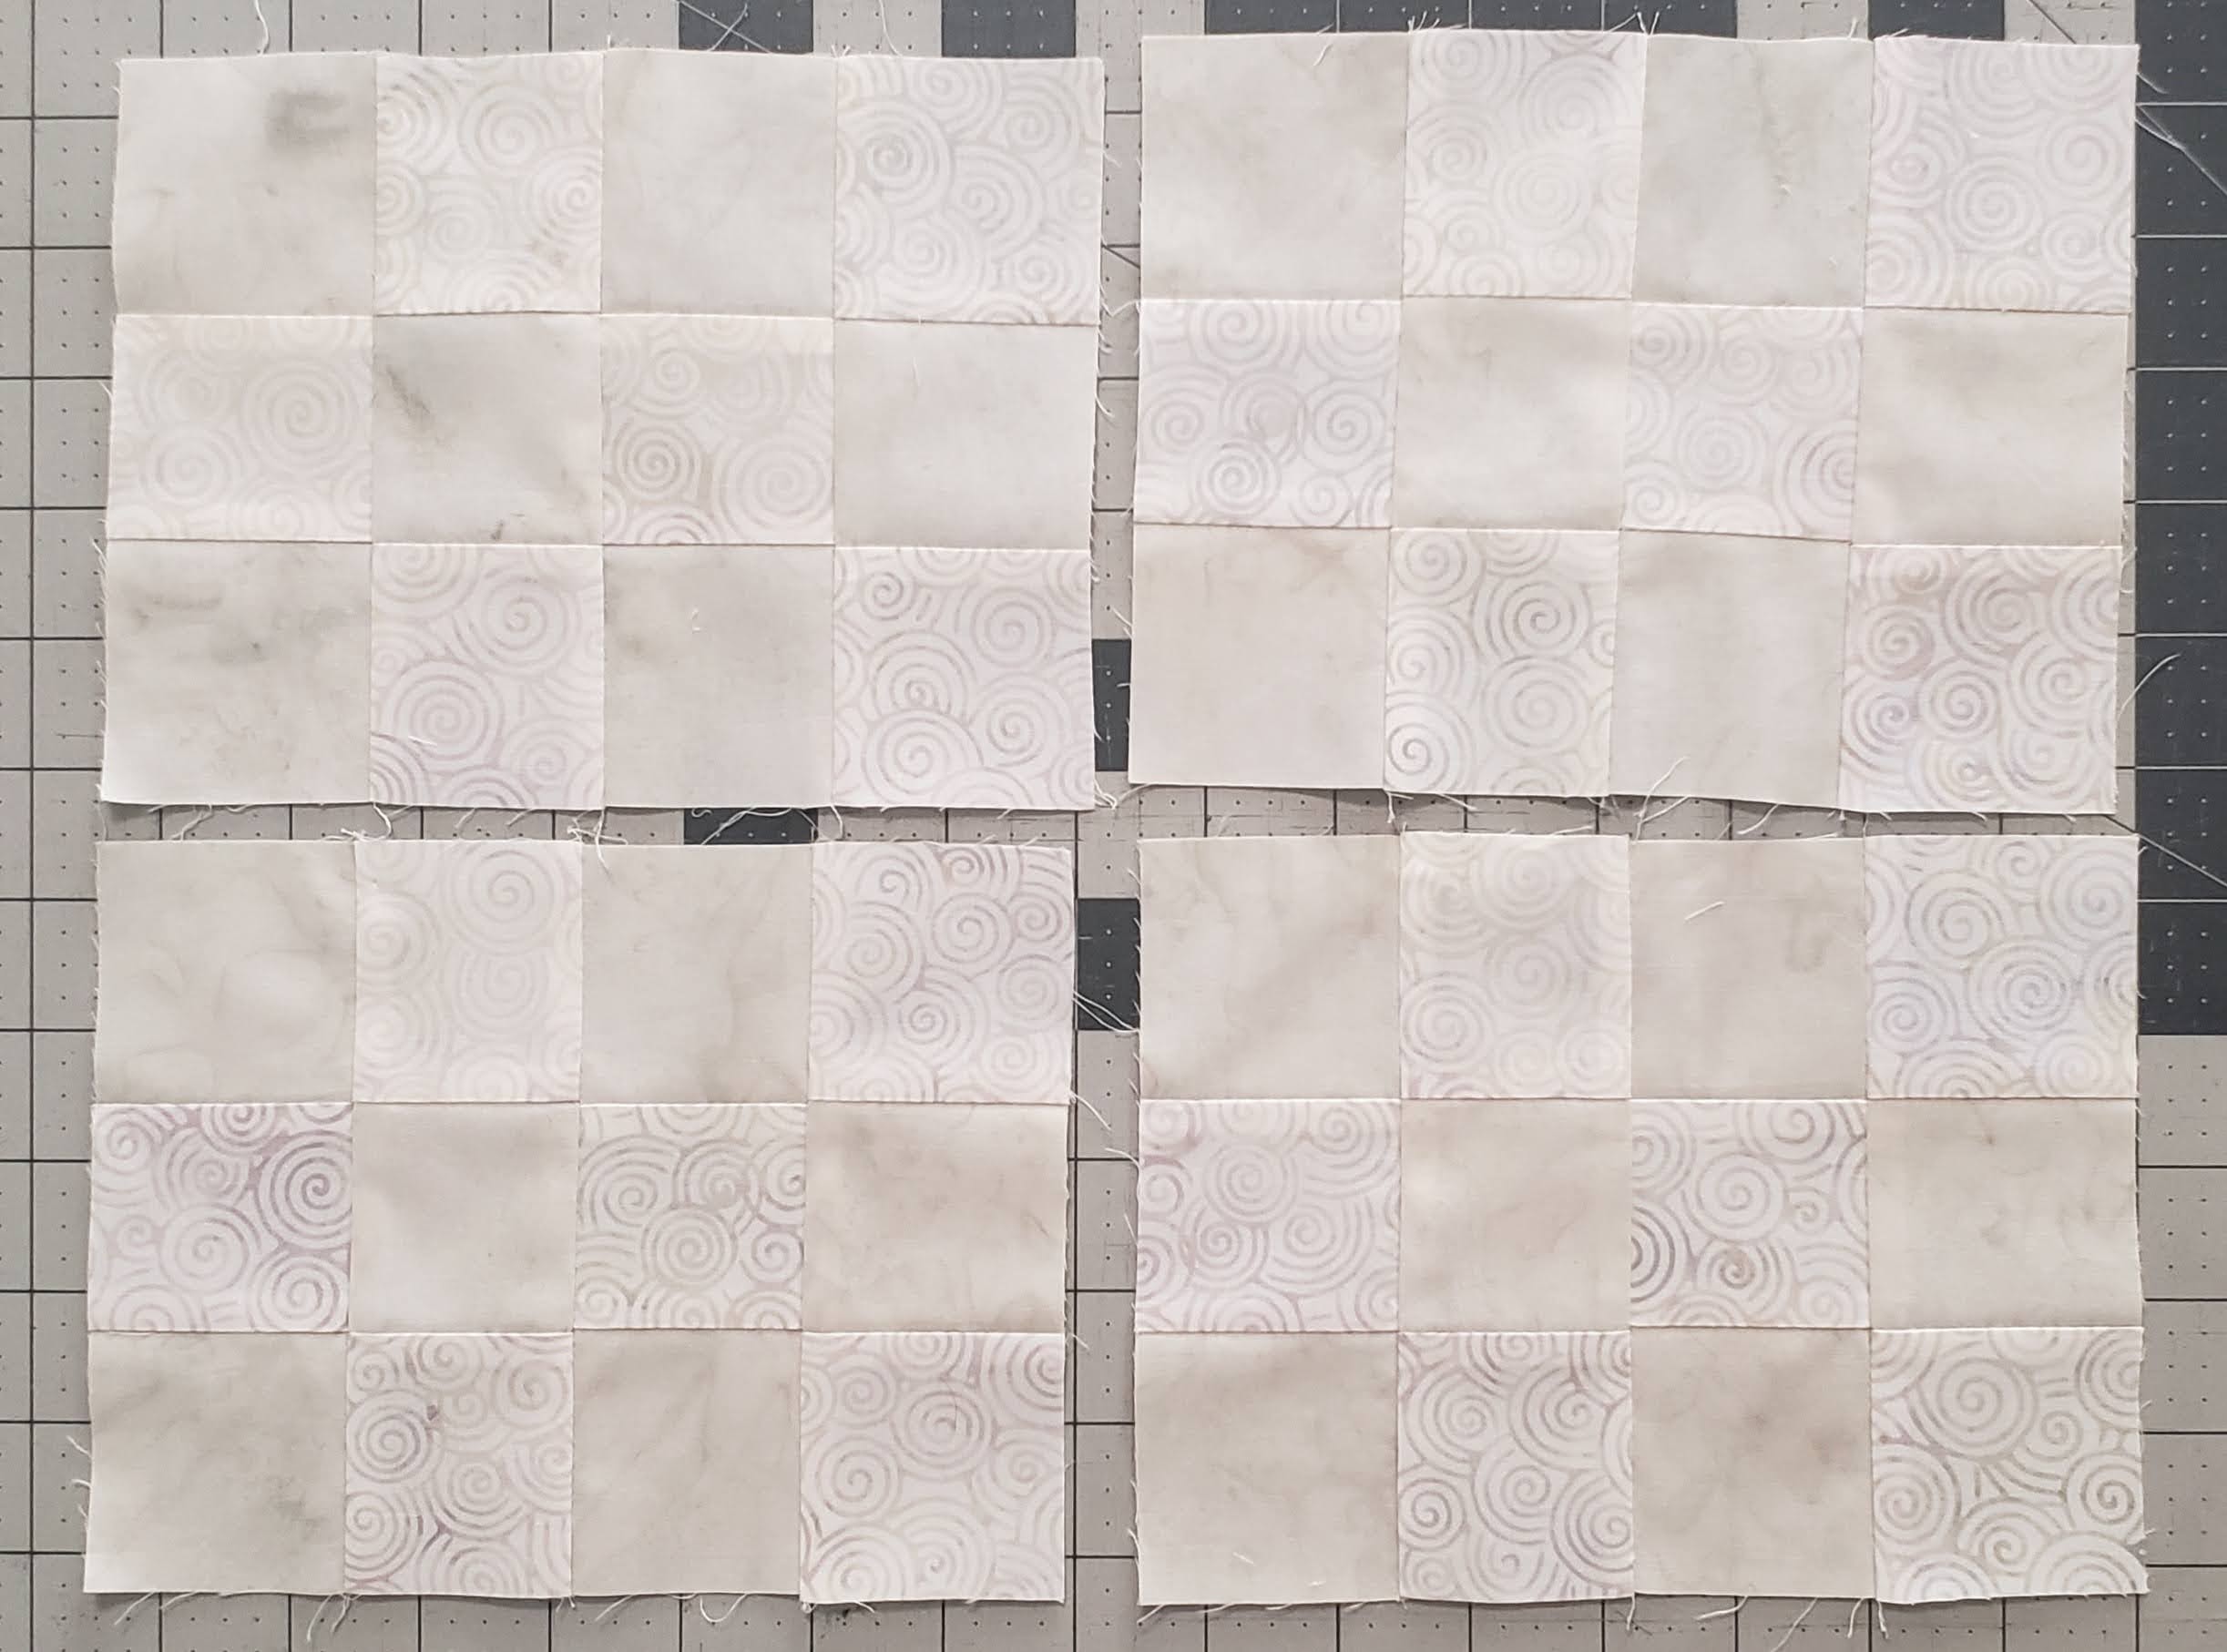
The background was created using the 2 1/4″ strips. I sewed the strips together in sets of three. 2 different sets. You will create 3 of each set.
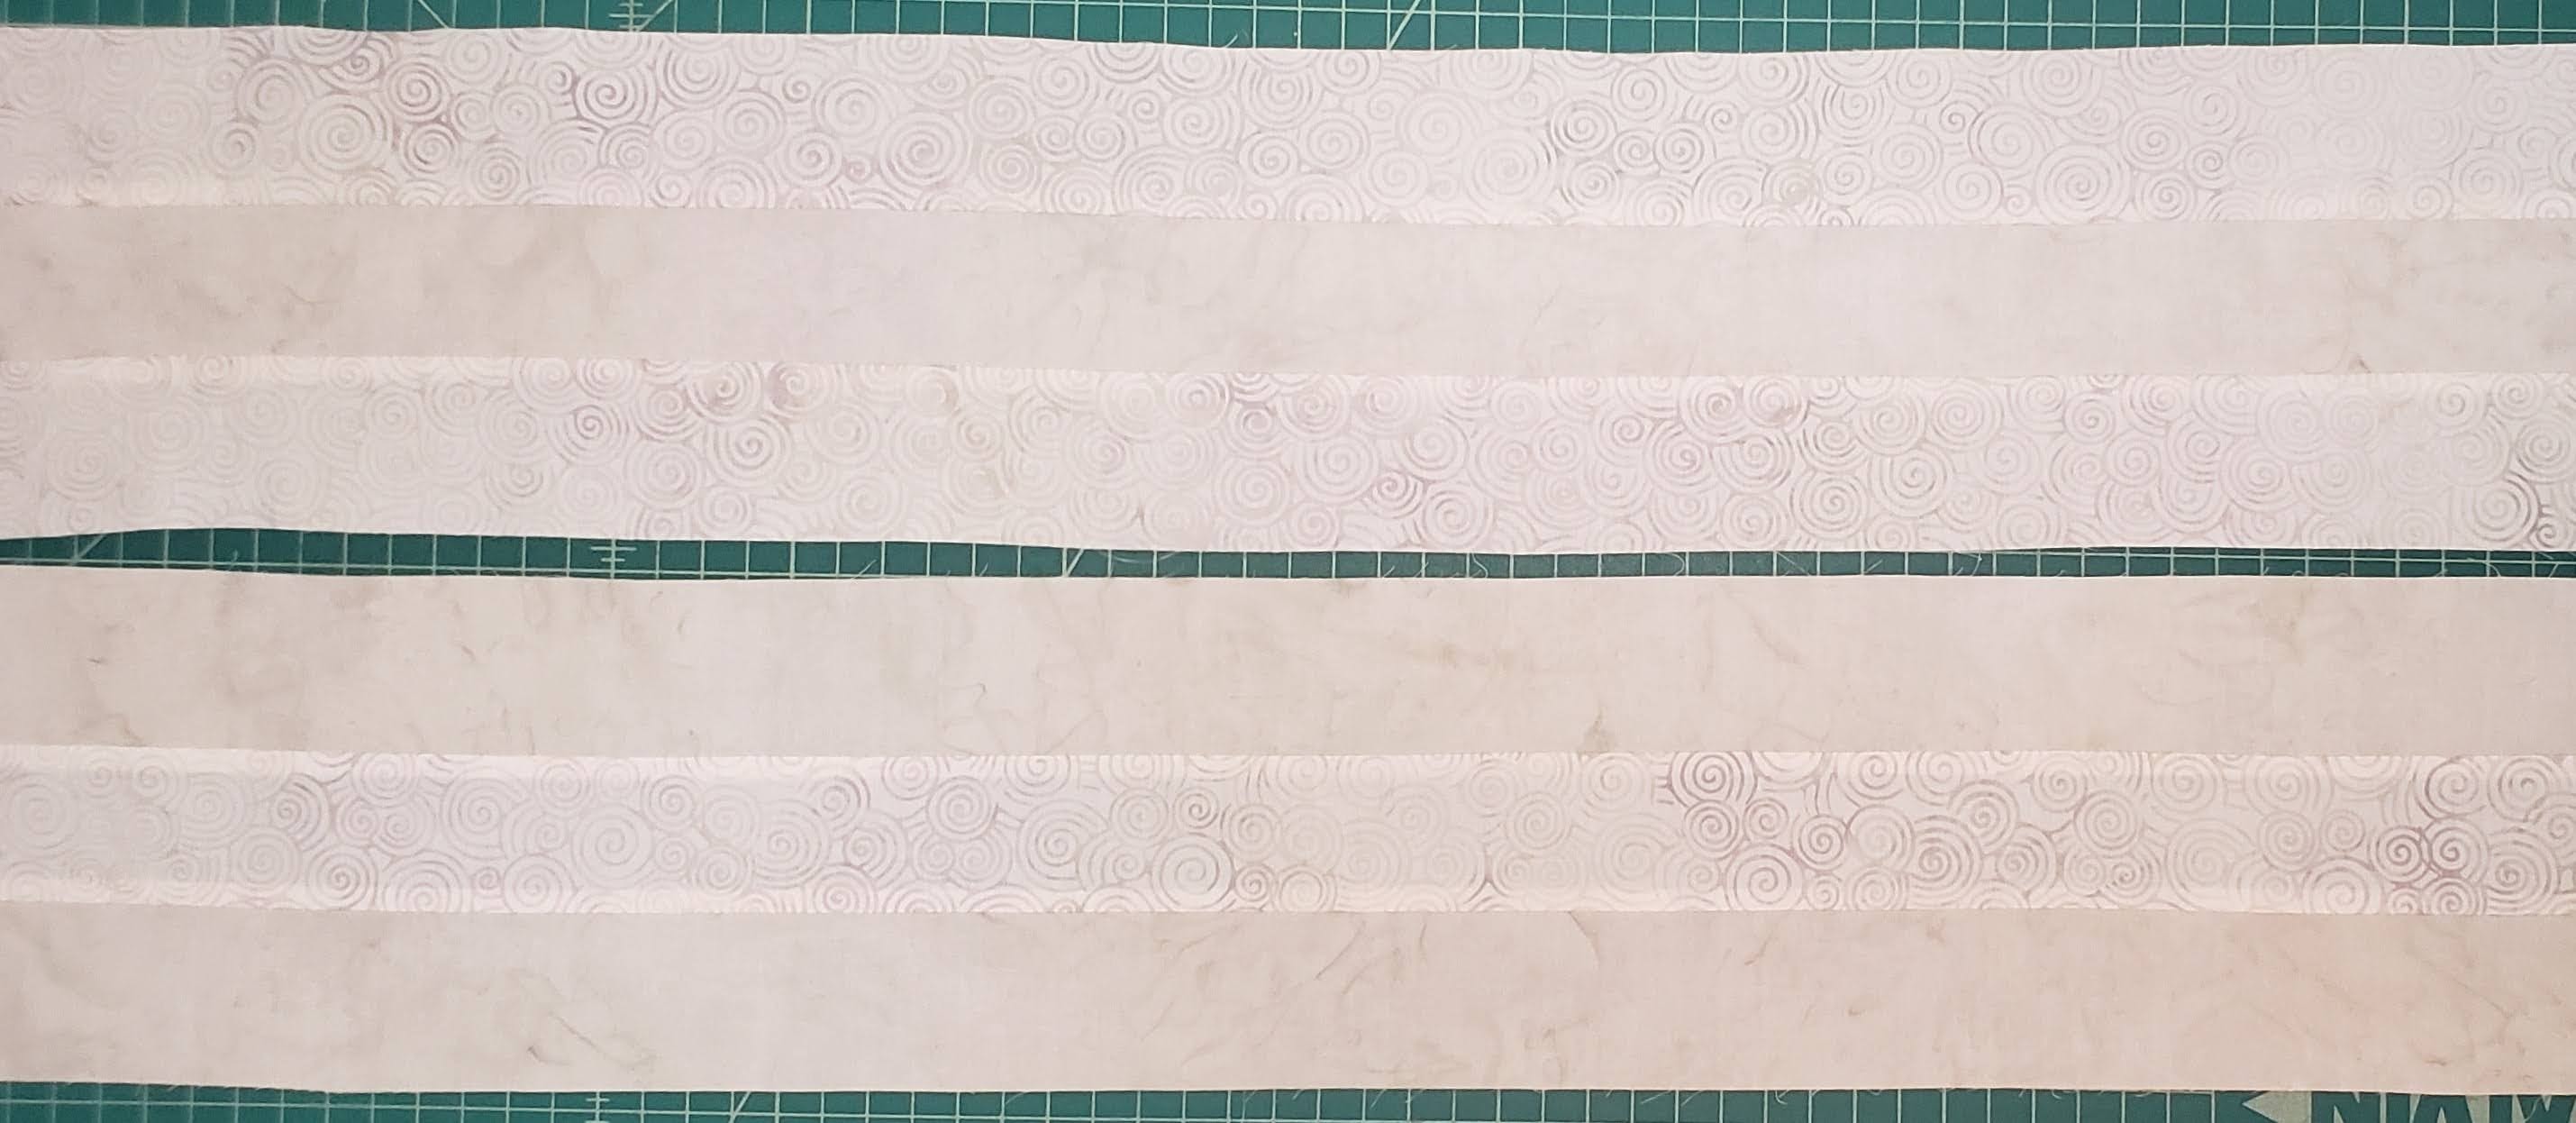
I cut the strips into 2 1/4″ strips of three squares. I created 46 of Icing/Oster/Icing and 45 of Oster/Icing/Oster. The strips were cut from Piece B of the dies.
I then assembled the strips depending on the size needed. I made the following sets:


Tree – Using two 2 1/4″ squares, and the green and background triangles (piece B), I laid out the pieces for the Tree, and moved the green around to find how they looked best to me. I made sure that the background triangles were in the correct order. They did get moved around a little when I was assembling the rows, but still close to what I had laid out.

NOTE: Next week, I will post the full instructions for creating this quilt top, using the Tree of Life Die by Accuquilt.
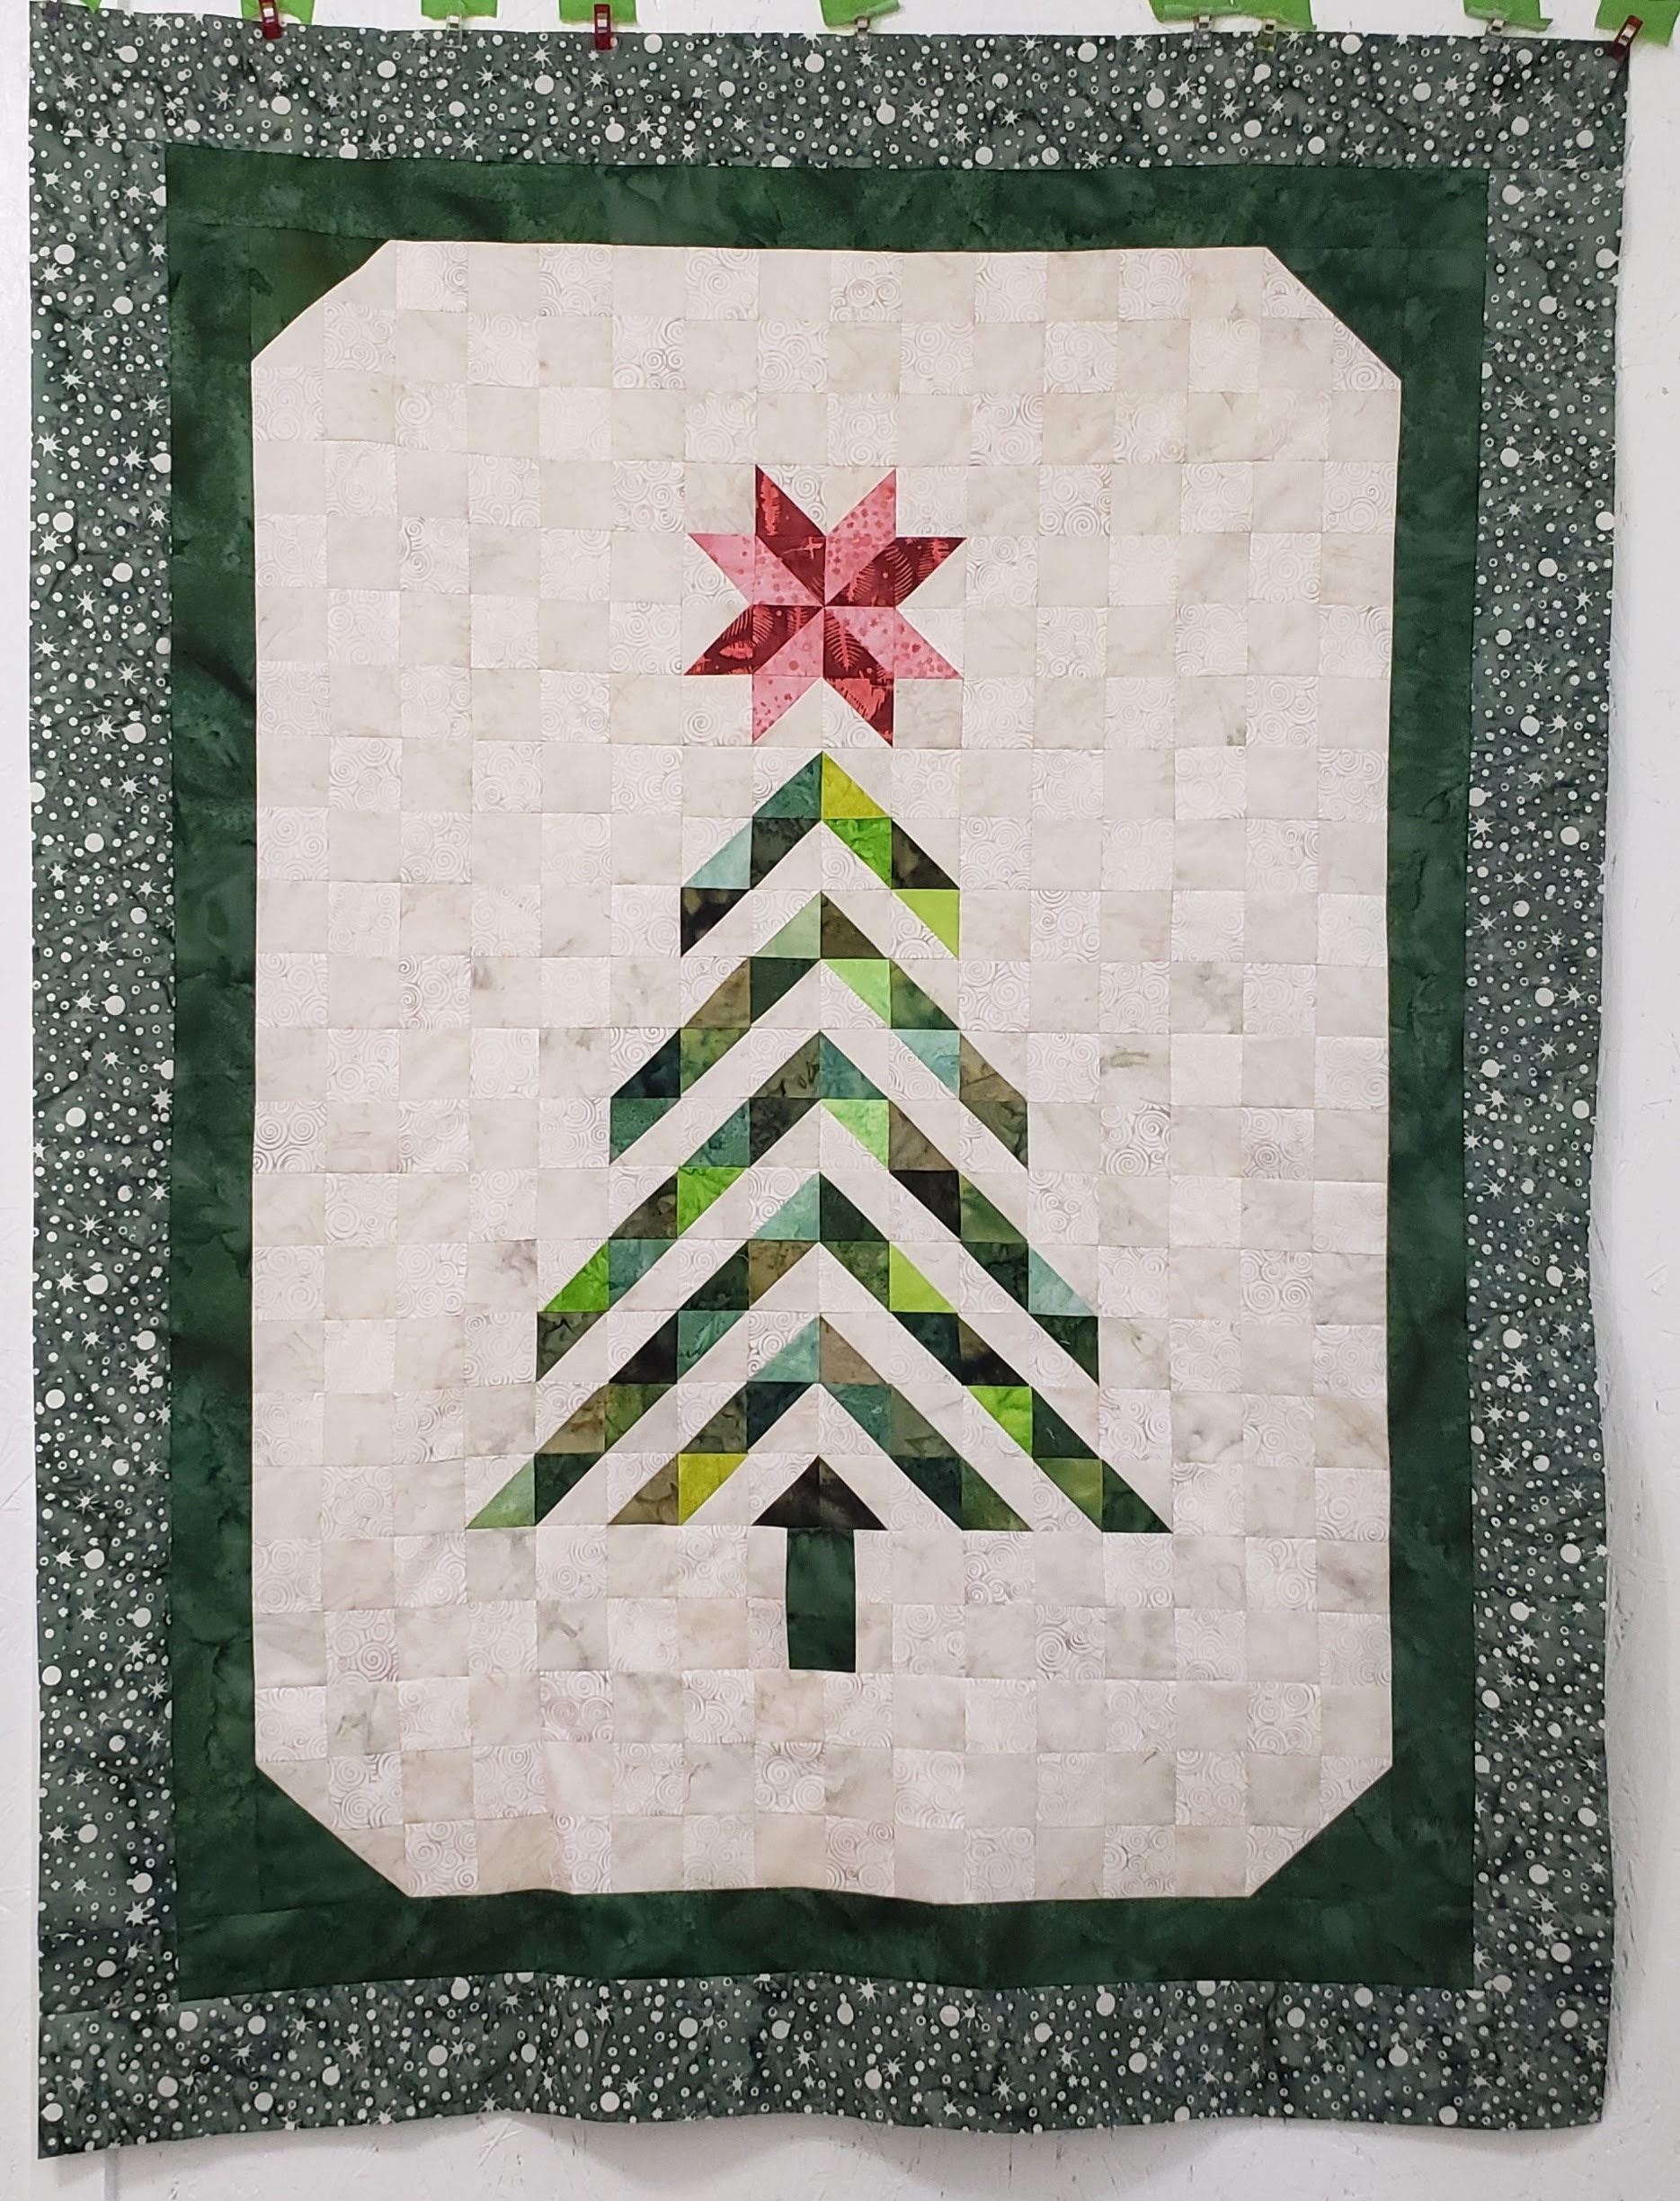
I created the Tree and the background with the star, and then added two borders.

One was with a darker green fabric. I used the Accuquilt 2 1/2″ Strip Cutter to cut the strips.

Then I added a 3 1/2″ strip of fabric to all side of the quilt top. This finished my top.
NOTE: If you would like a larger quilt, you can add an additional borders, make the two border strips wider, or you can add more rows/columns of squares before the borders.
Quilting the Quilt
I used Hobbs Cotton Batting, and I pieced and quilted using Auriful thread. Both of these items were given to me as well as the fabric and Accuquilt Tree of Life Die used in this quilt.
I quilted using an embroidery edge-to-edge design, Swirly Christmas Trees, (I purchased from by JuJu Designs) on my Janome 500e. I enjoy the finished look of these designs more than my free-motion quilting that I do on my Juki machine.

Finished quilt.
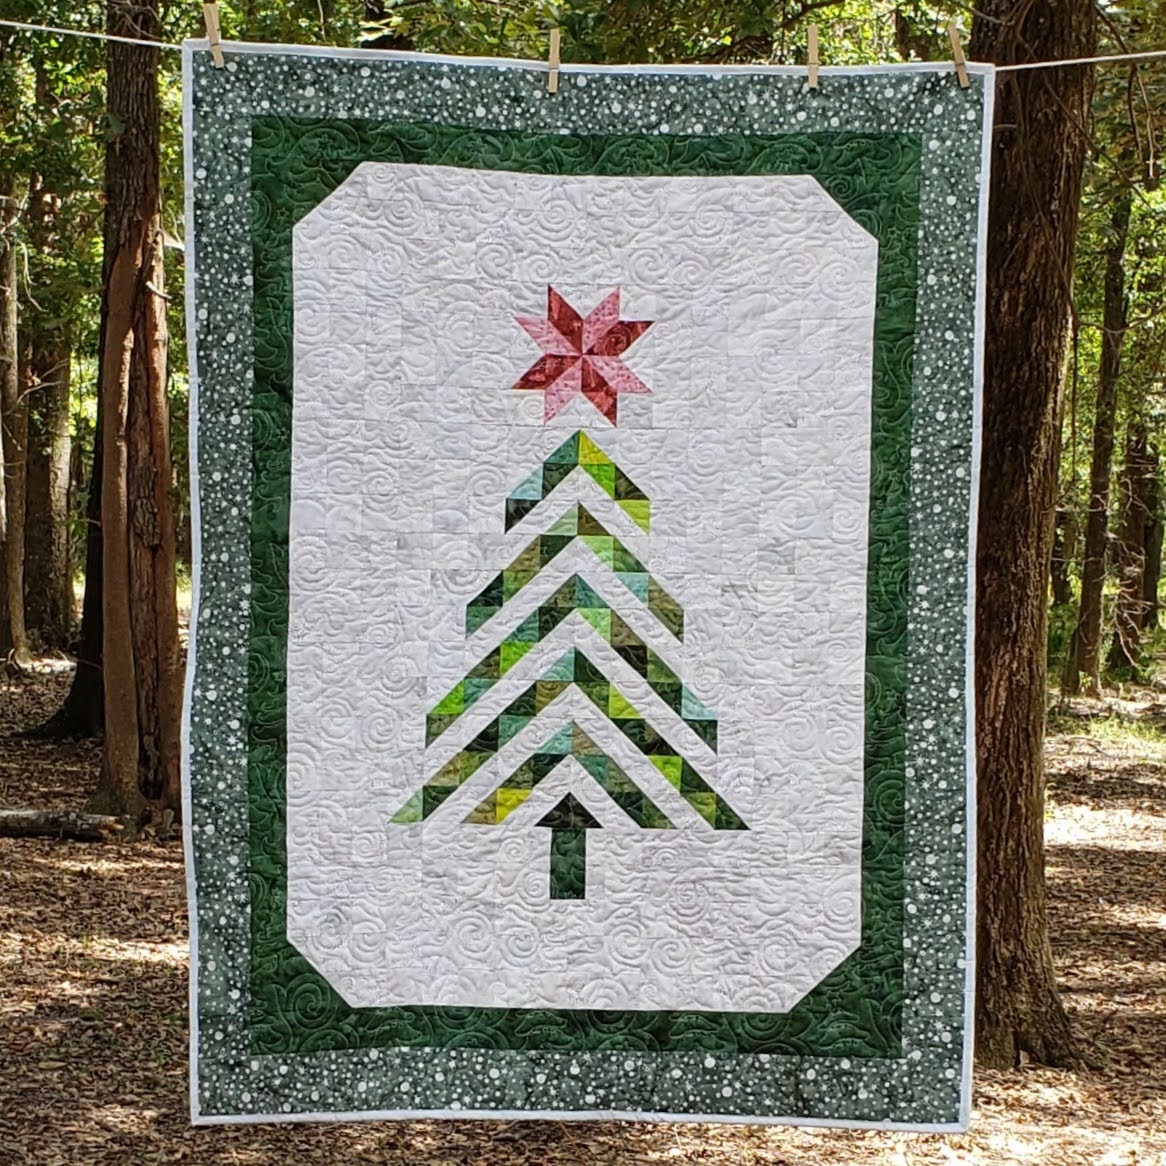

As this was a “Christmas In July” by Accuquilt, we were to give the quilt to someone as a gift. I chose a co-worker who moved here from Tennessee and didn’t know anyone. She has become part of our family at work, and I wanted her to know we care about her. I hope she enjoys the quilt, as she is always cold in her office.
Thank you to Island Batik, Hobbs Batting Aurifil Thread, Schmetz & Accuquilt Go! for providing me with the materials to make this quilt.


If you enjoyed my take on the Tree of Life Accuquilt die, check out the other Island Batik Ambassador’s for more inspiration.
Brenda Alburl ~ Songbird Designs
Megan Best ~ Bestquilter
Pamela Boatright ~ Pamelaquilts
Elizabeth DeCroos ~ Epida Studio
Jennifer Fulton ~ Inquiring Quilter
Preeti Harris ~ Sew Preeti Quilts
Mania Hatziioannidi ~ Mania for quilts
Jane Hauprich ~ Stitch By Stitch Custom Quilting
Reed Johnson ~ Blue Bear Quilts
Connie Kauffman ~ Kauffman Designs
Emily Leachman ~ The Darling Dogwood
Denise Looney ~ For The Love Of Geese
Leah Malasky ~ Quilted Delights
Maryellen McAuliffe ~ Mary Mack Made Mine
Anorina Morris – sameliasmum.com
Lisa Pickering ~ Lisa’s Quilting Passion
Claudia Porter ~ Create with Claudia
Gail Renna ~ Quilt Haven Threads
Brianna Roberts ~ Sew Cute And Quirky
Michelle Roberts ~ Creative Blonde
Gail Sheppard ~ Quilting Gail
Andi Stanfield ~ True Blue Quilts
Sandra Starley ~ Textile Time Travels
Jennifer Thomas ~ Curlicue Creations
Suzy Webster ~ Websterquilt
#islandbatikambassador #islandbatik #iloveislandbatik #hobbsbatting #aurifil #aurifilthread #juki #Schmetz #Accuquilt #Janome #AccuQuiltChristmasInJuly #accuquilt #TreeofLife #DesignsbyJuJu

I absolutely love what you made with the Tree of Life die! It’s fabulous and super Christmas~y!
LikeLike
That is really love. It’s always great to see the versatility of the Accuquilt BOB dies. Also, I wanted to say how much I love your border fabric choice! And what a tender story about your choice of quilt recipient. Gestures like yours can make such a difference when someone is settling in to a new area–the difference between feeling at home and feeling like a guest.
LikeLike
It is festive and very pretty.
LikeLike
Such a fun quilt, Lisa! I do love the versatility of this die.
LikeLiked by 1 person