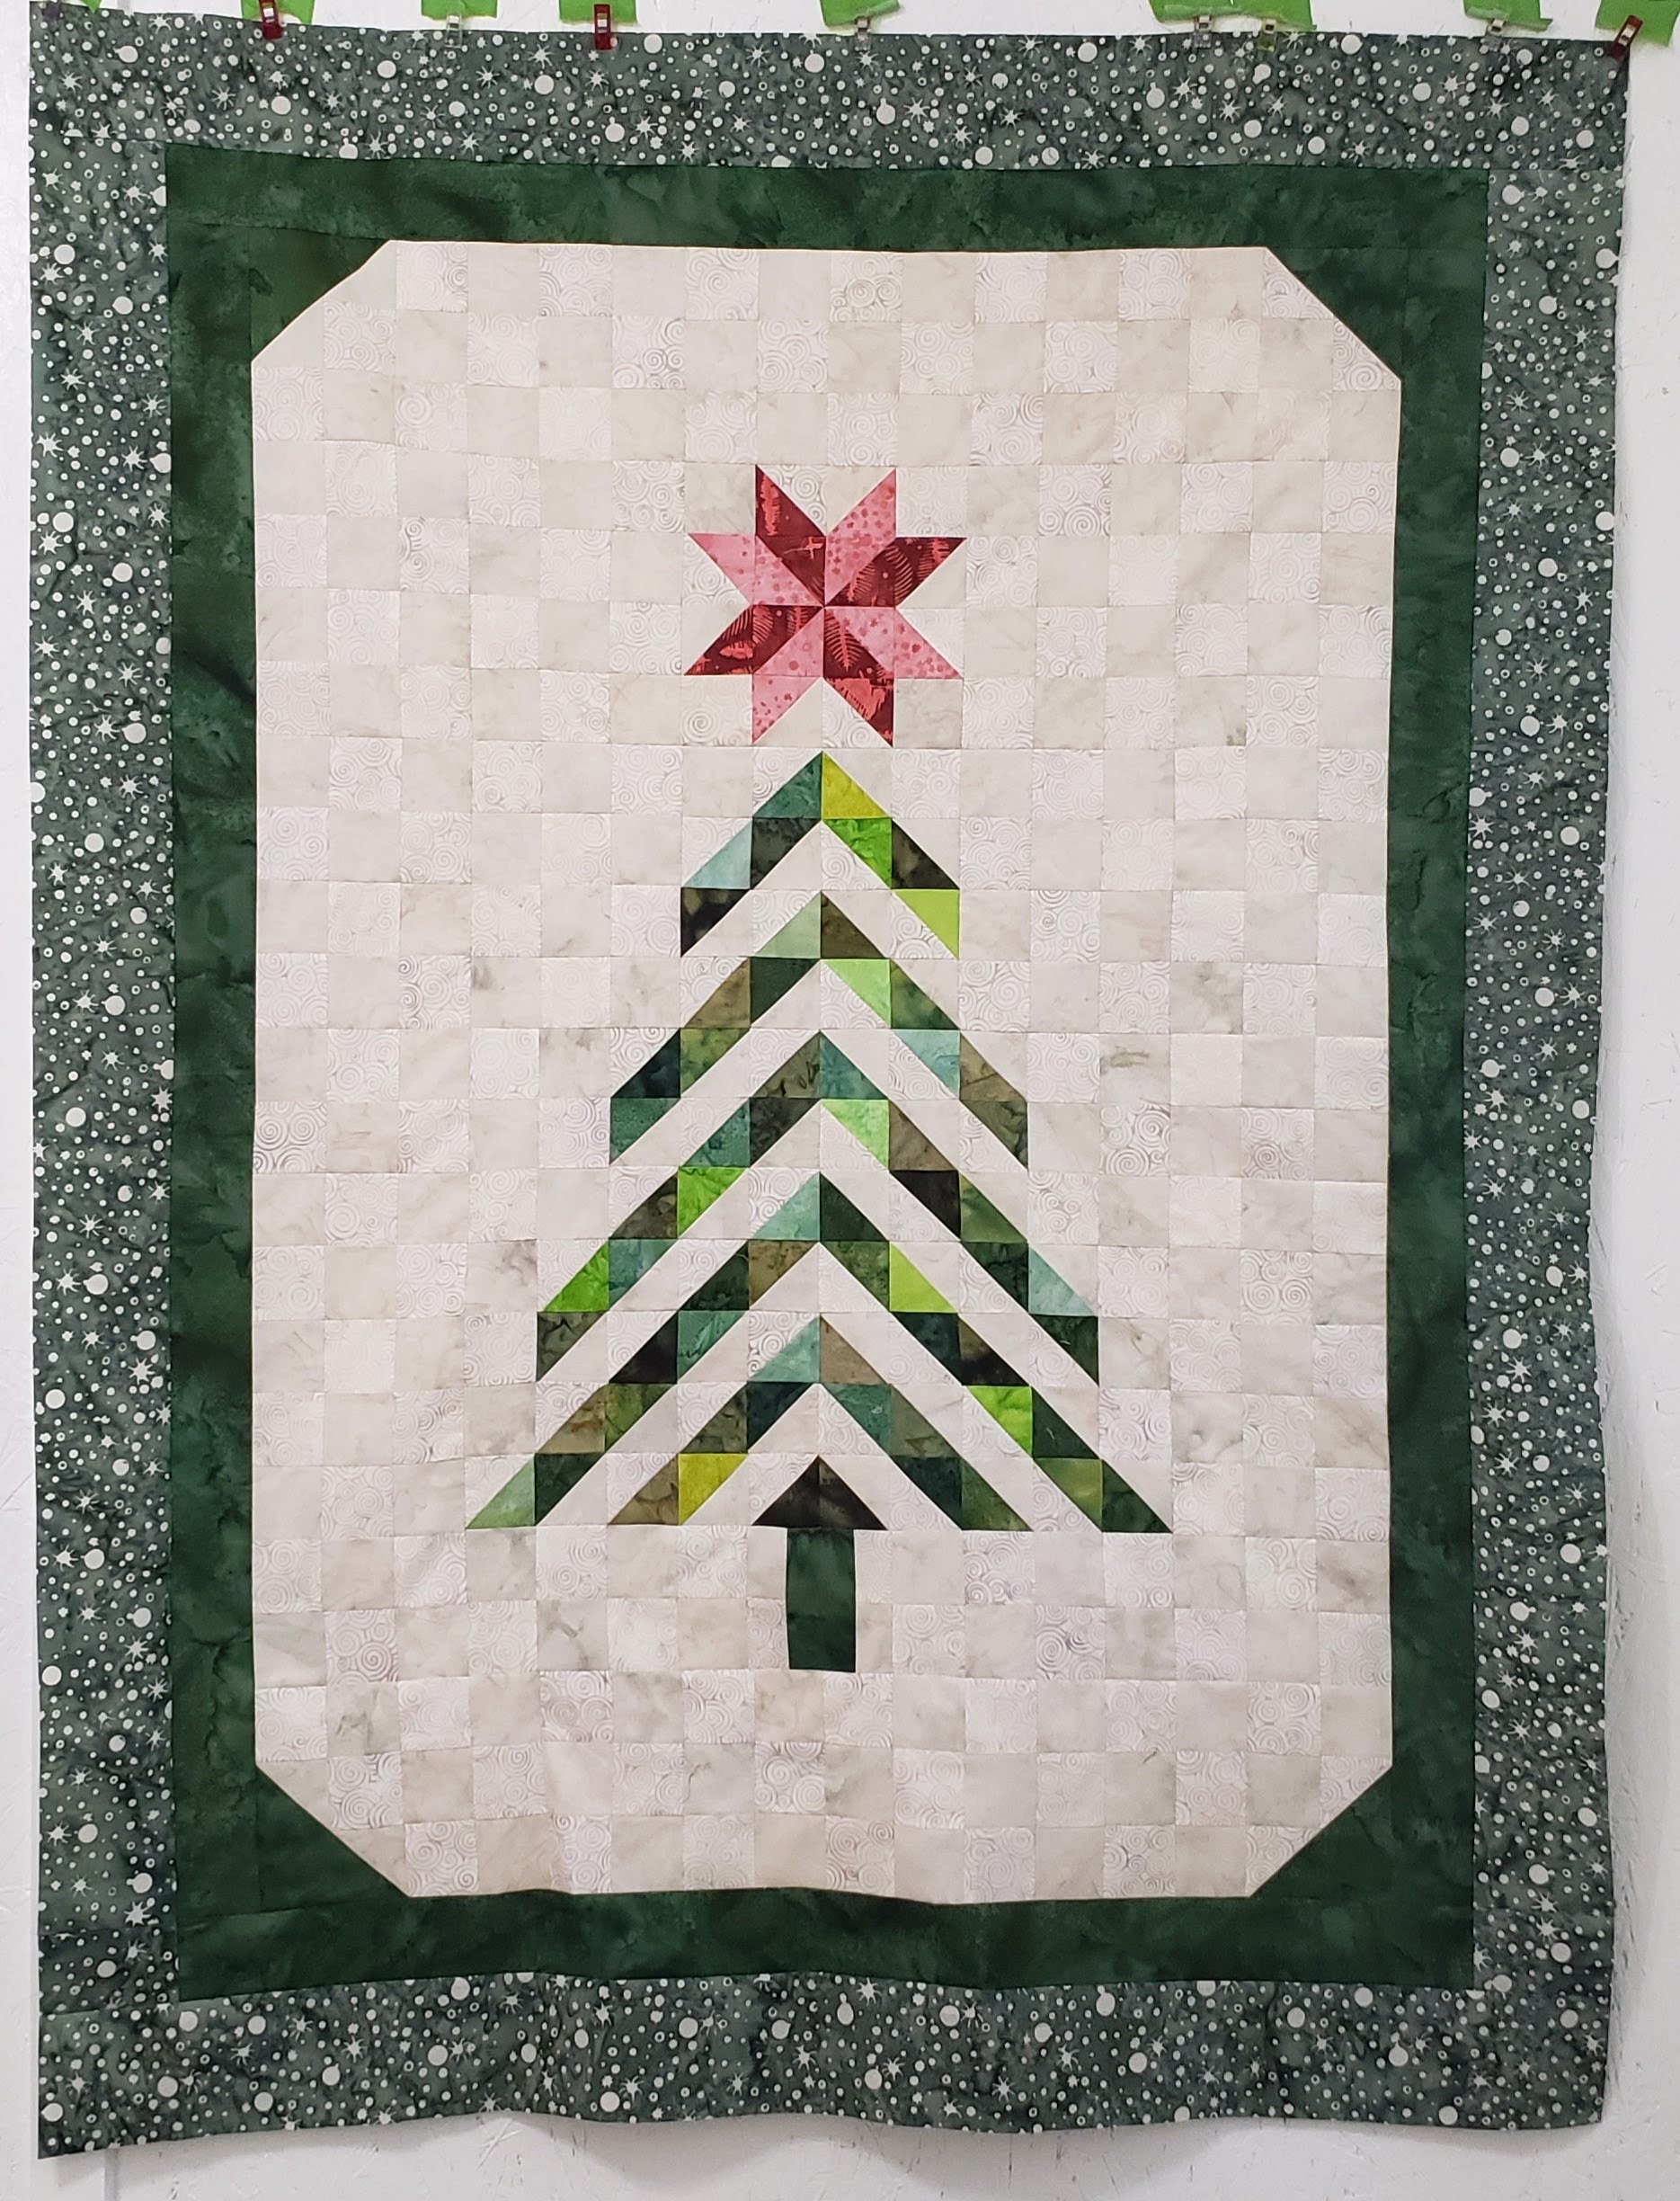
The Tree of Life die by Accuquilt is a versatile die, you can make the traditional Tree of Life or you can use different parts of the die to make other blocks. For this quilt I only used part of the pieces to create this quilt.

Here are the instructions for assembling my interpretation of the Tree of Life die.
This block could be made with scraps, or with a few scraps and some yardage. You could use a variety of light fabric for the background, utilizing scraps.
Cutting
Here are the quantities and pieces that I need for this quilt top.
Note: Check out the previous blog for you how I cut Piece D – I didn’t cut in the traditional way, as I wanted WOF strips
| Piece | Icing | Oster | Green | Darker Green | Red Dark | Red Light | |
| 2 1/4″ x 2 1/4″ square | A | 7 | 7 | ||||
| 2 1/4″ x 1 3/4″ | A | 2 | 2 | ||||
| 2 1/2″ Triangle | B | 33 | 33 | 66 Variety | |||
| 2 1/2″ Triangle | B | 4 | 4 | 8 | 8 | ||
| 2 1/4″ x 4″ | C | 1 | |||||
| Large Triangle | F | 4 | |||||
| 2 1/4″ x WOF | D | 9 | 9 |
For cutting the Piece D, 2 1/4″ x WOF pieces, check out last week’s blog on how I cut those strips with the Tree of Life Die.
| Part | Darker Green | Green | Light Green | |
| 2 1/2″ x WOF | Border 1 | 4 1/2 strips | ||
| 3 1/2″ x WOF | Border 2 | 5 strips | ||
| 2 1/4″ X WOF | Binding | 5 strips |
Assembly
Now that you have all the pieces cut we will start with different sections, building together the quilt top.
Step 1 – background
Use the nine 2 1/4″ x WOF of both Oster and Icing (Background) fabrics.
Sew two strips of Icing with 1 strip of Oster between (long sides)
Repeat to create three sets of this combo
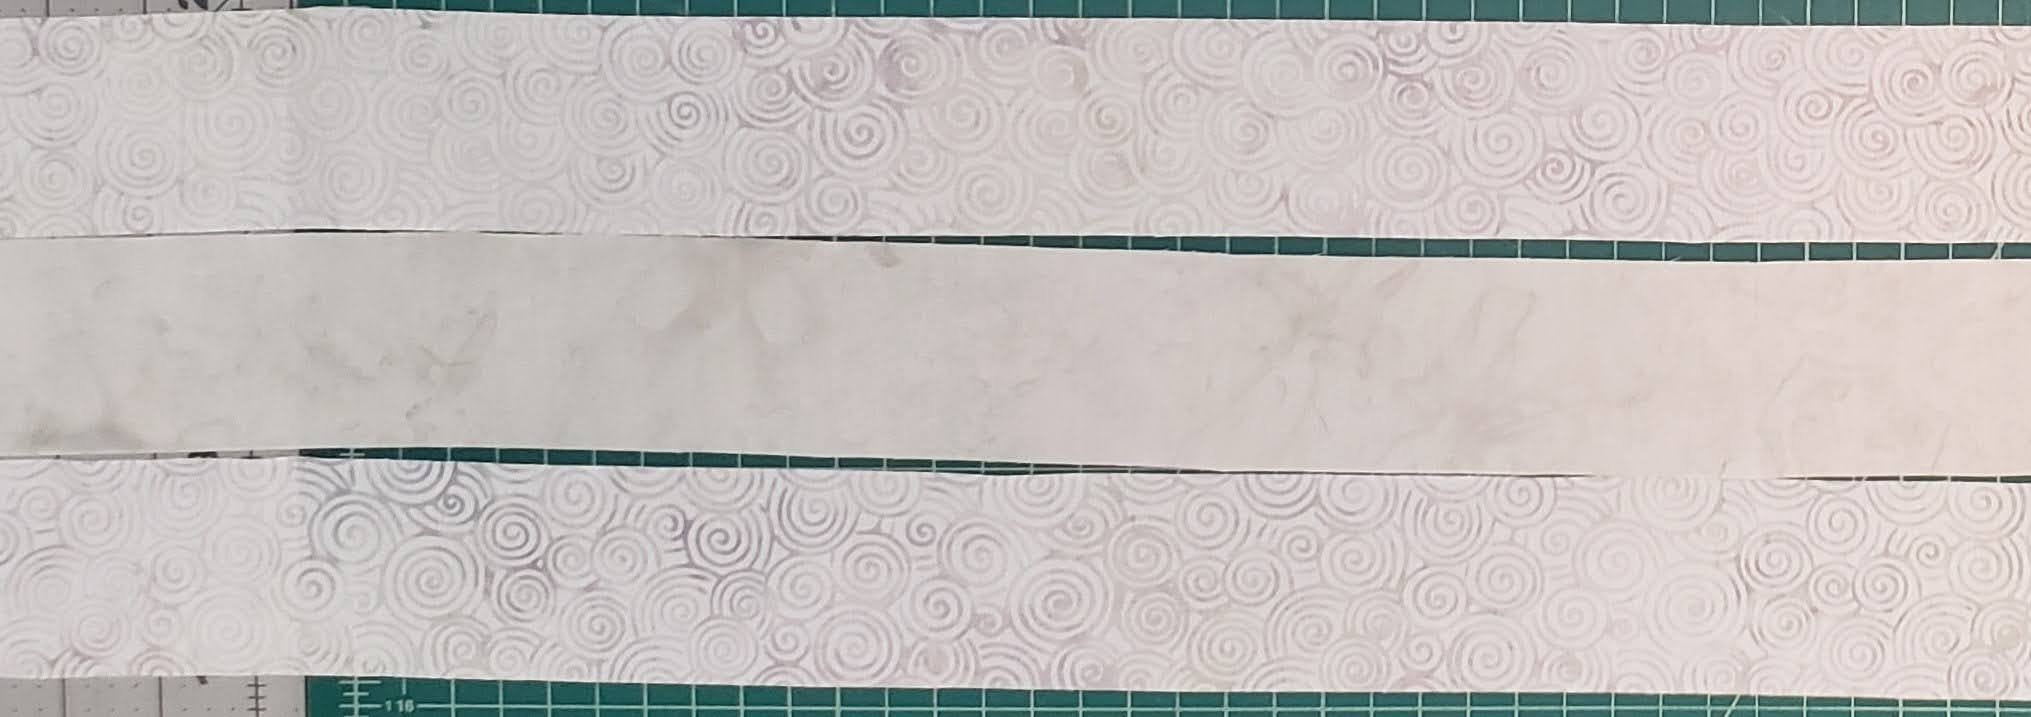
NOTE: Sew from opposite end when assembling each set of three strips, this help keep it from curving a little.
Sew two strips of Oster with 1 strip of Icing between (long sides)
Repeat to create three sets of this combo

Press seams towards darker fabric (making sure that it is the same fabric for both sets, this helps the fabric nest.

Trim short side to be straight

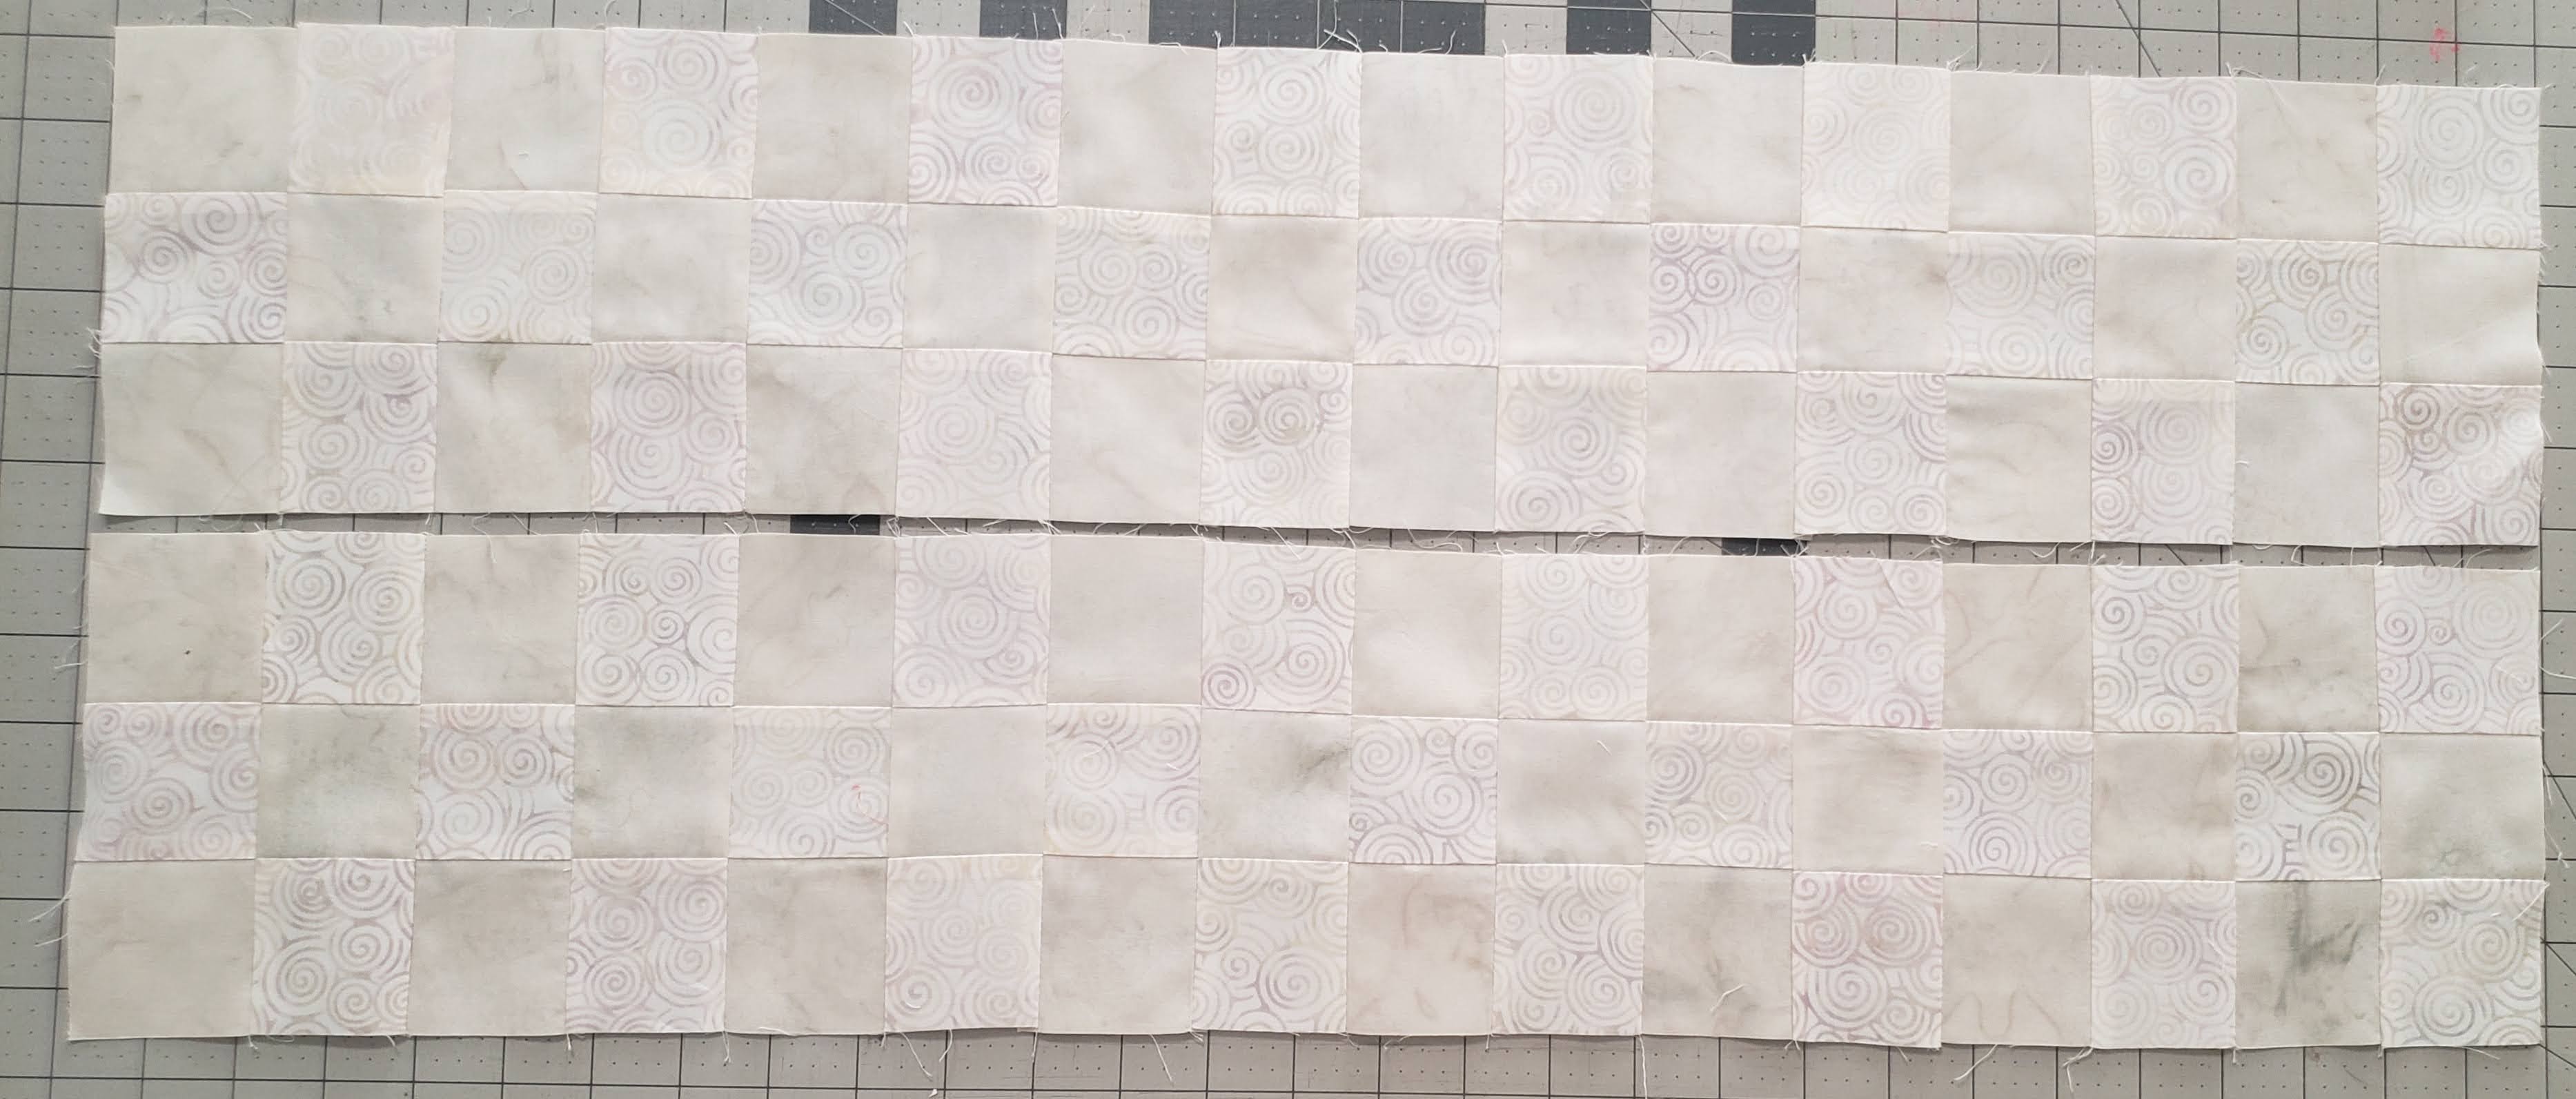
Cut strips of three every 2 1/4″

You will need to create 46 of Icing/Oster/Icing (Piece A) and 45 of Oster/Icing/Oster (Piece B)

- Set one set of Piece A & Piece B aside (3 squares each piece)

2) Sew one of each set together
Create four sets

3) Rotating between the two pieces, sew 2 of each piece together, this will create a four piece strip (12 squares)
Create 4 sets of these

Rotating between the two sets, sew together 8 of Piece A and Piece B strips
Create two sets of 16 pieces (48 squares)
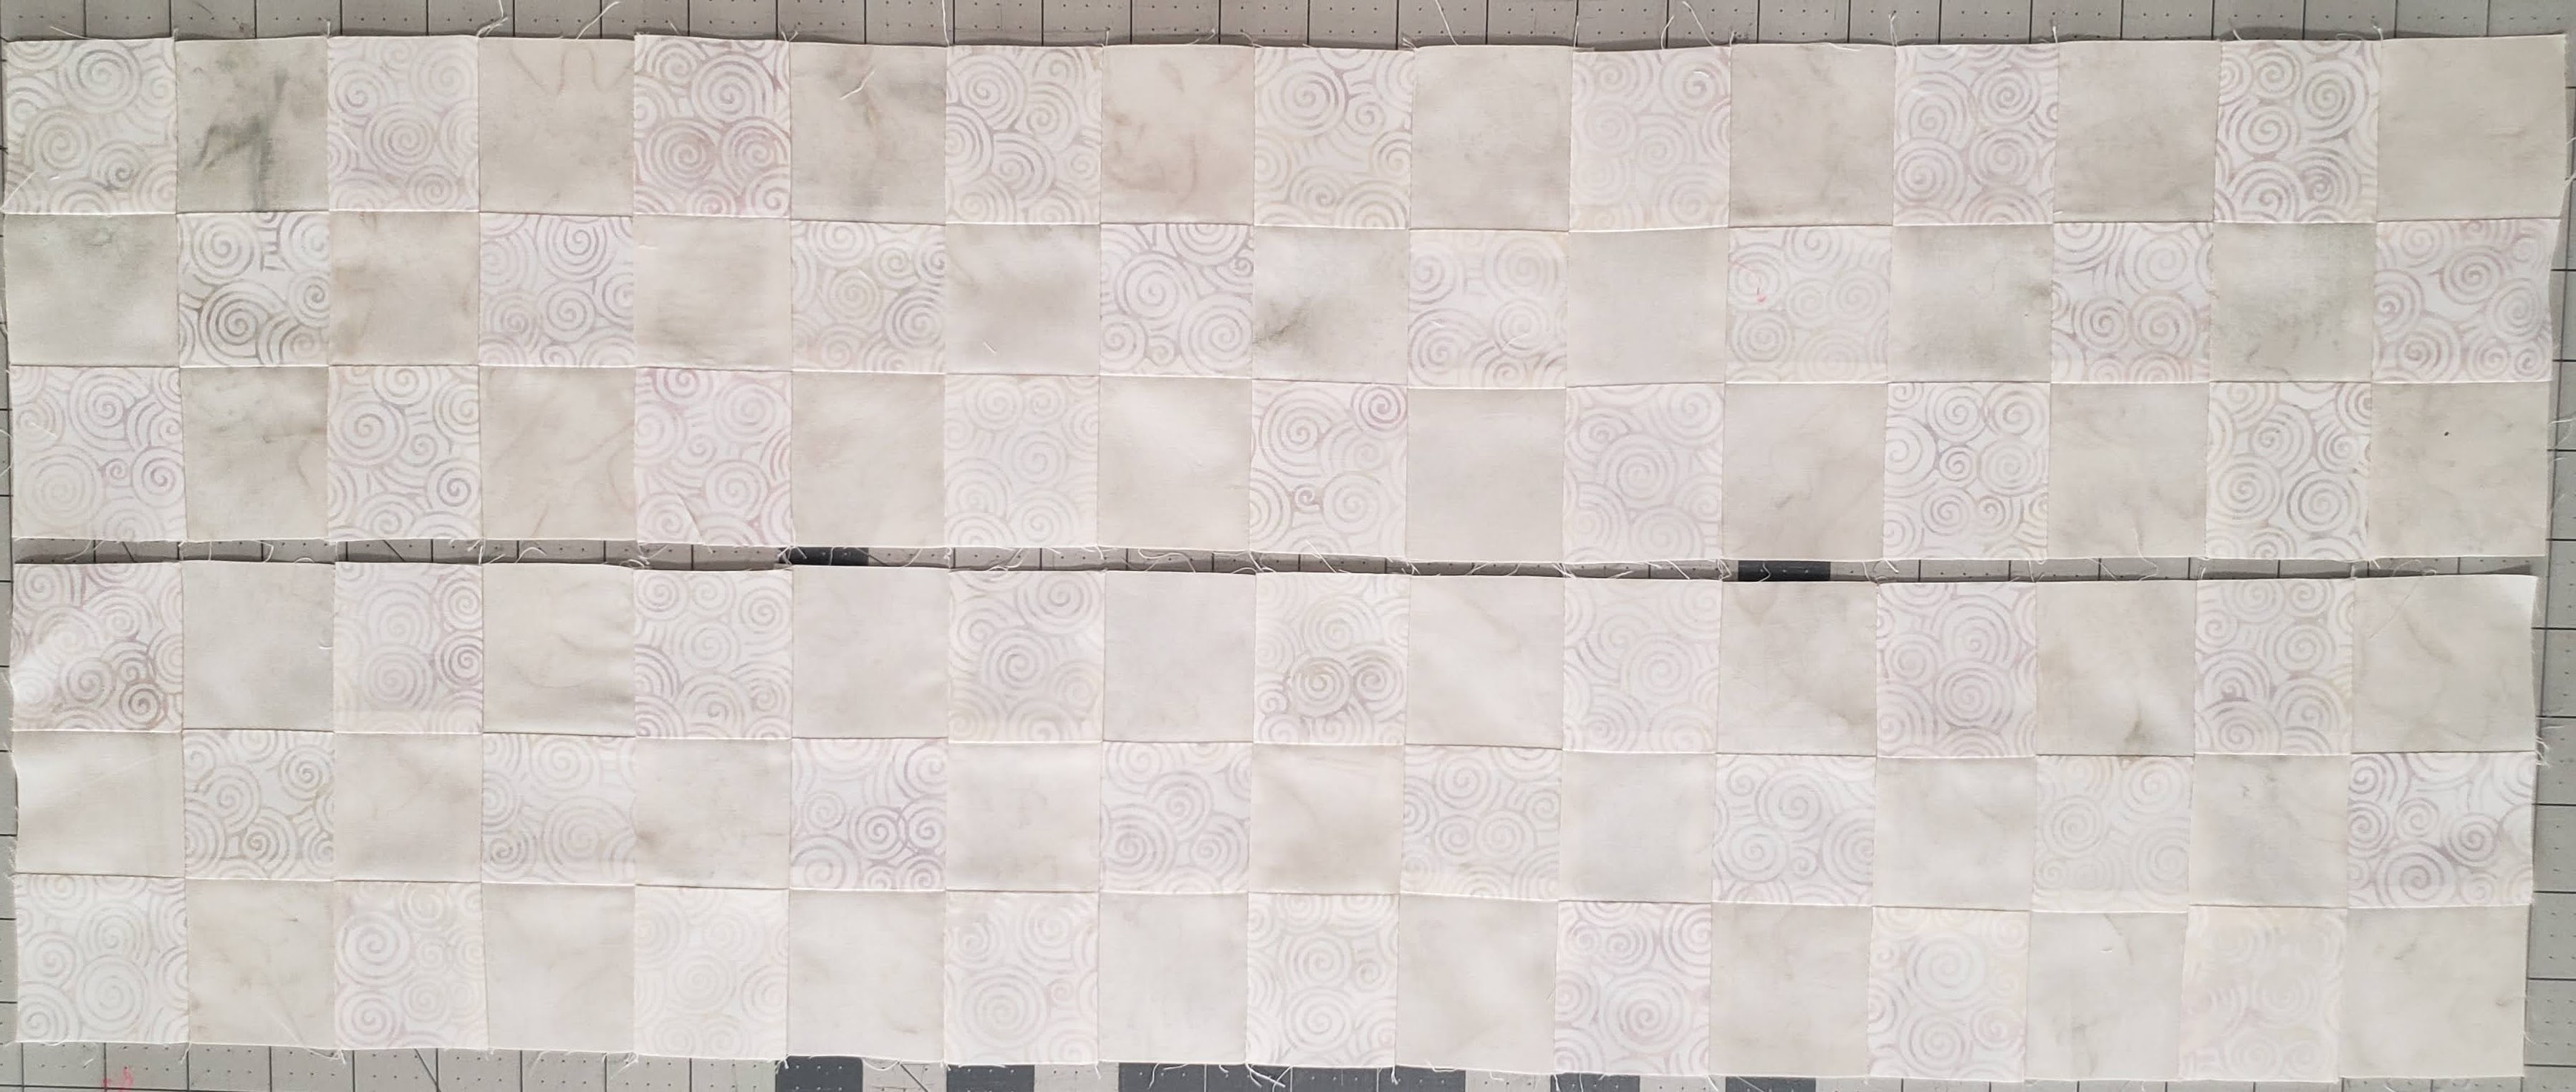
Rotating between the two sets, sew together 8 Piece A strips and 9 piece B strips (both ends will be the same)
Create two sets of 17 total pieces (51 squares)
Set these aside to use later.
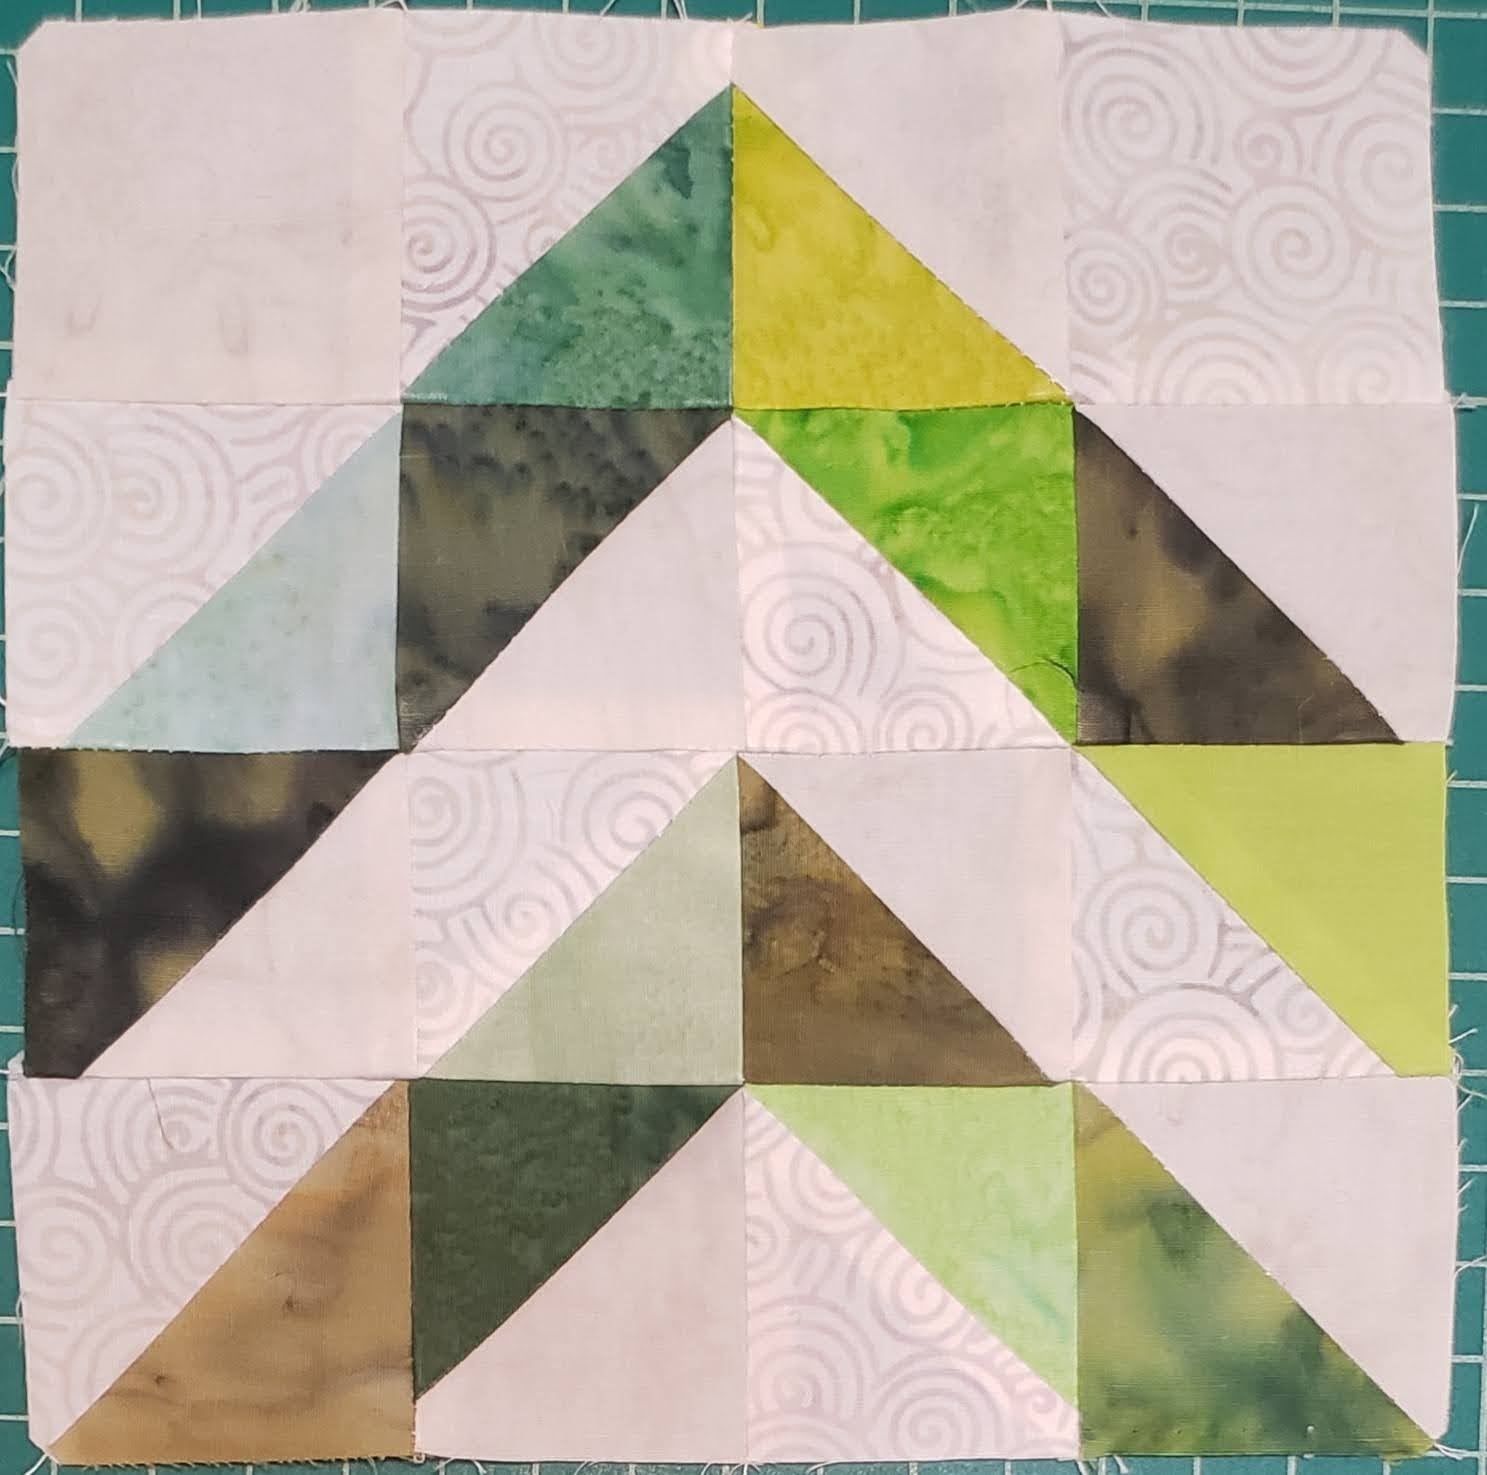
Step 2 – Star
Using:
| Icing | Oster | Red Dark | Red Light | Created in Step 1 | ||
| 2 1/4″ x 2 1/4″ square | A | 2 | 2 | |||
| 2 1/2″ Triangle | B | 4 | 4 | 8 | 8 | |
| 4 squares x 3 squares | 2 |
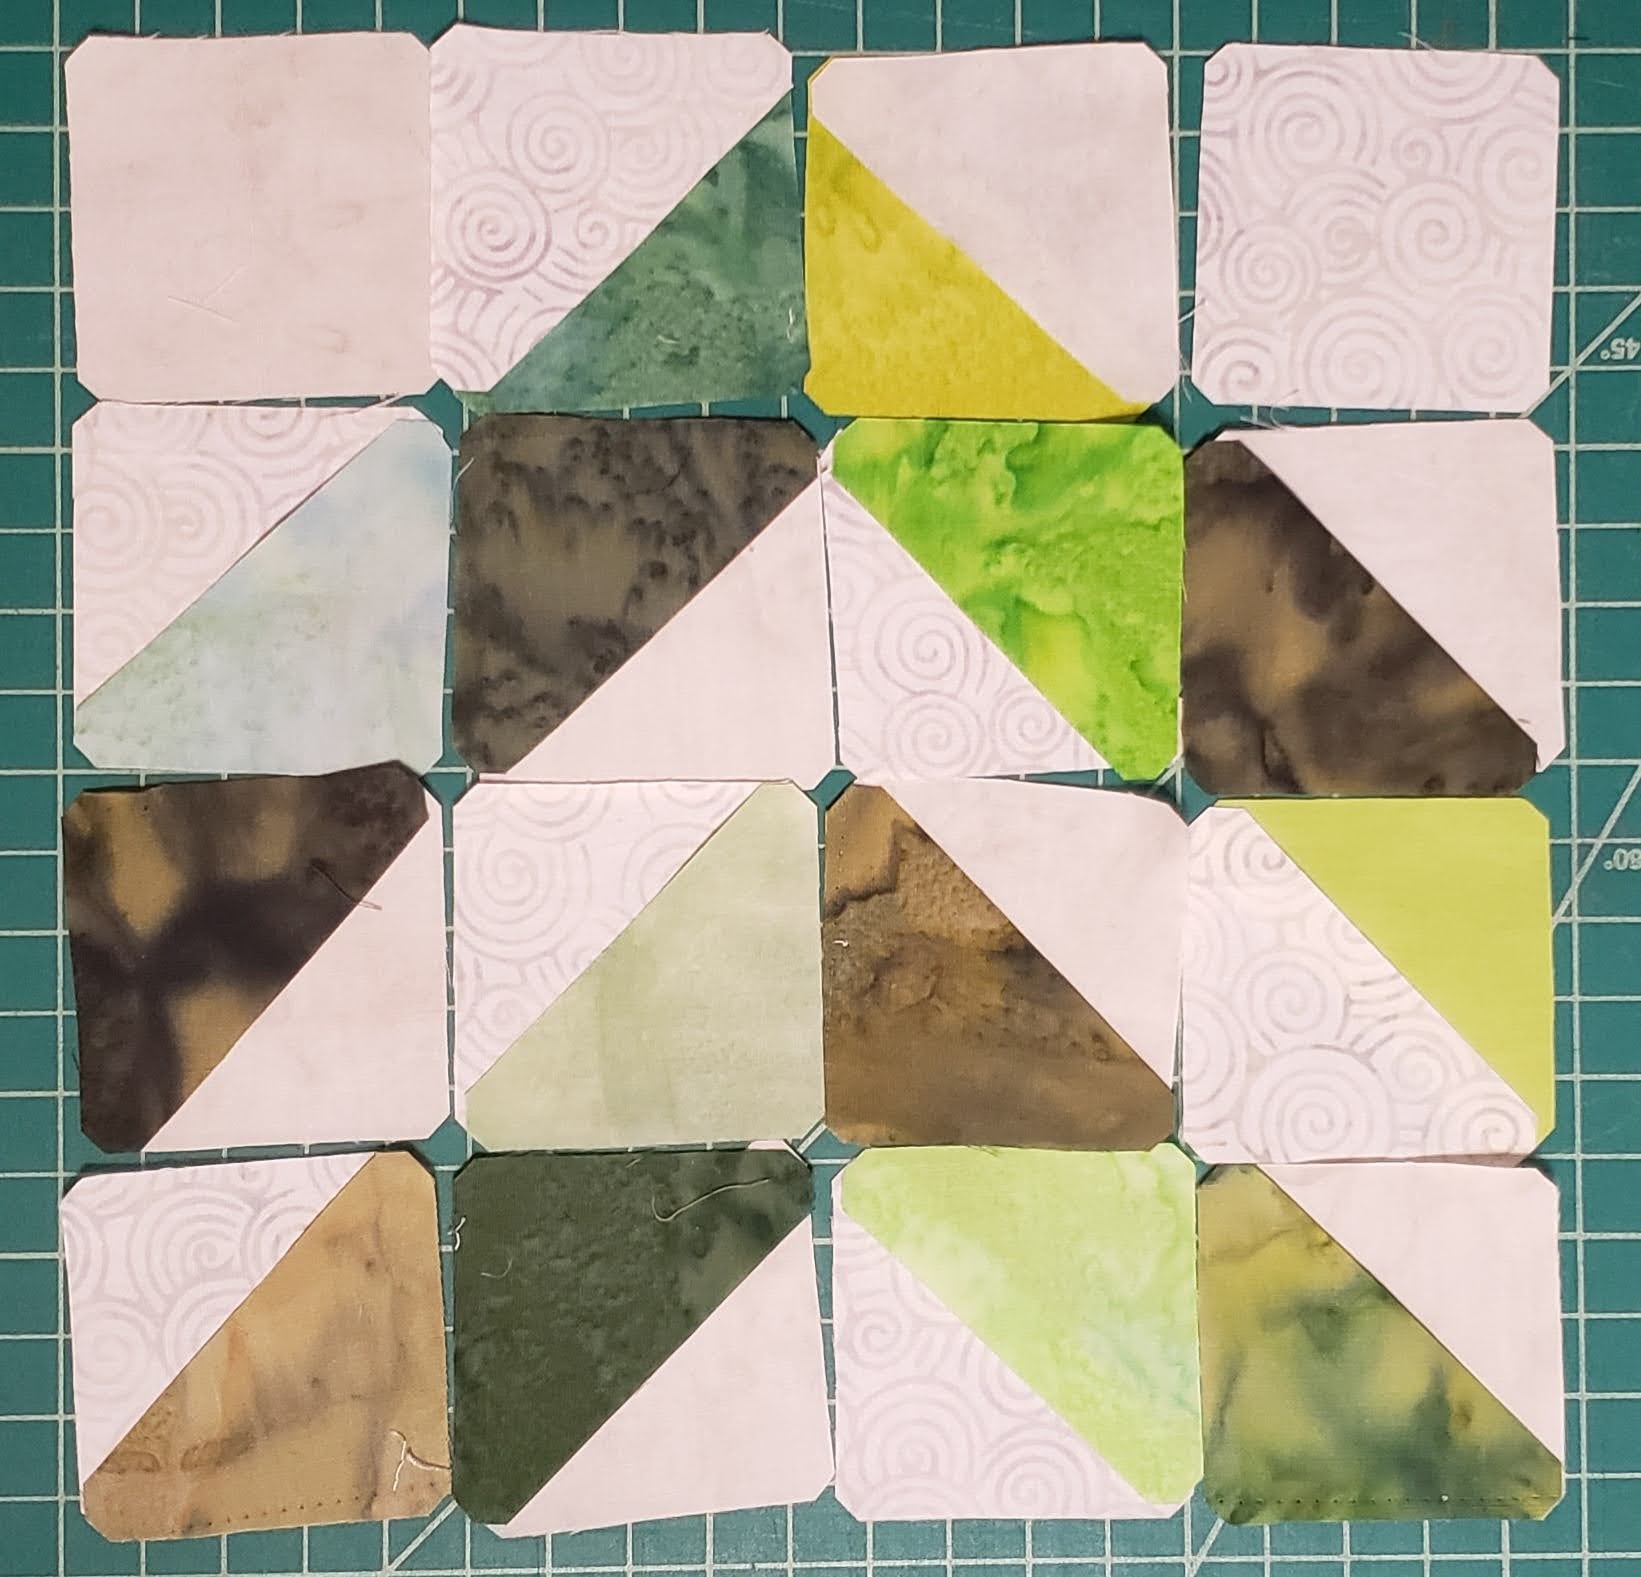
Layout the pieces in the following layout
– The 2 1/4″ squares will be the four corners, make sure they match the layout
– Then sure that your background triangles are setup for every other square.
– No two alike should be together

Sew triangles together to make 2 1/4″ squares.

Press towards darker fabric, but where you can nest with the other pieces.
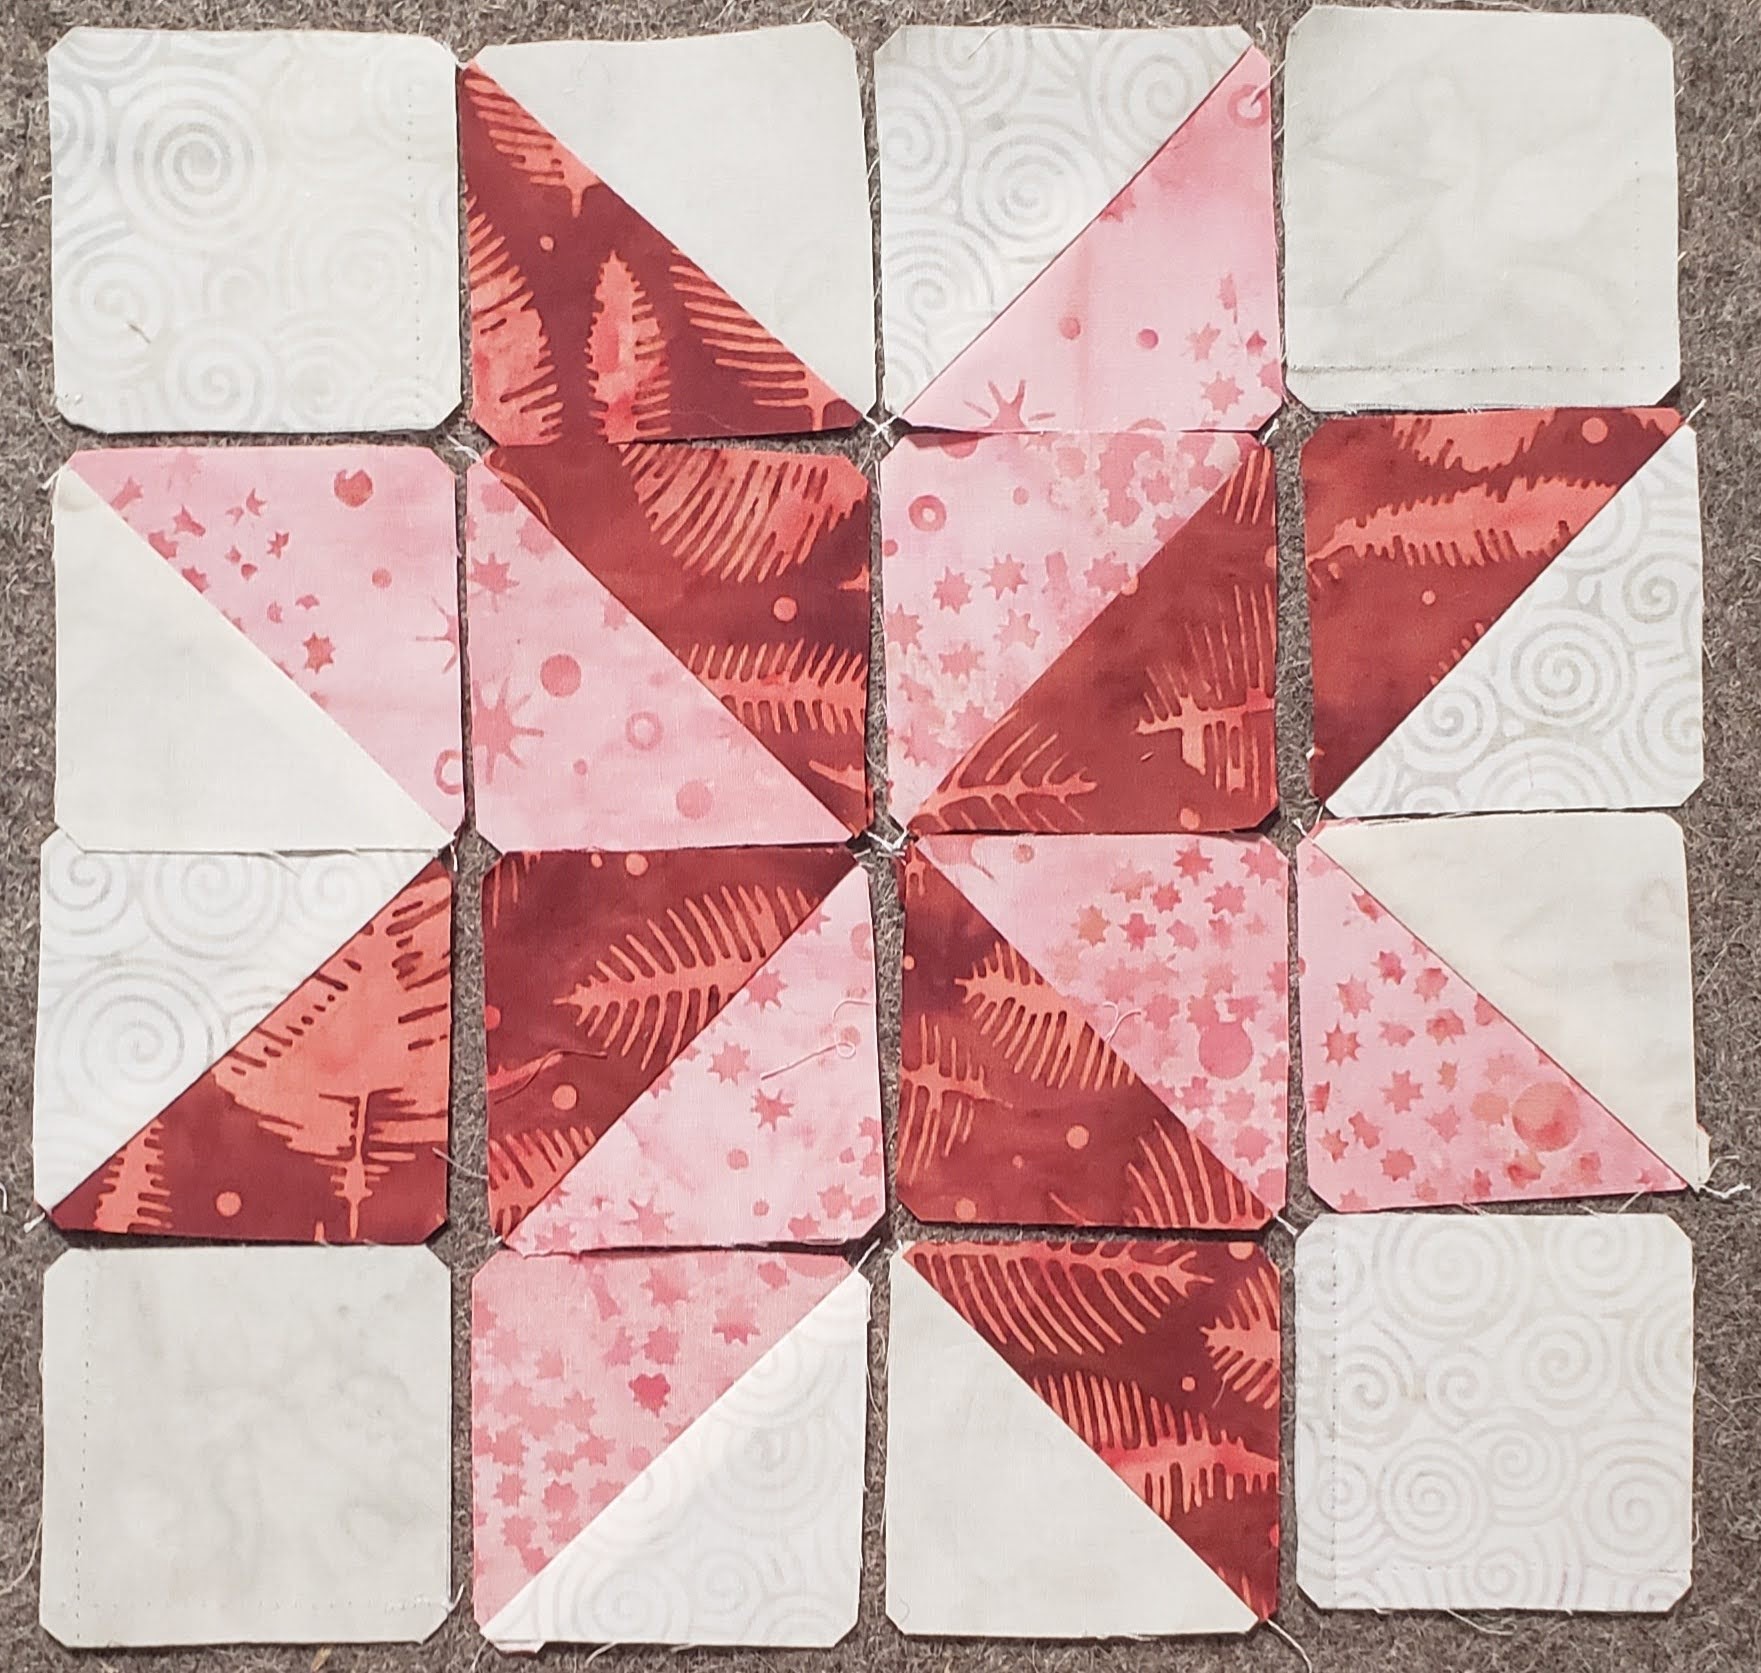
Sew pieces together in rows.

NOTE: You can use my method for Chain Piecing, or the method you prefer.
Press seams (look at next step to help know which ways to press seams)
Using two 4 x 3 strip you created in step 1
Layout one on each side of the star, and sew together

Press seams to match the layout created in Step 3
Set aside
Step 3 – Tree
| Icing | Oster | Green | Created in Step 1 | ||
| 2 1/2″ Triangle | B | 33 | 33 | 66 Variety | |
| 2 1/4″ x 2 1/4″ square | A | 1 | 1 | ||
| 4 squares x 3 squares | 2 | ||||
| 3 squares x 2 squares | 2 | ||||
| 3 squares (single Row) | 2 |
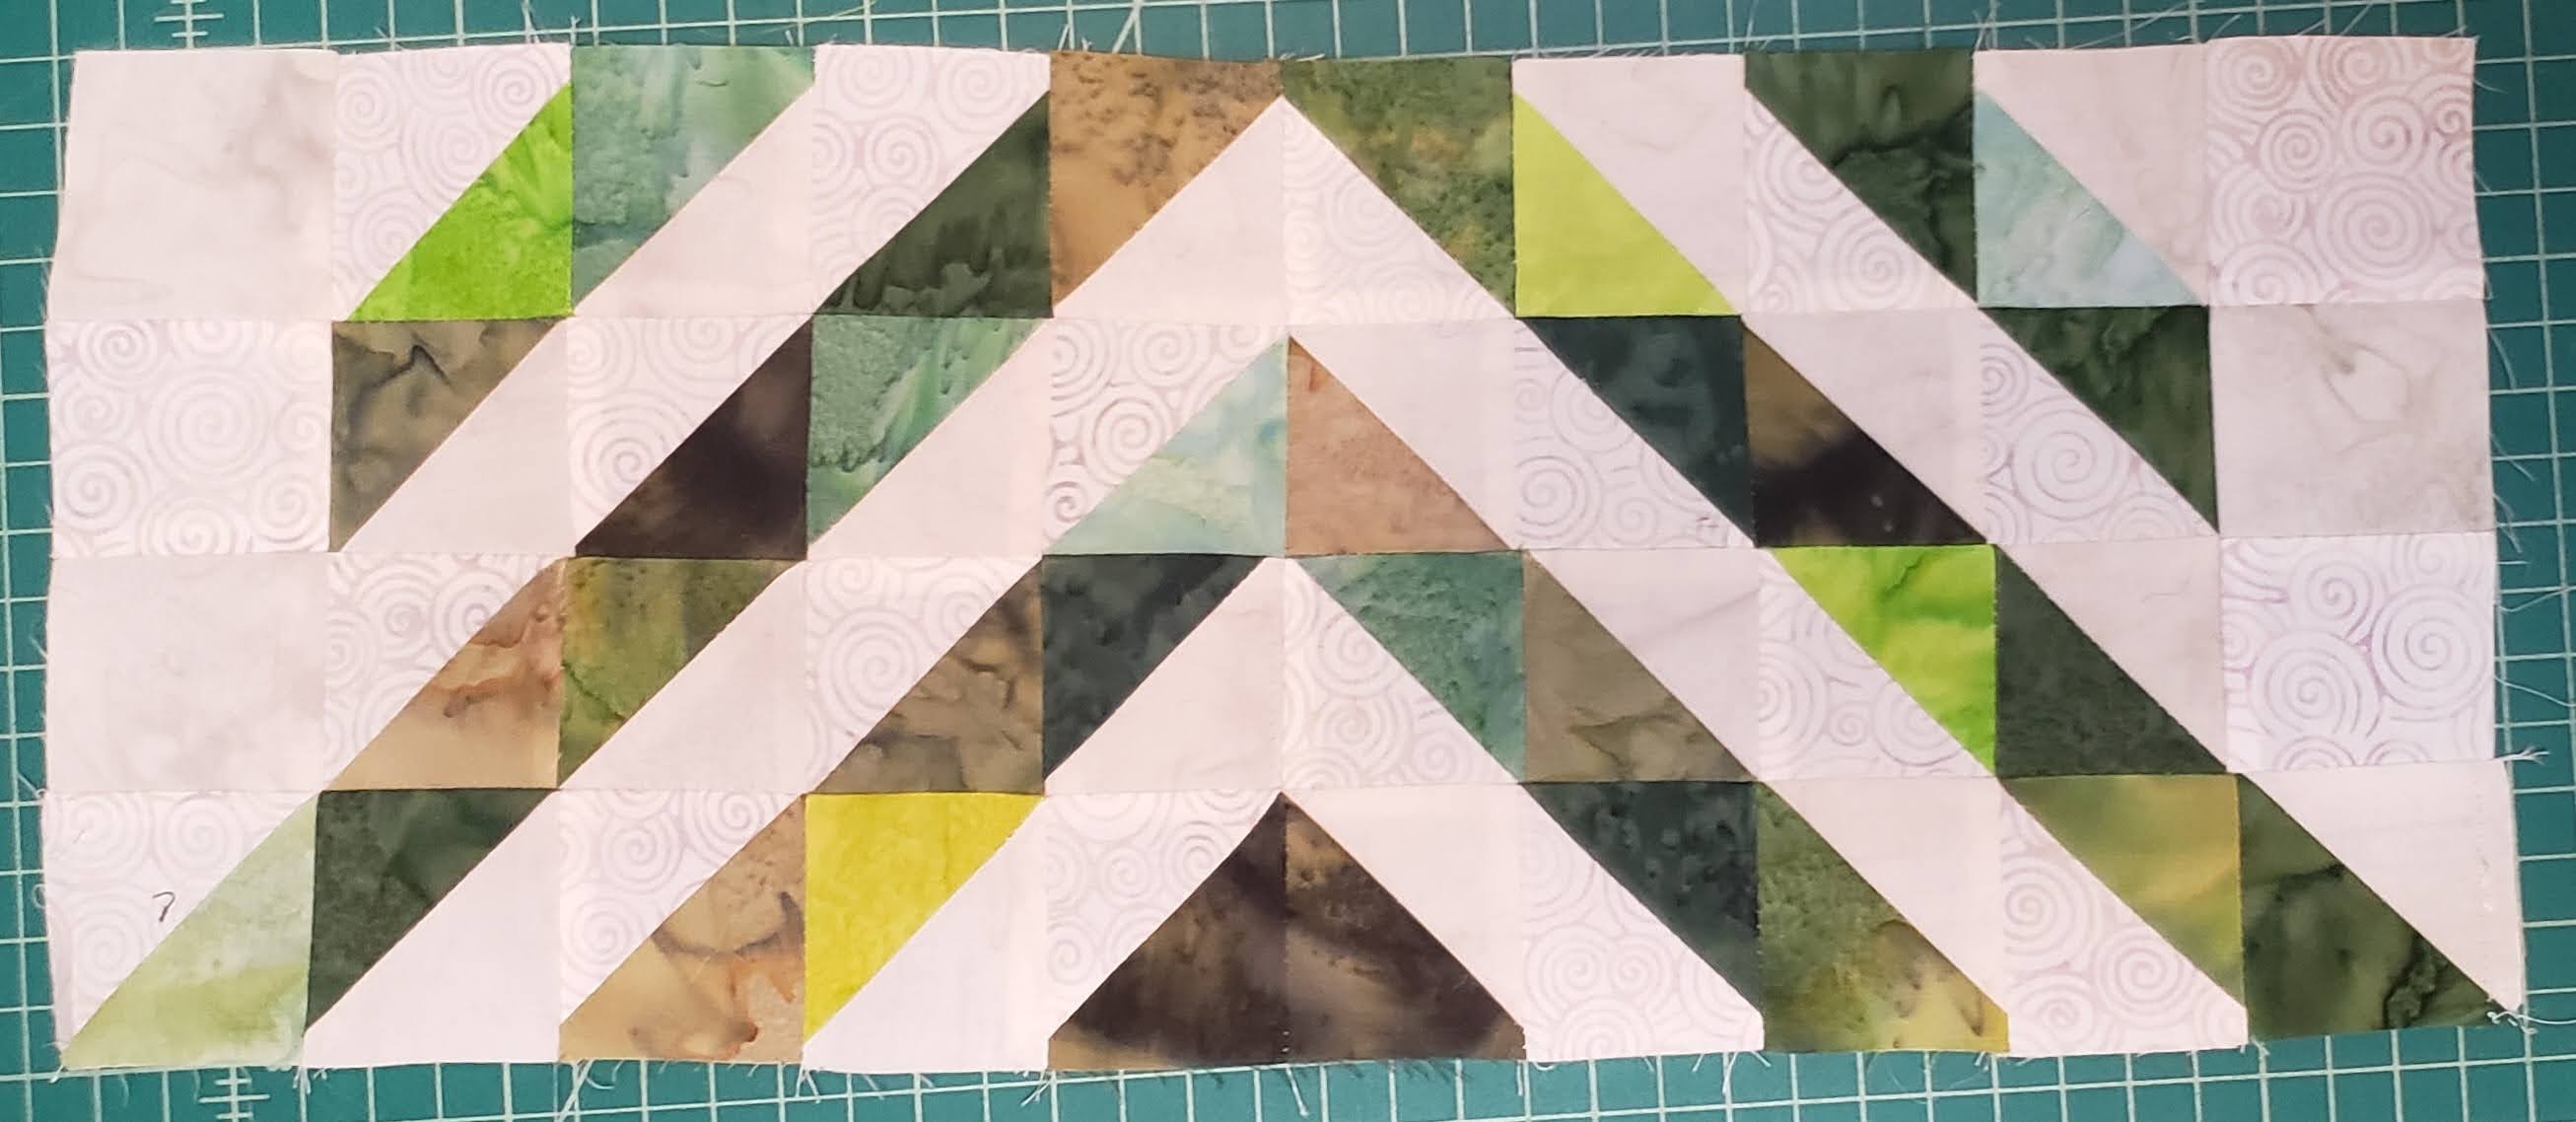
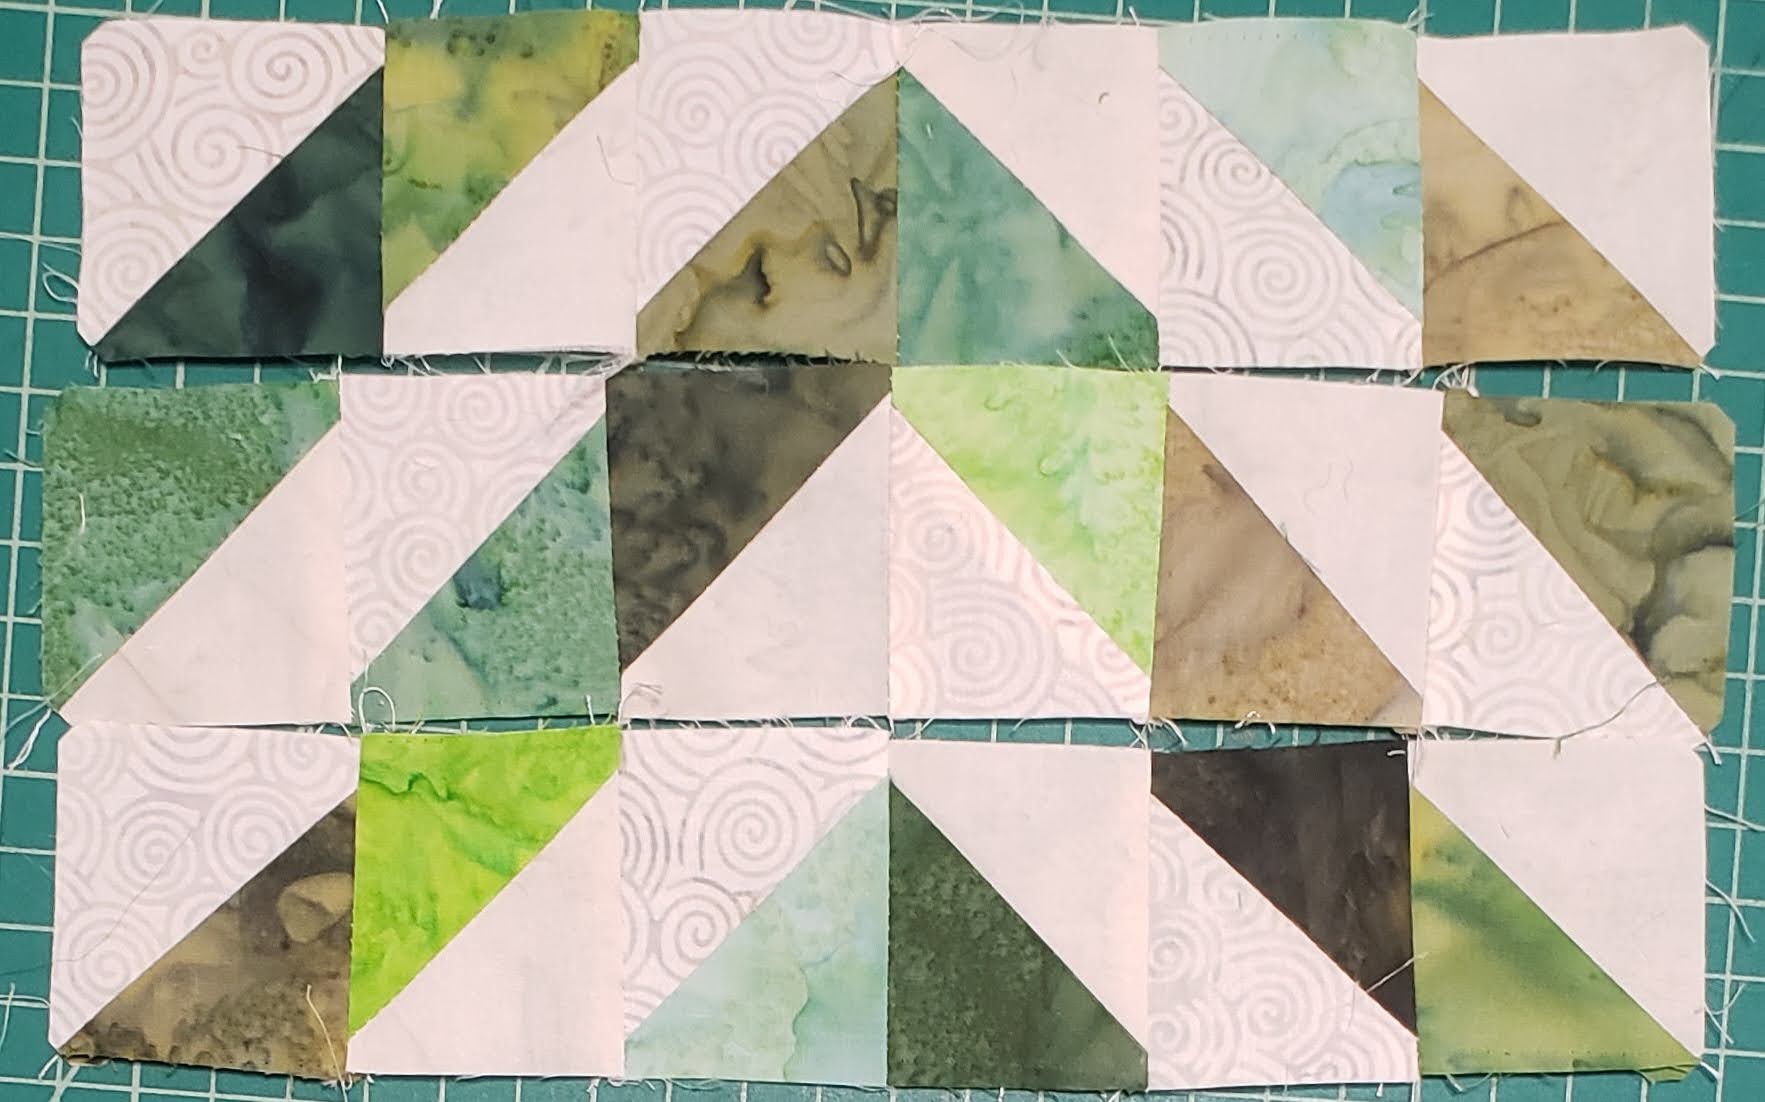
Using all the 2 1/2″ triangle pieces, layout in the following layout, sorting green as you want

Once happy with your layout, sew the triangles together to create a square, then layout the pieces to make sure you are still happy with the layout, and that your background pieces are going back and forth between Oster and Icing.
Slip the tree into 4 sections for sewing together. We will start at the bottom and work up to the star.


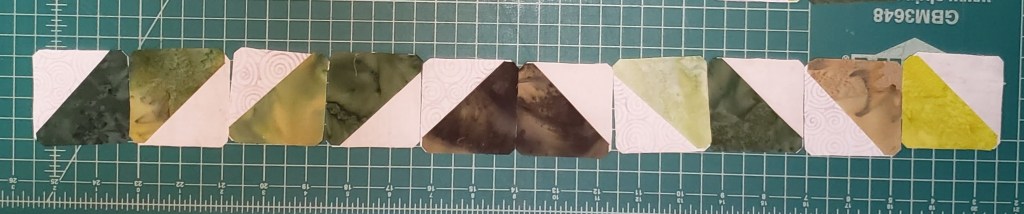
1) Last row, sew the pieces together, making sure that you have not moved the pieces around. (note I did this a couple times.) – (Part 4)
You can sew the triangles into squares, and then sew the squares together, I found this the easiest way, and would check between to make sure layout was correct.
Press the seams

Set aside
2) Now using the third set of triangles, (Part 3) sew the triangles into squares, and then the square pieces together in rows, and then the rows together to create a 3 row by 8.

Press seams as you go, making sure to nest. (I looked at the row created in the previous step for which way to press.
Next layout the 1 row (three squares) created in step one, on each side, making sure to match the background pattern. Sew together.

Press seams
Using the 4th row, sew this to the top of the row, making sure to match the pattern.
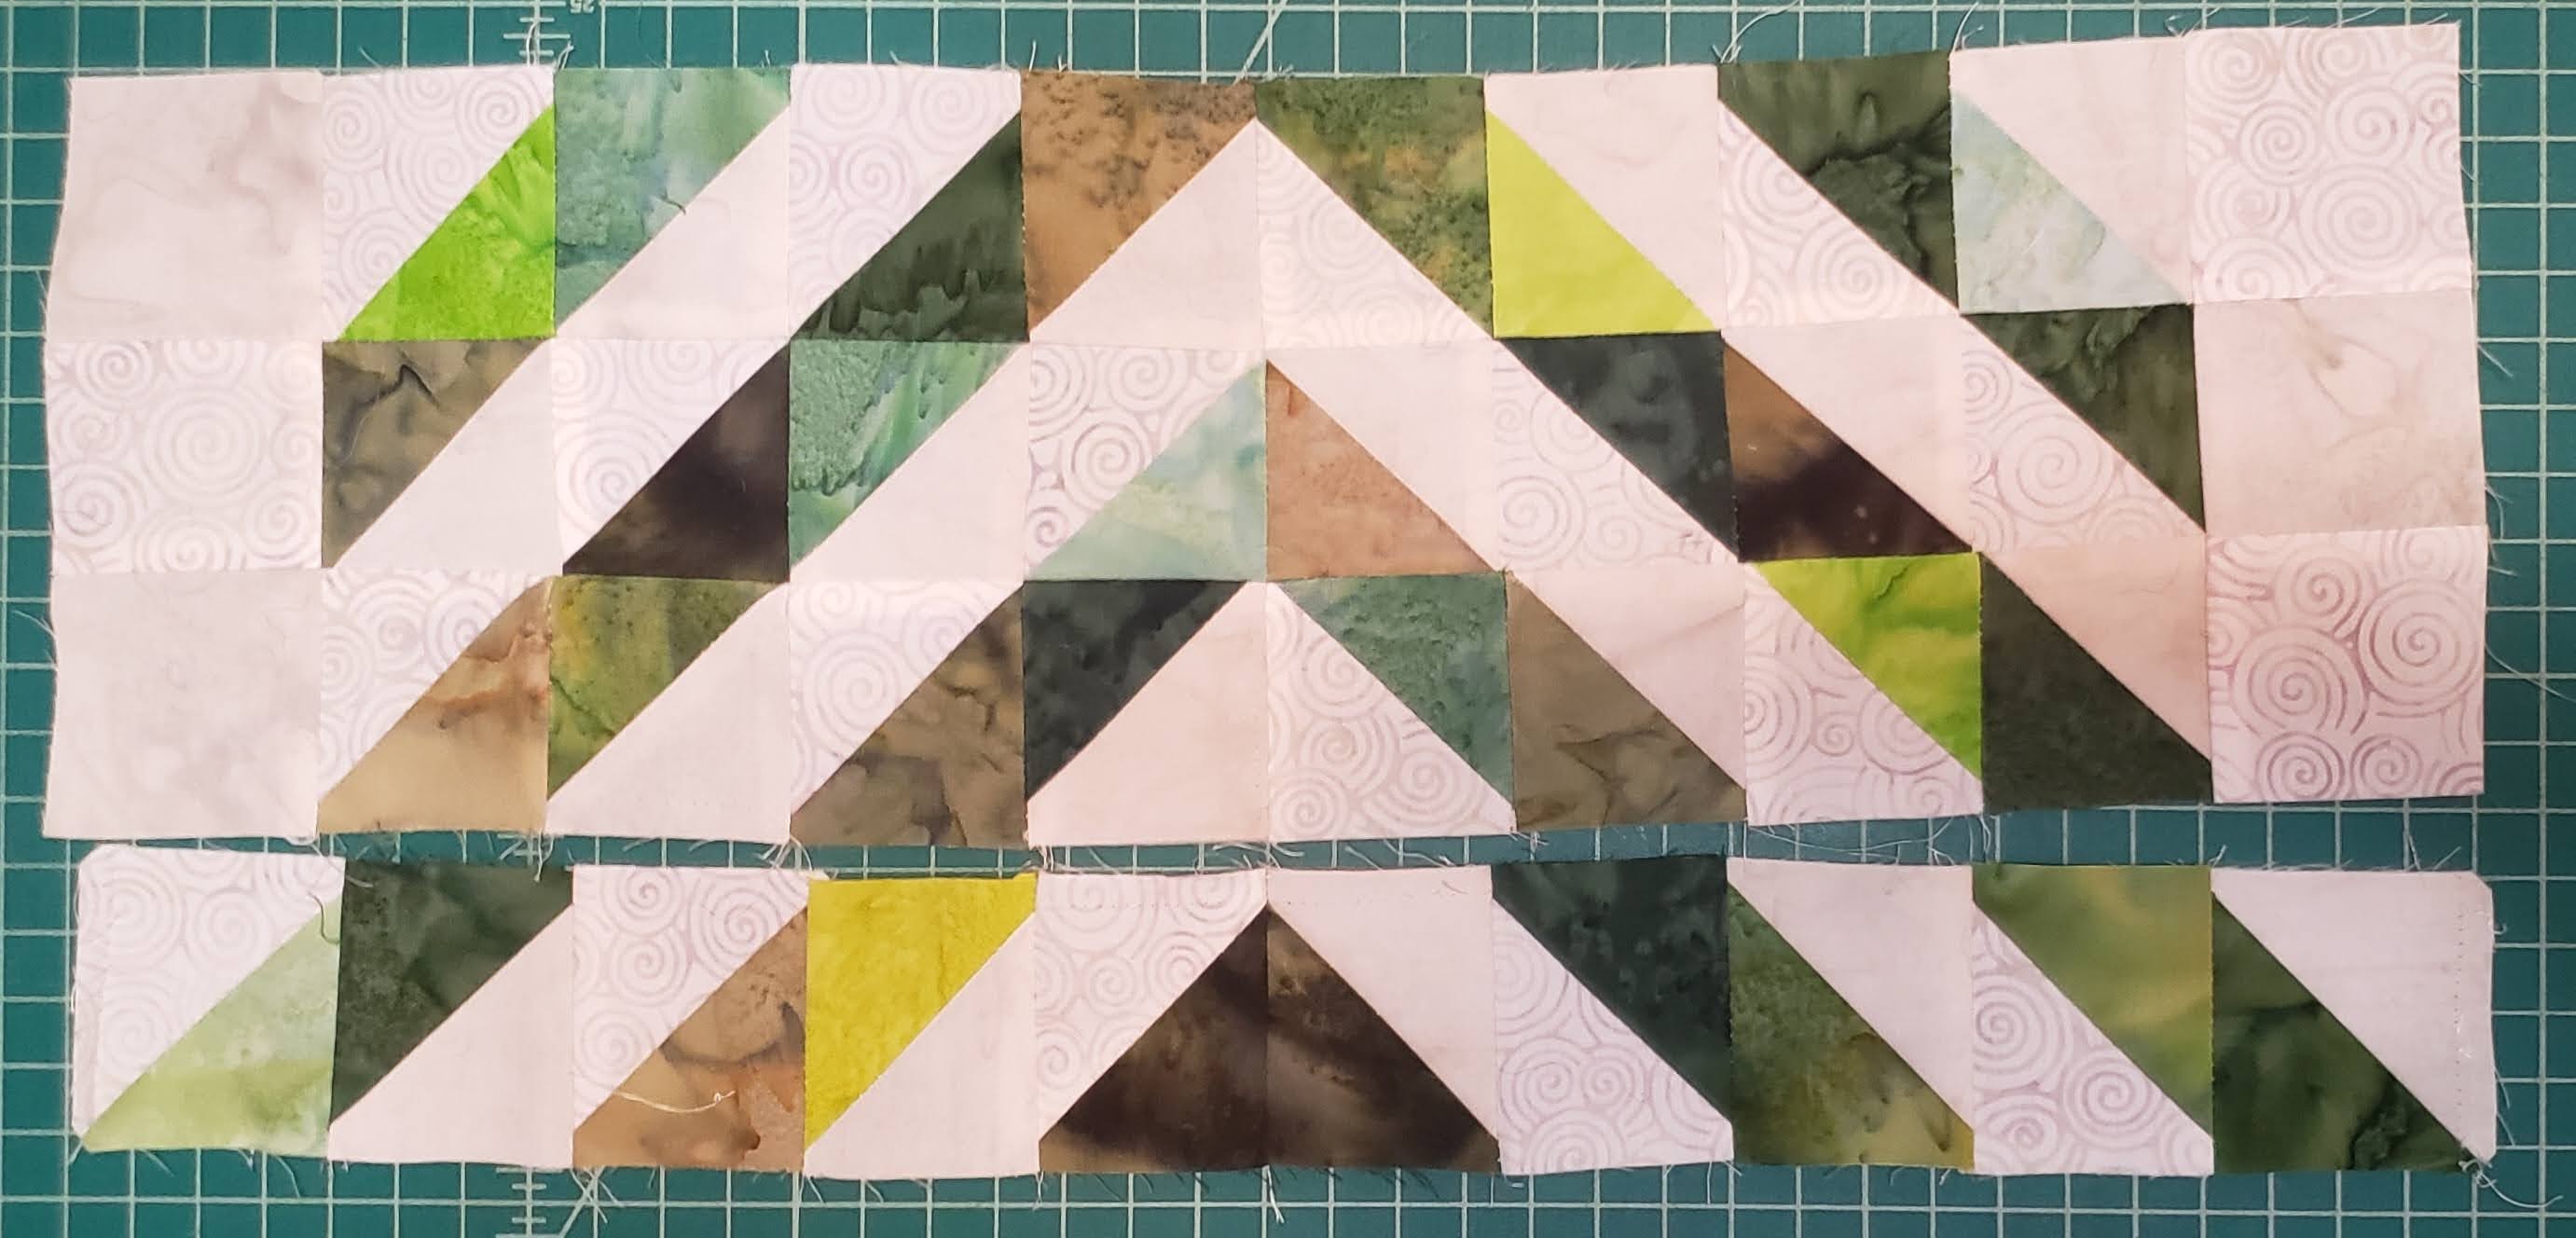
Press Seams & set aside
3) Using the second set of triangles, sew the triangles into squares, and the squares into rows, and rows together.
Press seams.

Using the 2 columns of 3 squares, add one to each side of the section.

Using the section created with Sections 3 and 4, add section 2 to the top.

Press Seams.
Set aside
4) Creating the top section of the tree, sew the triangles into squares, and the squares into rows, and rows together.

Press Seams.
Add the 4 columns by 3 rows to each side of the block, you will need to rotate the squares, so they are 3 columns by 4 rows, matching the background pattern, and sew together.
Press seams.

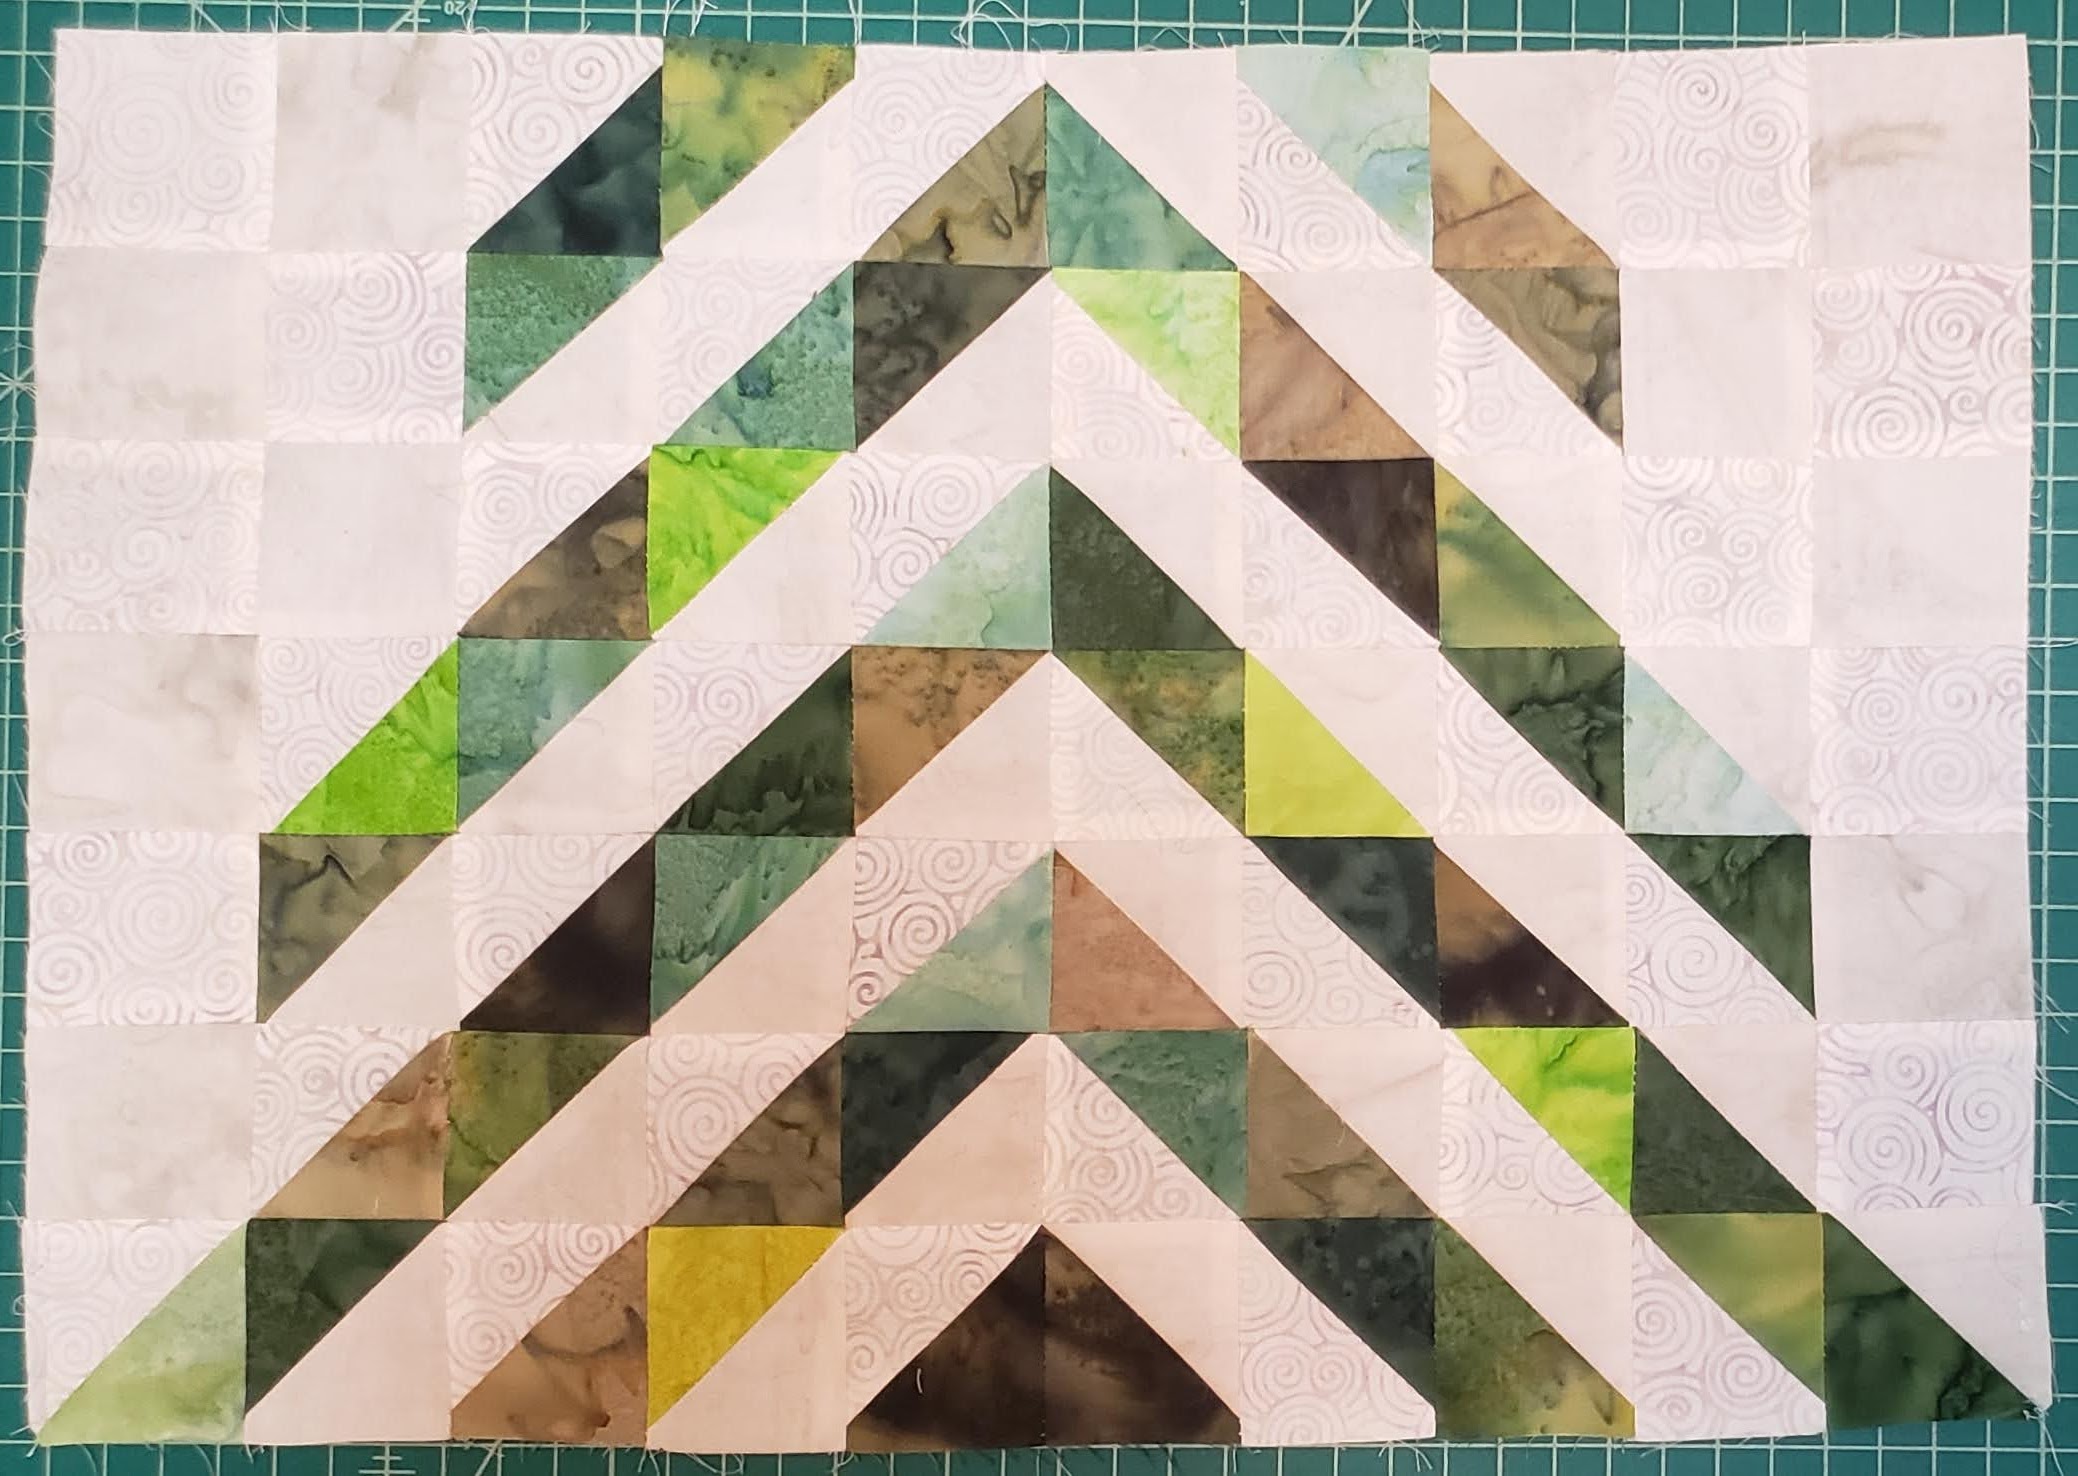
Using the piece with sections 2, 3, and 4 add this first section to the top of the block.

Press Seams.

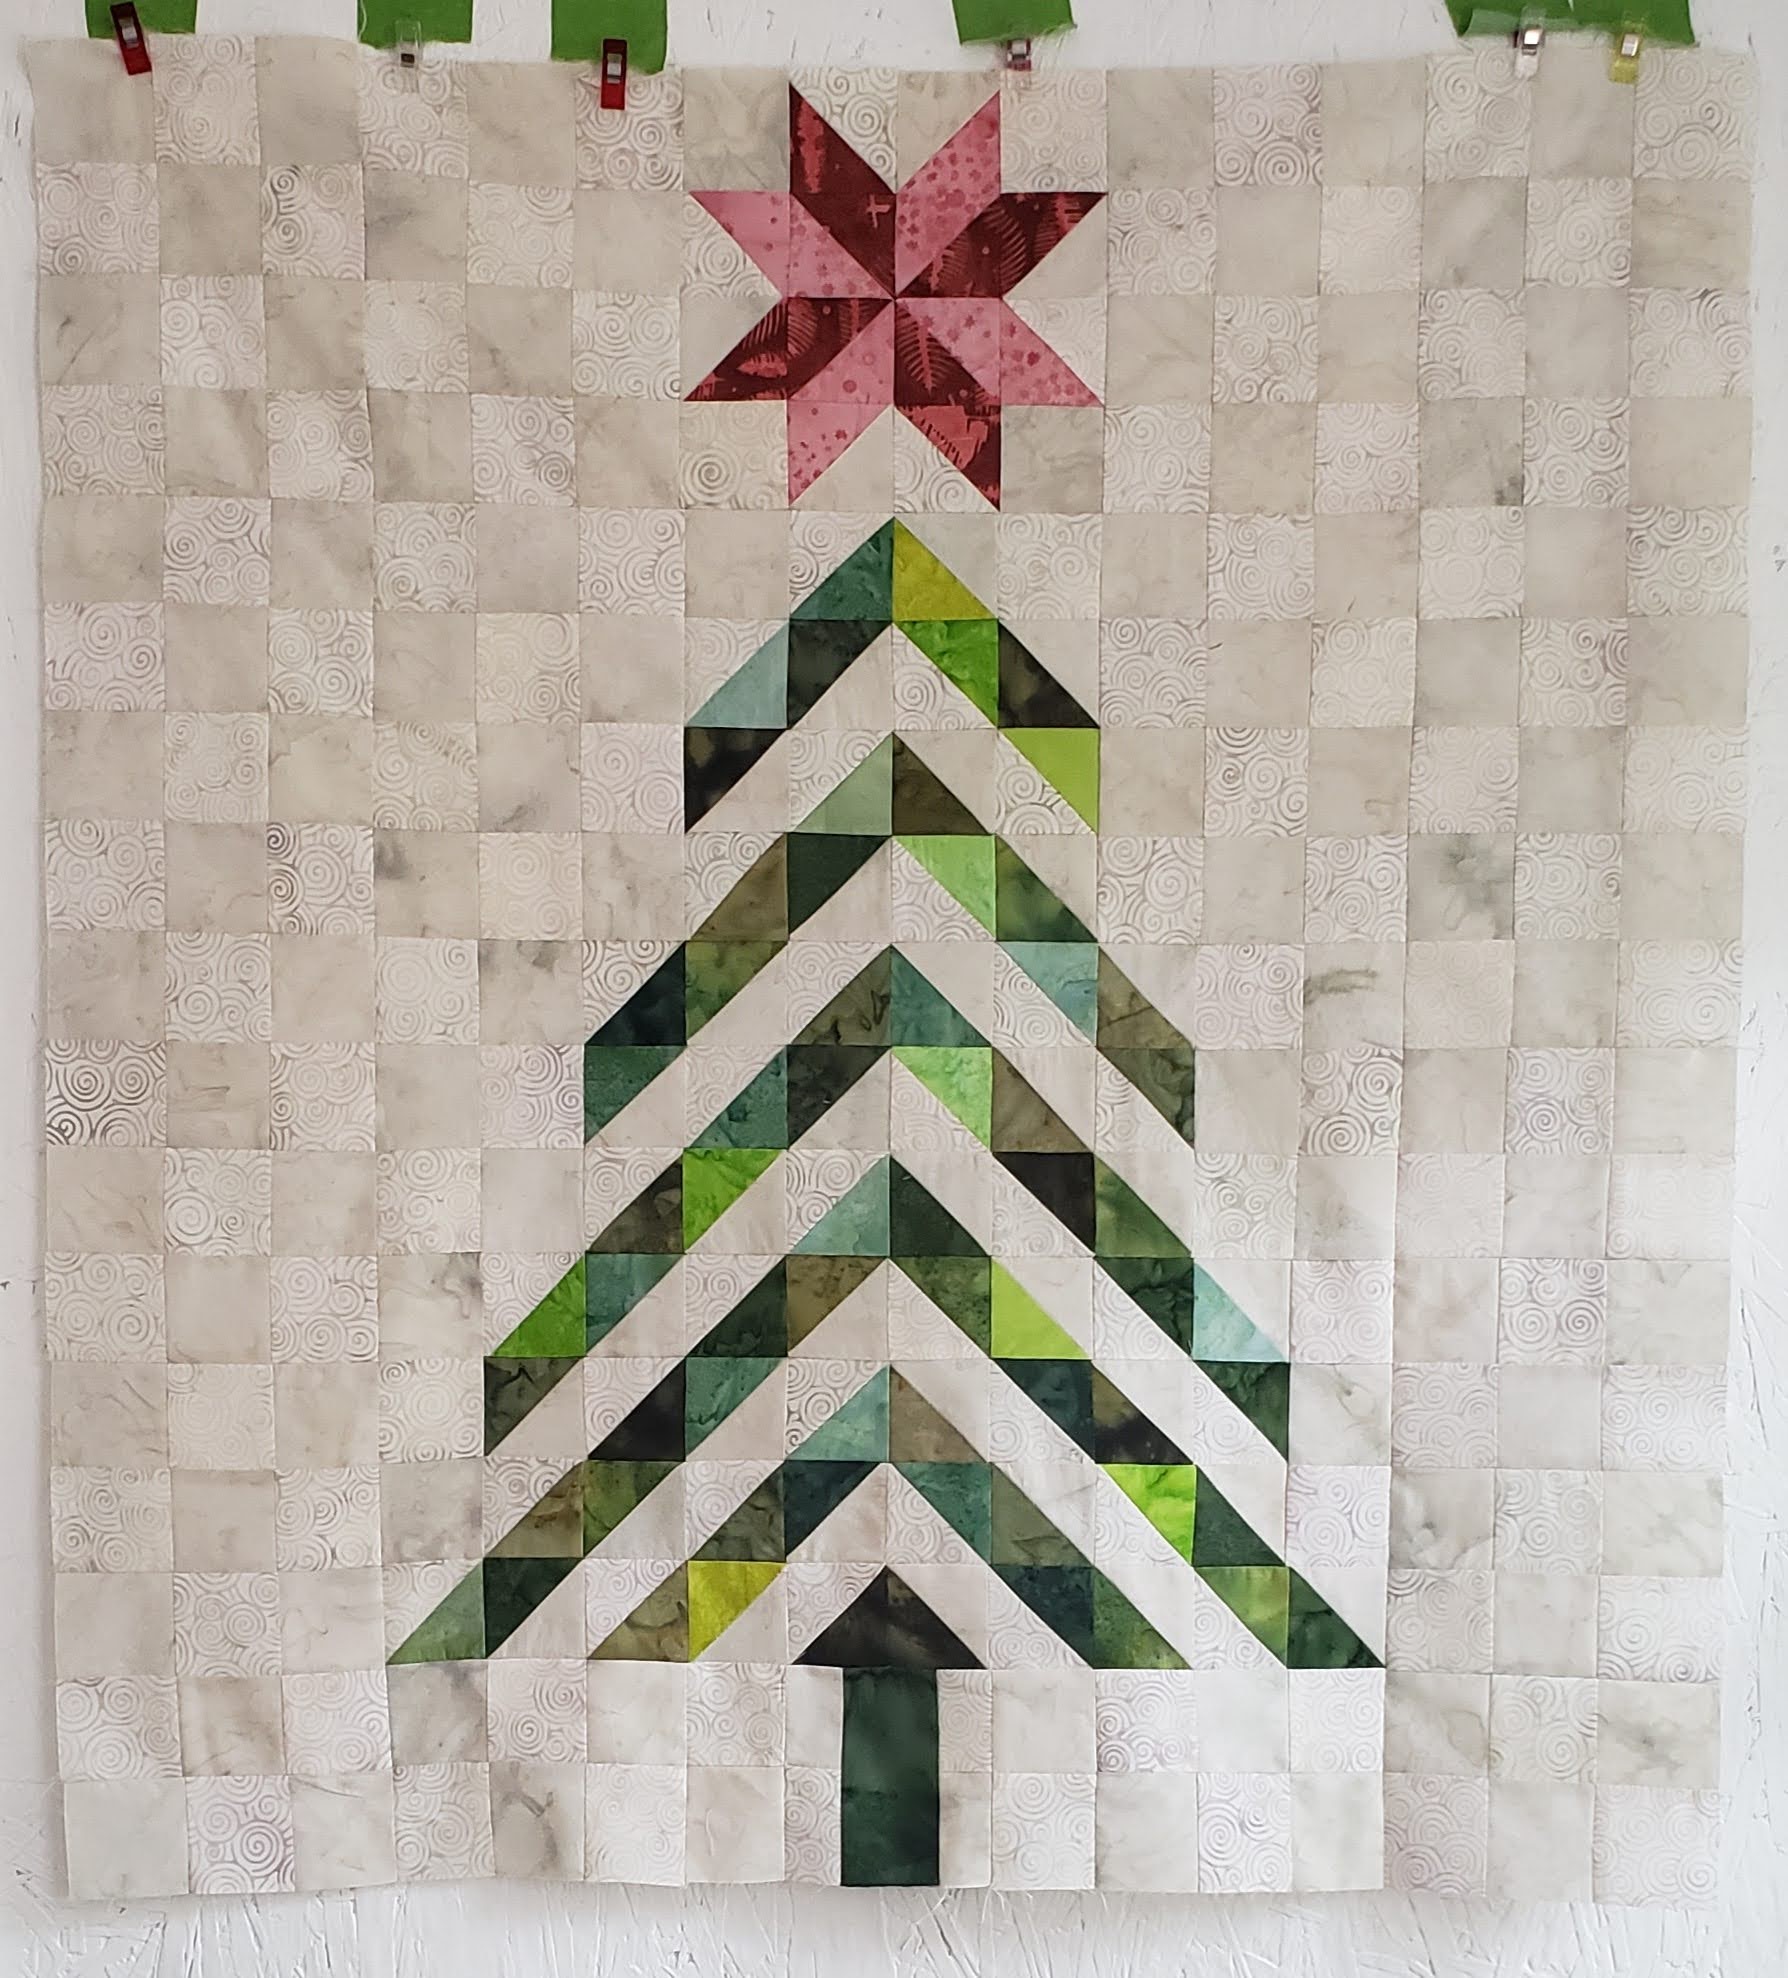
Adding star, using the star created in Step 2, add to the top of the tree, nesting seams

Press Seams.

You have now created the main part of the tree, set this piece aside to create the tree trunk.
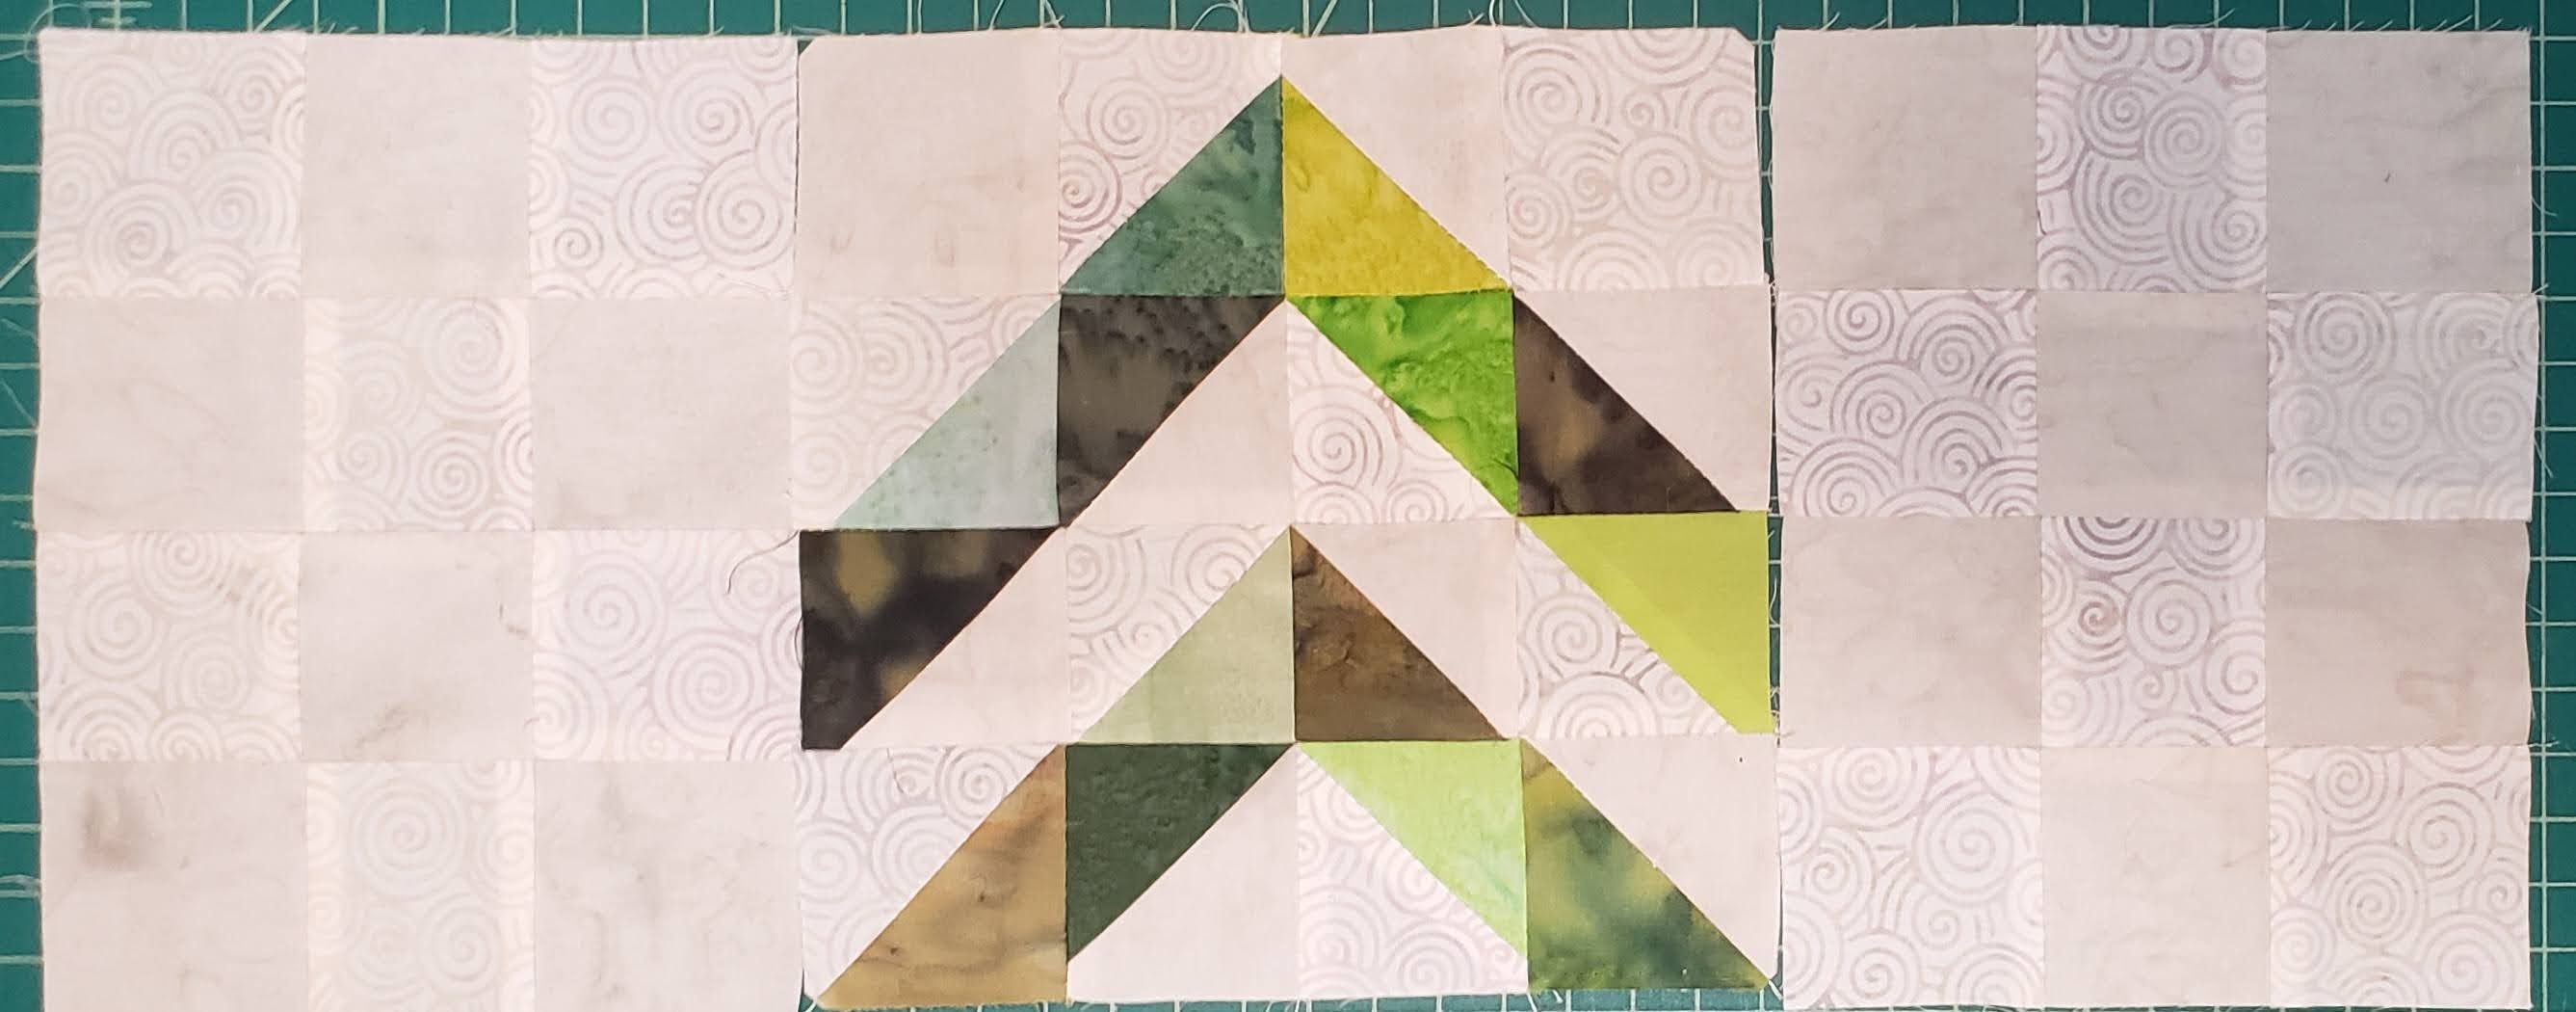
Step 4 – Tree Trunk
| Icing | Oster | Green | Darker Green | Created in Step 1 | ||
| 2 1/4″ x 2 1/4″ | A | 2 | 2 | |||
| 2 1/4″ x 1 3/4″ | 2 | 2 | ||||
| 2 1/4″ x 4″ | C | 1 | ||||
| 3 squares x 2 squares | 2 |
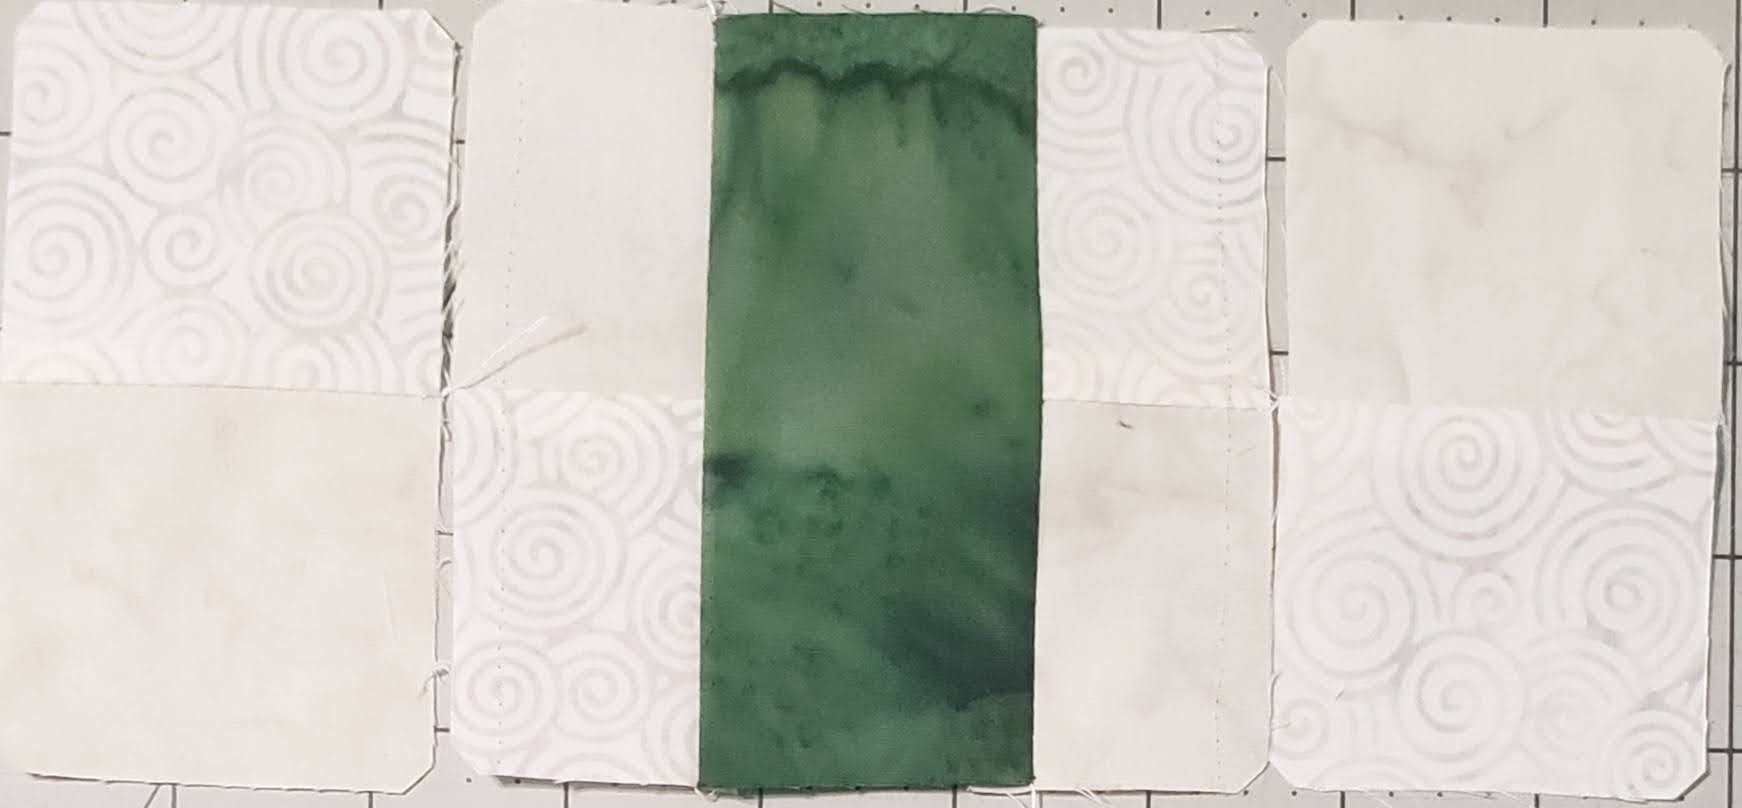
Sew together one Icing and one Oster, create two sets. Then set aside.

Using 2 1/4″ x 1 3/4″ pieces, sew one Icing and one Oster piece together (short sides together), repeat for two sets. Then place one on each side of the piece C (trunk).

The direction that they pieces will lay against the 2 1/4″ x 4″ truck piece will depend on your background created in the previous step. You can use the tree to see how you need to lay them.
Note: As you can see, the seam ripper and I had some work. I put them together wrong.
Next sew the 2 square pieces to each side of this piece.
Press seams (matching the tree pattern for direction)
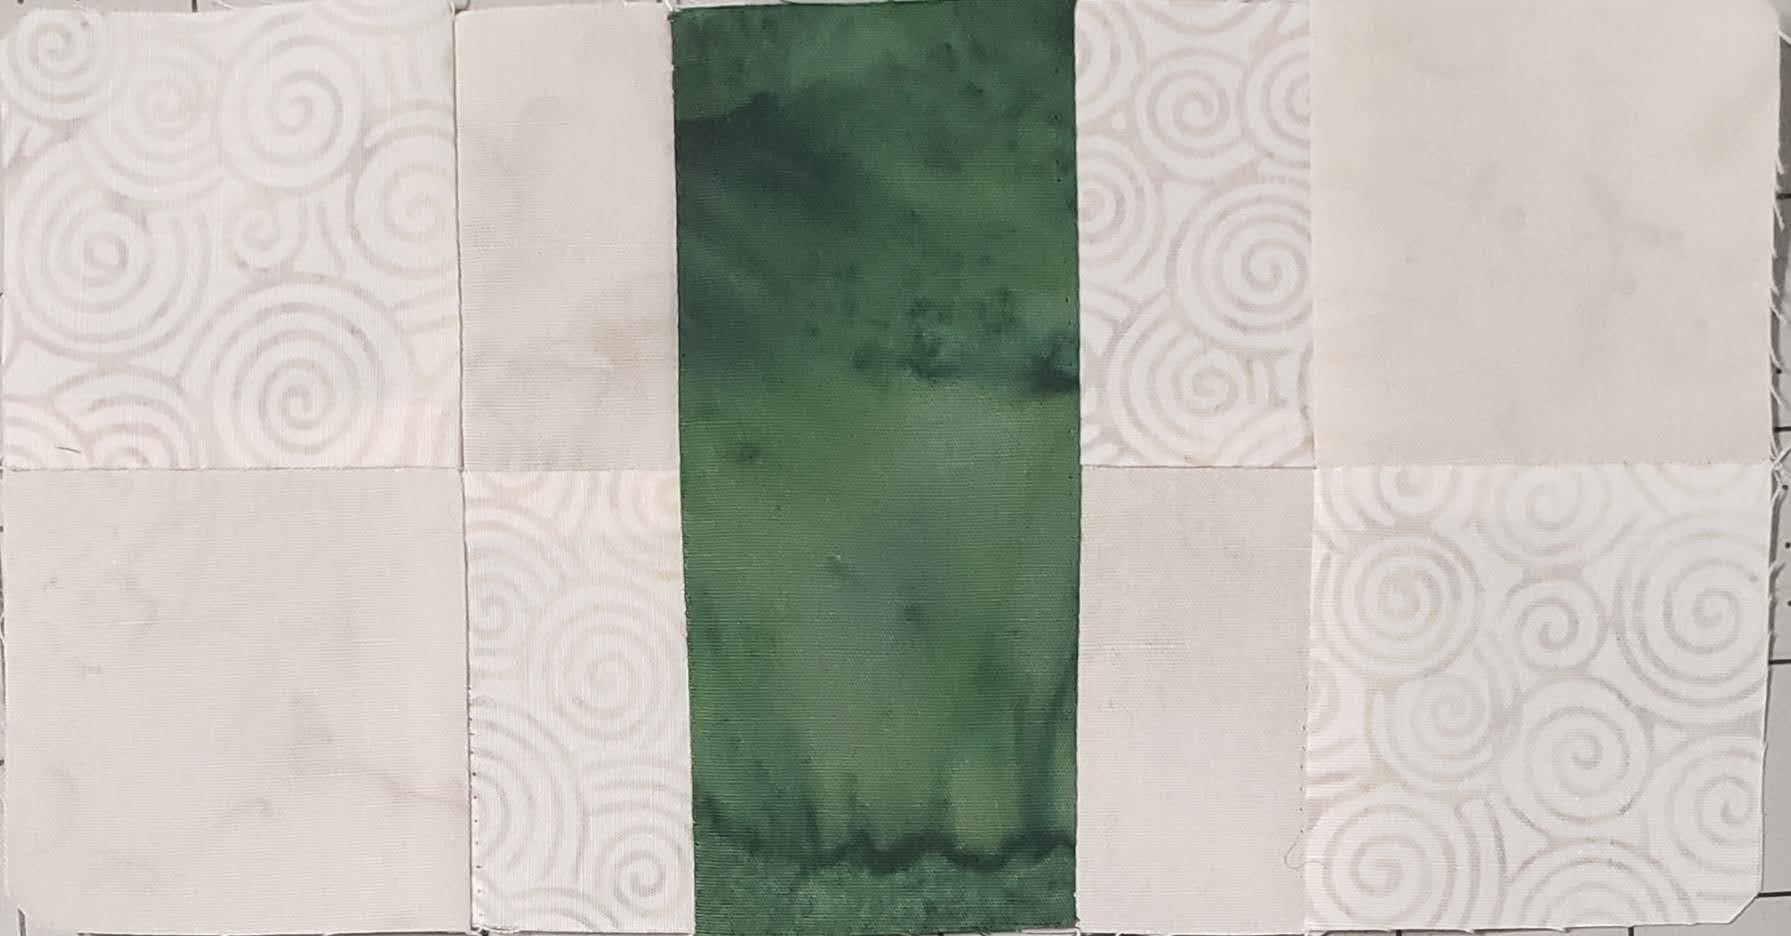
Add a 2 Column by 3 squares to each side of the piece.

Sew together. Press to let his piece nest with the main part of the tree for less bulk.

Sew the trunk row to the tree created in the previous step.

Press seams.

Note: If you want to use this as a wall hanging, you can skip the next couple of steps, and just add borders to the quilt top and finish.
Step 5 – sides
Using two of the 17 rows x 3 blocks to the long sides of the square (vertical)

Make sure to match the background layout on both sides of the tree.
Sew together, press seams.
Step 6 – Corners
| Darker Green | Created in Step 1 | |
| Large Triangle | 4 | |
| 16 squares x 3 squares strips | 2 |
Lay two strips of 3 rows, by 16 squares (created in step 1) making sure they are laying the same.

3 rows by 16 squares (created in step 1)
Using a ruler with a diagonal line, line the diagonal line down between the 2nd row of seams.

Using a disappearing ink marker, draw a line.

NOTE: I recommend not cutting the corner until you are sure you have it at the correct point, it is easy to take out a seam to move, when you haven’t cut the fabric away.
Layout the triangle right side towards squares.

Sew 1/4″ seam.

Before cutting fabric, finger press the green square into the corner, to make sure it is placed correctly. If not, remove stitching and fix.

If it is where you want, fold back the green triangle, and using a ruler, cut off extra fabric.

Press, repeat this on the same long side of the first strip.
Second strip, without moving, sew the large triangles on the bottom two corners in the same way as the first strip.

NOTE: Make sure that if you flip so corners are both on same side, the two pieces are identical.
Sew one strip to the top of piece from Step 5,
Make sure the triangle are in the upper corners (outside corners)
Sew the other strip to the bottom of piece from Step 5,
Make sure the triangles are in the lower corners (outside corners)
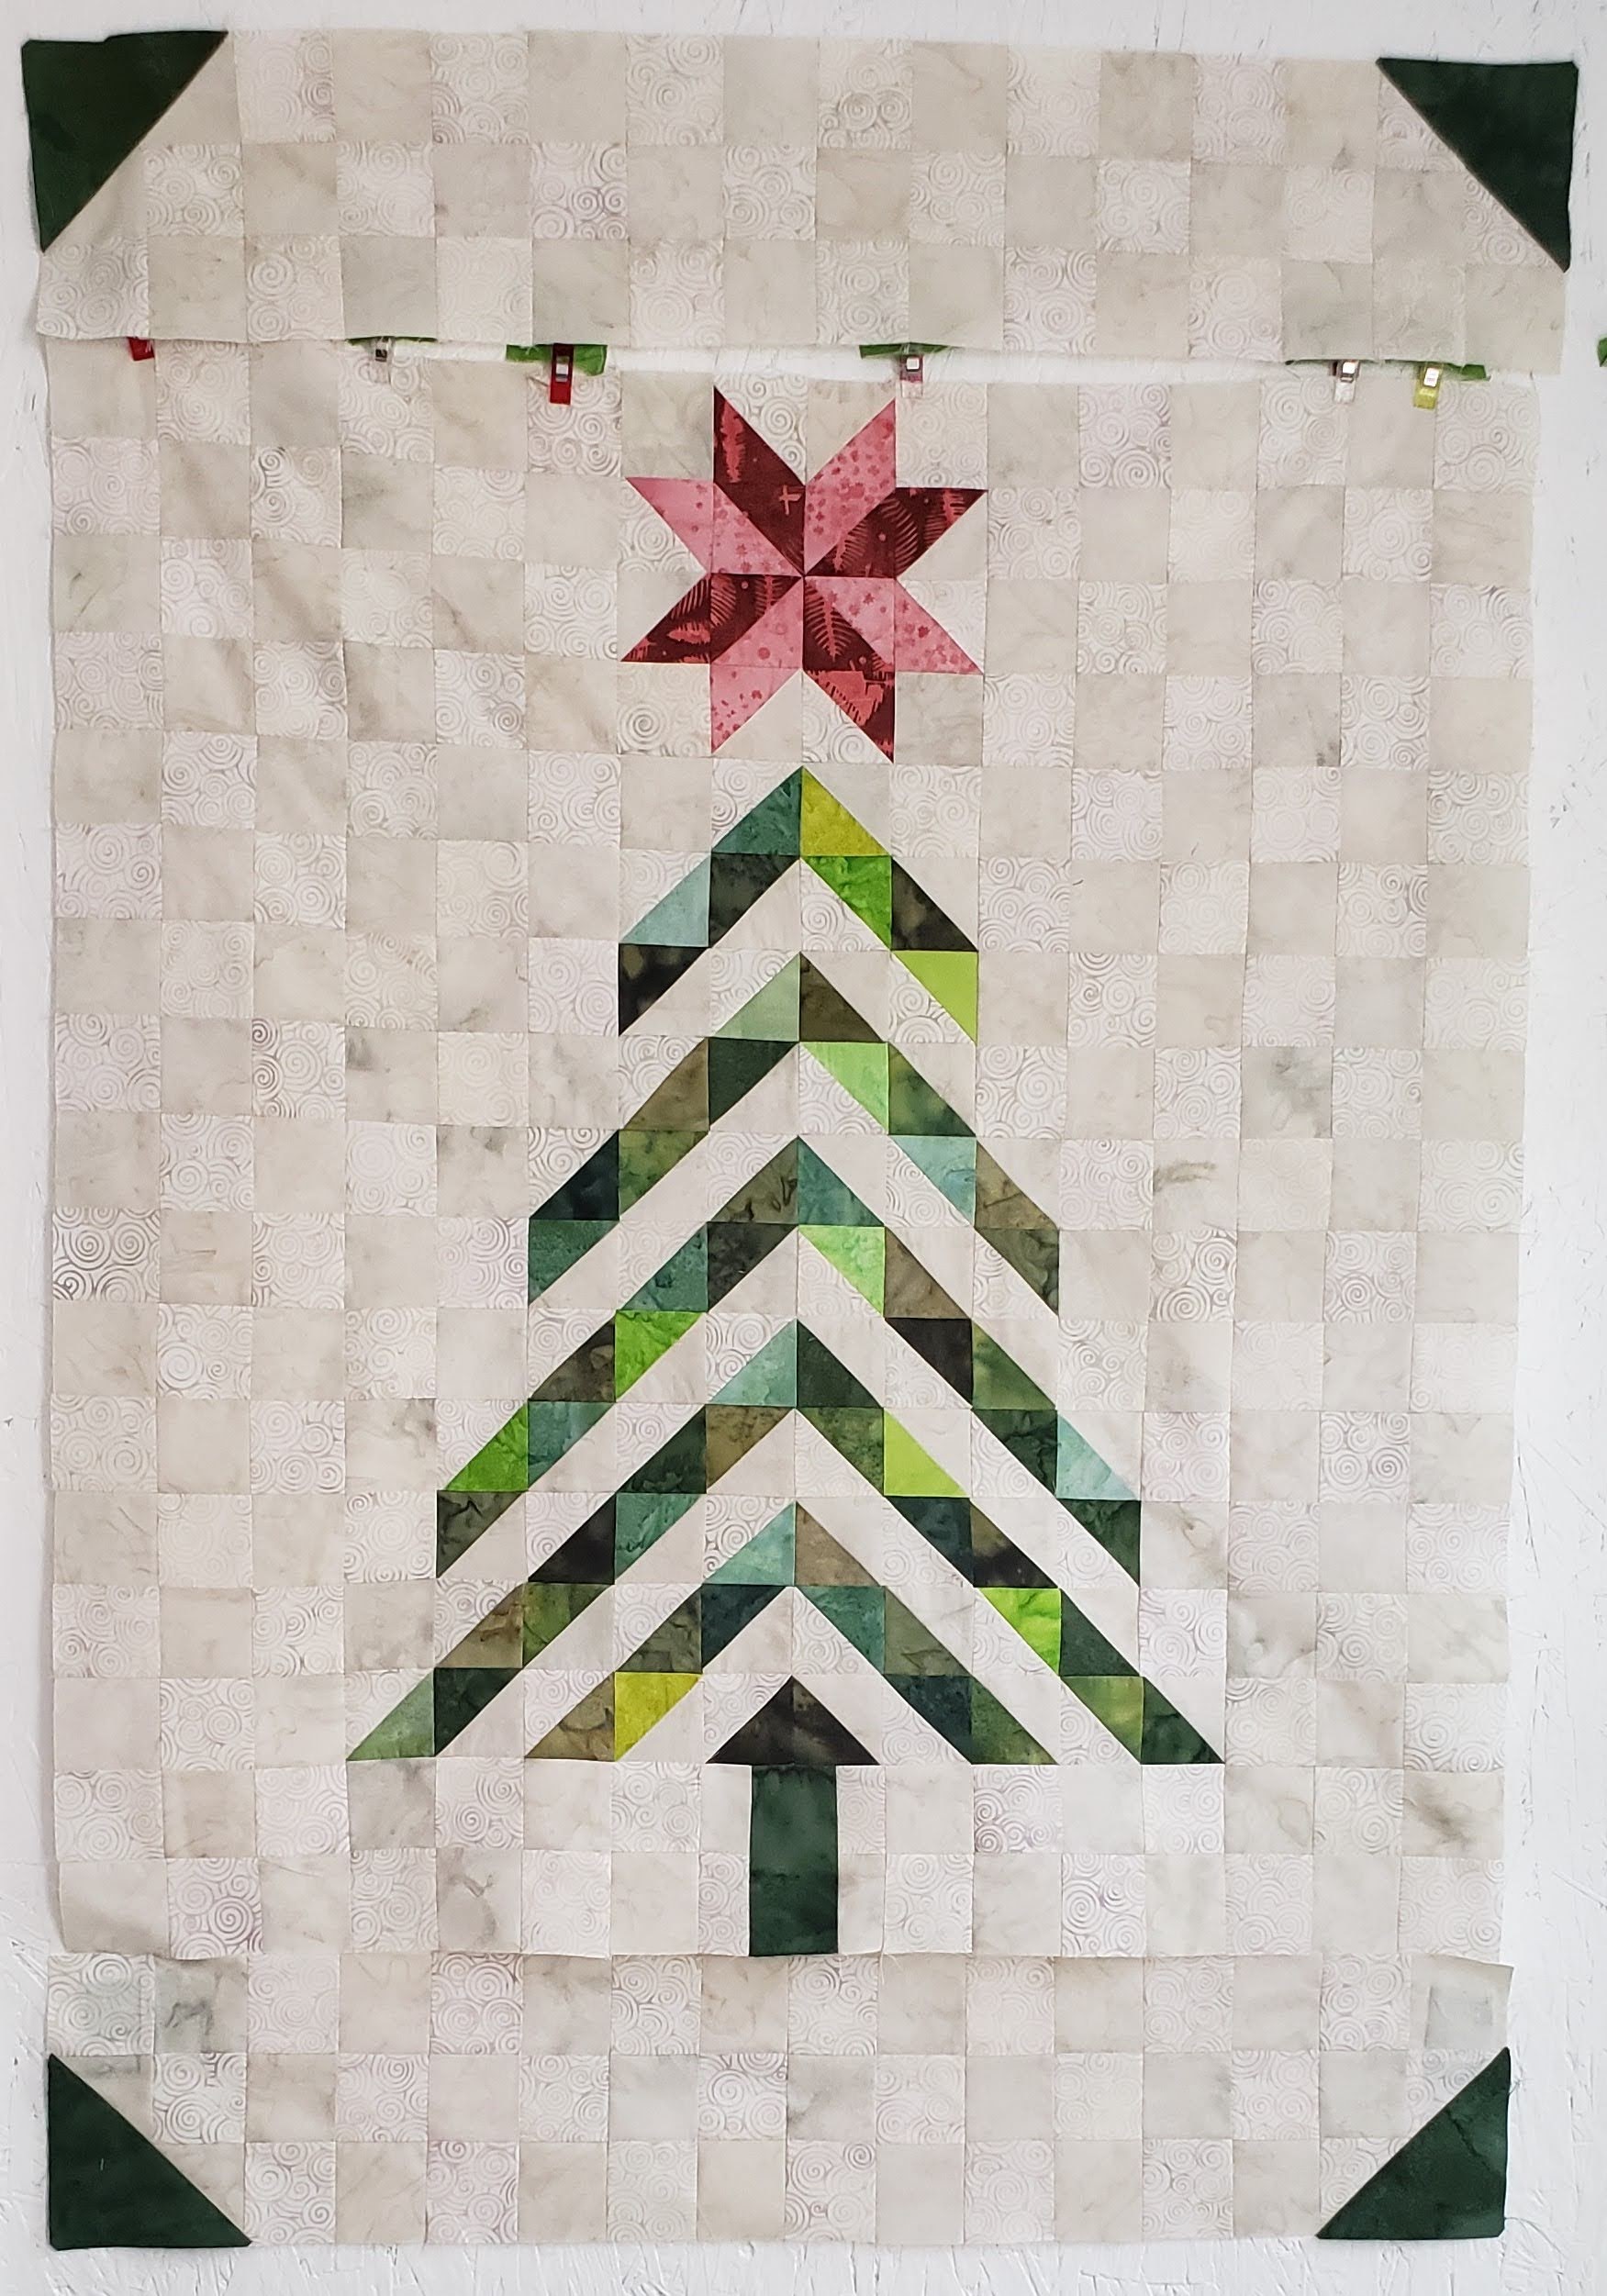
Press seams.

You have now completed the center of the quilt, now to add borders.
Step 7 – Border one
| Dark Green Strips | |
| 2 1/2″ strip x WOF | 4 1/2 strips |
Sew 2 1/2″ strips to each side of the tree
Cut one strip in 1/2, and sew one to another strip, repeating for two strips. I cut these strips using the Accuquilt Strip Cutter, which makes them so quick and more accurate.

NOTE: Depending on the length of your fabric, you may only need one for each side, however, you may need to add a little to the longer sides.
Step 8 – Outside strip two
Dots & Stars fabric – 3 1/2″ strip X WOF – 5 strips
Sew these longer pieces to the sides, trimming, and then sew the other two pieces to the top and bottom.
You have completed the top
NOTE: If you would like a larger quilt, you can add an additional borders, make the two strips wide, or you can add row/column of squares before the borders.
Thank you to Island Batik, Hobbs Batting Aurifil Thread, Schmetz & Accuquilt Go! for providing me with the materials to make this quilt.


#islandbatikambassador #islandbatik #iloveislandbatik #hobbsbatting #aurifil #aurifilthread #juki #Schmetz #Accuquilt #Janome #AccuQuiltChristmasInJuly #accuquilt #TreeofLife
