The Island Batik Challenge for September is “Pieced to Perfection” and we were to make a lap size or larger quilt utilizing a paper piecing technique.

There are two main types of paper piecing techniques. One technique is the English Paper Piecing. This technique were fabric is wrapped around pieces of thick paper or thin cardboard, and then hand stitched together. This technique is a good travel project, and usually is done by hand. Often times there are “Y” seams with this technique, that using a sewing machine could be difficult.
The other Paper piecing technique is Foundation Piecing, and this is where you sew directly onto a piece of paper the fabric. The fabric is placed on the back of the paper, and then you sew directly on the paper, and then press the fabric open before adding the next piece. This technique helps keep the block the correct size, and takes out the guessing game of seam allowances. It is also good for blocks that have “Y” seams
I decided to do a quilt utilizing the Foundation Piecing technique. With this technique there are actually different techniques you can use. One is just printing the paper on copy paper, or newsprint, while sewing you use a smaller stitch length, so that the paper is easier to remove after the block is completed. Another technique I have used is to print on a mesh type stabilizer, that is thin, and I just leave the stabilizer in the quilt. By using this method, you don’t have to worry about your seams being pulled out, as you are not removing any paper.
Another technique is one I learned in a class, it has the quilt pattern, and you cut it apart, and cut pieces of fabric larger (adding the 1/4″ seam allowance around the piece) and then stitch the pieces together. The quilt pattern is usually printed on Freezer paper, to hold to the pieces as you sew. This way you just remove the paper, and the seams are not involved.
I have used Foundation Piecing technique in different quilts, usually with blocks that may not be as easy to make using a traditional cutting technique. I used it for Last October’s Breast Cancer quilt, to make the ribbons more consistent.
The technique that I used for this project is a combination of techniques. I print my Foundation Pieces on Freezer paper, however, instead of stitching thru the paper, I fold the pattern on the folds, and then stitch along the fold. Then press the fabric out, and trim as need before adding the next piece. While not stitching on the paper, the fabric is held in place by the wax on the paper. The other advantage is that you can reuse the Freezer paper over and over. My quilt has 12 blocks, and I printed the foundation pattern out twice, so that I could do two blocks at the same time.

The fabric that was sent to me by Island Batik as part of my role as an Island Batik Ambassador is called “Natural Healing” by Kari Nichols. I received a 1/2 yard bundle of this collection, 2 yards of a light and dark fabric from the line.

When designing my quilt, I decided that it reminded me of fall, so I used Electric Quilt 8, to help design a layout. I decided on a Fall leaf.

I printed out the Foundation pieces on Freezer paper. One of the sections was larger than 11″, so I designed it with a Legal size paper in mind. 8 1/2″ x 14″. This kept me from having to glue or tape the sections together. I just cut the paper off the roll larger.
To reduce the guessing game of what size pieces to cut, I printed some templates of the pieces, and used as a guide, didn’t have to worry about how precise I cut, as I trimmed as I pieced. This way I could lay the pieces out, and cut. (again on Freezer paper, so I could iron on, and cut without pins.
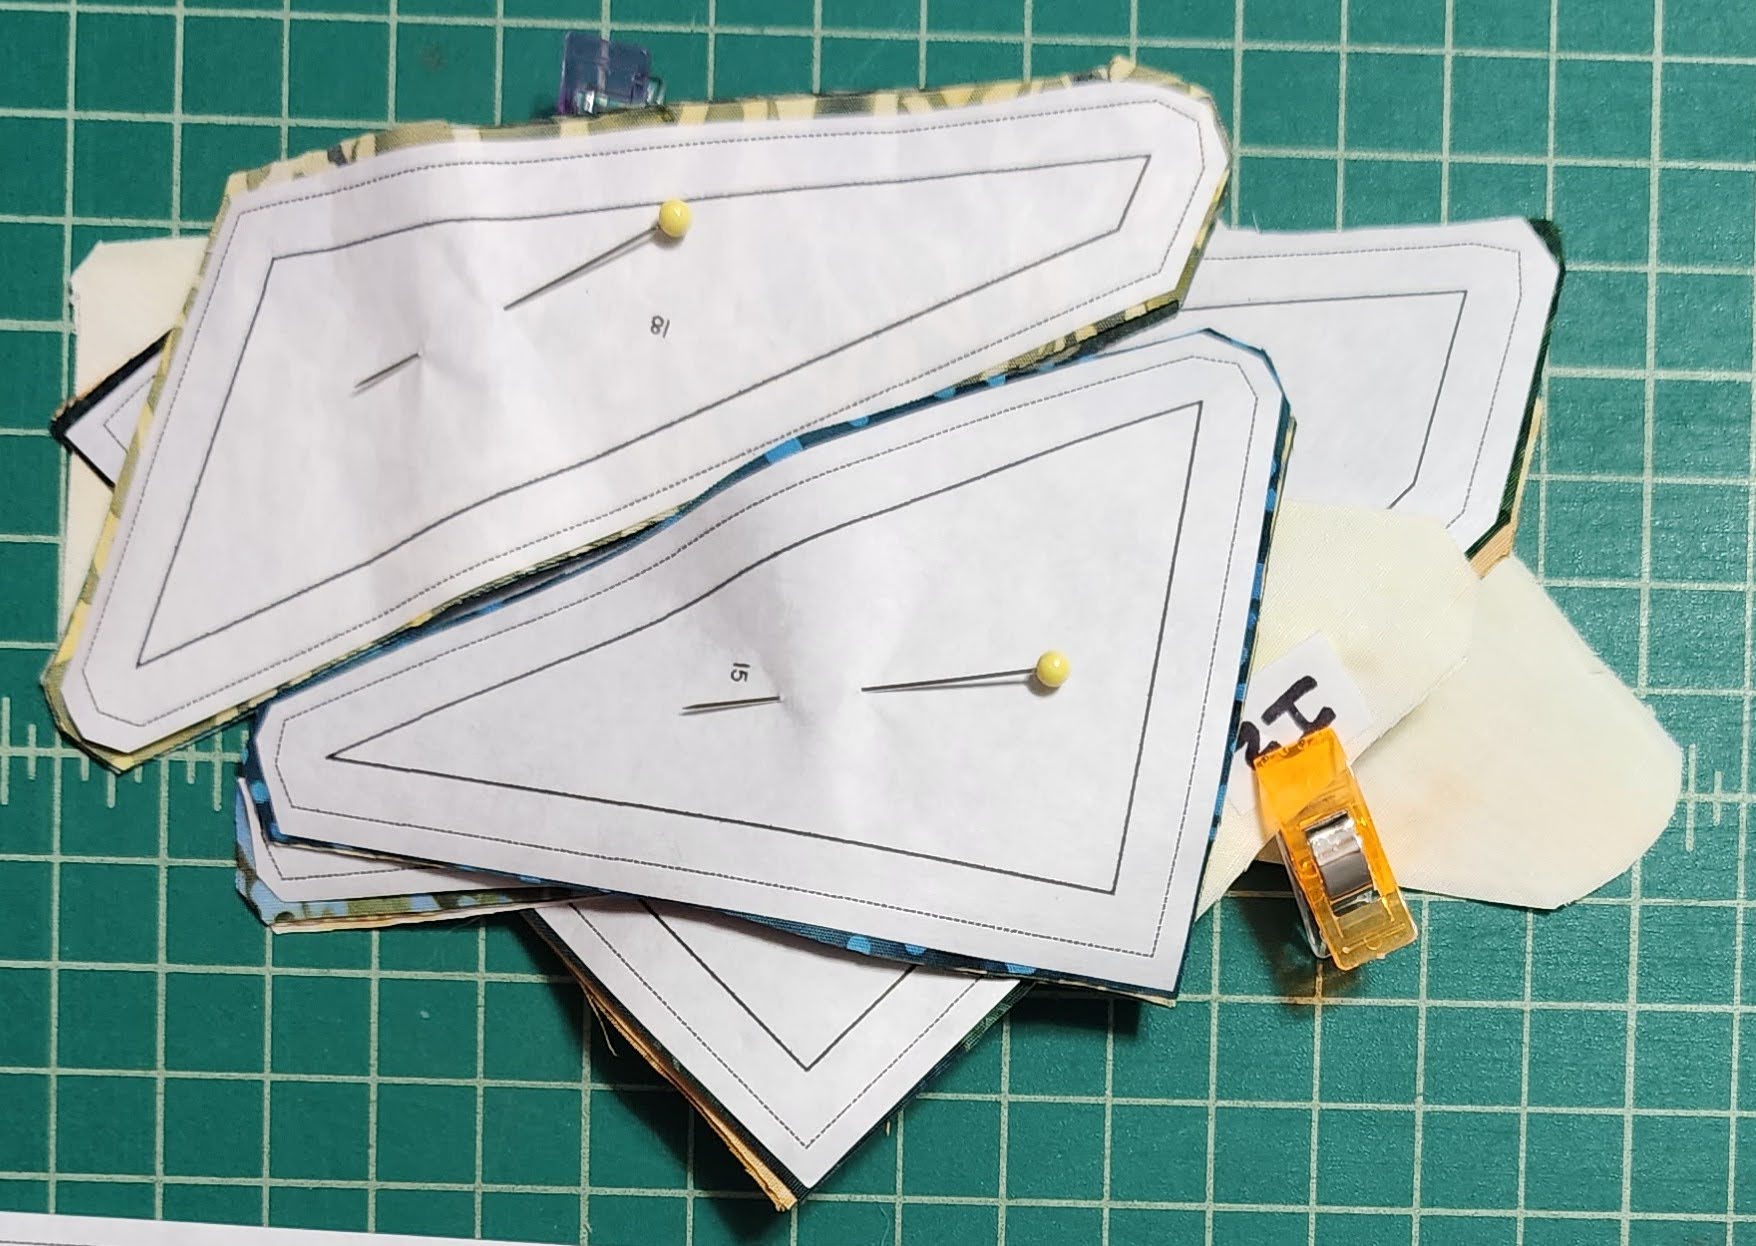
The block had 27 pieces of fabric, and 9 sections. Some sections are just two pieces, so quick, three sections had 3 or more pieces to stitch together.
Once each section was sewn together, I trimmed each piece and then attached together, to create the block. I folded back on the seam lines, and then stitched without sewing thru the fabric. Then pressed the fabric.
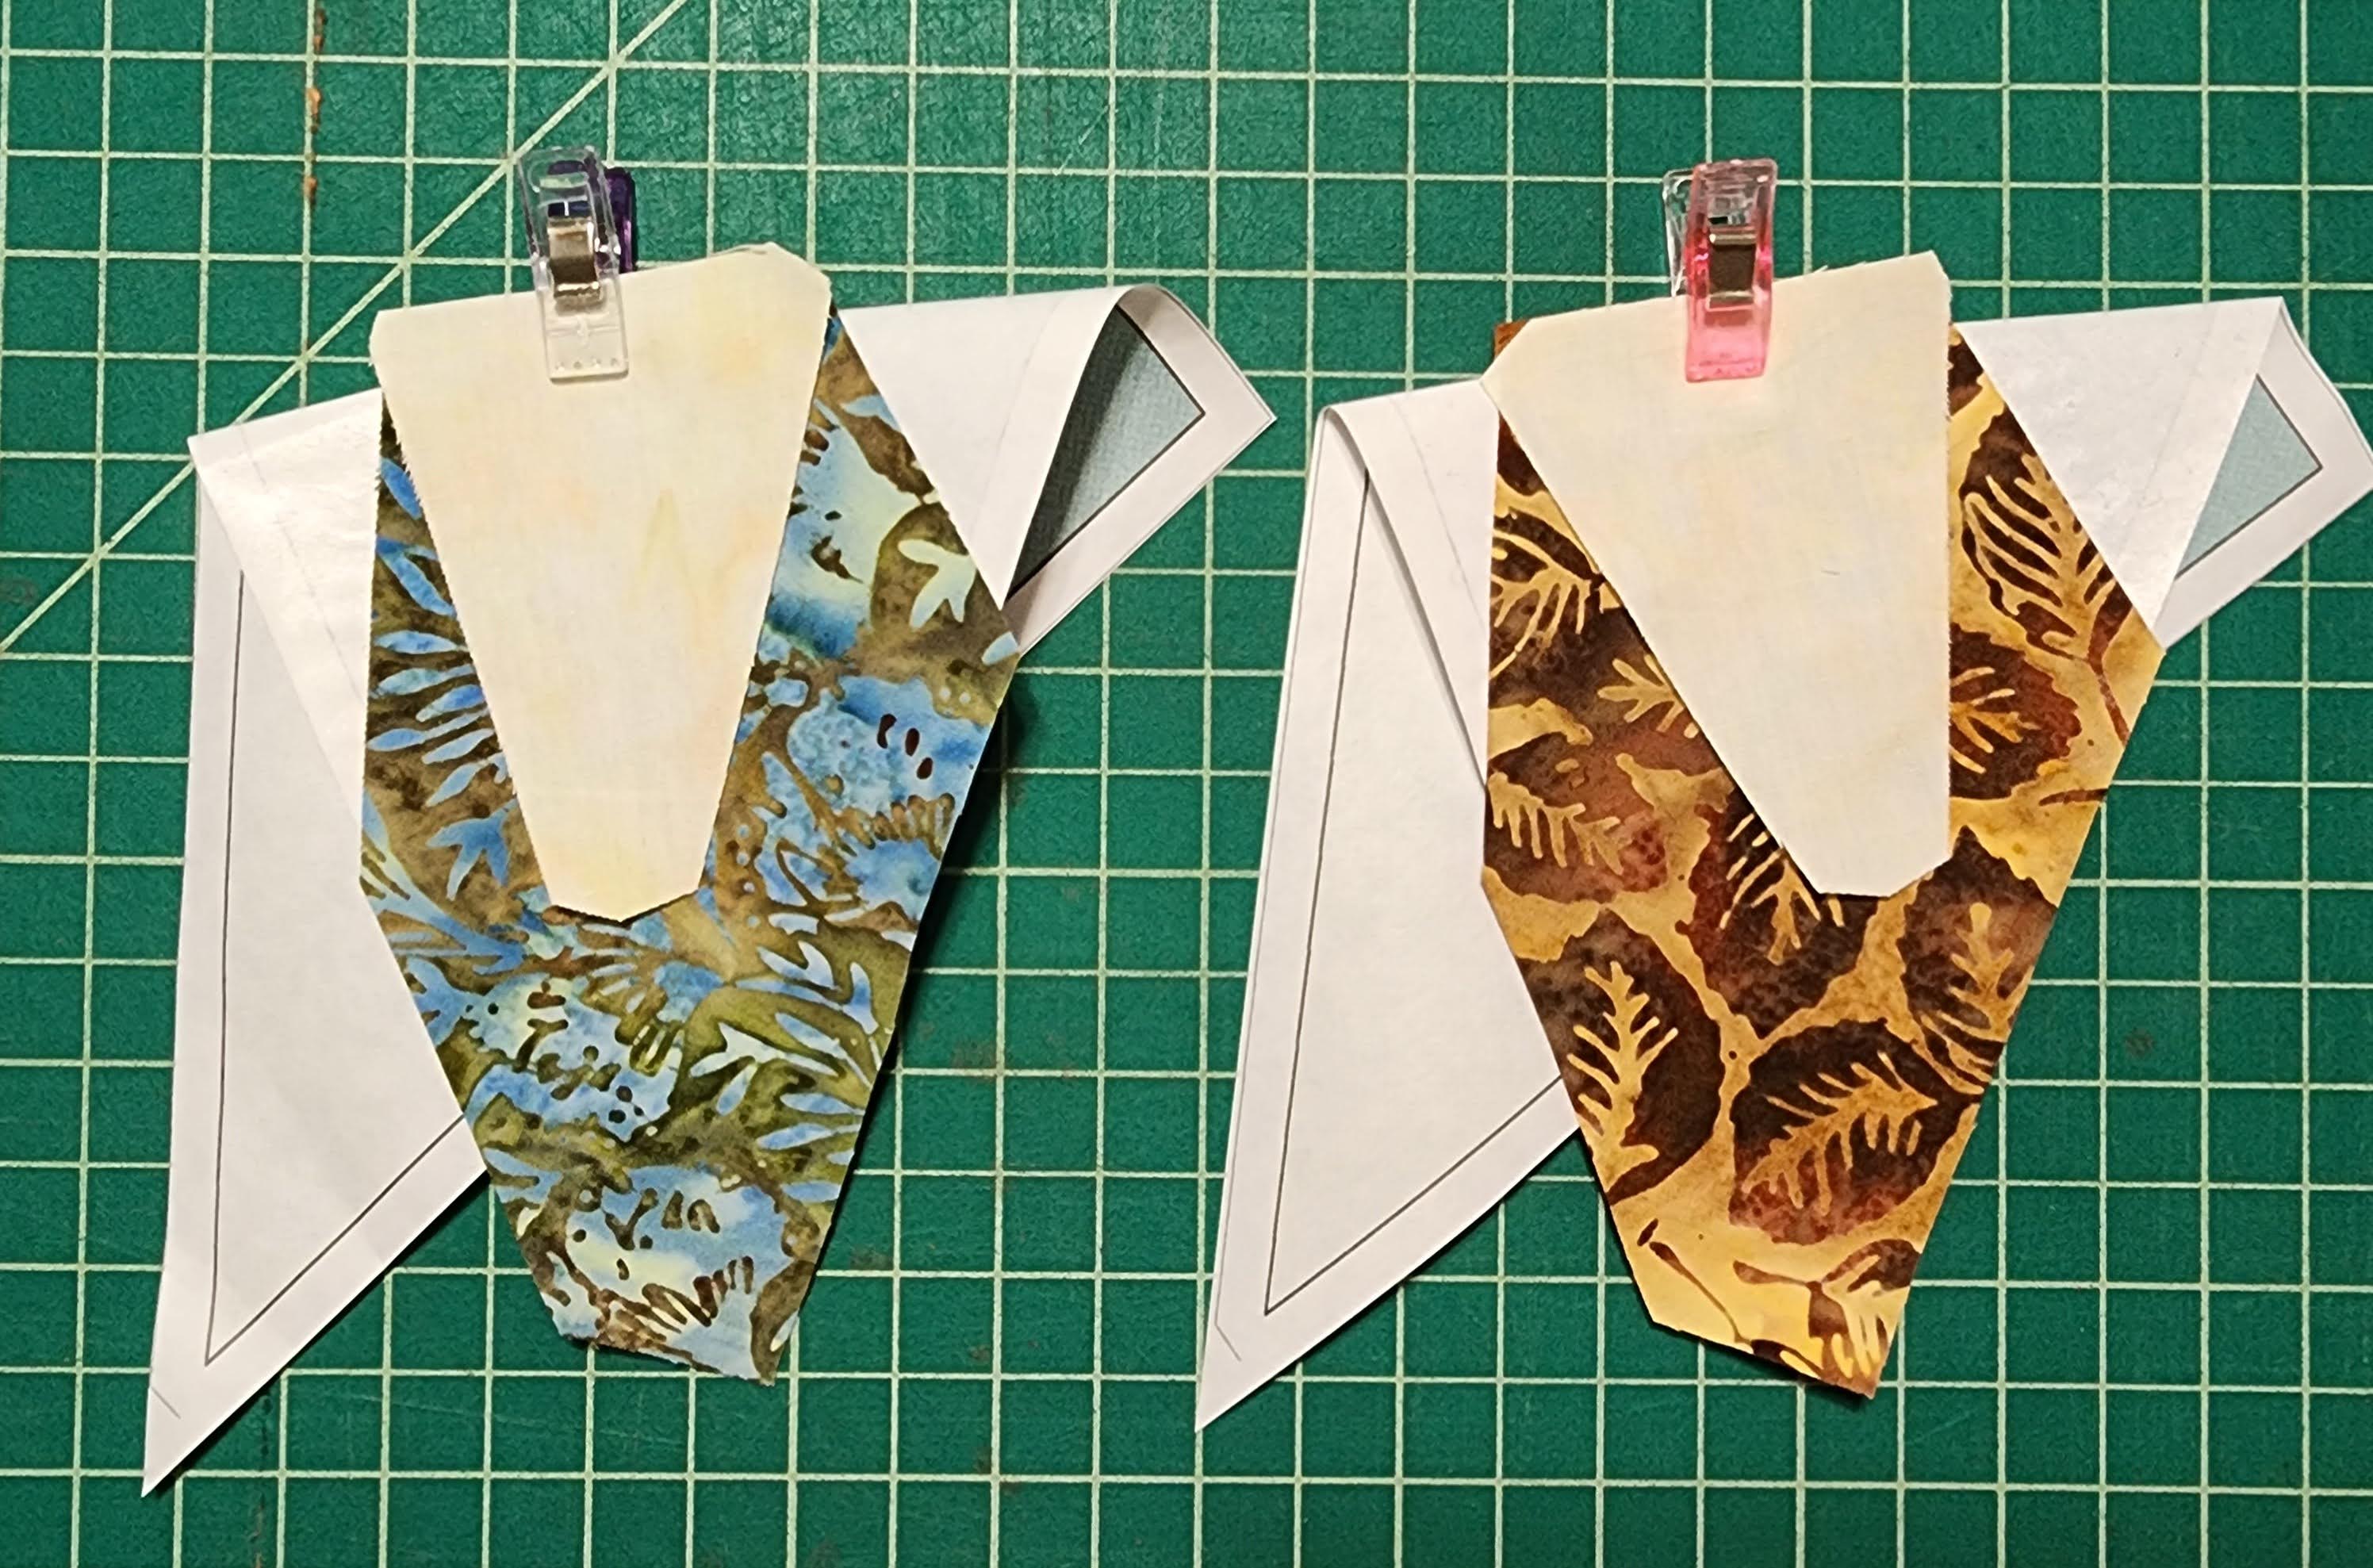
The sections with multiple pieces, I would trim the seam allowance for the next piece, before adding, to create the 1/4″ seam allowance. Then would add the next piece, and continue until all the pieces were added.

Next, I laid out the sections for each block, and then assembled the block.

Make sure to press the seams, and then removed the paper (carefully to save to reuse), then pressed again.

I made 12 total blocks, 6 with cream leaf, and 6 with multi-colored leaf. This way I could alternate the blocks so the leaves would stand out better.

Next I added a sashing between the blocks with one of the lighter fabrics (I was sent 2 yards of this fabric). I added little corner blocks with the same fabric as the lighter fabric in the blocks. This sashing was 1 1/2″ (unfinished). I used my Accuquilt with the 1 1/2″ die block to quickly cut the strips. They create a 1″ sashing. Then attached all the blocks together, alternating light/dark blocks.

Next, I added a 3 1/2″ strip border, using mitered corners. The fabric was a darker fabric that I received 2 yards of.

Finishing the quilt.
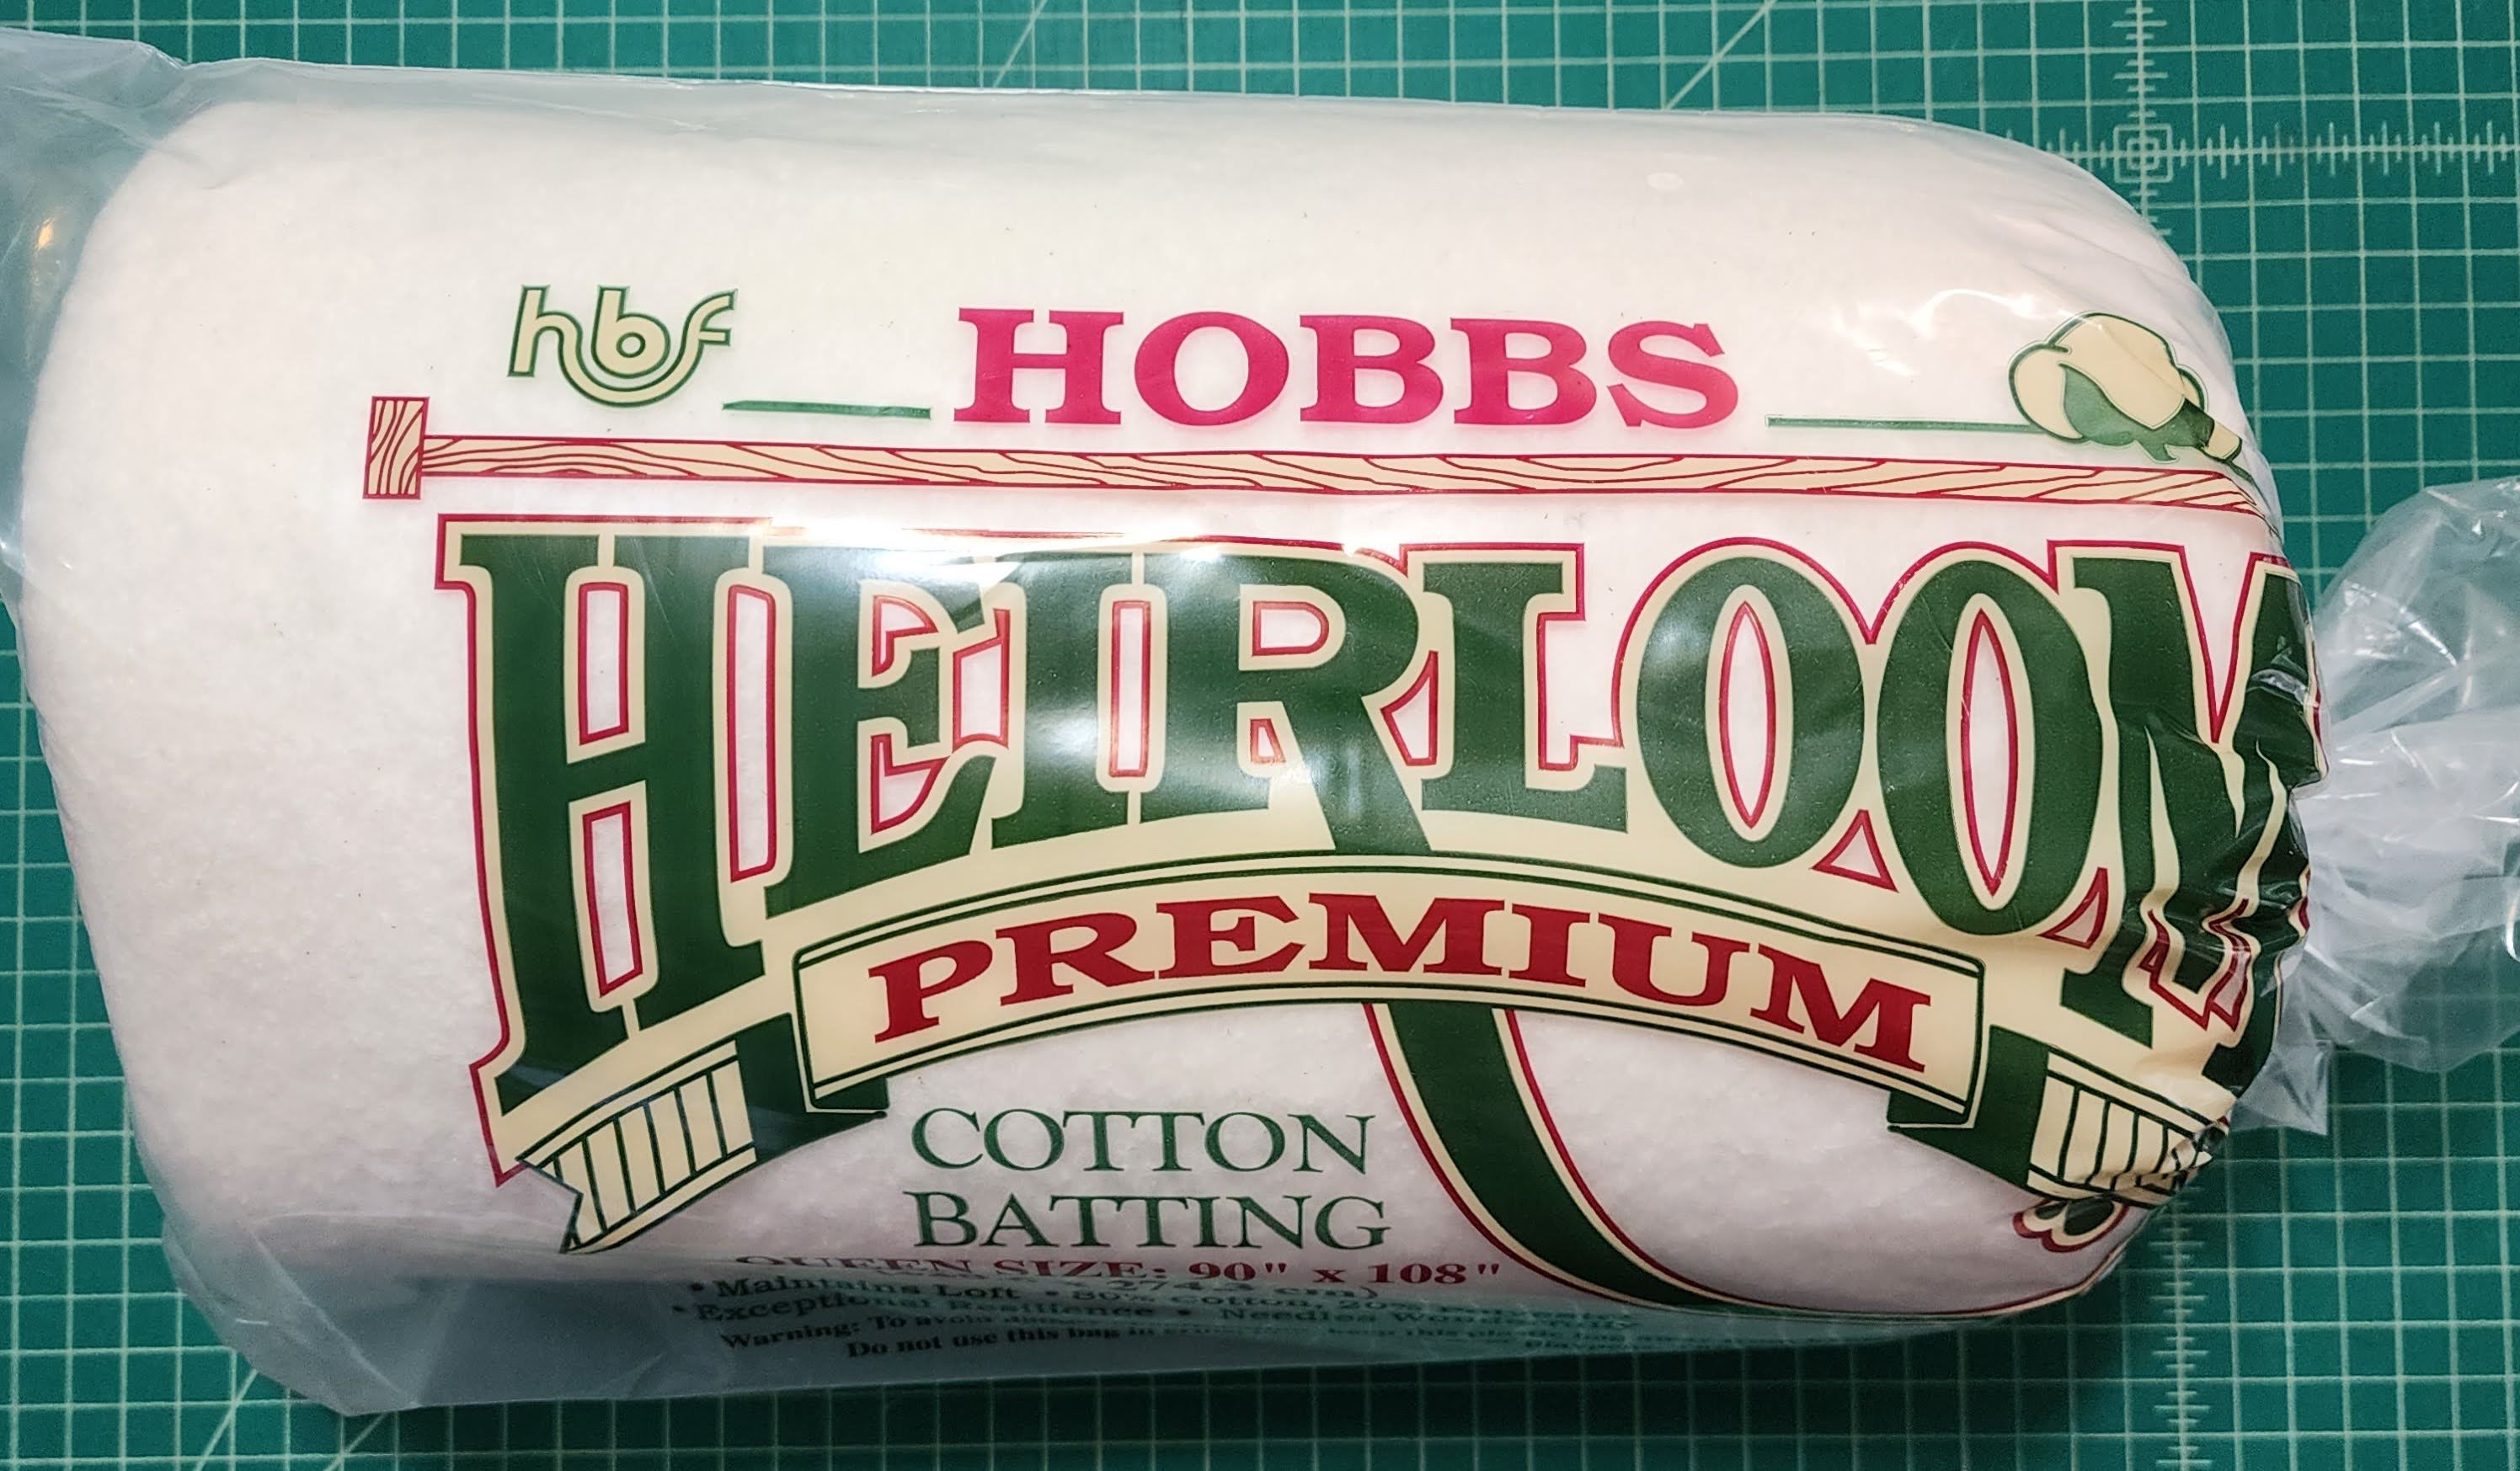
I used Hobbs Cotton Batting. The batting is 80% Cotton and 20% polyester. This batting works great for this lap size quilt, and is great to work with. I used Aurifil Thread, 2600 to quilt, as it blends in so with with all fabric.
I used a designed I received from Quilting Pantographs, called Autumn Leaves, a design that fit the theme of the quilt perfectly. Their designs are so easy to use, and they have the option of printing the pantographs, and using your machine, or a file to use on your longarm. I used my Juki Longarm to stitch out the design. It went so well, with no issues.


Next, I used my Accuquilt cutter to cut 2 1/2″ strips to make the binding. I used more of the darker green, to match the border.
Here is my completed “Pieced to Perfection” Fall Quilt. The quilt finished at 46″ x 60″, a lap size quilt, perfect for these fall days.

The materials used in the making of this quilt were provided to me free by Island Batik and their industry partners, Accuquilt, Aurifil Thread, and Schmetz Needles, Hobbs Batting, as part of my role as an Island Batik Ambassador.
If you like my Pieced to Perfection quilt, check out the other Island Batik Ambassador’s blogs, Especially, Lana Quilts, as she had the same fabric line as my quilt.
Brenda Alburl ~ Songbird Designs
Renee Atkinson ~ Pink Tulip Quilting
Pamela Boatright ~ PamelaQuilts
Susan Deshensky ~ Lady Blue Quilts
Brittany Fisher ~ Bobbin with Brittany
Preeti Harris ~ Sew Preeti Quilts
Mania Hatziioannidi ~ Mania for quilts
Reed Johnson ~ Blue Bear Quilts
Victoria Johnson ~ Forever Quilting for You
Randi Jones ~ Randi’s Roost
Connie Kauffman ~ Kauffman Designs
Emily Leachman ~ The Darling Dogwood
Denise Looney ~ Quiltery – For The Love Of Geese
Leah Malasky ~ Quilted Delights
Maryellen McAuliffe ~ Mary Mack Made Mine
Anorina Morris ~ sameliasmum.com
Lisa Pickering ~ Lisa’s Quilting Passion
Sarah Pitcher ~ Pitcher’s Boutique
Claudia Porter ~ Create with Claudia
Lana Russel ~ Lana Quilts
Elita Sharpe ~ Busy Needle
Gail Sheppard ~ Quilting Gail
Sandra Starley ~ Textile Time Travels
Jennifer Thomas ~ Curlicue Creations
Suzy Webster ~ Websterquilt
#hobbsbatting, #aurifil, #aurifilthread, #schmetzneedles, #janome, #juki, #accuquilt, #islandbatikAmbassador, #iloveislandbatik, #islandbatik #hobbsblackbatting, #piecedtoperfection, #paperpiecing, #fallleafblock, #EQ8, #ElectricQuilt8

That is so pretty, Lisa and really embodies fall! Great collection.
LikeLike
I absolutely love this quilt.
LikeLike
Your quilt is very beautiful and the quilting design is awesome!
LikeLiked by 1 person
Pretty quilt and quilting design.
LikeLiked by 1 person